 by
by Looking for a unique way to personalize your ride or a handmade gift for a car enthusiast? This tutorial will guide you through crocheting a super trendy, cube-shaped car ornament or keychain! It’s a fun and relatively quick project that allows for endless color combinations. Let’s get crafting!
Your Road Trip Essentials: Materials Needed
Before we hit the road with our hooks, gather these supplies:
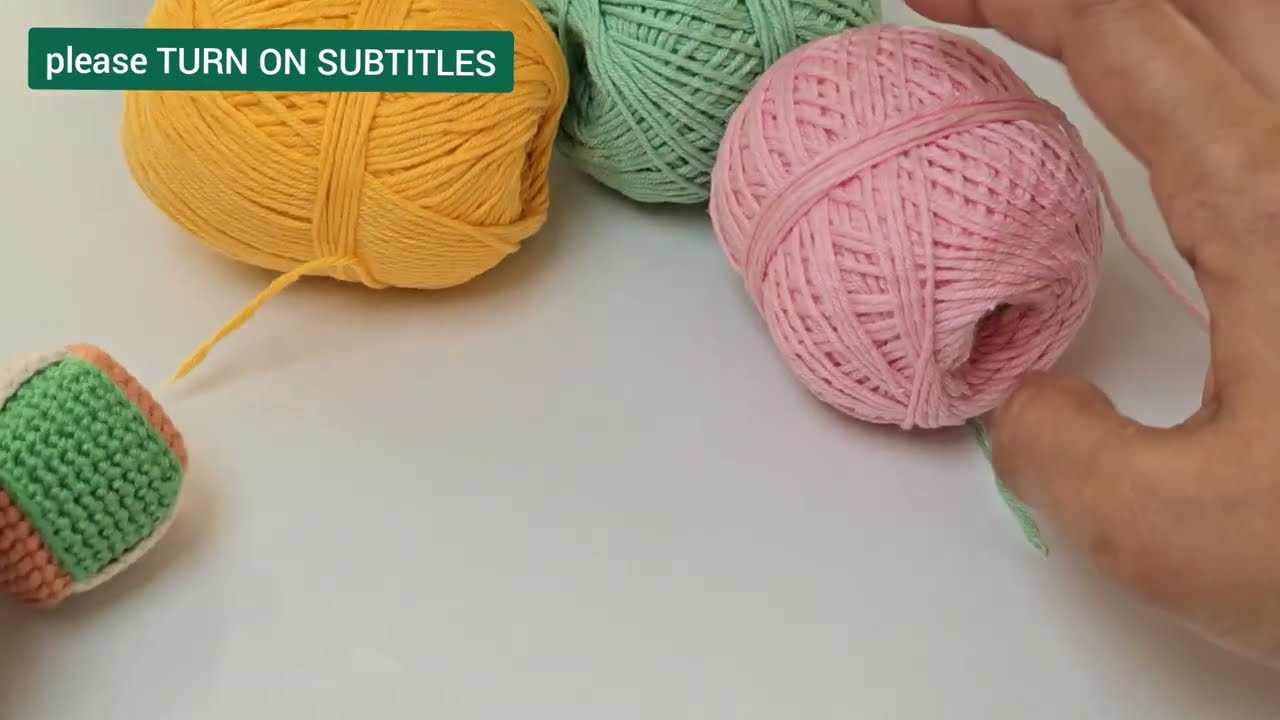
- Yarn: Choose your favorite colors! This project is fantastic for using up scrap yarn. The video uses medium-thickness yarn (5-ply, 50% acrylic, 50% cotton blend is a good choice for a sturdy finish).
- Crochet Hook: A 2.20mm Tulip crochet hook (or similar size to achieve a tight fabric for stuffing).
- Stuffing: Fiberfill to give your cube its plump, squishy volume.
- Yarn Needle: For weaving in ends and assembling.
- Scissors: For cutting yarn.
- Keychain Ring: To transform your crocheted cube into a functional keychain or ornament.
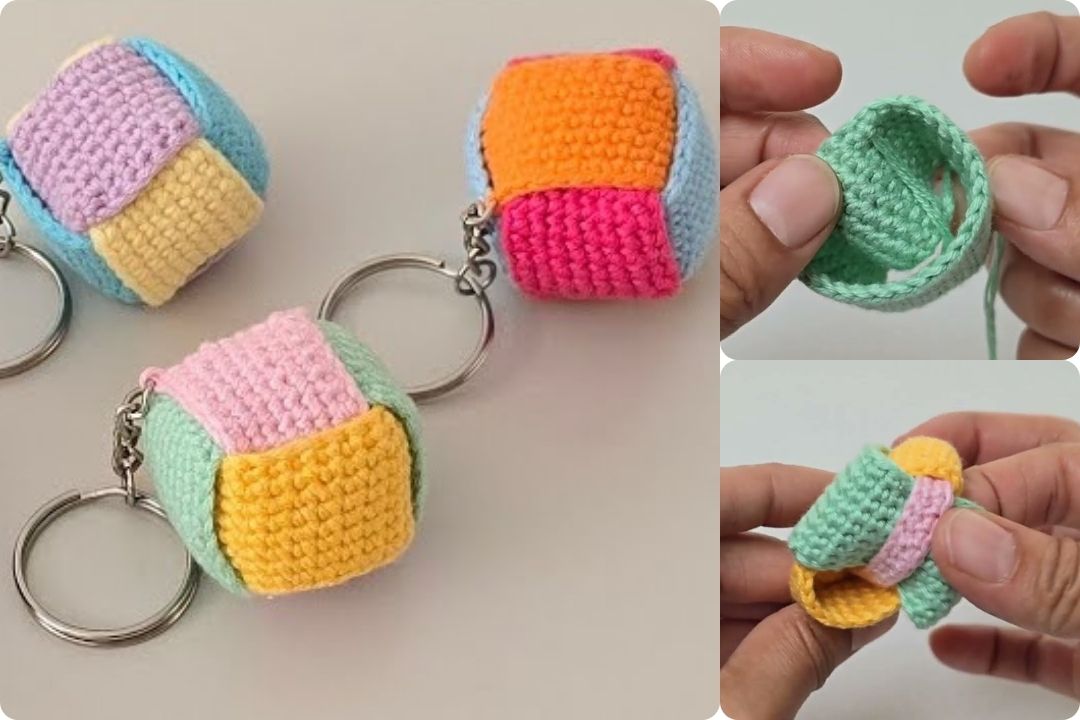
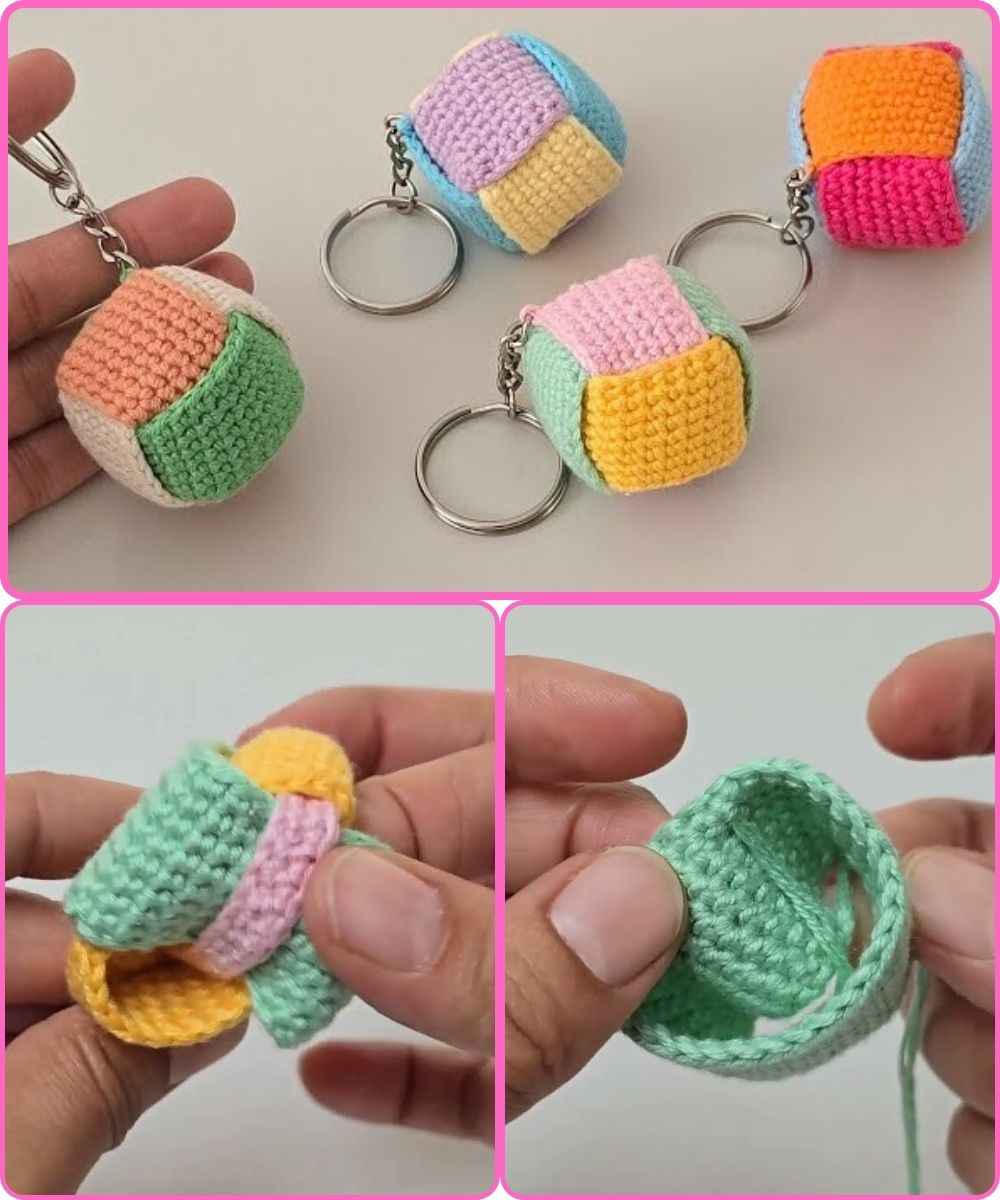
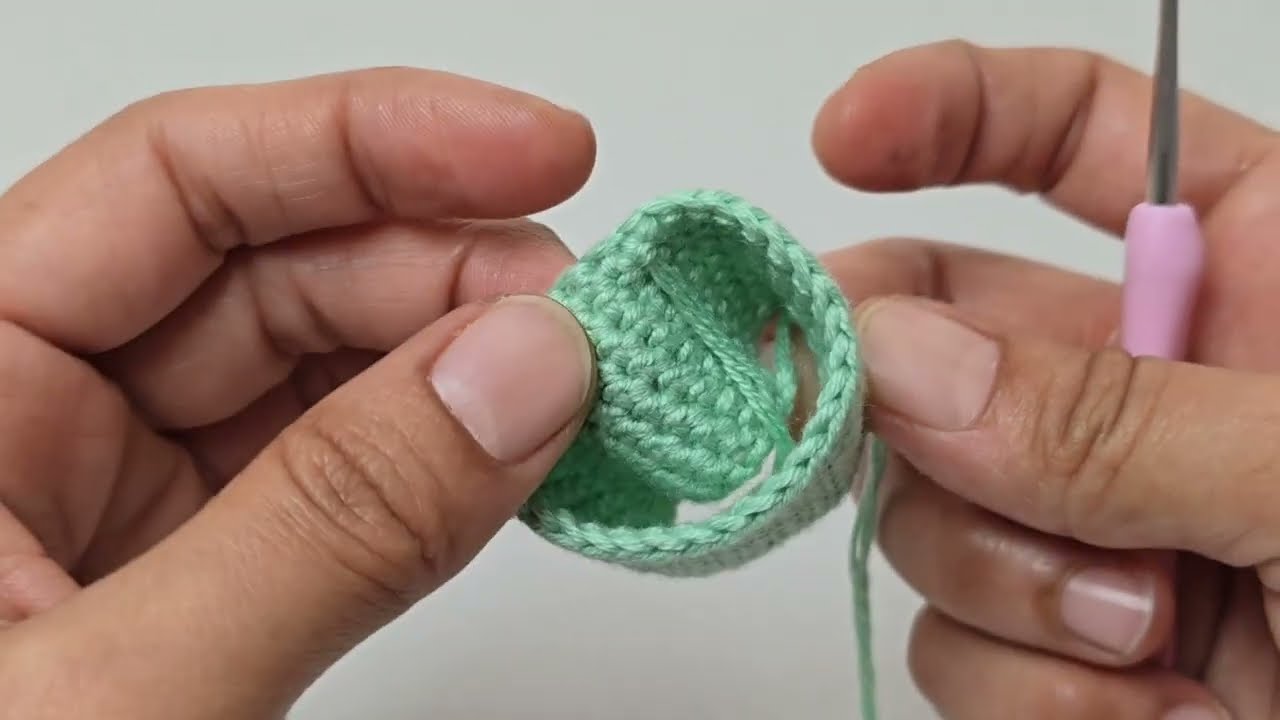
Building Blocks: Crocheting the Cube Pieces
The core of this ornament is a simple rectangular piece that you’ll repeat multiple times.
- Starting Chain: Begin by chaining enough stitches to create a piece approximately 12 cm long. The exact number of chains will depend on your yarn and tension, so measure as you go!
- Working the Rectangle:
- Once you have your desired chain length, single crochet (sc) into the second chain from your hook and in each chain across.
- Chain 1, turn your work.
- Single crochet (sc) in each stitch across.
- Repeat this last row (Chain 1, turn, sc in each stitch) until your piece forms a small rectangle. The goal is to create a piece that, when folded, will form one side of your cube.
- Repeat, Repeat, Repeat! You’ll need to crochet multiple identical rectangular pieces to form your cube. The video implies creating several, which will then be joined. The exact number depends on how many sides you want your cube to have (typically 6 for a full cube, but you might need fewer if some sides are joined directly).

Assembly Line: Connecting and Stuffing Your Cube
This is where your individual pieces come together to form the 3D shape!
- Arranging the Pieces: Lay out your crocheted rectangles. Think of them as the faces of your cube. You’ll be connecting them along their edges.
- Joining the Sides: Using your yarn needle and a length of yarn (or by continuing to crochet with slip stitches or single crochets), carefully stitch or crochet the edges of your rectangular pieces together. The goal is to form a cube-like structure. You’ll likely join four pieces to form the “sides” and then attach a “top” and “bottom” piece.
- Stuffing for Volume: Before fully closing your cube, leave a small opening. Gently stuff the cube with fiberfill until it’s firm but still squishy. Don’t overstuff, or it might distort the shape.
- Closing the Gap: Once stuffed, continue to stitch or crochet the remaining open edges together until the cube is completely closed. Weave in any loose ends for a neat finish.
The Finishing Touch: Attaching the Keychain
Your trendy ornament is almost ready!
- Secure the Ring: Using your yarn needle and a sturdy piece of yarn, securely attach the keychain ring to one corner or edge of your crocheted cube. Make sure it’s firmly fastened so it won’t come off with use.
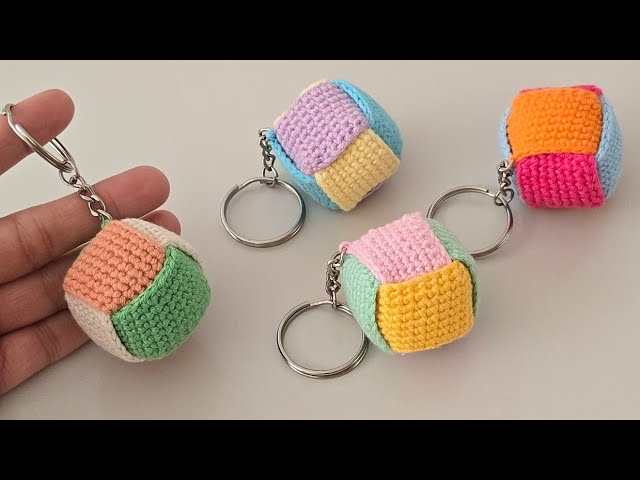
Your Custom Car Charm is Ready to Roll!
And there you have it! A stylish, handmade crochet car ornament or keychain that’s as unique as you are. Experiment with different color combinations to match your car, your mood, or to create personalized gifts for friends and family.
We’d love to see your creations! Share your finished car ornaments in the comments below! Drive safe and happy crocheting!
Watch tutorial:


