 by
by Absolutely! Here’s a detailed and beginner-friendly guide titled:
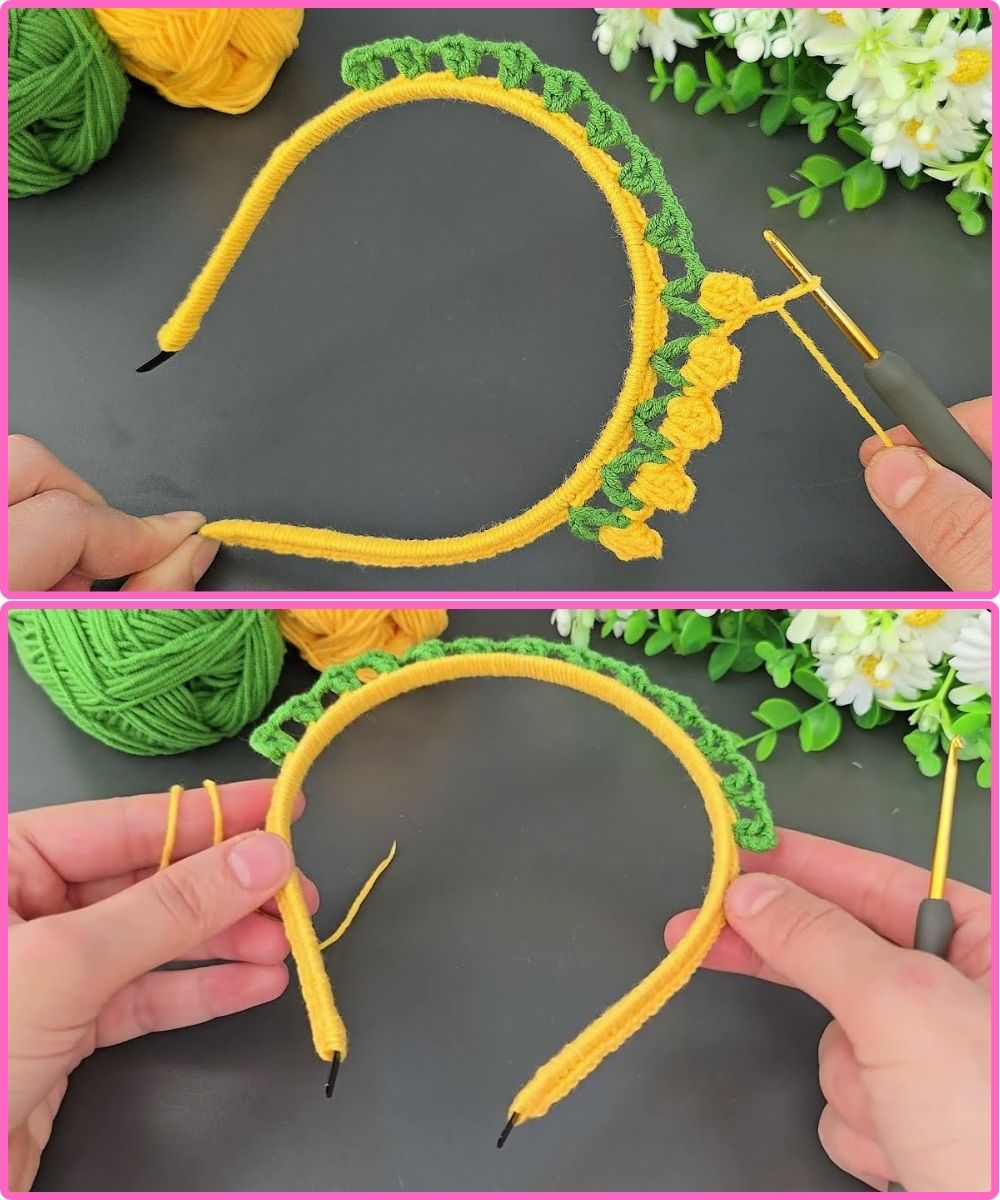
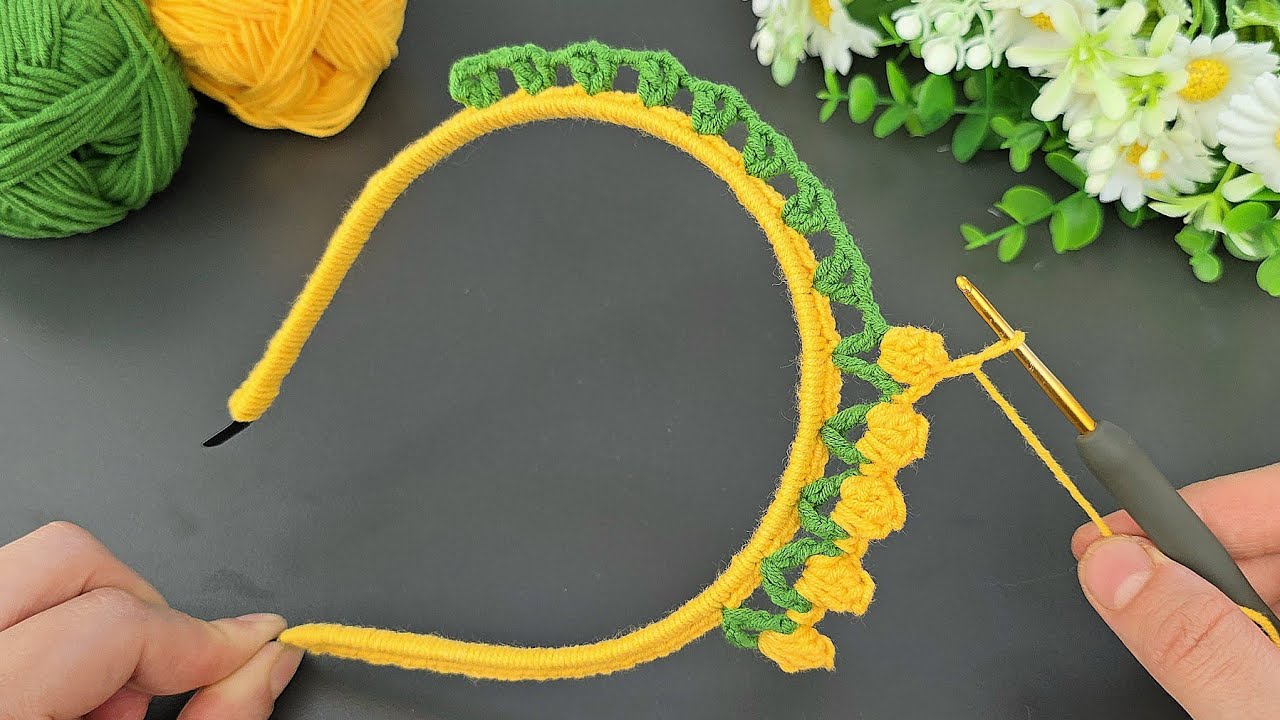
How to Make a Super Beautiful Crochet Crown Headband at Home
Crocheting your own crown headband is not only a fun and creative project, but it also gives you a charming accessory that’s perfect for birthdays, dress-up, photo shoots, or just feeling royal! Let’s dive into how to make one — even if you’re relatively new to crochet.
What You’ll Need
Materials:
-
Yarn: Worsted weight yarn (category 4) in the color of your choice (gold, silver, pink, or white are popular)
-
Crochet Hook: Size 4.0mm (G-6) or as recommended on your yarn label
-
Tapestry Needle: For weaving in ends
-
Scissors
-
Measuring Tape
-
Optional: Beads, faux pearls, or tiny gems for embellishment
Basic Skills Required
-
Chain stitch (ch)
-
Slip stitch (sl st)
-
Single crochet (sc)
-
Double crochet (dc)
-
Working in rows
-
Sewing ends together
Don’t worry if you’re not a pro! This pattern is super beginner-friendly with simple stitches.
Pattern: Pretty Crochet Crown Headband
Step 1: Measure & Chain
Measure around the wearer’s head (usually about 18–22 inches for adults). Now chain enough stitches to match that length — just make sure the number is divisible by 5 + 1. For example, 51 chains works well.
Step 2: First Row (Base Row)
-
Turn your work, and single crochet (sc) into the second chain from the hook.
-
Continue sc in each chain across the row.
-
Chain 1 and turn.
Step 3: Second Row (Foundation)
-
Work 1 single crochet in each stitch across.
-
This row gives your crown a nice structure.
-
Chain 1 and turn.

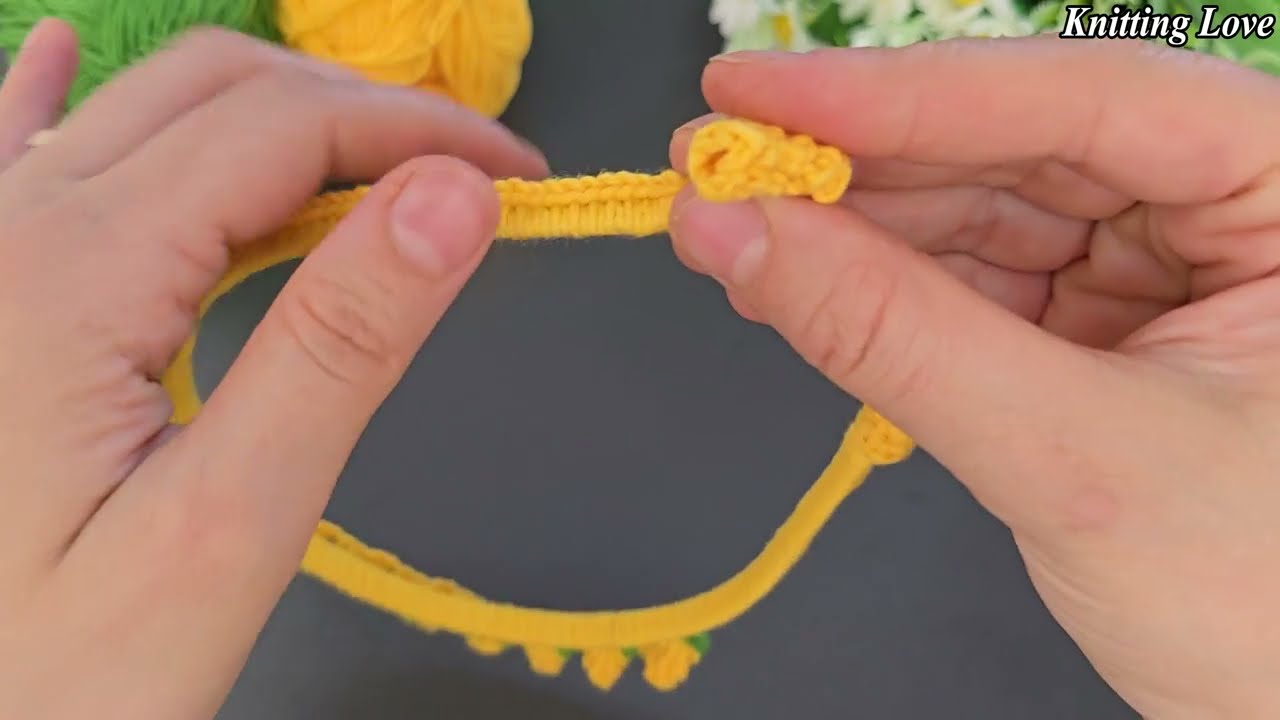
Step 4: Crown Points (Picot Crown Edging)
Now we form the peaks of the crown:
-
(sc in next stitch, skip 1 stitch, 5 dc in next stitch, skip 1 stitch) — repeat from * to * across the row.
-
End with a sc in the last stitch.
-
Fasten off and weave in ends.
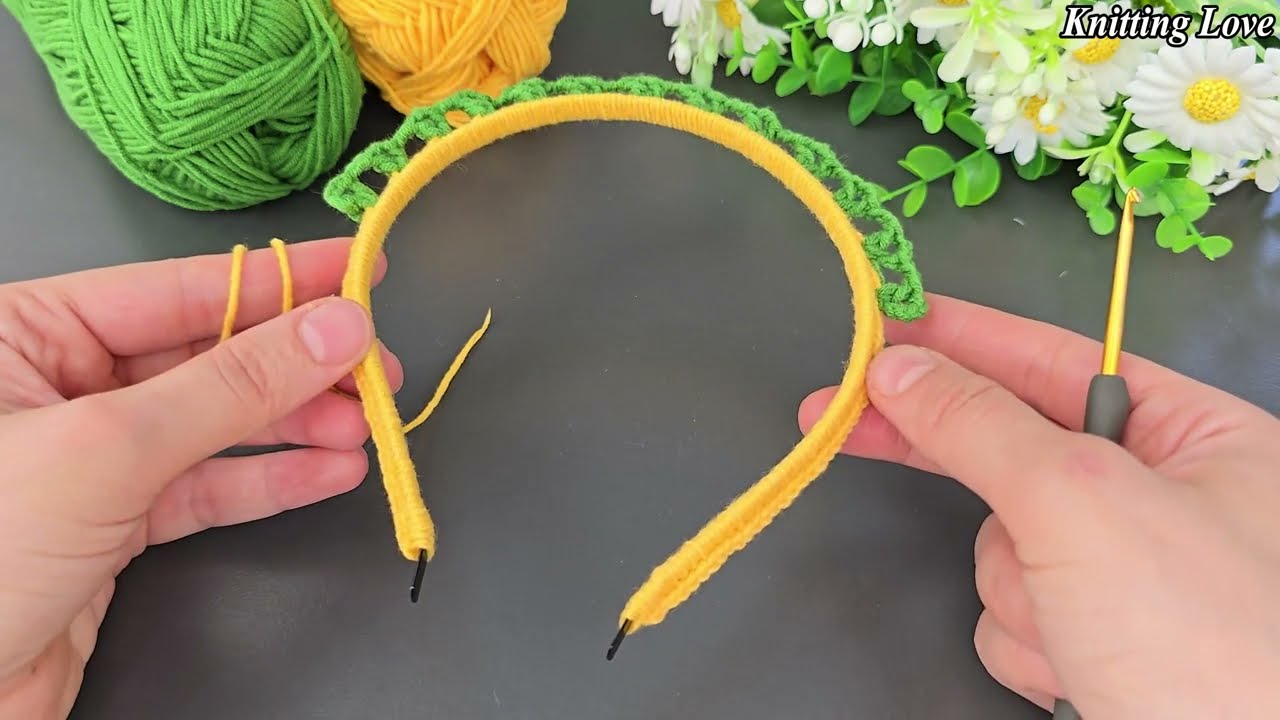
Step 5: Finishing the Headband
-
Fold the crown into a circle and use the tapestry needle to sew the ends together securely.
-
Make sure the peaks are upright and symmetrical.
Optional Add-Ons
-
Add beads to the tips of each peak using a glue gun or by sewing.
-
Use metallic yarn for a sparkly, royal finish.
-
For little ones, try pastel cotton yarns for a soft and comfortable feel.
✨ Tips for Success
-
Block your finished crown headband with steam or by pinning and spraying lightly with water to shape it neatly.
-
If making for a baby or toddler, use soft cotton yarn to avoid skin irritation.
-
Make matching ones for family or party guests!
Simple Pattern Recap
-
Chain base length (divisible by 5 + 1)
-
Row 1: sc across
-
Row 2: sc across
-
Row 3: crown points with (sc, skip 1, 5 dc, skip 1) repeat
-
Join ends
-
Decorate as desired
Final Thoughts
Making your own crochet crown headband is a quick project (often under 1 hour) and brings so much joy. It’s perfect for gifts, costumes, and personal style. And the best part? You made it with your own hands.
Watch tutorial:
https://www.youtube.com/watch?v=f5uvEtaeMIA