 by
by Below is a clear, detailed, step-by-step guide on how to crochet a high-neck coat, suitable for beginners who know basic stitches as well as intermediate crocheters. If you want, I can turn this into a printable PDF, add diagrams, or create a written pattern in a specific size later.
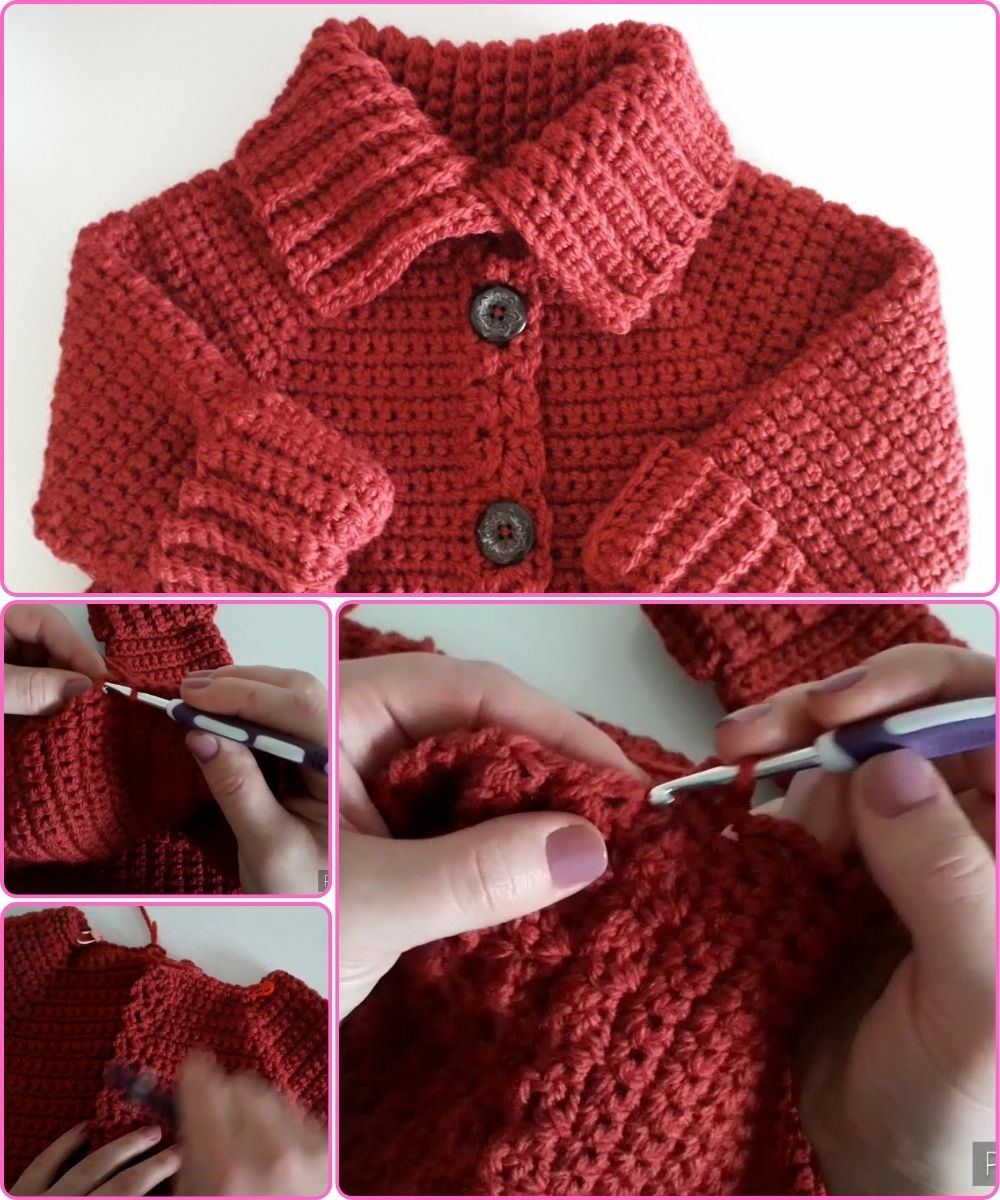
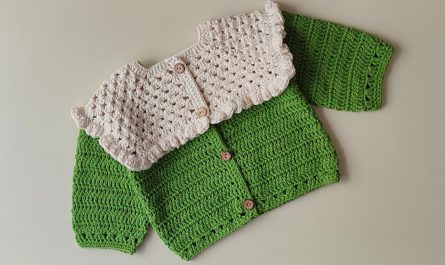
🧶 How to Crochet a High-Neck Coat (Detailed Guide)
This guide explains the materials, measurements, construction method, and step-by-step instructions so you can adapt it to any size.
⭐ Materials Needed
-
Yarn: 800–1500 g (depending on size). Choose a medium (Category 4) or bulky (Category 5) yarn for warmth. Wool blends or acrylic work well.
-
Hook: Use the hook size recommended on your yarn label (usually 5–6.5 mm).
-
Stitch markers
-
Scissors
-
Tapestry needle
-
Buttons (optional: 4–8 large coat buttons)
-
Measuring tape
📏 Measurements Required
Measure:
-
Bust circumference
-
Shoulder width
-
Arm length
-
Wrist circumference
-
Coat length (shoulder → hem)
-
Neck circumference (for the high neck)
Write down your measurements or use standard sizing (S–3XL).
🧶 Stitches Used
-
Chain (ch)
-
Single crochet (sc)
-
Half double crochet (hdc)
-
Double crochet (dc)
-
Slip stitch (sl st)
-
Optional texture: front-post/back-post dc (fpdc/bpdc)
🧥 Construction Overview
A high-neck coat can be made in two common ways:
Method A — Top-Down Raglan (easiest, seamless)
-
Start at the neck
-
Increase to form yoke
-
Separate body and sleeves
-
Work body downward
-
Work sleeves afterward
-
Add high neck collar at end
Method B — Panels (front left, front right, back, sleeves)
-
Sew pieces together
-
Add neck later
-
Good for color blocks
Below is the detailed Top-Down Raglan method (best for beginners).
🪡 STEP-BY-STEP CROCHET INSTRUCTIONS (Top-Down Raglan High-Neck Coat)
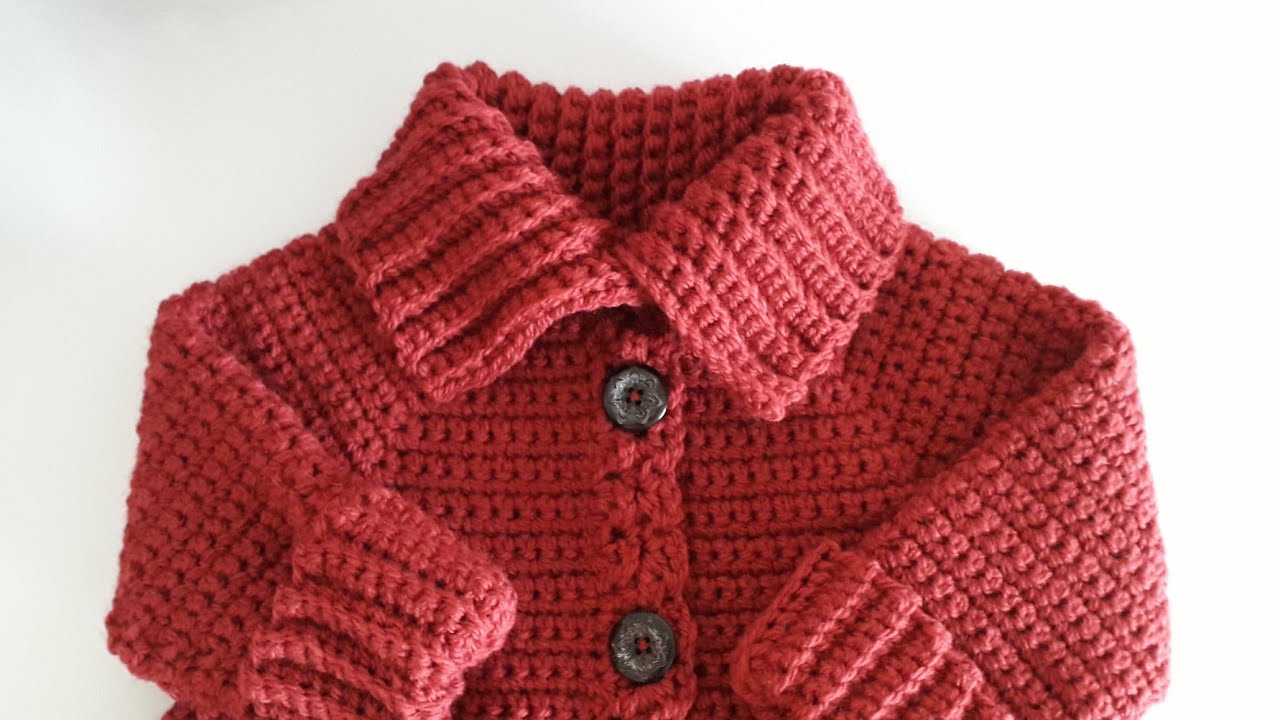
1. Start the High Neck Collar
-
Make a chain long enough to wrap around your neck measurement (typically 60–70 stitches).
-
Join to form a circle (make sure it isn’t twisted).
-
Work ribbing:
-
Row 1: Ch 2, hdc in each st around, join.
-
Row 2–8: Ch 2, fpdc, bpdc around for flexible ribbing.
-
You can make it taller (10–15 rows) for an extra-high neck.
2. Begin the Raglan Yoke
You need 4 corners for raglan shaping:
General division:
-
Back: 30%
-
Each front: 20% each
-
Each sleeve: 15% each
(Can be adjusted.)
Example for 80 stitches:
-
Front Left: 16
-
Sleeve Left: 12
-
Back: 24
-
Sleeve Right: 12
-
Front Right: 16
Yoke Setup Row
-
Ch 2, work dc evenly until you reach where the first sleeve begins
-
Place marker, dc, ch 1, dc (raglan increase)
-
Continue pattern → repeat at all four corners
-
Join at end
3. Increase Rows
Repeat:
-
Ch 2
-
Dc across
-
At each marker: dc, ch 1, dc into the marked stitch
-
Move markers up each row
Continue until:
-
The yoke reaches your underarm measurement
-
Sleeves fit comfortably (usually 20–30 rows depending on yarn)
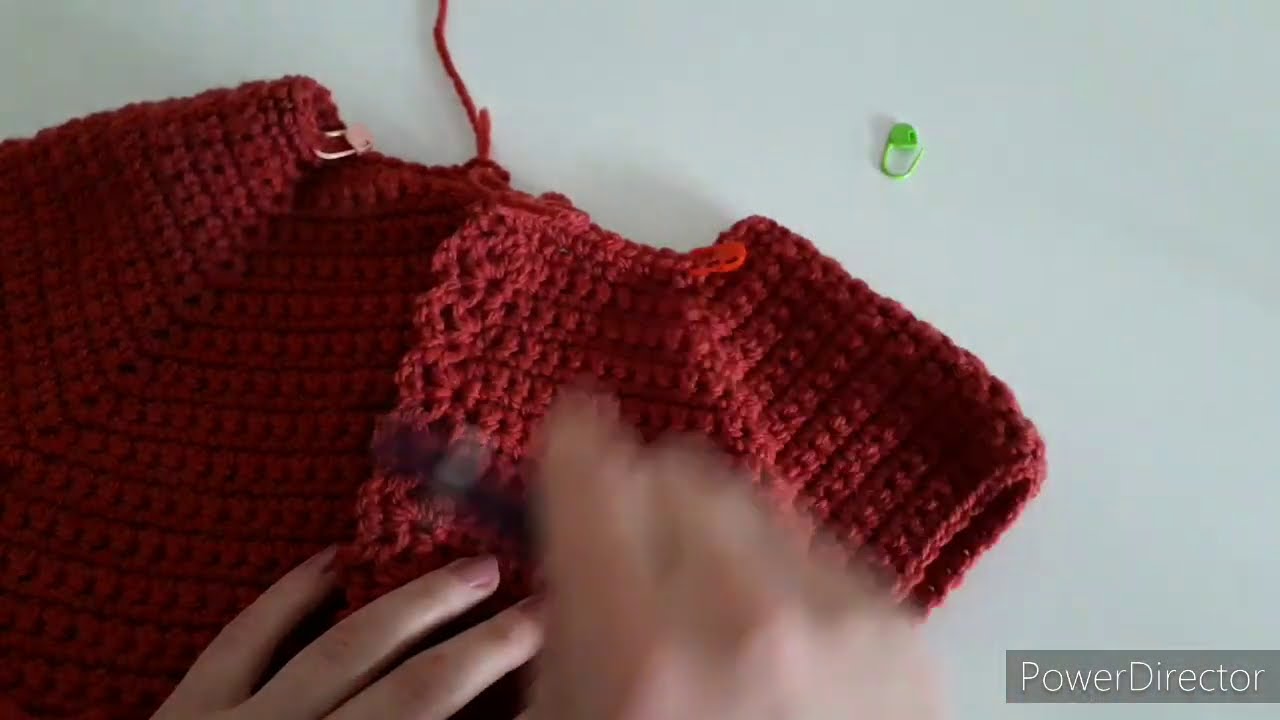
🧥 4. Separate the Body & Sleeves
-
Crochet across front
-
At marker: skip sleeve stitches and chain the number of stitches you skipped
-
Continue across the back
-
Repeat for second sleeve
Now you are only working on the body.
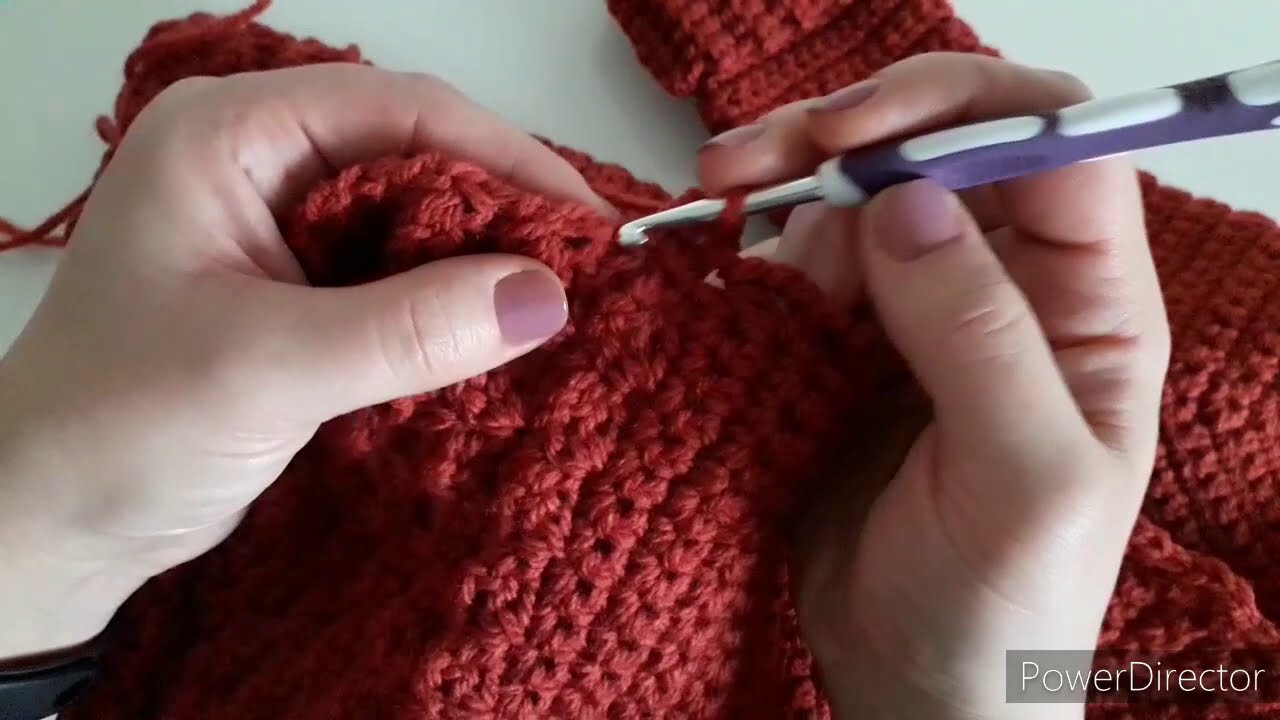
🧵 5. Crochet the Body of the Coat
Continue working dc (or a textured stitch) until the coat reaches your desired length.
Length options:
-
Hip-length
-
Thigh-length
-
Knee-length
Optional features:
-
Add front ribbing along edges if you want buttons
-
Add pockets
-
Add a belt
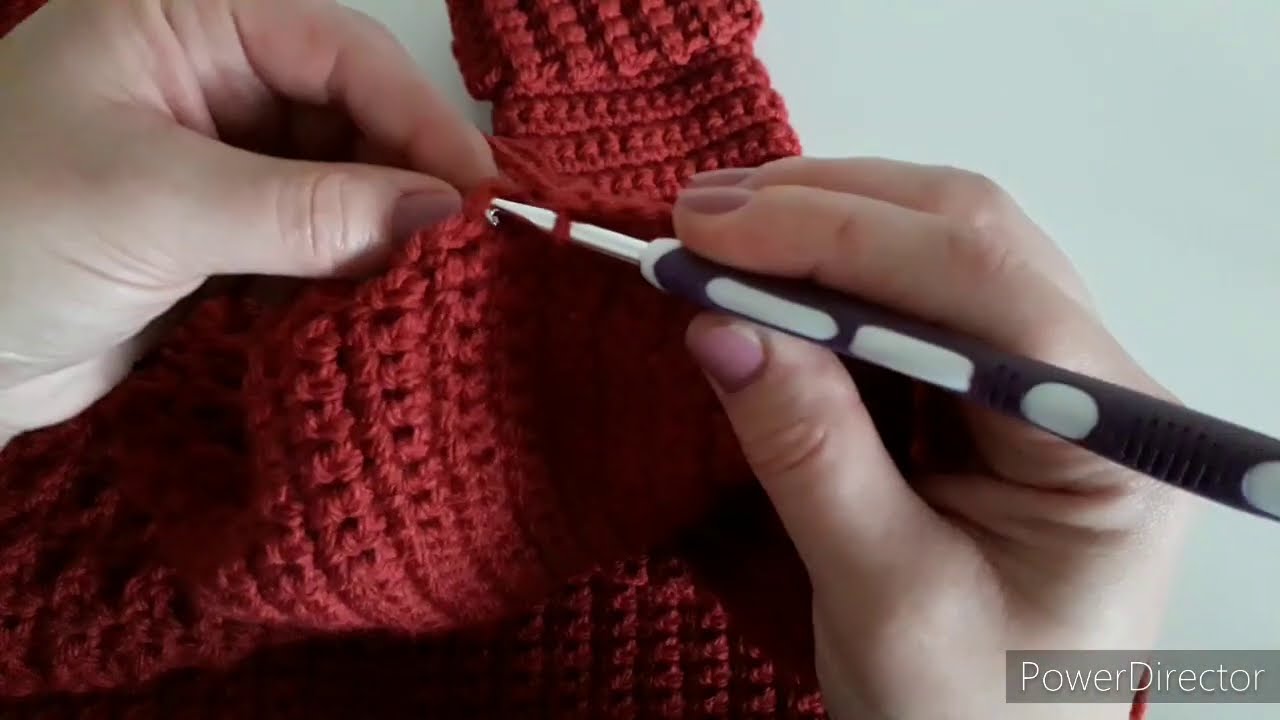
👕 6. Crochet the Sleeves
Return to the armhole chains:
-
Attach yarn
-
Dc all around sleeve opening
-
Mark start of round
-
Work in rounds, decreasing every few rows if you want tapered sleeves
-
Stop when you reach your desired length
-
Add ribbing at cuffs (fpdc/bpdc)
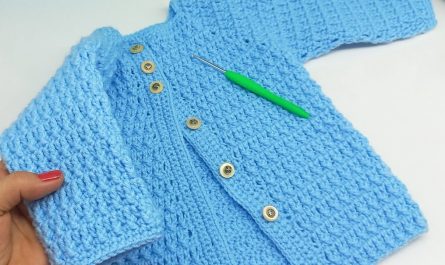
🎀 7. Add Front Edging / Button Band
For a professional coat look:
-
Attach yarn at bottom front corner
-
Ch 2, work hdc or sc evenly up the edge, around neck, and down other front side
-
Repeat 2–3 rows
-
On one side, make buttonholes:
-
[ch 2, skip 2 sts] for each button
-
-
Sew buttons on the opposite side
🧶 8. Finishing
-
Weave in all ends
-
Block your coat lightly
-
Try it on and adjust the collar or sleeve length if needed
✔️ Tips for Better Results
-
Use a stitch pattern such as moss stitch, waffle stitch, or alpine stitch for texture.
-
Use two strands of yarn together for a thicker winter coat.
-
If making for different sizes, widen the yoke and length.
-
Add lining (optional) to make it windproof.
📥 Want a Complete Written Pattern?
I can generate a full, row-by-row pattern in any size (S–5XL) or in a specific style:
✔ High-neck coat with zipper
✔ Long trench-style crochet coat
✔ Hooded coat
✔ Oversized teddy-style coat
Just tell me:
-
Your size
-
Yarn weight
-
Preferred stitch pattern
-
Coat length
I can also include diagrams or a printable PDF.
Watch tutorial: