 by
by Sure! Here’s a detailed guide on how to make a crochet dress for children (6 to 9 months old). This will cover materials, sizing tips, stitch patterns, and step-by-step instructions.
How to Make a Crochet Dress for Children (6 to 9 Months)
Overview
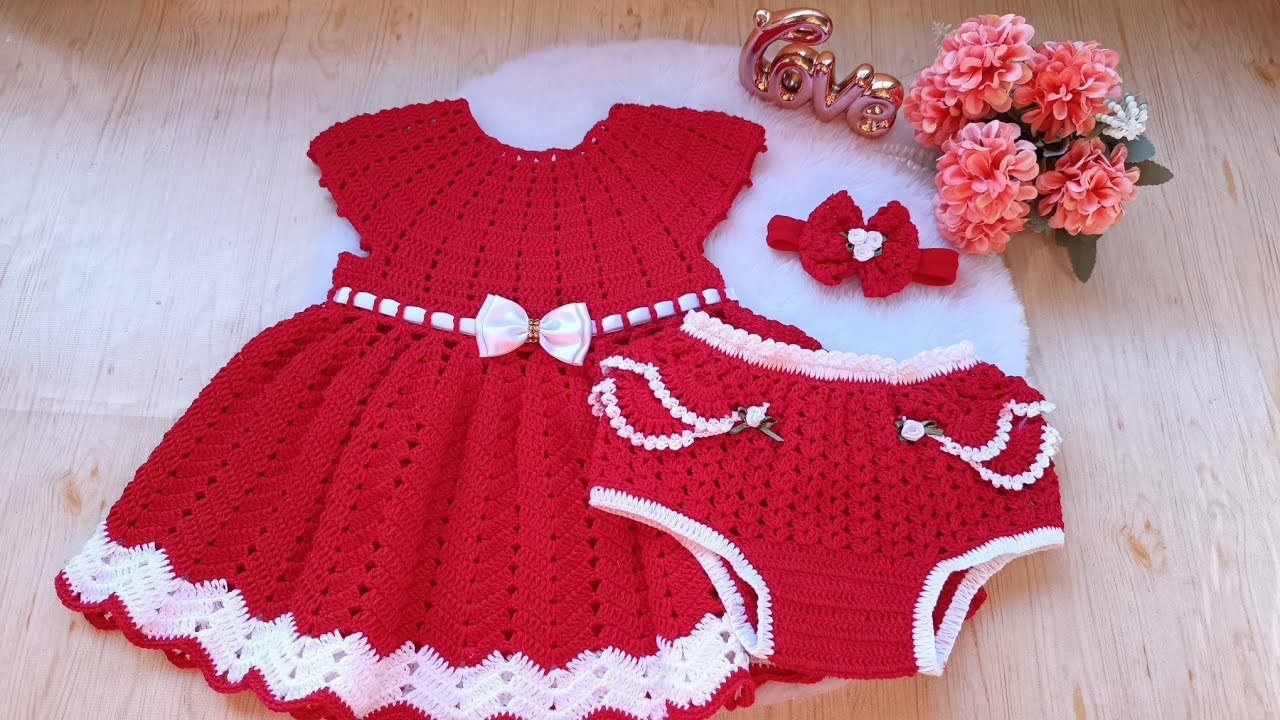
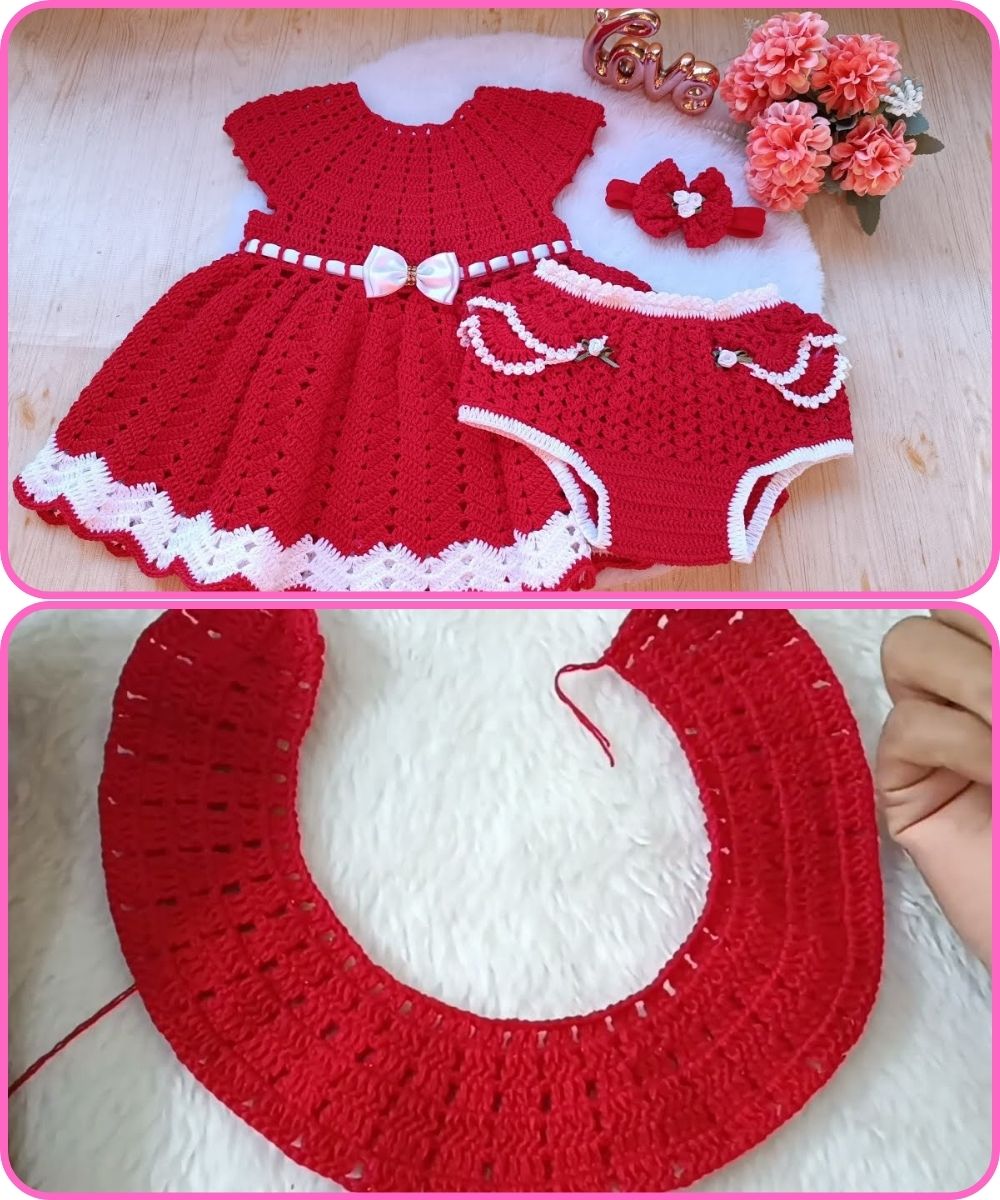
This guide will help you make a basic but beautiful crochet dress suitable for a baby aged 6 to 9 months. It features a top bodice worked in rounds and a lacy skirt worked from the bottom of the bodice. You can customize colors, add sleeves, or embellishments like bows or buttons.
Size & Measurements
6 to 9 Months Approximate Measurements:
| Part | Measurement |
|---|---|
| Chest | 17–18 inches (43–46 cm) |
| Length (shoulder to hem) | ~15–16 inches (38–41 cm) |
| Armhole | ~4.5 inches (11.5 cm) |
Always measure the baby if possible, or adjust the pattern with sizing charts.
Materials
-
Yarn: Light worsted weight (Category 3 or DK) cotton or soft acrylic yarn
-
Quantity: 250–300 grams
-
-
Hook: 4.0 mm (G/6) crochet hook
-
Buttons: 2–3 small (for back closure or straps)
-
Tapestry needle for weaving in ends
-
Stitch markers (optional)
Stitches Used
| Stitch | Abbreviation | Description |
|---|---|---|
| Chain | ch | Basic loop |
| Single Crochet | sc | Insert, yarn over, pull through, yarn over, pull through 2 |
| Half Double Crochet | hdc | Yarn over, insert, pull through, yarn over, pull through 3 |
| Double Crochet | dc | Yarn over, insert, pull through, yarn over, pull through 2, yarn over, pull through 2 |
| Slip Stitch | sl st | Insert, yarn over, pull through both loops |
| Shell Stitch | – | Usually 5 dc in same stitch (used for skirt) |
Pattern Breakdown
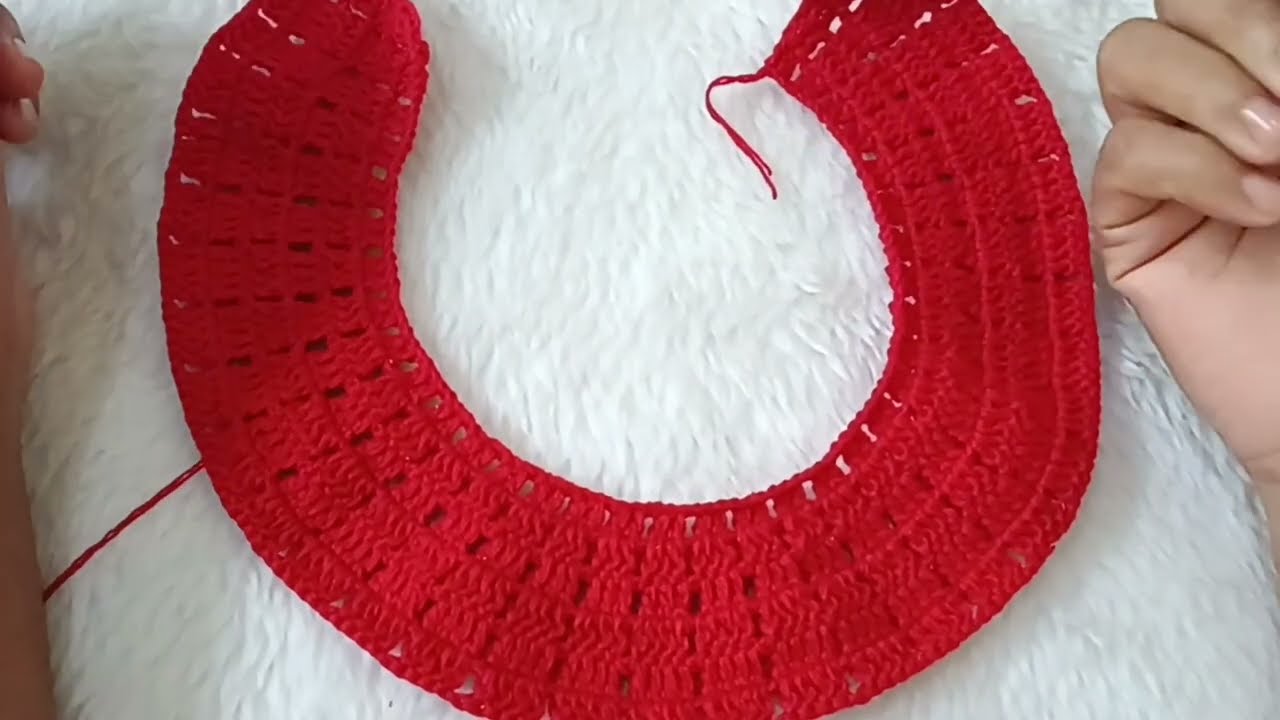
Step 1: Bodice (Top Part)
Back and front worked in rounds from the top-down.
-
Foundation Chain:
-
Ch 60 (for a chest circumference of ~18″).
-
Join with a sl st to form a ring, being careful not to twist.
-
-
Yoke (Top Round Section):
-
Round 1: Ch 2 (counts as hdc), hdc in each st around. Join with sl st. (60 hdc)
-
Rounds 2–5: Repeat Round 1.
-
Optional: Add increases under arms to give armhole shaping (e.g., inc every 10 sts on round 5).
-
-
Armhole Separation:
-
Work across 15 sts for front, ch 5 (for underarm), skip 15 sts (armhole), work 15 sts for back, ch 5, skip 15 sts (armhole). Join.
-
Step 2: Body (Skirt)
Start working in rounds from the base of the bodice.
-
Round 1:
-
Ch 3 (counts as dc), dc in each st and ch across. Join. (40 sts + 10 ch = ~50 dc)
-
-
Round 2 (Begin Shell Pattern):
-
Skip 2 sts, 5 dc in next st (shell), skip 2 sts, sc in next st — repeat around.
-
Join with sl st to the first dc of shell.
-
-
Round 3–12 (or desired length):
-
Work shells in center of previous shell clusters.
-
Repeat shell pattern until dress reaches desired length (~10–11 inches from underarm).
-
Step 3: Finishing
-
Edging for Neckline and Armholes:
-
Work a round of sc or picot edging for a neat finish.
-
Optional: Add contrast color.
-
-
Back Closure (if needed):
-
Leave a small opening at the top back.
-
Work sc rows along each side, add buttonholes on one side.
-
Sew buttons to the other side.
-
-
Straps (Alternate Option):
-
If not working in-the-round top, add two straps (ch ~25, sc back across), and sew buttons at front.
-
-
Weave in all ends using a tapestry needle.

Optional Embellishments
-
Crochet flowers, bows, or appliqués
-
Ribbon woven through waistline
-
Contrast edging or color changes for stripes
Tips
-
Use soft yarn that’s gentle on baby skin.
-
Always check your gauge – this ensures proper fit.
-
Adjust length or chest width by adding/removing stitches in multiples according to your pattern (e.g., shell pattern multiple is 6).
Sample Yarn Options
-
Cotton DK: Paintbox Yarns Cotton DK
-
Acrylic DK: Stylecraft Special DK, Baby Bee Sweet Delight
Want a PDF Pattern?
If you’d like, I can format this into a clean printable PDF pattern for you, or help write it out row-by-row. Just let me know!
Watch tutorial: