 by
by Sure! Making a crochet cardigan is a fun and rewarding project that you can tailor to your own style, size, and yarn preference. Below is a step-by-step guide that walks you through the process, from choosing materials to assembling and finishing your cardigan.
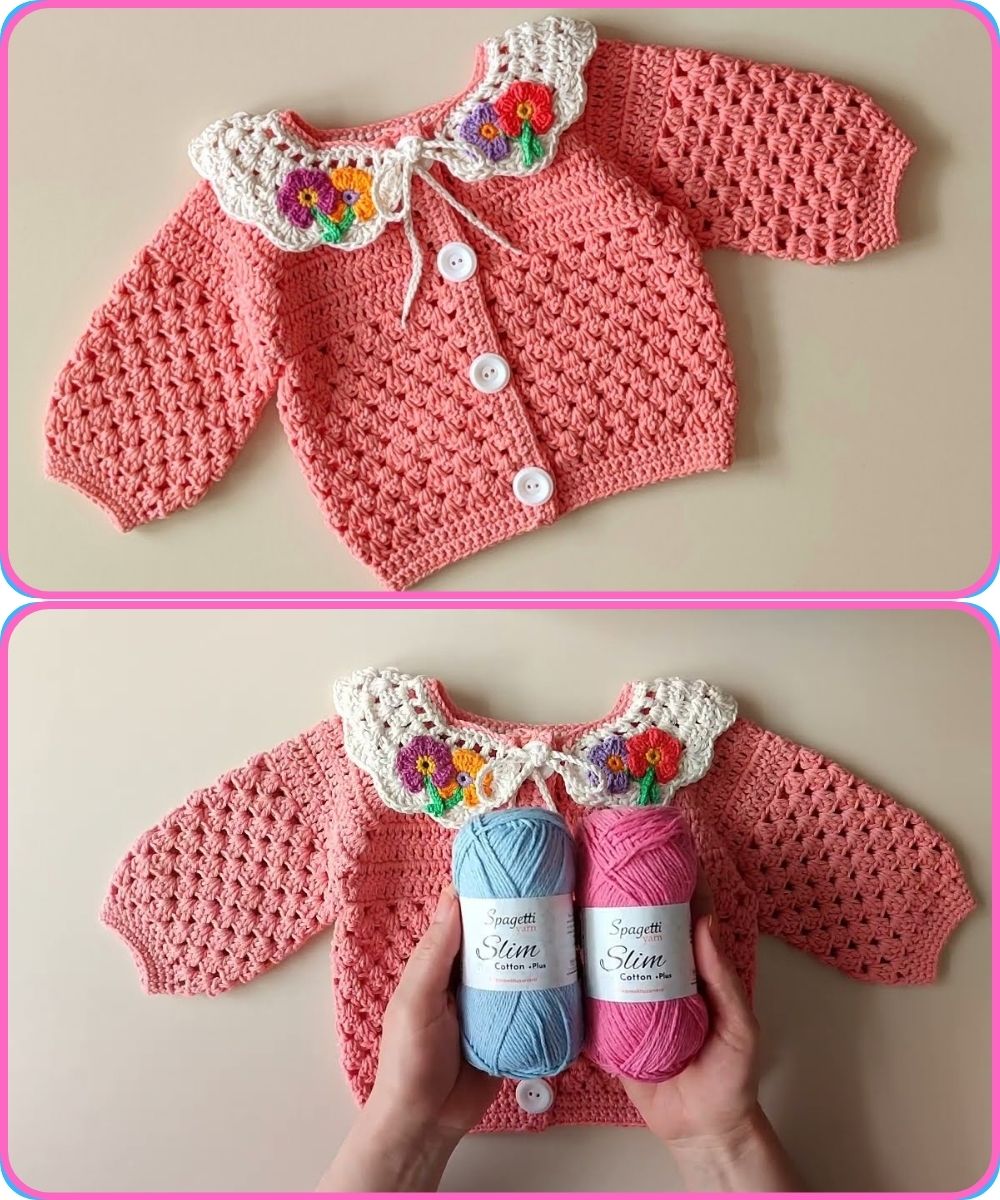
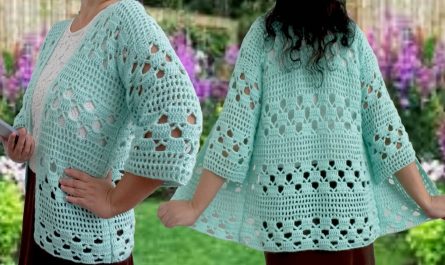
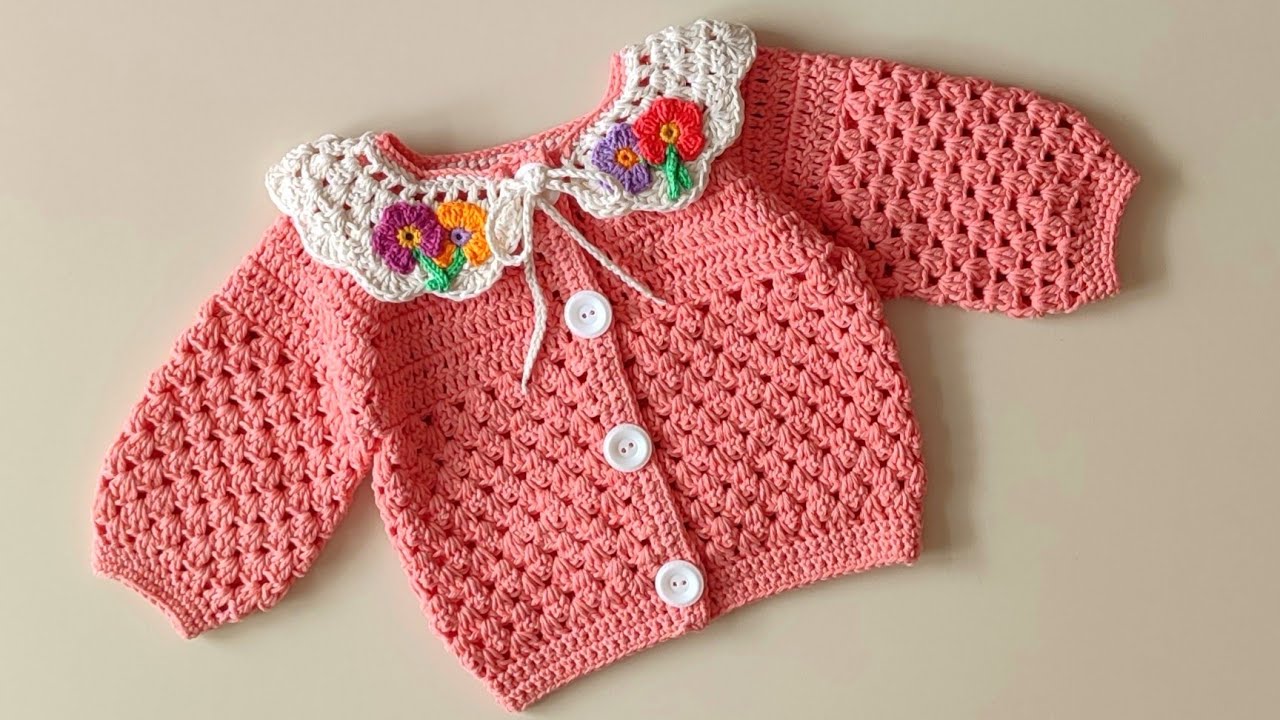
How to Make a Crochet Cardigan (Step-by-Step Guide for Beginners & Intermediates)
Materials You Will Need:
-
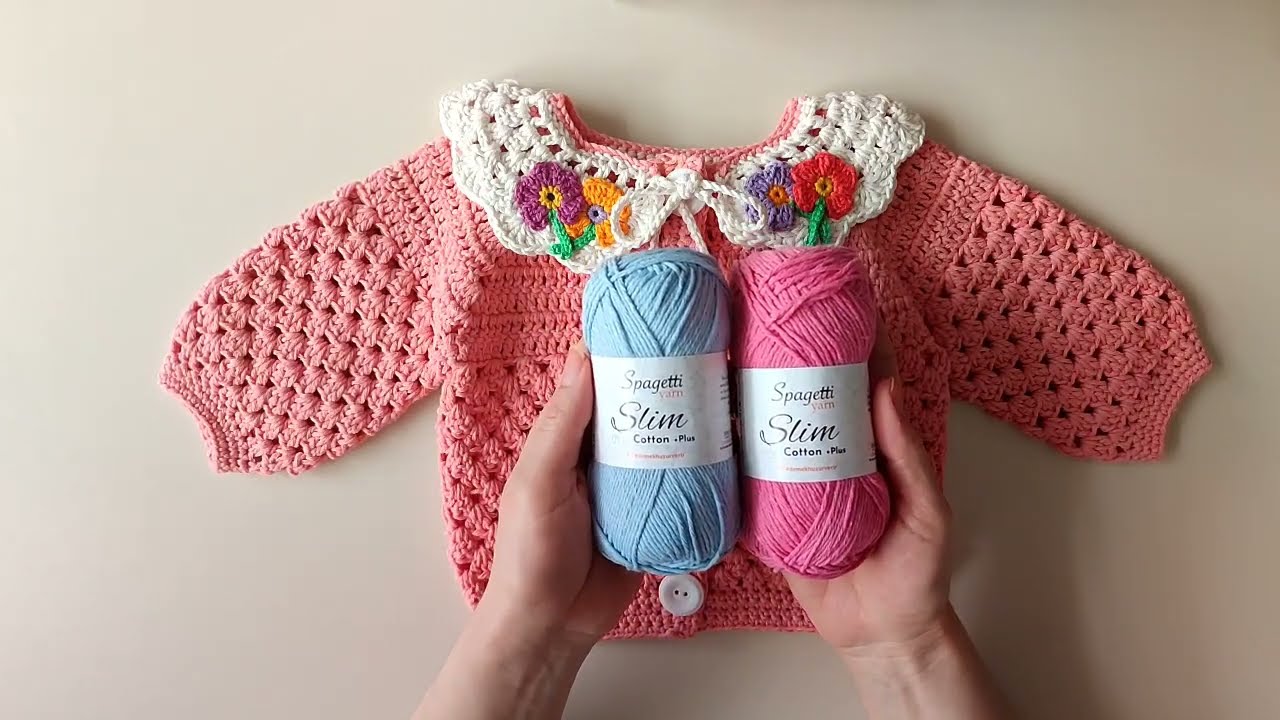
Yarn: Choose a yarn weight (e.g., worsted weight for medium thickness) and type (cotton, acrylic, wool) based on season and texture preference.
-
For a medium-sized adult cardigan, you’ll need around 1000–1500 yards of yarn.
-
-
Crochet Hook: Use the size recommended on your yarn label (often 4.5 mm to 6.5 mm for worsted weight yarn).
-
Scissors
-
Tapestry Needle: For weaving in ends and seaming.
-
Measuring Tape
-
Stitch Markers (optional): Helpful for keeping track of rows and armholes.
-
Buttons (optional): If you want a button-up cardigan.
Step 1: Measure & Choose a Pattern
If you’re not using a pre-written pattern, here’s what you’ll need to measure:
-
Bust circumference
-
Sleeve length
-
Cardigan length (waist, hip, or below the hip)
-
Shoulder width
You can also choose a free or paid crochet pattern online (web search or from platforms like Ravelry, Etsy, or Yarnspirations).
Step 2: Choose a Stitch
Some popular stitch options for cardigans include:
-
Single Crochet (sc) – tight and dense
-
Double Crochet (dc) – looser, faster to work up
-
Half Double Crochet (hdc) – in-between feel
-
Granny Stitch – great for retro looks
-
Moss Stitch – textured and stretchy
You can also use a combination of stitches to add texture (ribbing, lace panels, etc.).
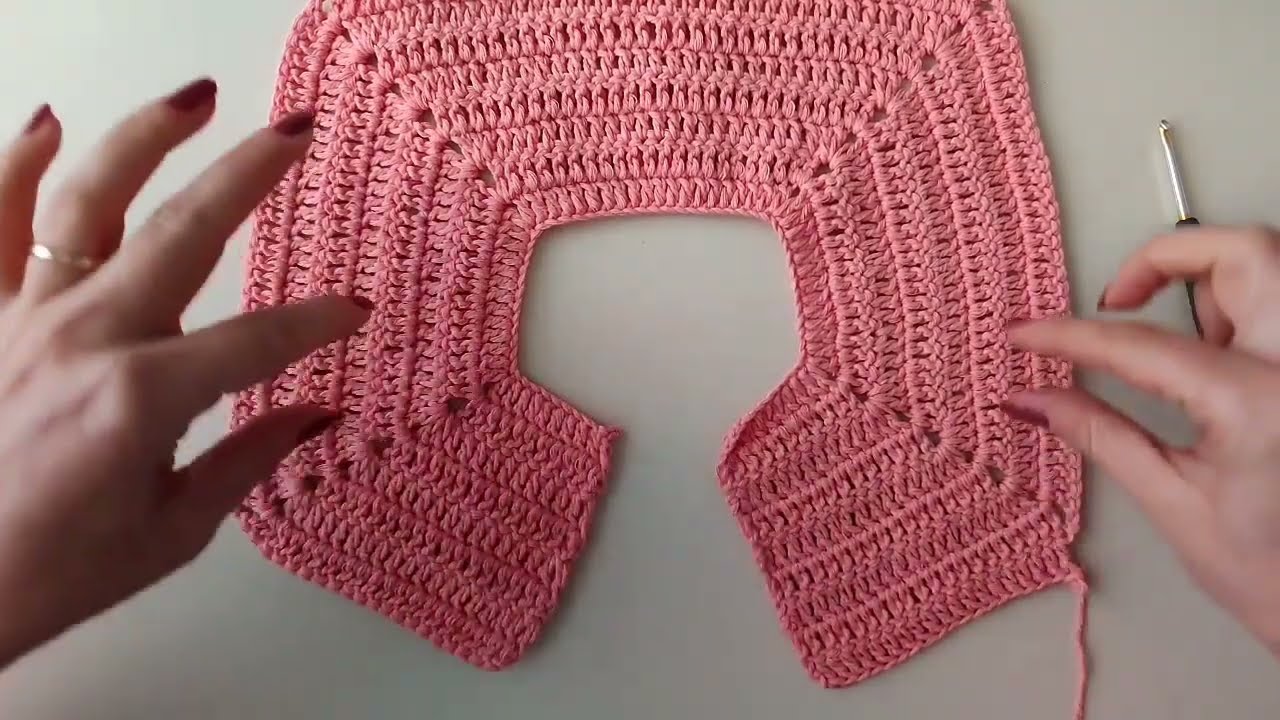
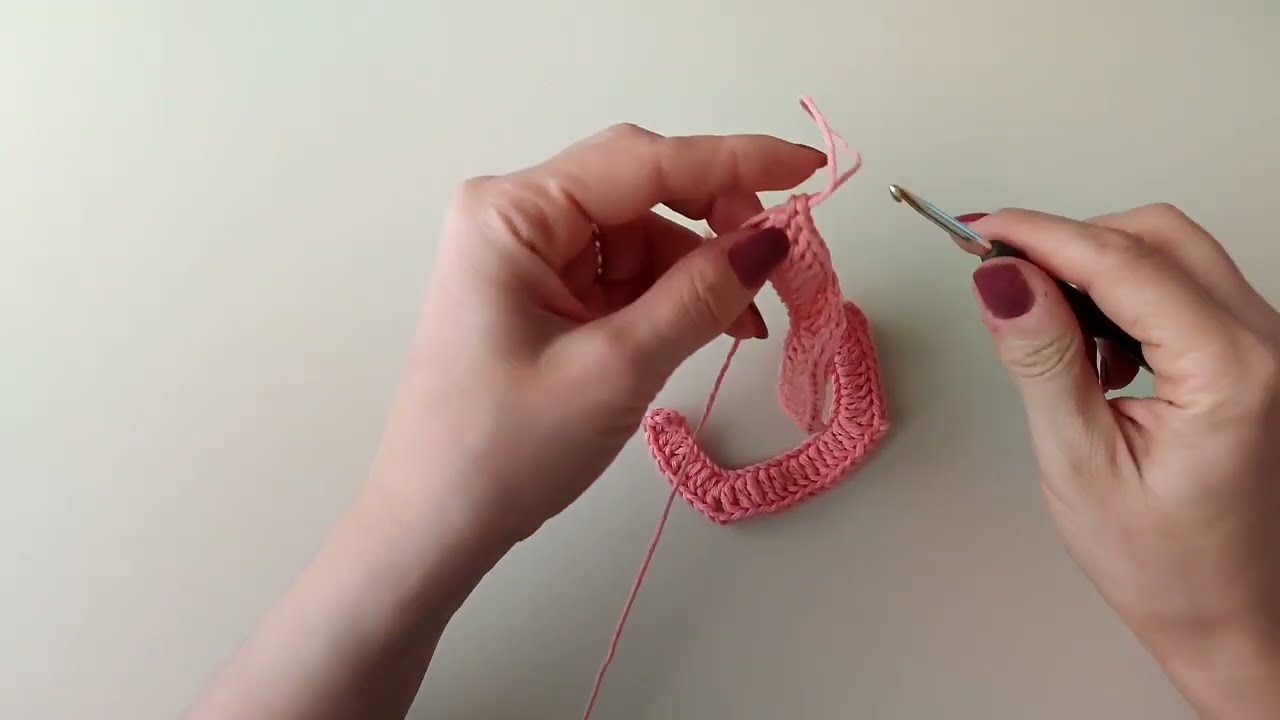
Step 3: Make the Pieces
Most simple cardigans are made of 5 main panels:
-
Back Panel
-
Two Front Panels
-
Two Sleeves
Example for a beginner-friendly design using double crochet:
Back Panel:
-
Chain the width of your back (in stitches)
-
Work in double crochet rows until the length reaches from shoulder to waist or hip
Front Panels (Make 2):
-
Chain half the width of the back panel
-
Repeat rows to match back panel length
Sleeves (Make 2):
-
Chain the wrist width
-
Increase rows evenly until it reaches the upper arm width
-
Work until the desired sleeve length is reached
Step 4: Join the Panels
Use slip stitch or whip stitch to seam:
-
Attach front panels to the back panel at the shoulders
-
Seam sides of the cardigan, leaving armholes
-
Attach and sew in sleeves to the armholes
-
Seam the sleeves closed
Step 5: Add Edging, Ribbing, or Borders
-
Collar and bottom hem: Use single crochet or front post/back post double crochet for a ribbed effect
-
Cuffs: Optional ribbed cuffs for sleeves
-
Button Band: If adding buttons, create a band of single or half double crochet; add buttonholes on one side
Step 6: Finishing Touches
-
Weave in all loose ends using the tapestry needle
-
Block your cardigan (optional): Wet or steam block to help shape and smooth out stitches
-
Sew on buttons if using
Optional Modifications:
-
Use color changes for stripes or blocks
-
Add pockets or a hood
-
Crochet in the round to avoid seams (raglan-style top-down cardigans)
Simple Beginner Pattern Summary (No Pattern Needed)
Here’s a no-fuss example using double crochet (dc) and rectangle pieces:
| Piece | Chains | Rows (approx.) |
|---|---|---|
| Back | 60 ch (20–22″) | 50 rows (20″ long) |
| Front (x2) | 30 ch | 50 rows |
| Sleeves (x2) | 40 ch (wrist) | Increase to 60 ch over rows |
Adjust chains and rows according to your measurements and gauge.
Helpful Tips
-
Gauge swatch: Always crochet a swatch to see how many stitches per inch you get.
-
Try on as you go if you’re not using a set pattern.
-
Use YouTube tutorials for visual help—search for “crochet cardigan for beginners.”
Watch tutorial:
https://www.youtube.com/watch?v=Q7-xbBRvL4g