 by
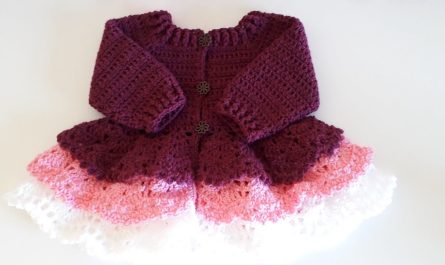
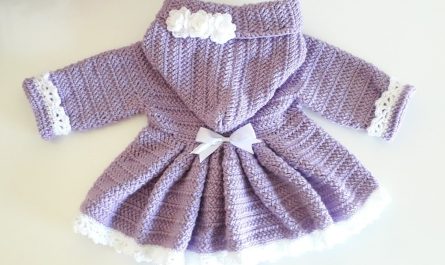
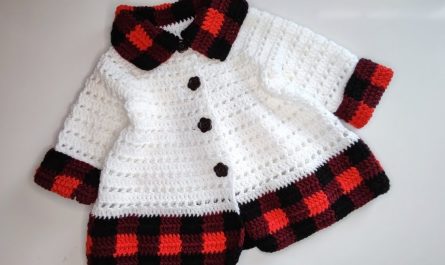
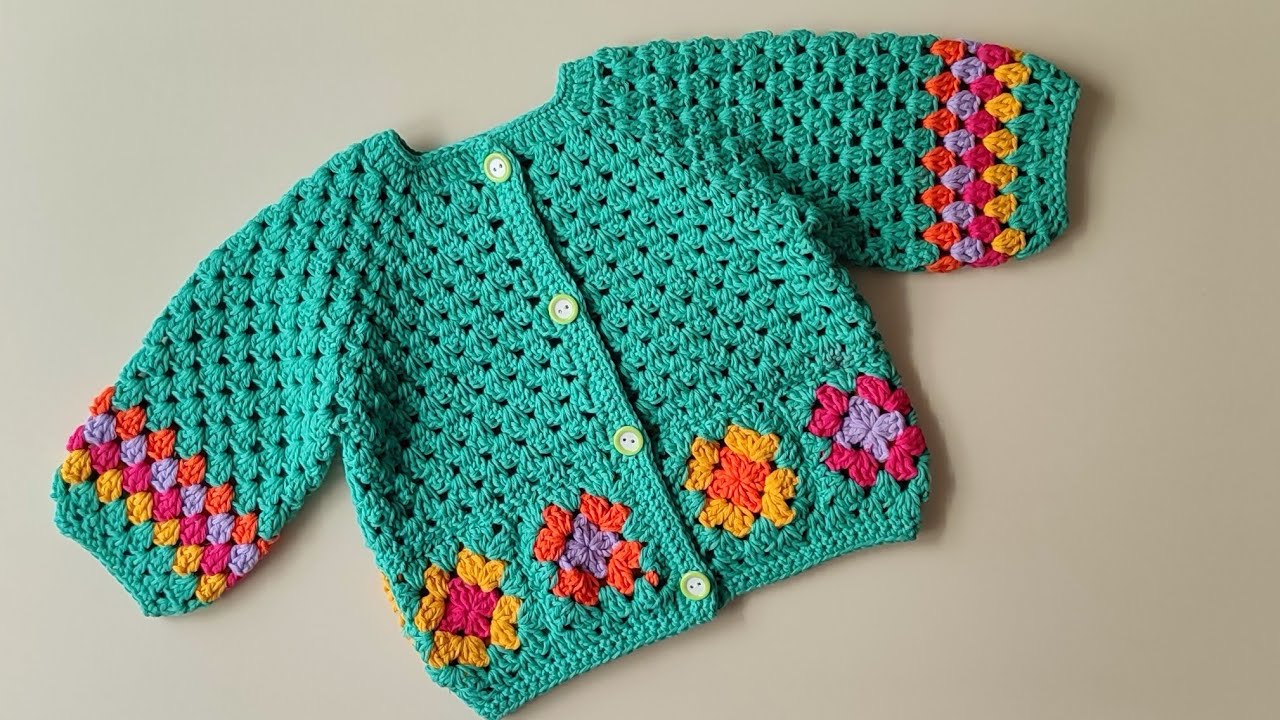
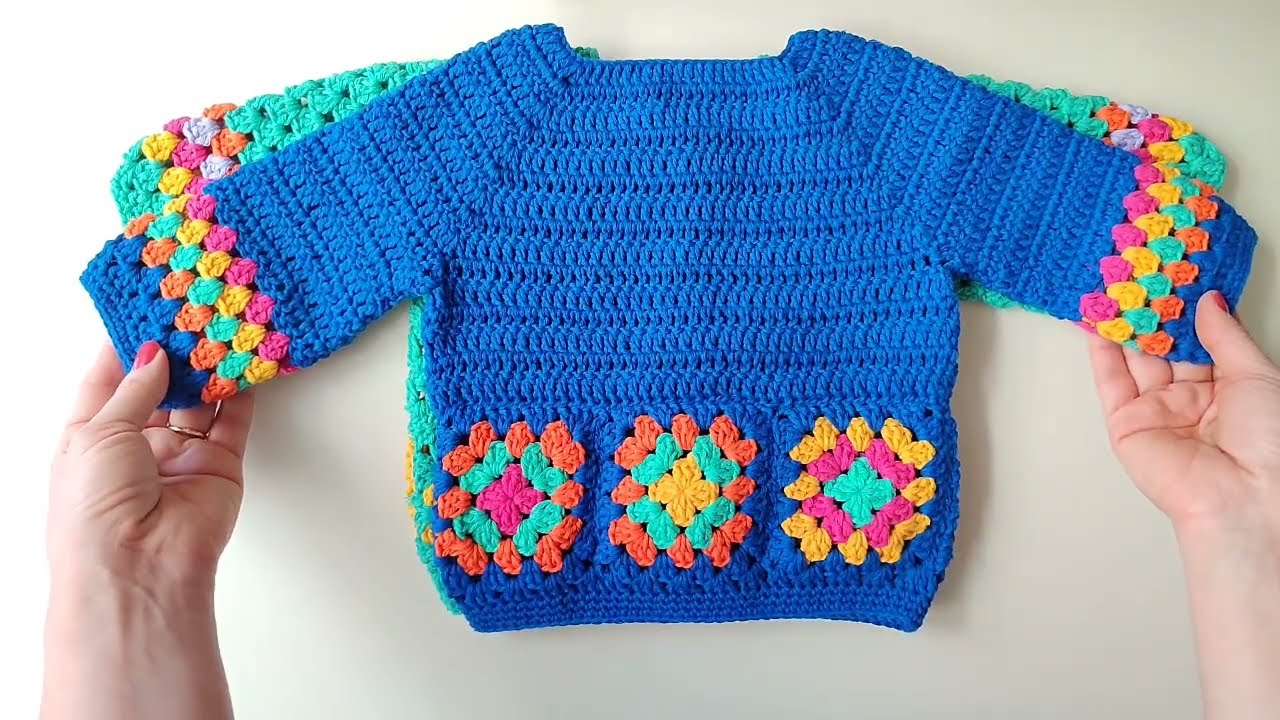
by Sure! Making a crochet motif cardigan is a rewarding project that combines creativity with technique. The basic idea is to create individual motifs (like granny squares or other shapes) and then join them together to form the shape of a cardigan. Below is a detailed, step-by-step guide for you:
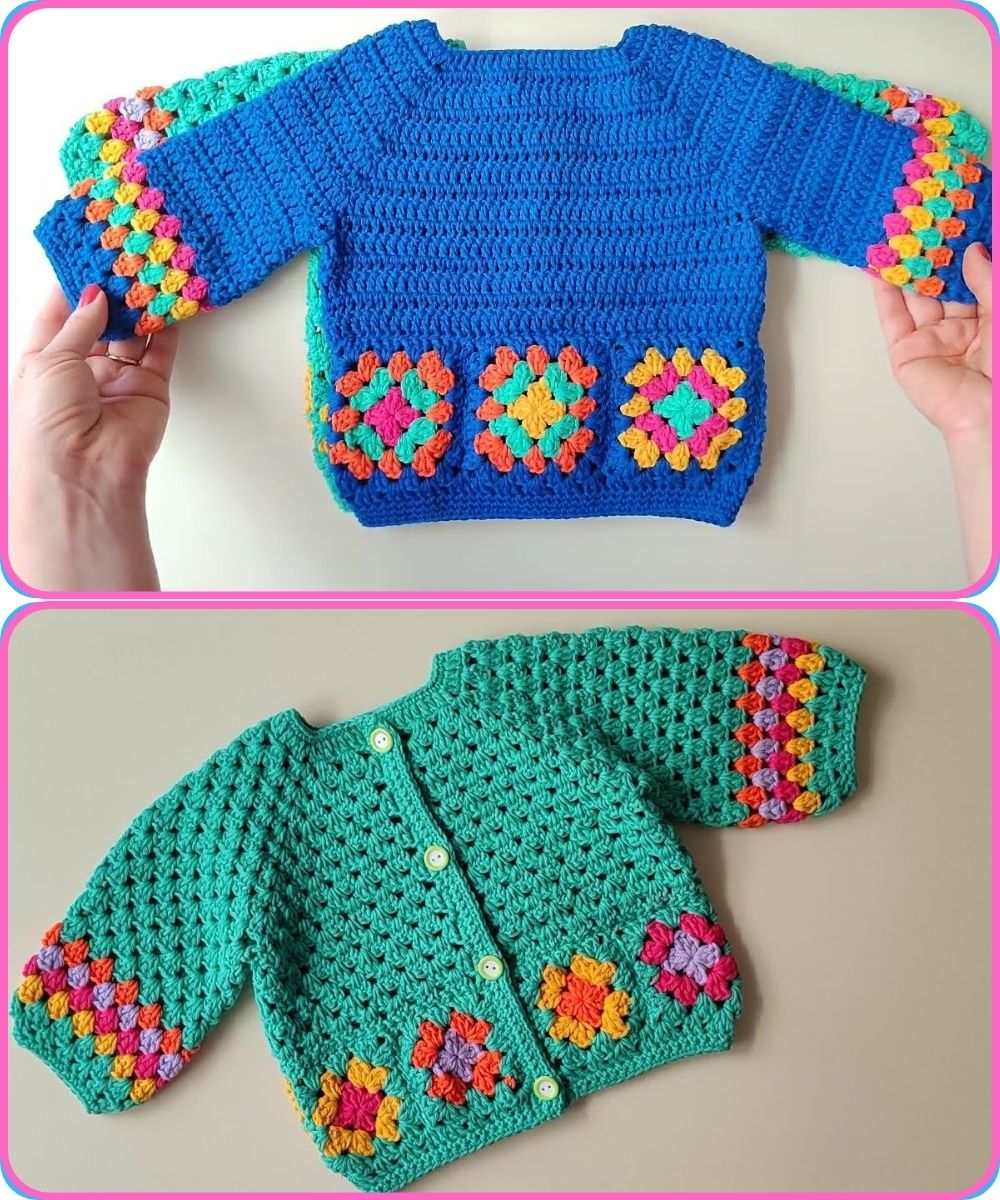
How to Make a Crochet Motif Cardigan (Step-by-Step)
MATERIALS NEEDED
-
Yarn: Choose a yarn weight (e.g., DK, worsted) and fiber suitable for garments. Cotton, acrylic, or wool blends are great.
-
Crochet hook: Size appropriate for your yarn (check the yarn label).
-
Tapestry needle: For weaving in ends and sewing motifs.
-
Scissors
-
Stitch markers (optional)
-
Measuring tape
-
Buttons (optional, if you want a closure)
STEP 1: PLAN YOUR CARDIGAN
Before crocheting, decide:
-
Style: Open front, button-up, cropped, oversized, etc.
-
Size: Measure yourself or use a standard size chart (XS, S, M, L, etc.).
-
Motif shape: Granny squares are popular, but hexagons, circles, or flowers can work too.
-
Motif size: Usually 4–6 inches across. This affects how many motifs you’ll need.
Example: If your bust is 36 inches and each motif is 6 inches wide, you’ll need 6 motifs across (6 x 6″ = 36″).
STEP 2: CHOOSE OR DESIGN A MOTIF
-
Classic Granny Square is a good start.
-
You can use free patterns (e.g., Ravelry, Pinterest) or design your own.
-
Make 1 motif as a test to see if you like the look and the size.
STEP 3: CROCHET YOUR MOTIFS
-
Crochet as many motifs as needed for your size and design.
-
Block your motifs if necessary (especially if they curl or aren’t all the same size).
Motif Layout Tip: Lay them out on a flat surface or use a sketch to arrange them for the body, sleeves, and back.
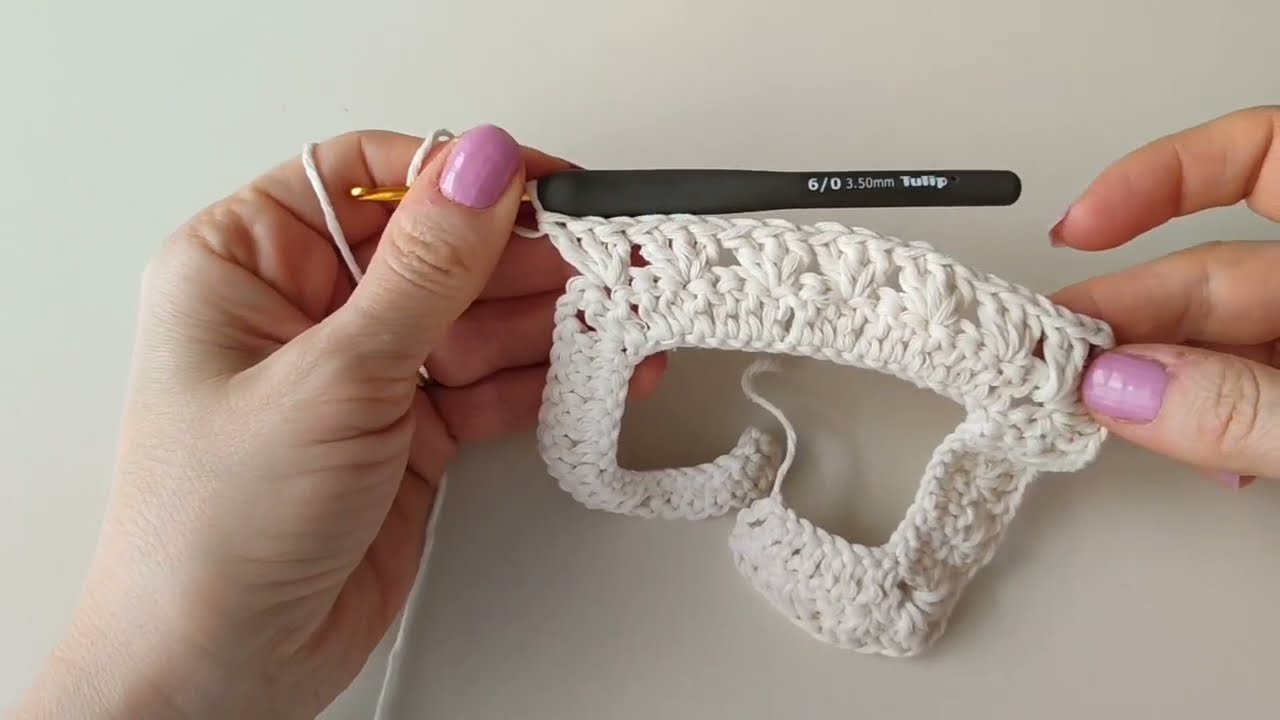
STEP 4: JOIN THE MOTIFS
You can join motifs in several ways:
-
Whip stitch (sewing with yarn needle)
-
Slip stitch join (crochet method)
-
Join-as-you-go (crochet each new motif and attach it to the previous one on the last round)
Start with:
-
Back panel – Arrange motifs in a rectangle that covers the width and length of your back.
-
Front panels – Usually same height as back, but half the width.
-
Sleeves – Arrange motifs in a “tube” shape.
-
Shoulder joins – Attach front panels to the back panel at shoulders.
STEP 5: ASSEMBLE THE CARDIGAN
Once the panels and sleeves are made:
-
Sew front and back panels together at the sides, leaving space for armholes.
-
Attach sleeves to the armholes.
-
Sew sleeves closed if you haven’t already.
STEP 6: ADD EDGING & FINISHES
-
Add a border around the neckline, front opening, hem, and cuffs.
-
Choose a simple single crochet, shell stitch, or ribbing (like front post/back post double crochet).
-
Add buttons or ties if desired.
-
Weave in all ends securely.
STEP 7: BLOCK THE FINAL GARMENT
-
Gently block your finished cardigan to even out stitches and shape it properly.
-
Follow your yarn’s care instructions (e.g., steam blocking, wet blocking).

ESTIMATED TIME
-
Beginner: 2–3 weeks
-
Intermediate: 1–2 weeks
-
Advanced: A few days (depending on size and complexity)
TIPS FOR SUCCESS
-
Make a gauge swatch if you’re following a pattern.
-
Use contrasting colors or color-changing yarn for a stunning look.
-
Keep your seam lines neat—they show more with motifs.
-
Be patient; motif projects can take time but are worth it!
✅ RECOMMENDED FOR
-
Advanced beginners and up
-
Anyone who wants a portable, piece-by-piece project
-
Creative crocheters who love color and mix-and-match designs
Watch tutorial: