 by
by Sure! Here’s a detailed step-by-step guide on How to Make a Crochet Collared Cardigan, suitable for an intermediate crocheter. This guide will cover everything from materials to finishing touches and can be customized for adult or teen sizing.
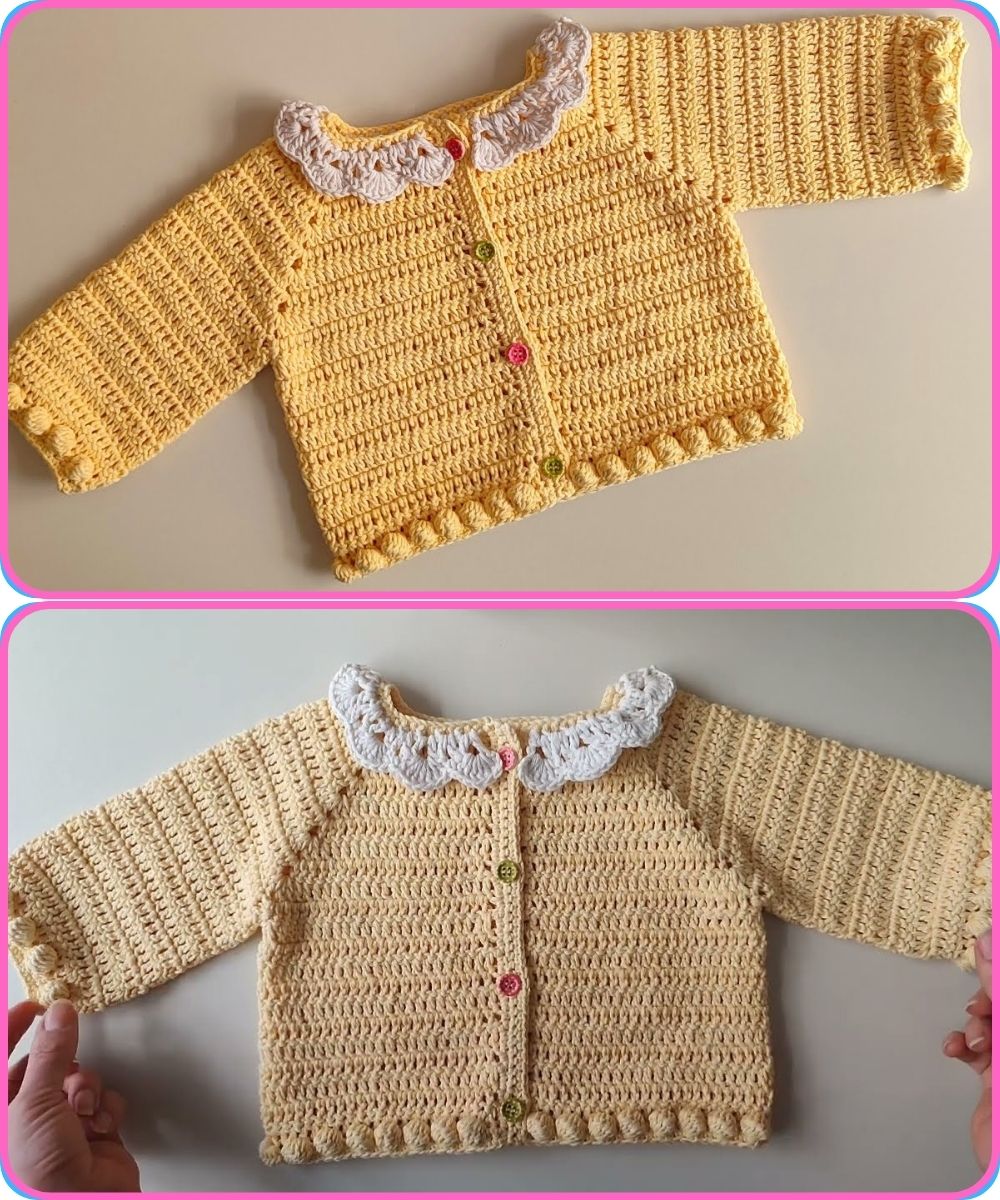
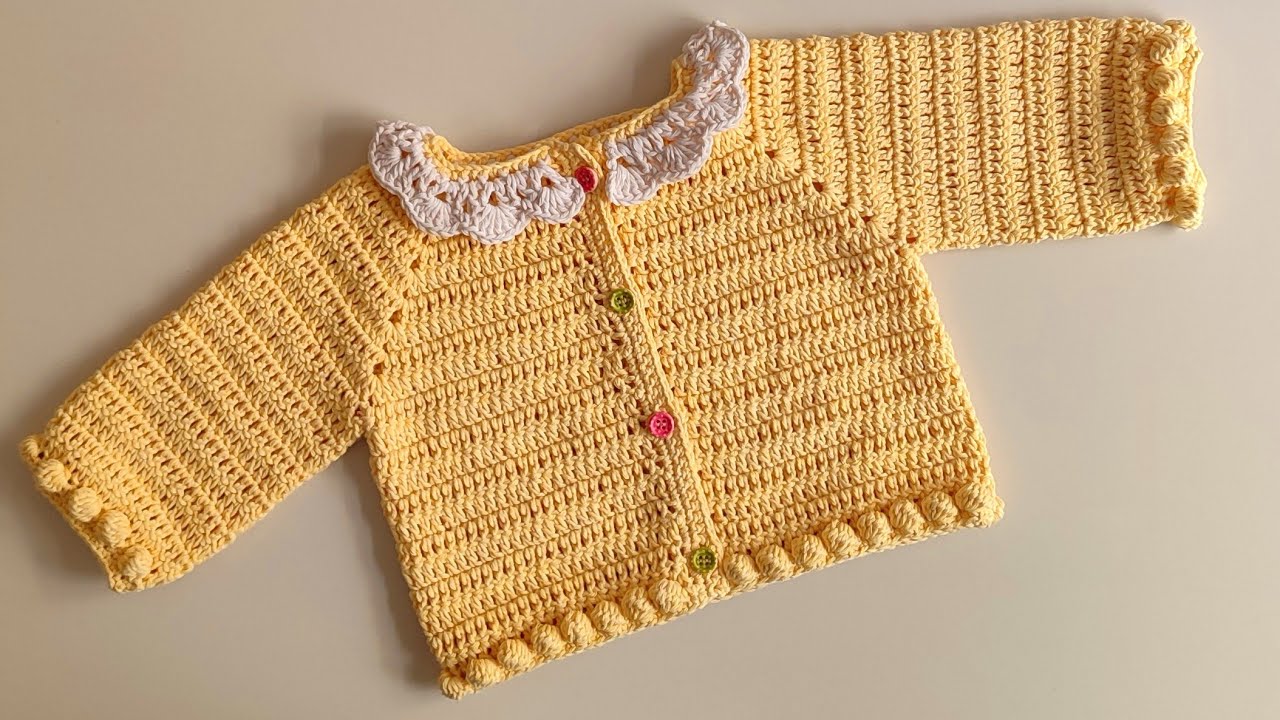
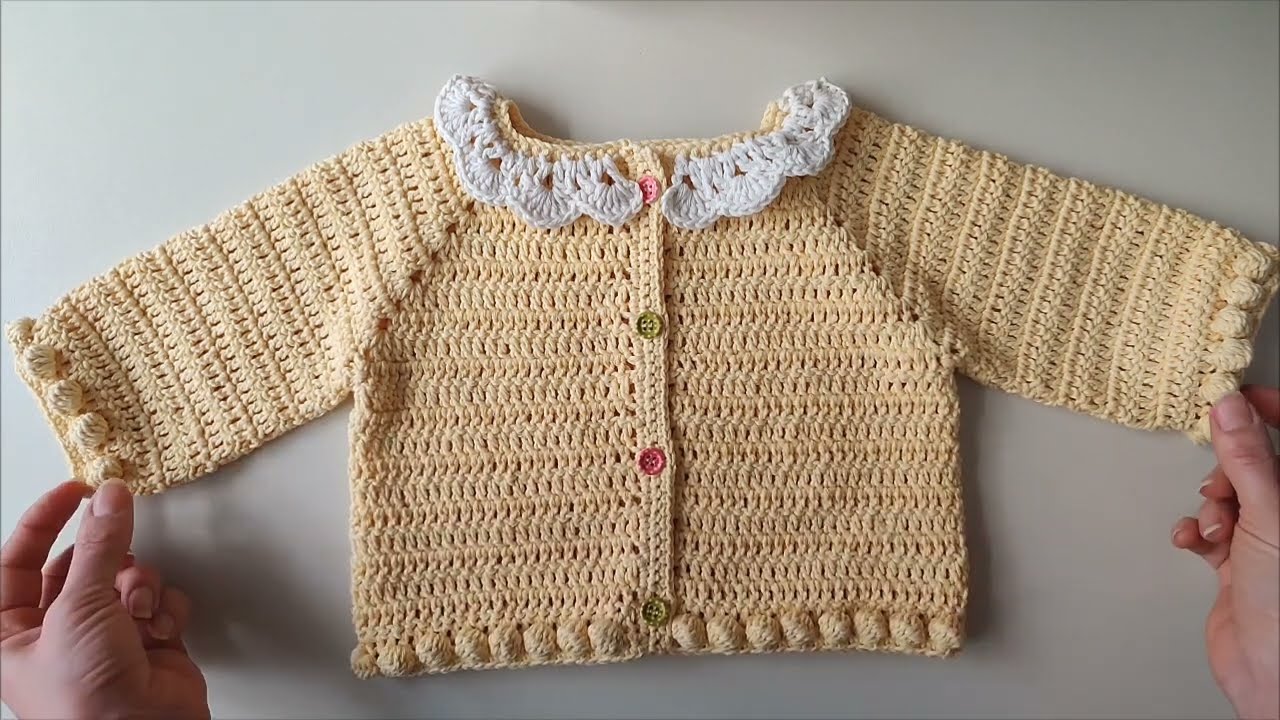
How to Make a Crochet Collared Cardigan (Step-by-Step)
✨ Overview:
A crochet collared cardigan is a stylish, cozy garment that features a front opening and a soft or structured collar. You can make it lightweight for layering or heavier for winter wear. We’ll create it in panels (back, front panels, sleeves), seam it together, and add a collar and button band.
Materials Needed:
-
Yarn: Choose a worsted weight (category 4) or DK weight yarn, depending on how warm or lightweight you want it.
-
Approx: 1000–1500 yards (depending on size)
-
-
Crochet Hook: Size H (5.0 mm) or size needed to meet gauge
-
Scissors
-
Tapestry needle
-
Stitch markers
-
Buttons (optional): 5–7 medium-size buttons
-
Measuring tape
Gauge (important for sizing!)
Make a 4″ x 4″ swatch in your chosen stitch pattern. Adjust hook size if your gauge doesn’t match.
Example (for worsted yarn):
-
16 stitches x 12 rows = 4” square in half double crochet
Stitches & Techniques Used:
-
ch – chain
-
sc – single crochet
-
hdc – half double crochet
-
dc – double crochet
-
sl st – slip stitch
-
inc – increase
-
dec – decrease
-
Back loop only (BLO) (optional for texture)
-
Seaming techniques (mattress stitch or whip stitch)
Construction Method:
The cardigan will be made in five parts:
-
Back Panel
-
Two Front Panels (Left & Right)
-
Two Sleeves
-
Seaming
-
Collar + Button Band
Step-by-Step Instructions:
1. Back Panel
-
Foundation chain: Make a chain that matches the desired width of the cardigan back (based on your measurements or size chart).
-
Example: ch 70 for a medium size (approx. 20–22″ wide)
-
-
Row 1: hdc in 2nd ch from hook and in each ch across.
-
Row 2 and on: ch 1, turn, hdc in each stitch across.
-
Continue working in rows until the back measures the desired length from shoulder to bottom hem (e.g., 22–25”).
-
Fasten off.
2. Front Panels (Make 2)
-
Foundation chain: About half the width of the back panel.
-
Example: ch 35 for medium size
-
-
Work same stitch pattern (hdc rows) as the back panel.
-
For neck shaping, when you reach shoulder height (last 3 inches), decrease 1 stitch every row at the neckline edge to create a slant.
-
Fasten off.
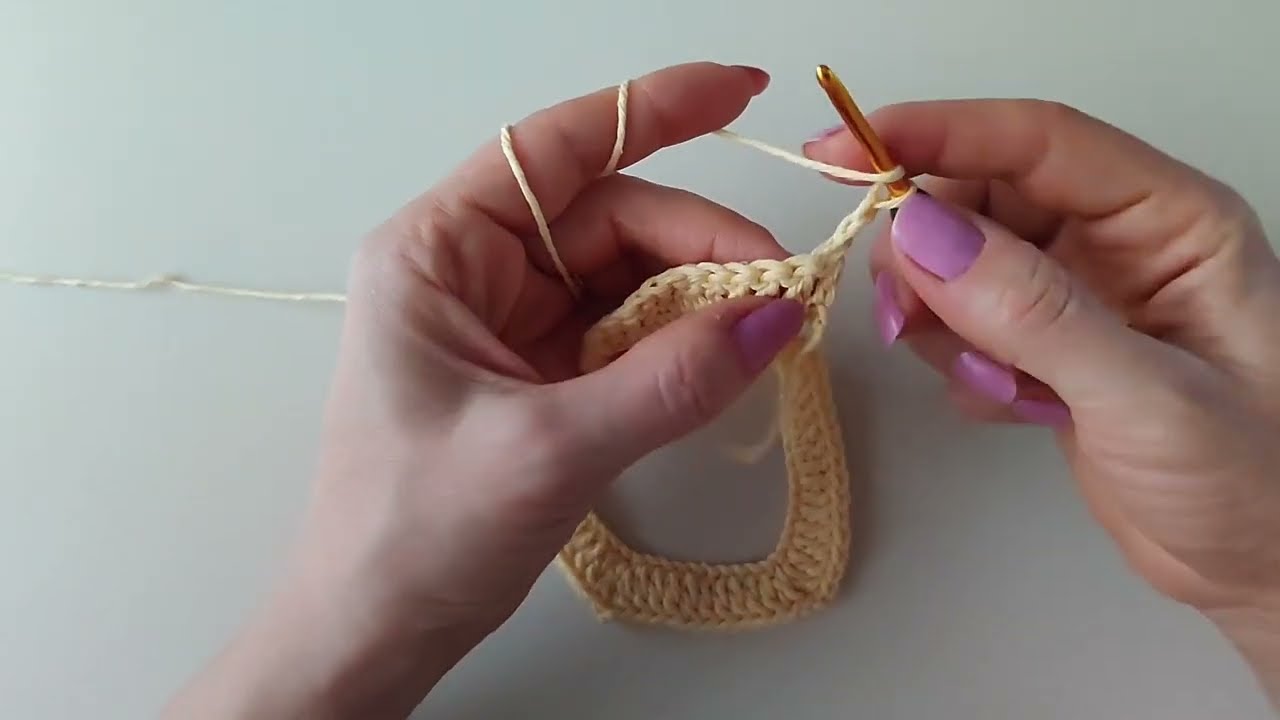
3. Sleeves (Make 2)
-
Start with a cuff: Ch 10–12 and work sc in back loop only for ribbed cuff (work until cuff wraps around wrist comfortably).
-
Fold cuff into a loop and sl st to join.
-
Then turn and work hdc evenly around edge of the cuff (approx. 30–40 hdc).
-
Continue working hdc in rounds or rows, increasing 1 stitch every 4–5 rows to shape the sleeve.
-
Work until sleeve reaches desired length (usually 17–19”).
-
Fasten off.
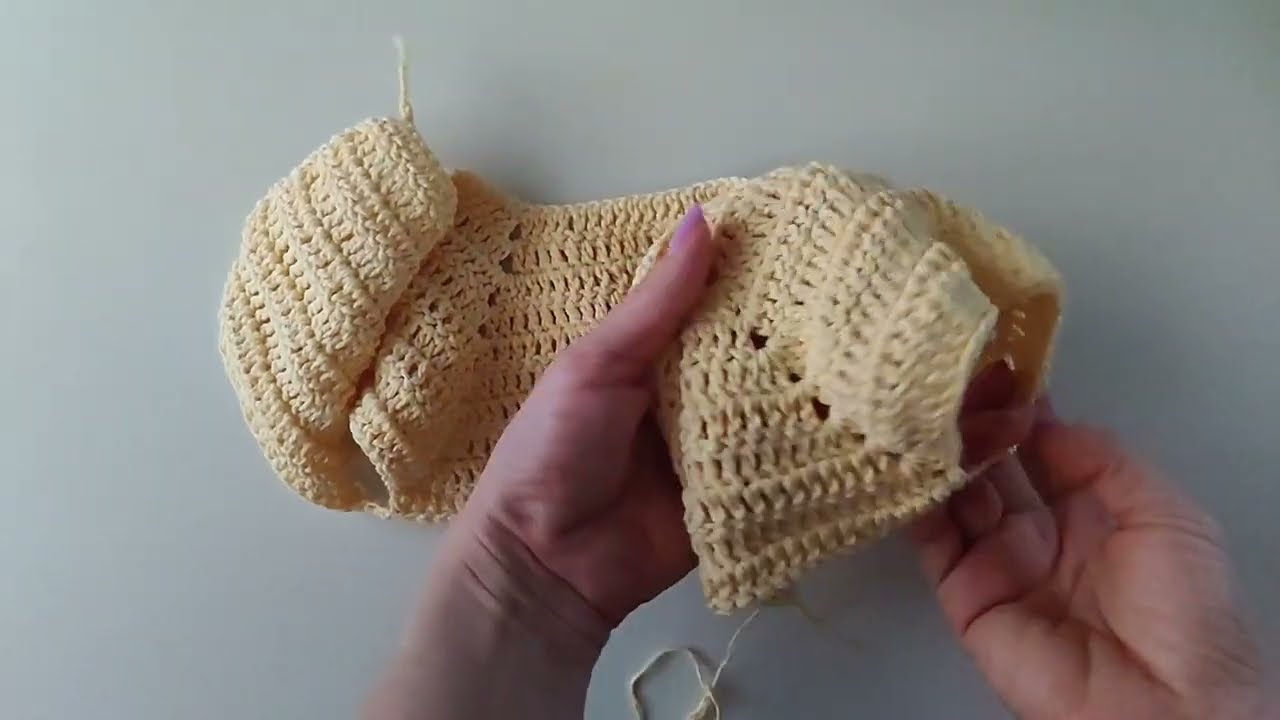
4. Seaming the Panels
-
Lay pieces flat.
-
Use a tapestry needle to sew:
-
Shoulder seams first (top of front panels to back panel)
-
Then side seams (leave armholes)
-
Then attach sleeves to armholes and seam sleeves
-
-
Use stitch markers to align sleeves before sewing.
5. Add the Collar
-
With cardigan front facing you, attach yarn to the neckline edge.
-
Work sc or hdc around the neckline, up the front panels and around the back of the neck.
-
Repeat rows to build collar height (usually 2–4 inches, or more for a dramatic collar).
-
For a fold-over collar, work additional rows in BLO for a nice fold.
6. Button Band (Optional)
-
On one front panel edge: Work sc evenly along the edge to create a neat finish.
-
On the other front panel, do the same but add buttonholes:
-
Example: ch 2, skip 2 stitches to create holes.
-
Space them evenly down the panel.
-
-
Sew buttons to match the holes on the opposite panel.
Customization Ideas:
-
Add texture: Use moss stitch, waffle stitch, or granny-style stripes.
-
Color block the panels for a modern look.
-
Make it oversized: Add extra width/length for a relaxed fit.
-
Use ribbing at bottom hem and cuffs for a classic sweater look.
Suggested Size Guide (Approximate)
| Size | Back Panel Width | Panel Height | Sleeve Length |
|---|---|---|---|
| S | 18″ | 22″ | 17″ |
| M | 20″ | 23″ | 18″ |
| L | 22″ | 24″ | 18.5″ |
| XL | 24″ | 25″ | 19″ |
Always refer to your own measurements for best fit.
✅ Final Steps:
-
Weave in all ends using a tapestry needle.
-
Block your cardigan to relax stitches and even out shape.
-
Lightly spray with water and pin to desired measurements on a blocking mat.
-
-
Try it on and admire your work!
Optional Add-ons:
-
Pockets (crochet rectangles and sew on)
-
Belt loops + crochet belt
-
Decorative edging (shell stitch or picot trim)
Watch tutorial: