 by
by Sure! Here’s a detailed step-by-step guide on How to Make a Complete Crochet Dress. I’ll cover everything from materials to finishing touches.
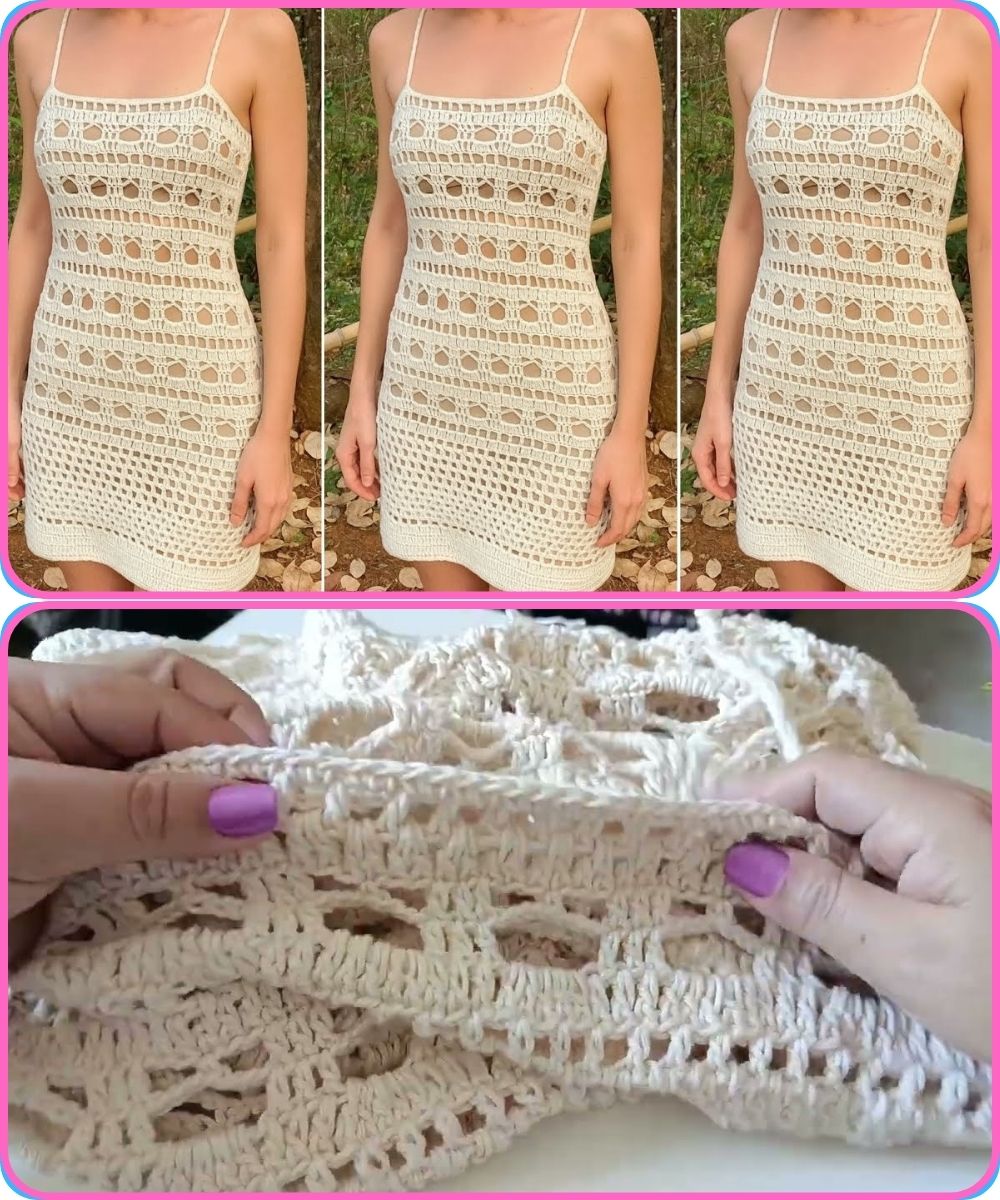
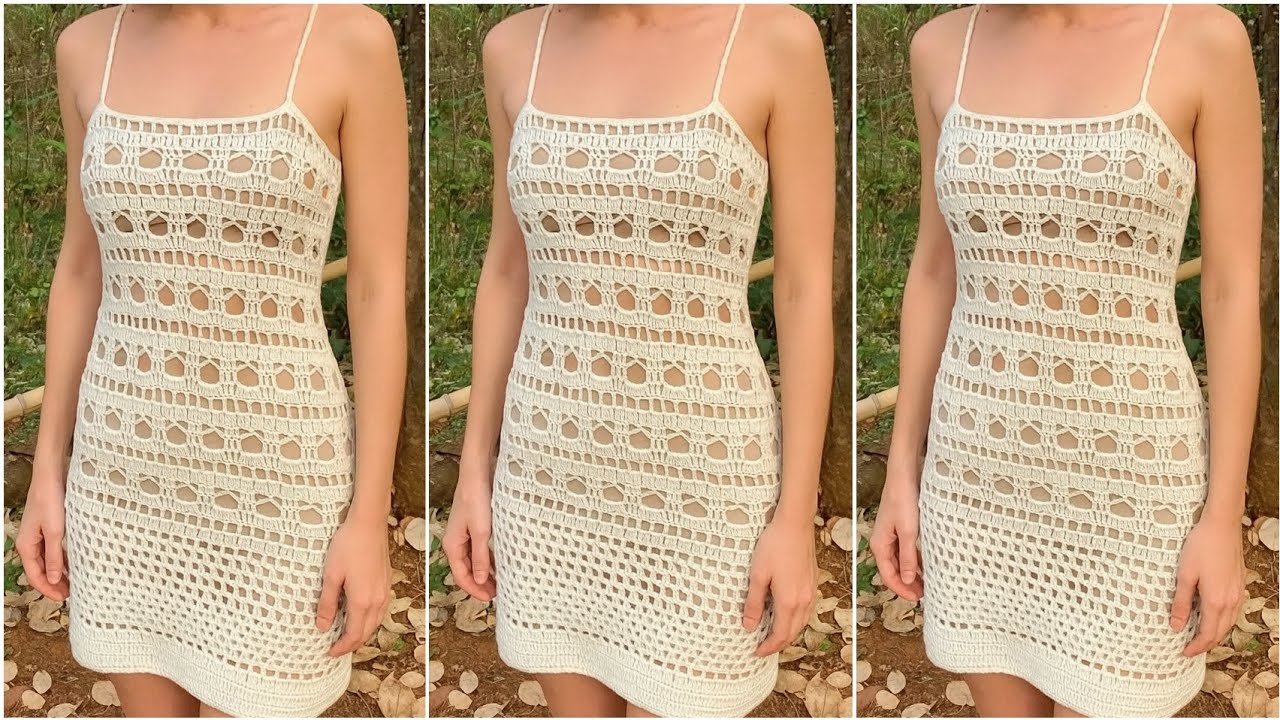
How to Make a Complete Crochet Dress: Step-by-Step Guide
Materials Needed:
-
Crochet yarn (choose yarn suitable for clothing, like cotton or cotton blends)
-
Crochet hooks (size depends on yarn weight; usually recommended on yarn label)
-
Scissors
-
Stitch markers
-
Measuring tape
-
Tapestry needle (for weaving in ends)
-
Pattern or gauge swatch (optional, for size accuracy)
-
Buttons or zipper (optional, depending on dress design)
Step 1: Choose Your Dress Style and Pattern
-
Decide on the style: fitted, flowy, sleeveless, long sleeves, length (mini, midi, maxi).
-
Find or create a crochet dress pattern. Beginners might want a simple A-line dress pattern.
-
Check if you want a dress worked in pieces (front, back, sleeves) or crocheted in the round.
Step 2: Take Accurate Measurements
-
Bust circumference
-
Waist circumference
-
Hip circumference
-
Dress length (shoulder to desired hem)
-
Armhole depth (if sleeves)
-
Shoulder width
These will help you adjust the pattern or create your own for a perfect fit.
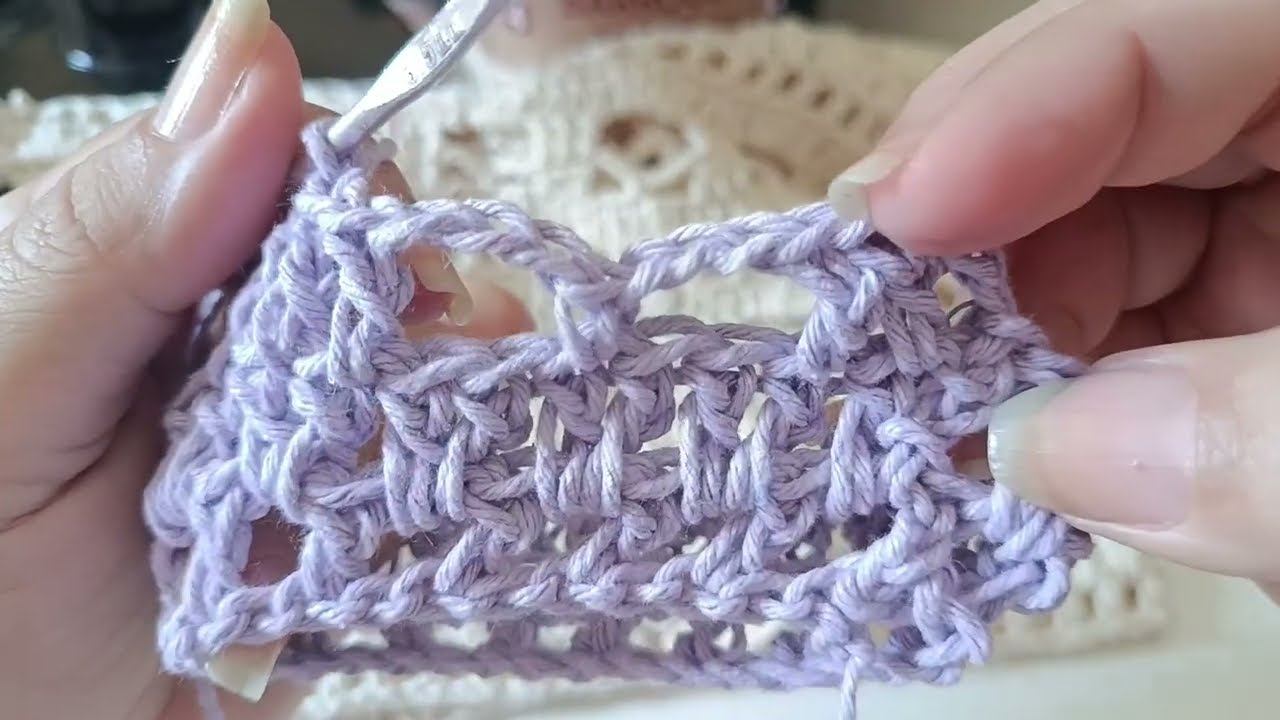
Step 3: Make a Gauge Swatch
-
Crochet a small square (e.g., 4×4 inches) in the stitch pattern you’ll use.
-
Measure how many stitches and rows fit into the square.
-
Use this to calculate how many stitches you need for your measurements.
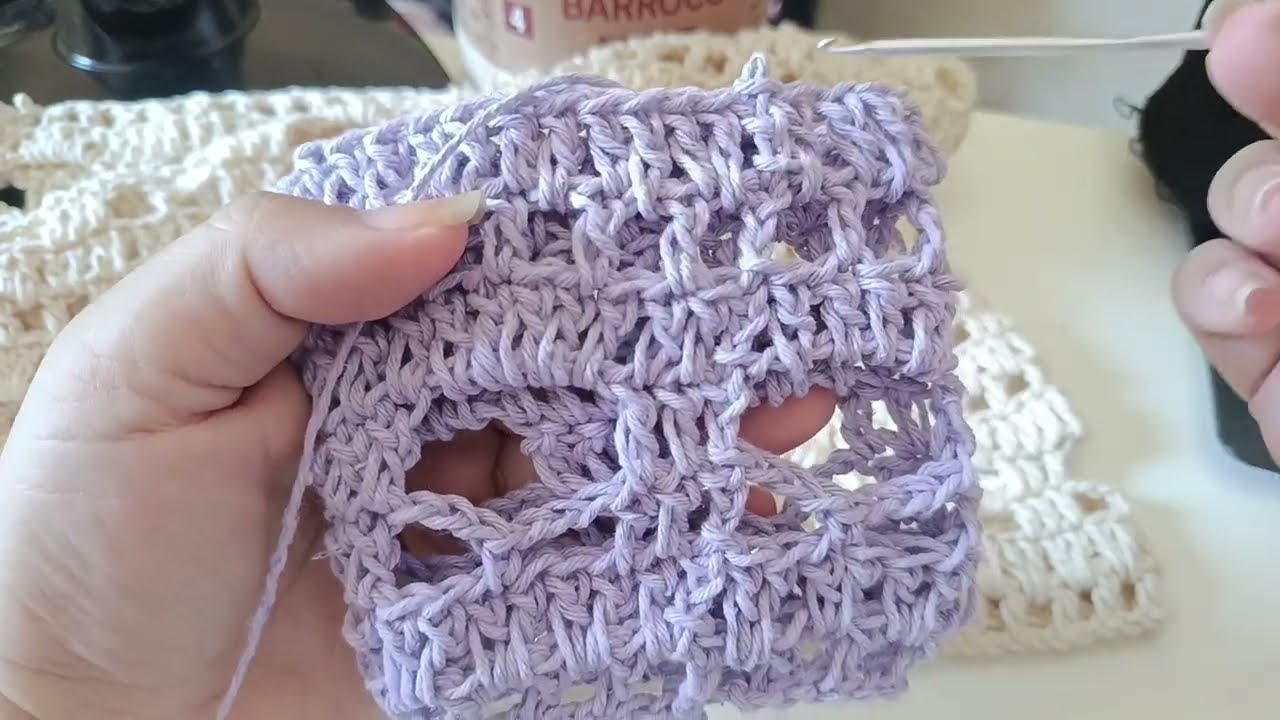
Step 4: Start Crocheting the Dress Top
-
Depending on the pattern, you might start from the top (neckline) or bottom (hem).
-
For a top-down dress:
-
Crochet the neckline (round or V-neck).
-
Work the yoke or upper bodice in rounds or rows.
-
Use increases to shape shoulders and bust.
-
-
For a bottom-up dress:
-
Start from hem and work up to waist and bust, shaping with increases/decreases.
-
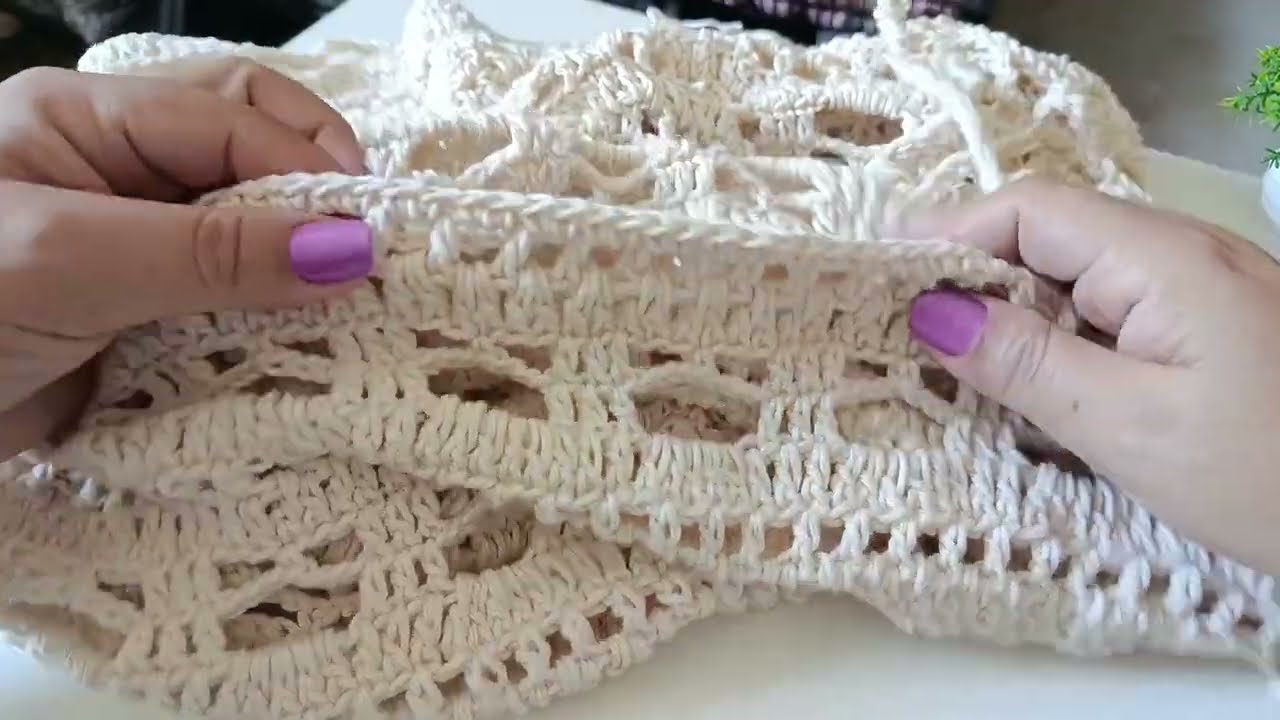
Step 5: Crochet the Body of the Dress
-
Continue working in your chosen stitch pattern.
-
Use increases or decreases for shaping the waist or hips.
-
Keep trying the dress on or use a dress form to check fit.
-
Use stitch markers to mark side seams or shaping points.
Step 6: Make Sleeves (If Applicable)
-
Crochet sleeves separately in the round or flat.
-
Use measurements for arm circumference and length.
-
Attach sleeves to the body by sewing or crocheting them on.
Step 7: Crochet the Skirt Part (For Dresses with Separate Skirts)
-
If your dress has a defined waist and skirt, crochet the skirt portion separately.
-
You can make the skirt flared, gathered, or straight.
-
Join skirt to bodice by sewing or crocheting.
Step 8: Finishing Touches
-
Crochet edging or borders around neckline, sleeves, and hem for a clean finish.
-
Add buttons, zippers, or ties if your design calls for them.
-
Weave in all yarn ends securely with a tapestry needle.
-
Block the dress by wetting it and laying flat to dry to even out stitches and shape.
Tips for Success:
-
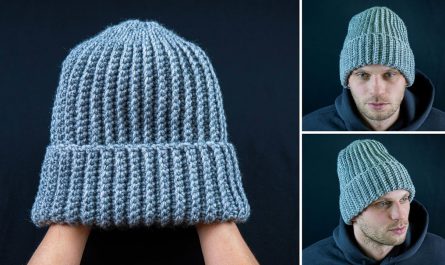
Choose a comfortable stitch pattern like shell stitches, V-stitches, or simple double crochet.
-
Use soft, breathable yarn for comfort.
-
Don’t rush; try on the dress often during making to adjust fit.
-
If new to crochet, practice your stitches and gauge on smaller projects first.
Watch tutorial: