 by
by Sure! Here’s a detailed step-by-step guide on how to make (and discover!) the easiest crochet sweater in the world – in all sizes, perfect for beginners or anyone looking for a quick and cozy project. This version is customizable to all body types and requires only basic stitches.

How to Make (and Discover!) the Easiest Crochet Sweater in the World – In All Sizes
❤️ Why This Sweater is So Easy:
-
Uses only rectangles (no shaping or complicated increases/decreases).
-
Can be customized for any size – from baby to plus size adults.
-
Uses basic stitches: mostly double crochet or half double crochet.
-
Minimal sewing (just two seams + sleeves if desired).
-
Works up quickly with medium to bulky yarn.
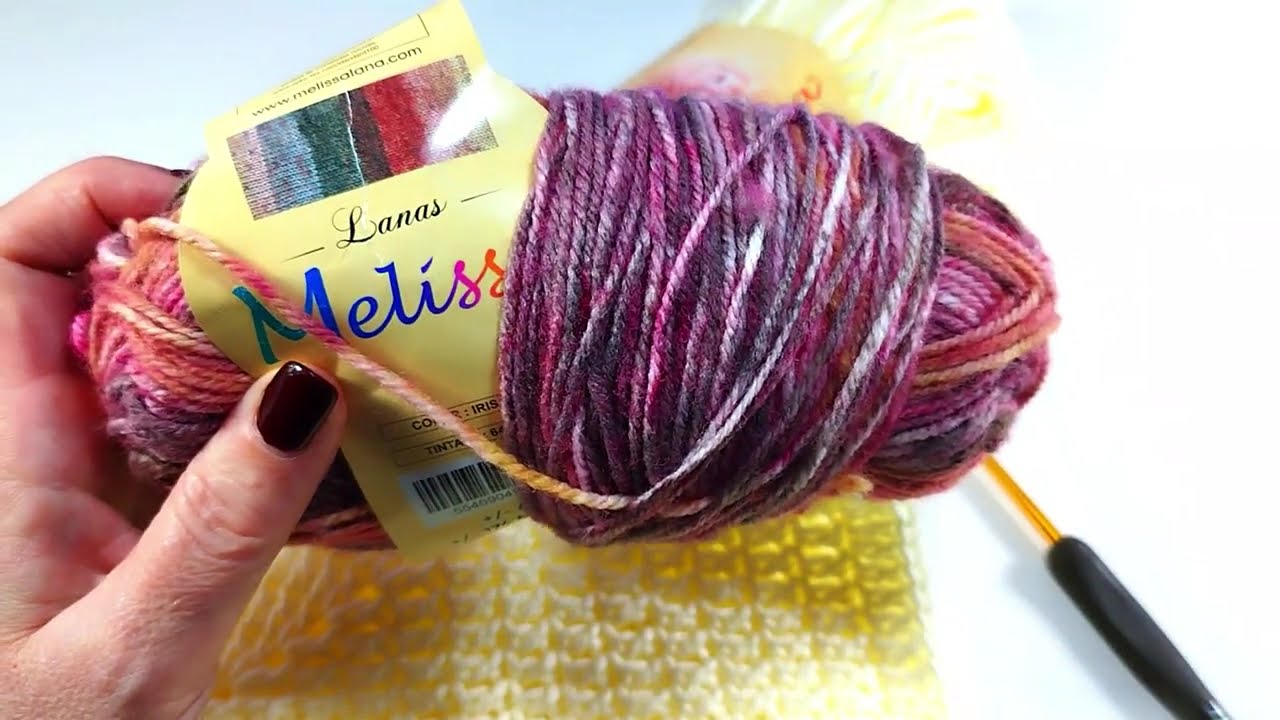
Materials You’ll Need:
| Item | Details |
|---|---|
| Yarn | Worsted (#4) or Bulky (#5) – Acrylic or Wool blend |
| Hook | 6.0 mm (J) or 6.5 mm (K) – depending on your yarn |
| Measuring tape | To get accurate body measurements |
| Scissors | For cutting yarn |
| Tapestry needle | For sewing pieces together |
| Stitch markers | Optional, but helpful for beginners |
Step 1: Take Your Measurements
To make the sweater fit any size, you’ll need 3 basic measurements:
-
Bust/Chest Width – Around the fullest part of your chest.
-
Sweater Length – From your shoulder down to where you want the hem to fall.
-
Sleeve Length (optional) – From the shoulder to wrist (if making long sleeves).
Step 2: Basic Pattern Structure
The sweater is made of 4 rectangles:
-
2 Body Panels (Front and Back): Width = half of bust + ease (around 2-4 inches extra). Length = desired sweater length.
-
2 Sleeves (optional): Width = upper arm circumference + ease; Length = from shoulder to wrist.
For a cardigan version: Just make one of the front panels half as wide as the back panel and make two of them.
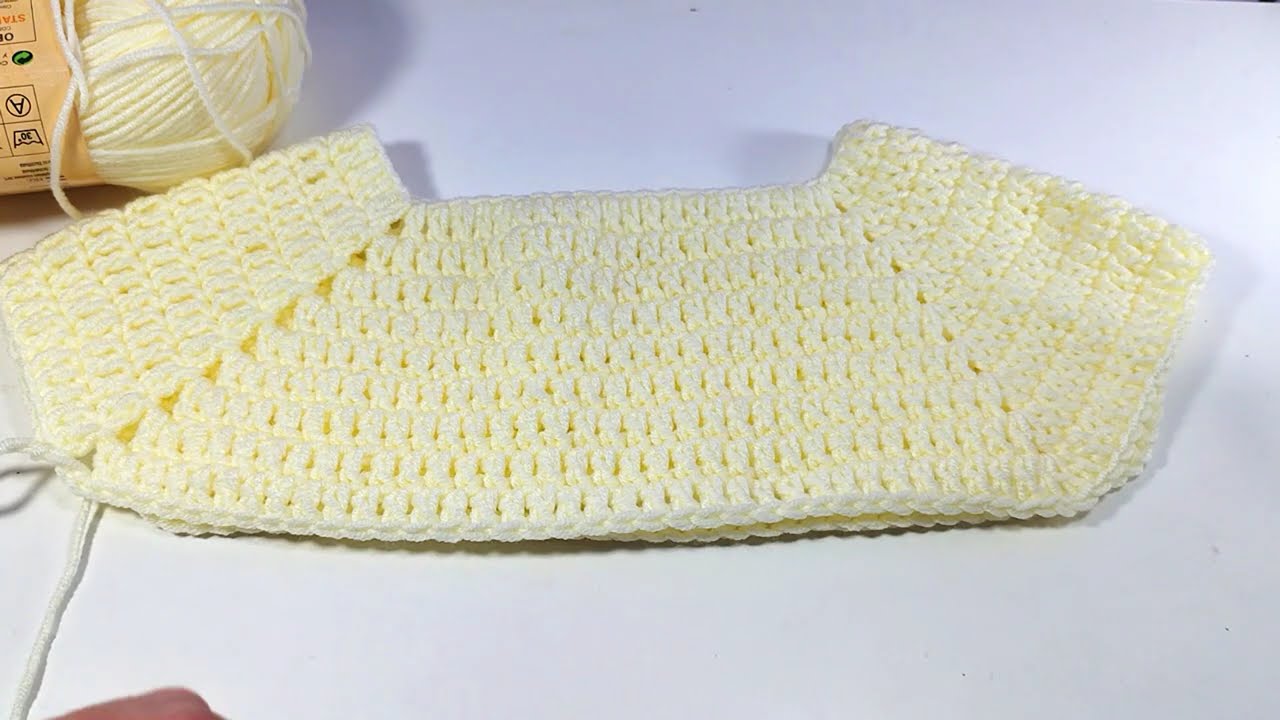
Step 3: Crochet the Rectangles
Use half double crochet (hdc) or double crochet (dc) stitch across.
Basic Panel Instructions (example in HDC):
Repeat for the second body panel.
For sleeves: Follow same steps, but use sleeve measurements.
✅ Tip: Keep your stitch count consistent. Use stitch markers every 10 stitches to help.
Step 4: Assembling the Sweater
Lay both body panels flat, one on top of the other.
To Assemble:
-
Shoulder Seams: Sew the top 5–7 inches on each side, leaving a neck hole in the center.
-
Side Seams: Sew from the bottom up, stopping 7–9 inches from the top to leave armholes.
-
Attach Sleeves (Optional): Fold each sleeve rectangle in half lengthwise, sew side closed. Attach to armholes with whipstitch or mattress stitch.
You can also leave it sleeveless and call it a vest!
✨ Optional: Add Ribbing or Borders
To make your sweater look more polished:
-
Add ribbing to the hem, cuffs, and neckline using front post/back post double crochet (FPDC/BPDC) or a simple slip stitch ribbing.
-
Add buttons if you’re making a cardigan.
-
Add a hood or pockets if you’re feeling adventurous.
Size Adjustments (Cheat Sheet)
| Size | Body Panel Width | Body Panel Length | Sleeve Width | Sleeve Length |
|---|---|---|---|---|
| Baby | 10–12″ | 10–12″ | 6″ | 6–7″ |
| Child | 14–18″ | 15–20″ | 8–10″ | 12–14″ |
| Teen/Adult S | 18–20″ | 20–24″ | 12″ | 18″ |
| Adult M/L | 21–25″ | 24–26″ | 14″ | 20″ |
| XL/Plus | 26–32″ | 26–30″ | 16–18″ | 22″ |
(Measurements are approximate and can vary based on desired fit and yarn stretch.)
Step 5: Finishing Touches
-
Weave in all ends using your tapestry needle.
-
Block your sweater if needed for even edges.
-
Try it on and admire your work!
You Did It!
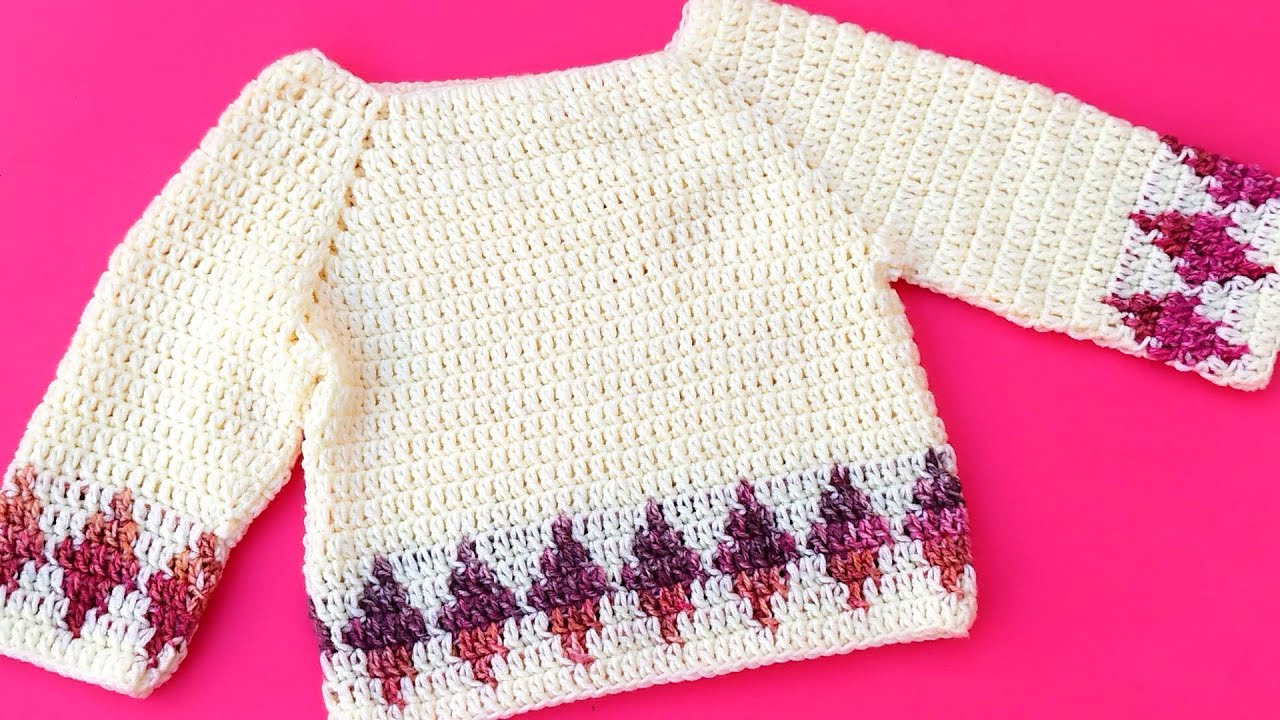
You’ve just discovered and created the easiest crochet sweater in the world – designed to fit any body size with simple rectangles and basic stitching. It’s a perfect beginner project or a fast-finish option for seasoned crocheters.
Summary
| Step | Action |
|---|---|
| 1 | Take body measurements |
| 2 | Crochet 2 body rectangles |
| 3 | (Optional) Crochet 2 sleeves |
| 4 | Seam shoulders + sides |
| 5 | Add sleeves or keep it sleeveless |
| 6 | Add ribbing, borders, or buttons |
| 7 | Weave in ends, block, wear! |
Watch tutorial:
https://www.youtube.com/watch?v=FI9xwlhlWWY