 by
by Sure! Here’s a detailed, beginner-friendly guide on how to make an Easy Crochet Granny Square Bag — step-by-step.
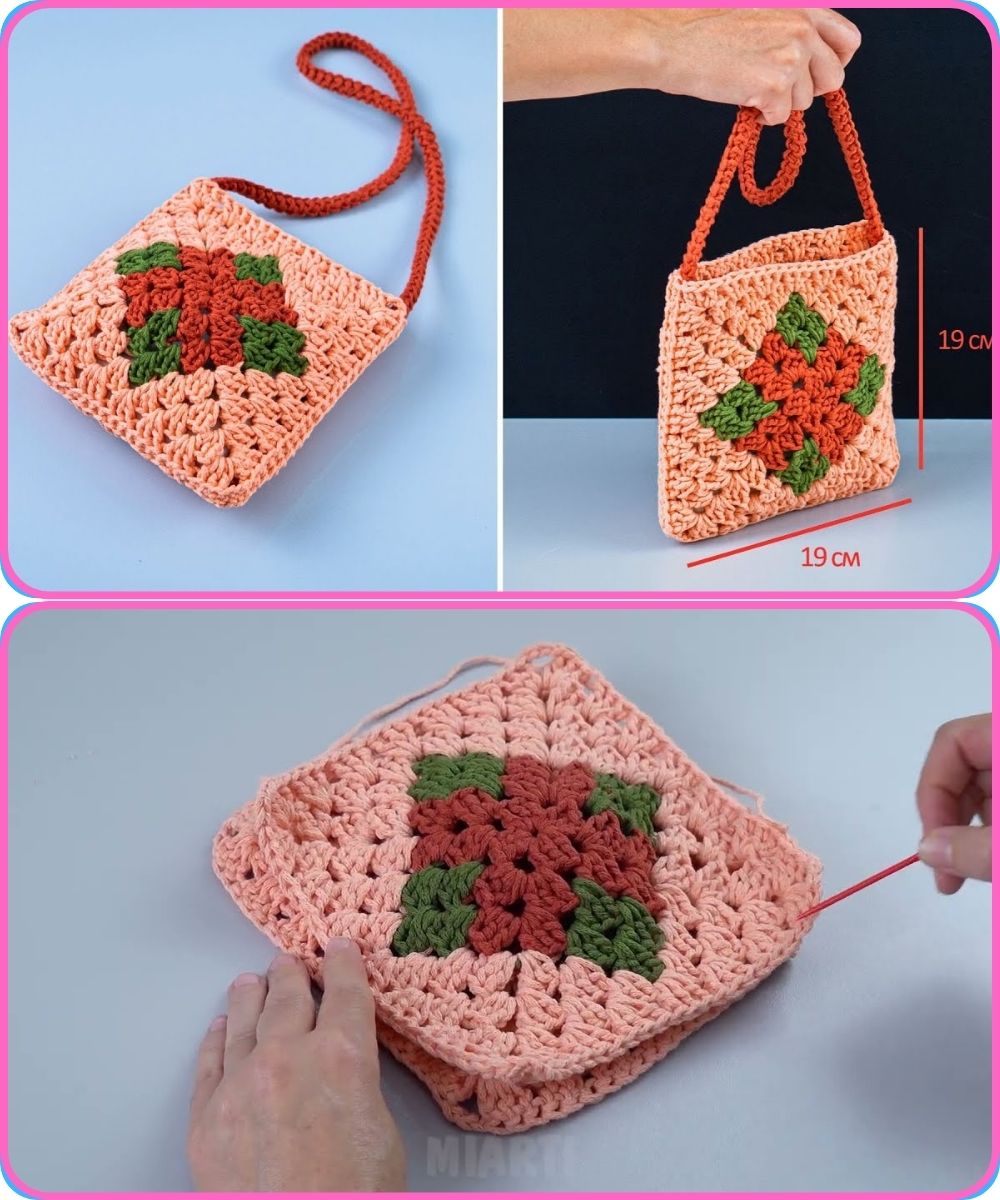
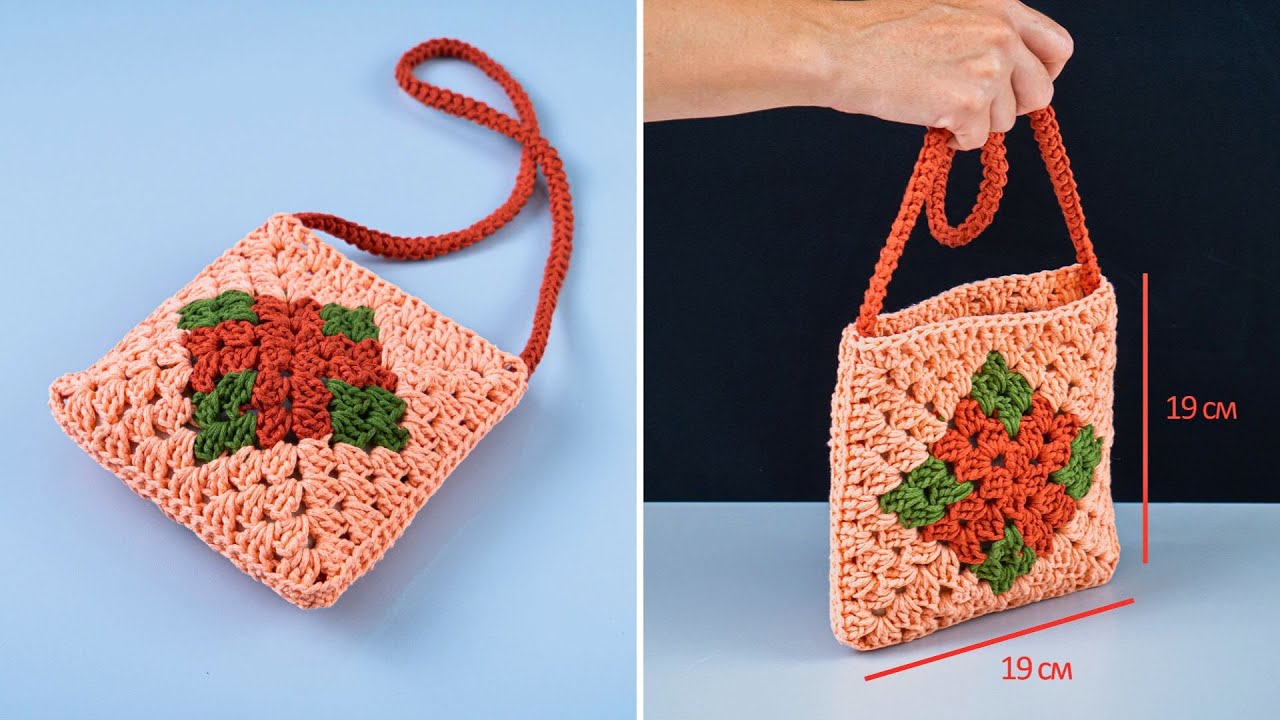
How to Make an Easy Crochet Granny Square Bag
✨ Overview
A granny square bag is a stylish, functional, and beginner-friendly crochet project. It’s made by creating multiple classic granny squares, joining them together, and adding handles or a strap.
Materials Needed
| Item | Description |
|---|---|
| Yarn | Medium weight (worsted) cotton or acrylic yarn in 2–3 colors (or more!) |
| Crochet Hook | Size 4.5 mm to 5.5 mm (check yarn label for best match) |
| Scissors | For cutting yarn |
| Yarn Needle | For weaving in ends and sewing squares together |
| Stitch Markers | (Optional) to keep track of rounds or joins |
| Fabric Lining | (Optional) if you want to line the bag |
| Bag Handle or Strap | (Optional) or crochet your own |
Step-by-Step Instructions
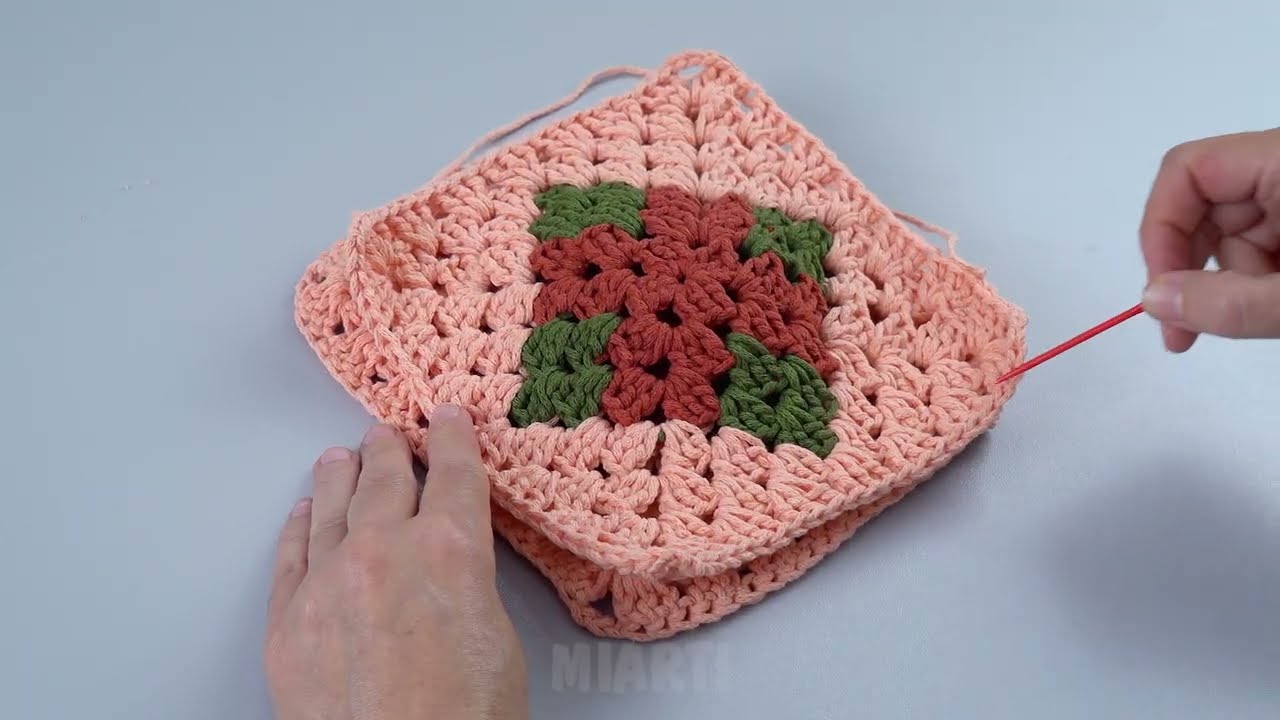
Step 1: Make Classic Granny Squares
Classic Granny Square Pattern:
-
Start with a Magic Circle
OR chain 4 and join with a slip stitch to form a ring. -
Round 1:
-
Chain 3 (counts as 1 double crochet).
-
Work 2 DC (double crochet) into the ring.
-
Ch 2, 3 DC into ring – repeat * * 3 more times.
-
You should have 4 sets of 3 DC clusters with chain-2 corners.
-
Slip stitch into top of beginning ch-3 to close the round.
-
-
Round 2:
-
Slip stitch to the next corner space.
-
Chain 3, 2 DC into corner space.
-
Ch 2, 3 DC into same space (first corner made).
-
In next corner: 3 DC, ch 2, 3 DC – repeat for all corners.
-
Slip stitch to top of ch-3 to join.
-
-
Round 3 (and beyond):
-
Continue the pattern, adding:
-
3 DC clusters into spaces between clusters along the sides.
-
3 DC, ch 2, 3 DC into each corner space.
-
-
You can make the square as large or small as you like (usually 3–5 rounds is good for bags).
-
Make 13 Granny Squares for a basic cube-shaped bag (can vary depending on your design).
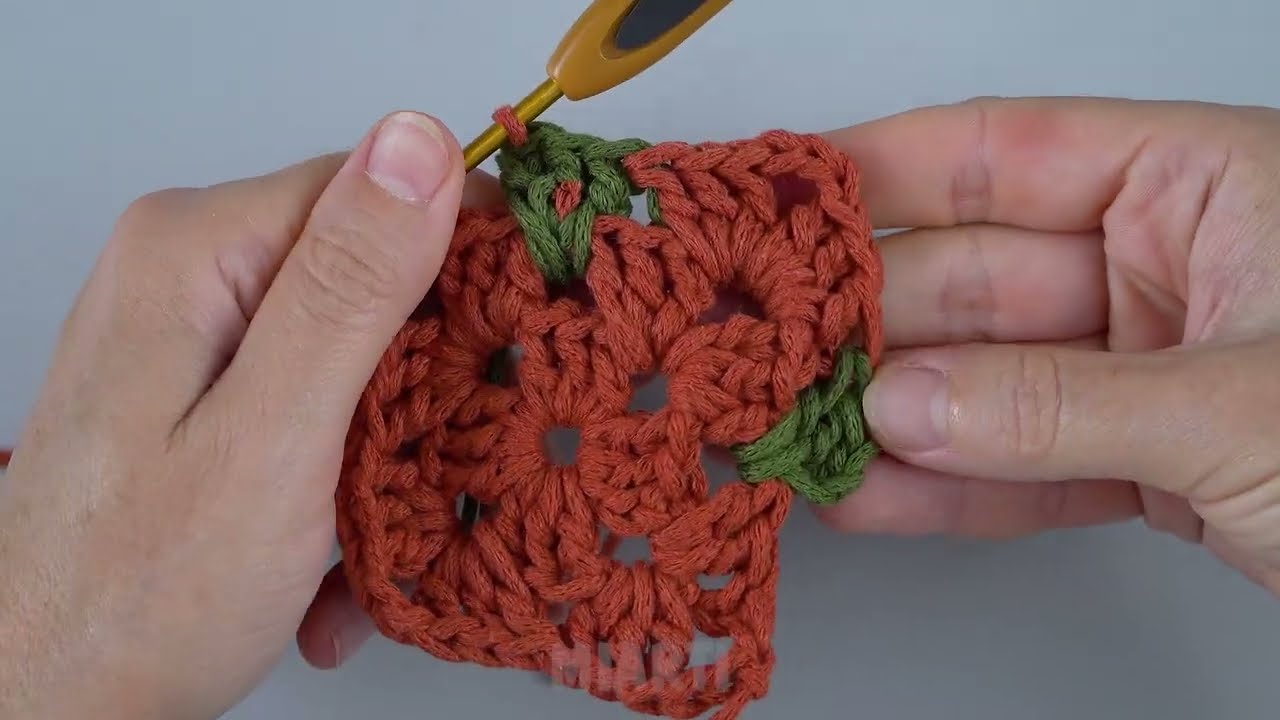
Step 2: Join the Squares
There are several ways to join your granny squares:
-
Whip Stitch (sew with a yarn needle)
-
Slip Stitch Join (crochet them together with a hook)
-
Join-As-You-Go (JAYG method)
Suggested layout for a 3D bag:
Or for a flat tote bag:
-
Make 6 squares per side (3×2 layout)
-
Join them in a rectangle, then attach the front and back together at the sides and bottom.
Step 3: Add the Handles
You can:
Crochet Your Own Strap:
-
Chain to your desired length (e.g., 60–100 chains).
-
Turn, SC or HDC across.
-
Repeat 3–5 rows for thickness.
-
Sew onto bag with a yarn needle.
Use Ready-Made Handles:
-
You can buy leather, wooden, or bamboo handles and sew them onto the top edge.
Step 4: Optional Touches
✅ Add a Lining:
-
Cut a piece of fabric to the size of your bag.
-
Sew the edges (inside out), then attach to inside of the crochet bag with hand stitches or fabric glue.
✅ Add a Button or Zipper:
-
For extra security, sew a magnetic button, regular button, or zipper.

Design Variations
-
Use colorful yarns for a retro 70s look.
-
Make flower granny squares instead of classic ones.
-
Add fringe or pom-poms for flair.
Care Instructions
-
If using cotton yarn: hand wash or machine wash gently, lay flat to dry.
-
Acrylic yarn: usually machine-washable, but check the label.
Tips for Beginners
-
Don’t worry about perfect tension – it improves with practice.
-
Stick to 2–3 colors if you’re new to changing yarn colors.
-
Use stitch markers to mark corners if you lose track easily.
Final Thoughts
Crocheting a granny square bag is a great way to practice your skills and create something useful and stylish. It’s customizable, colorful, and fun to make. Whether you’re gifting it or keeping it for yourself, it’s a rewarding project!
Watch tutorial:
https://www.youtube.com/watch?v=iZtYZ4QZfT0