 by
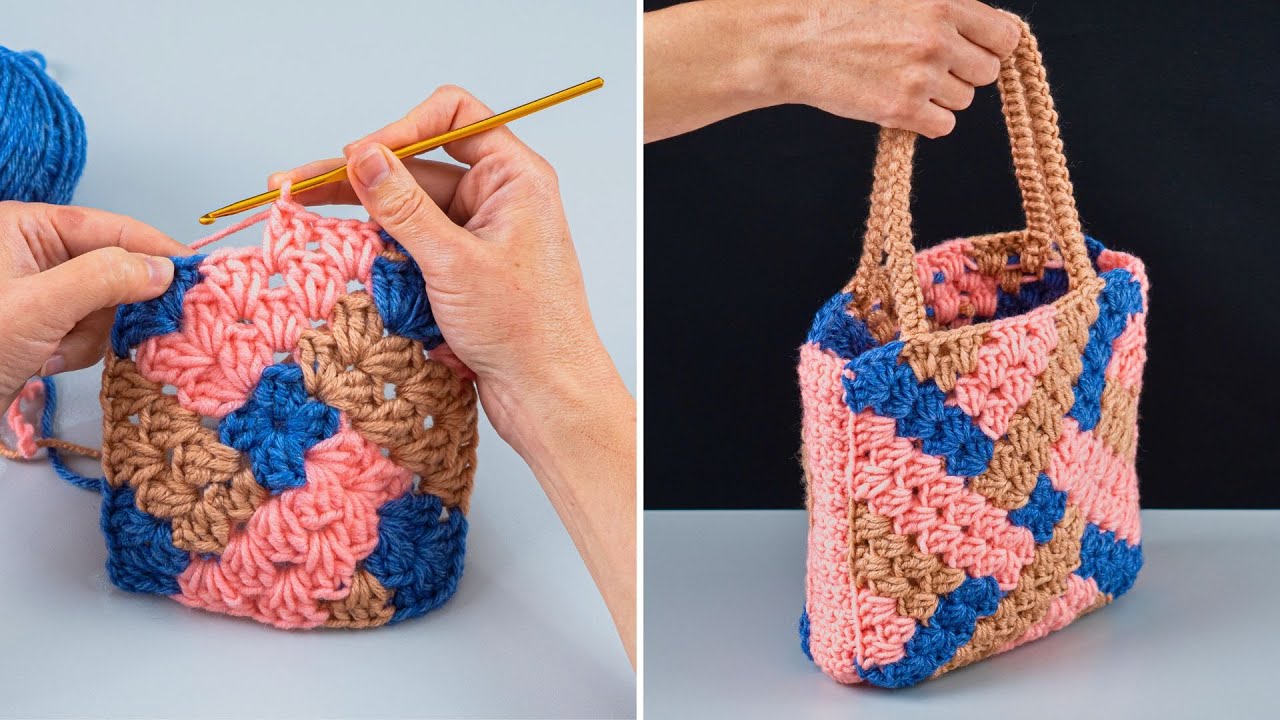
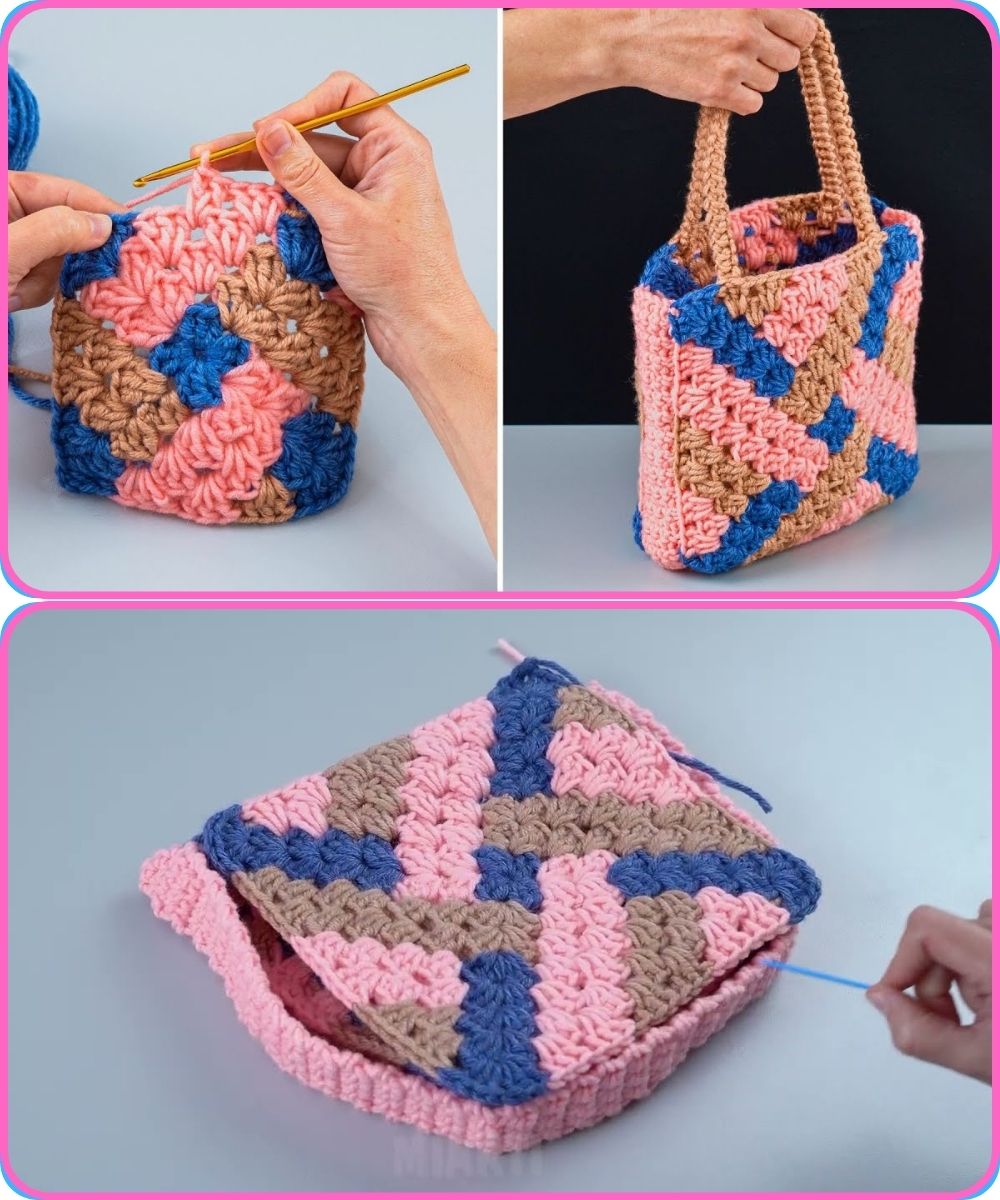
by Sure! Here’s a detailed step-by-step guide on how to make an easy Mosaic Granny Square Crochet Handbag. This project is perfect for beginners to intermediate crocheters who want a stylish, handmade bag using simple mosaic crochet techniques.
Overview:
This handbag is made by joining multiple mosaic-style granny squares, lining them if desired, and adding straps. Mosaic crochet adds geometric colorwork without changing colors within a row, making it visually stunning yet simple to do.
Materials Needed:
| Item | Details |
|---|---|
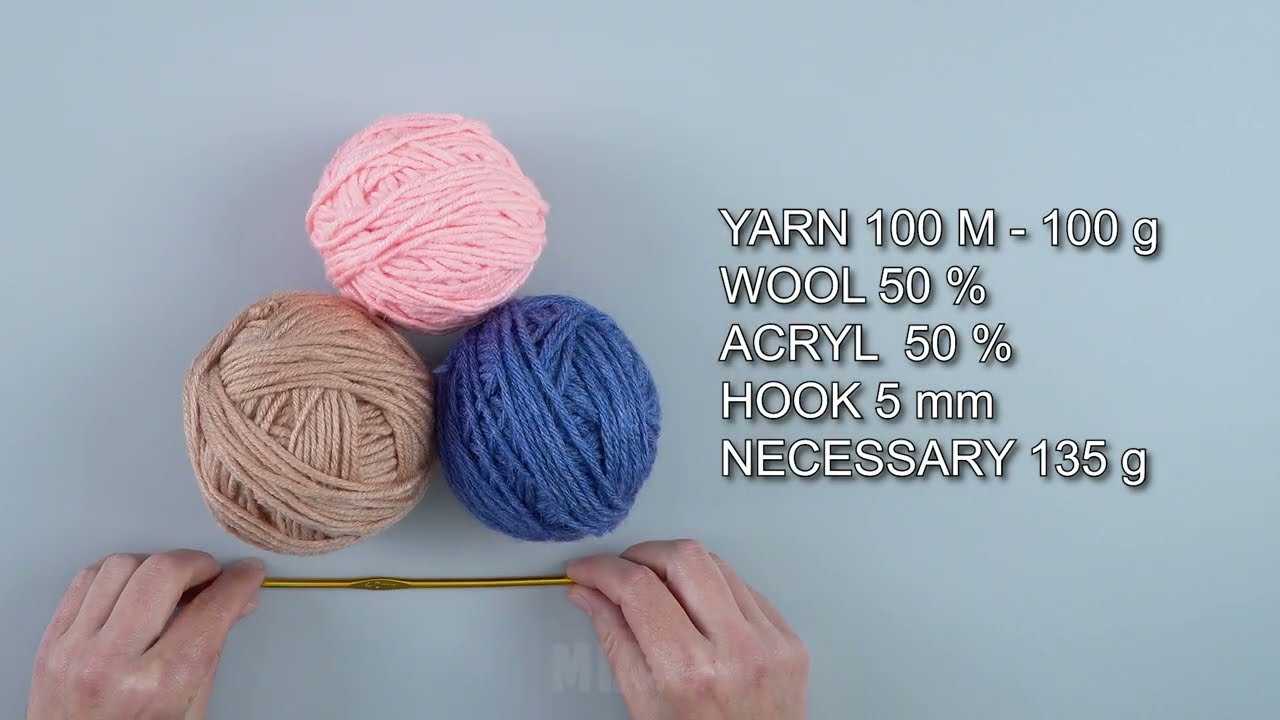
| Yarn | Worsted weight cotton or acrylic yarn (2–3 colors) |
| Hook | 4.0 mm or 4.5 mm crochet hook |
| Scissors | For trimming yarn |
| Tapestry needle | For weaving in ends |
| Stitch markers (optional) | To keep track of rounds |
| Lining fabric (optional) | For the inner lining |
| Sewing needle & thread (optional) | For sewing the lining |
| Straps (optional) | Leather, rope, or crocheted straps |
Step-by-Step Instructions:
✅ Step 1: Learn the Mosaic Granny Square Basics
Mosaic granny squares are typically made with 2 contrasting colors:
-
Color A (main/solid background)
-
Color B (accent for the mosaic overlay)
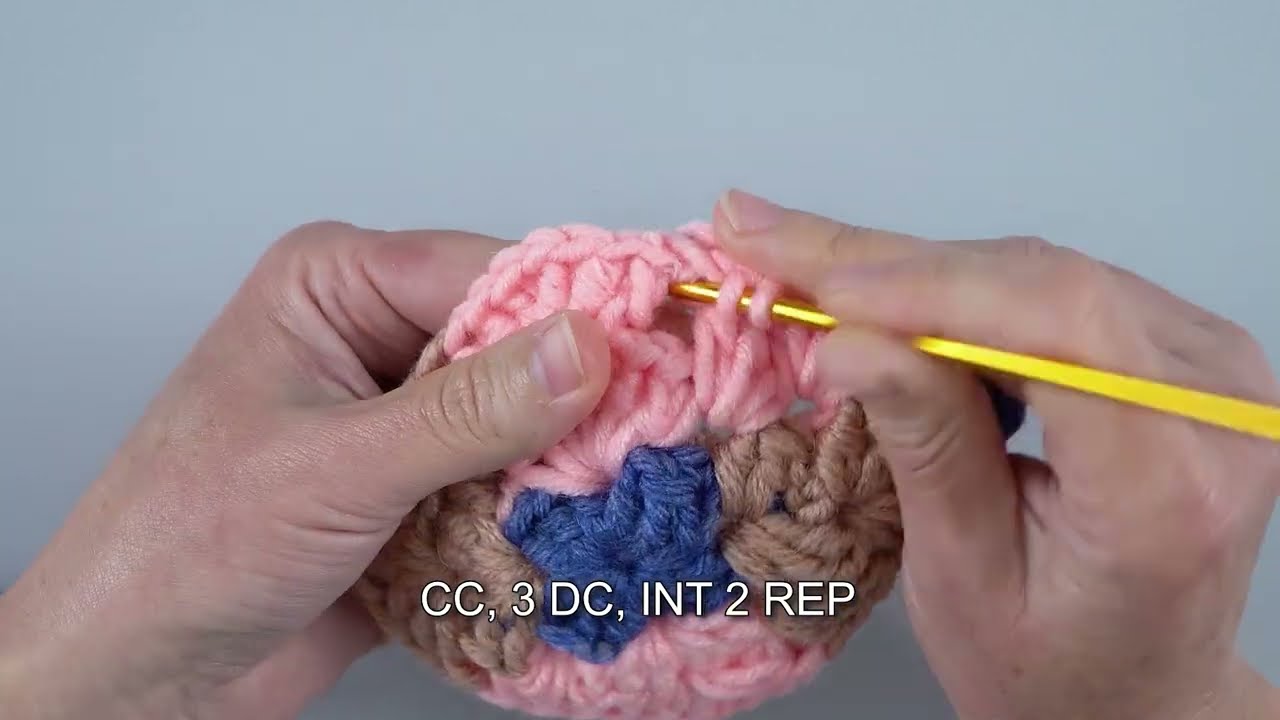
You will use single crochets (sc) and double crochets (dc) in front loops only to create a pattern. Color changes happen at the start of rows—no carrying yarn needed!
✅ Step 2: Crochet Mosaic Granny Squares
You’ll need 8–13 squares depending on how large you want your bag.
Here’s a basic mosaic granny square pattern (example):
Pattern (2 Colors)
Round 1 (Color A):
-
Start with magic ring.
-
Ch 3 (counts as dc), 2 dc in ring, ch 2, 3 dc x3, ch 2, sl st to top of ch 3. (4 corners of 3 dc clusters)
-
Cut yarn.
Round 2 (Color B):
-
Attach yarn in ch-2 space.
-
Ch 3, dc in same space, dc in each dc from previous round, (2 dc, ch 2, 2 dc) in corner space.
-
When reaching corner spaces, work mosaic pattern: replace some dcs with front-post dc or long dc into the row below to create the mosaic effect.
Continue rounds, alternating colors and using mosaic pattern for the overlay.
Make all squares the same size (around 5–6 rounds each is good).
✅ Step 3: Block the Squares
Wet block or steam block all squares to make sure they’re equal in size. This helps with neat joining.
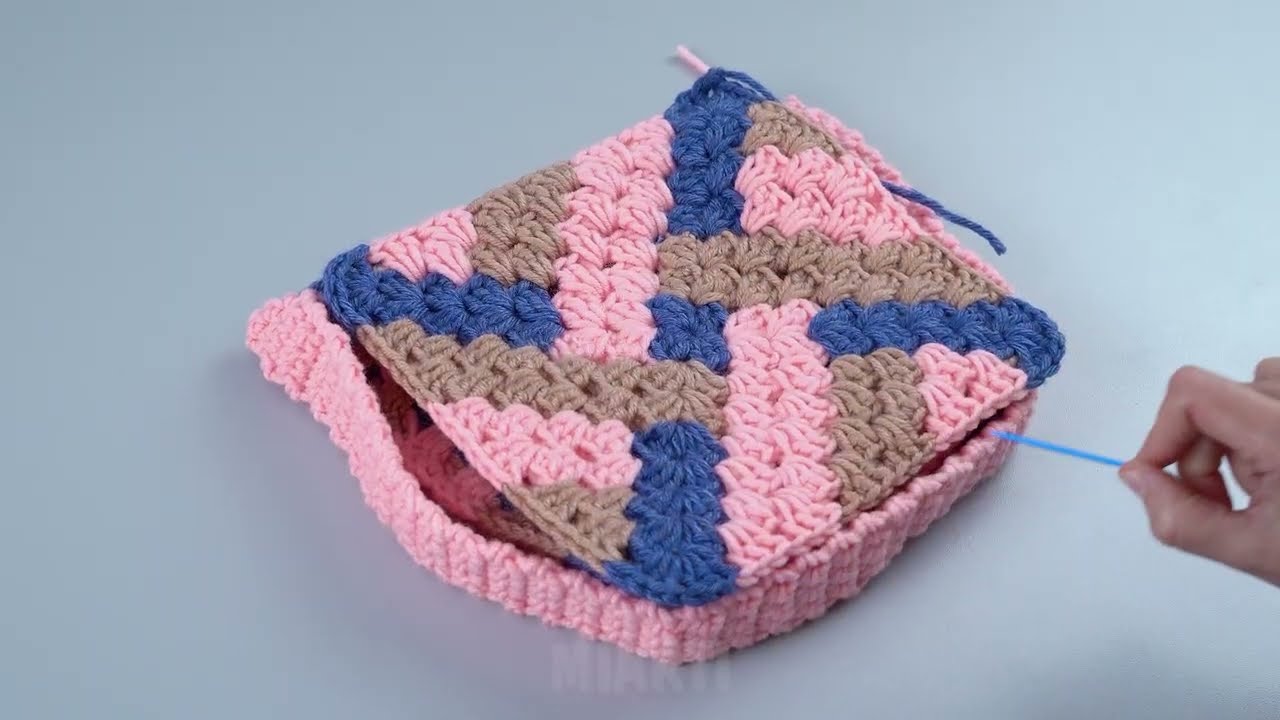
✅ Step 4: Join the Squares
Arrange your squares in a bag layout:
Example for a basic tote:
Join using:
-
Slip stitch join
-
Whip stitch
-
Or decorative zigzag join
Join the sides and bottom to create a pouch. Leave the top open.
✅ Step 5: Add Lining (Optional)
-
Cut fabric slightly larger than your bag.
-
Sew lining pieces together inside out.
-
Place into bag and hand-stitch to the inside top edge.
This keeps the bag from stretching and protects from yarn snagging.
✅ Step 6: Add Handles or Straps
Options:
-
Crochet straps: Use single crochet or Tunisian crochet for sturdiness.
-
Leather straps: Sew or rivet them on.
-
Macramé/rope handles: Stylish and sturdy.
Attach straps securely on either side of the bag.
✅ Step 7: Finishing Touches
-
Weave in all ends.
-
Add buttons, zippers, tassels, or pompoms for flair.
-
You can also crochet a flap or drawstring for closure.
Tips for Success
-
Choose high-contrast yarn colors for a bold mosaic look.
-
Make sure all granny squares are blocked evenly.
-
Lining is optional but recommended for functionality.
-
If you’re new to mosaic crochet, practice a square first before starting the bag.
Variations
-
Use a single large mosaic square folded in half.
-
Make a bucket bag by forming a circular base and building up.
-
Use hexagons or rectangles for a more creative shape.
Watch tutorial:
https://www.youtube.com/watch?v=8pl5tQwhdYY