 by
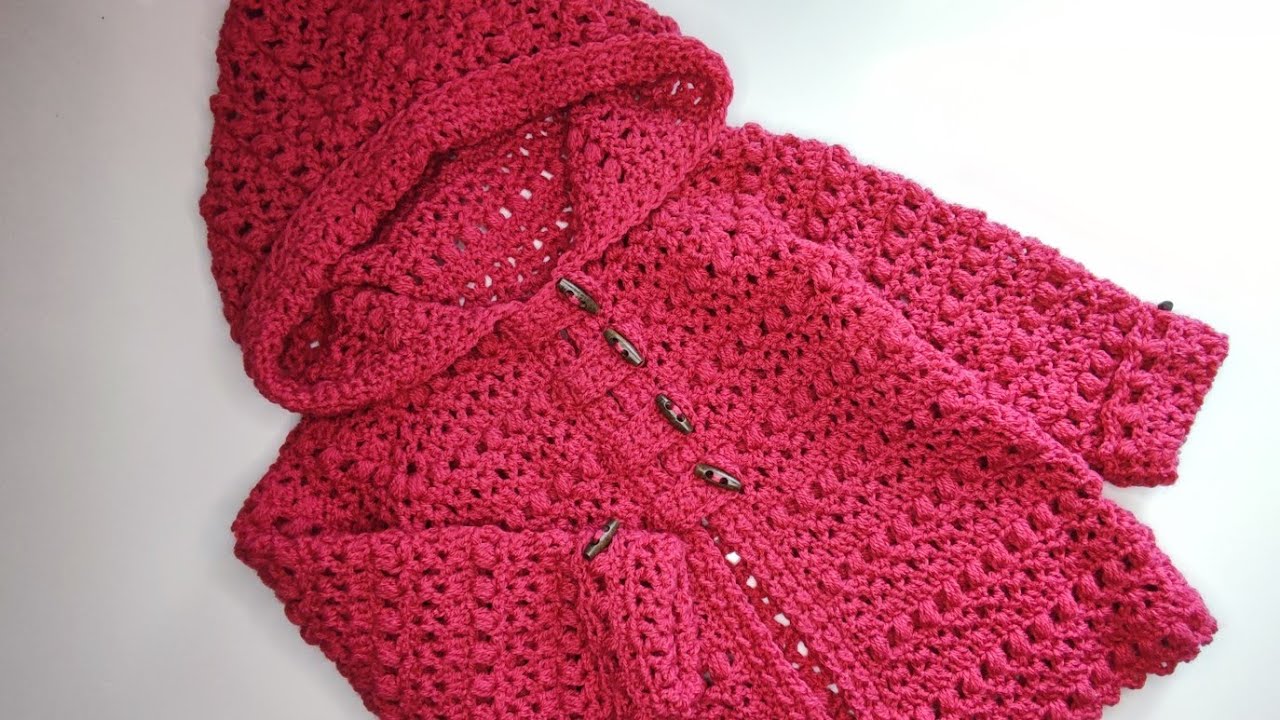
by Absolutely! I can give you a detailed, step-by-step guide on how to crochet “The Four Stitch Hoodie” for girls. Since this pattern is based on a simple four-stitch repeat, it’s beginner-friendly but still stylish. I’ll break it down into materials, gauge, stitch explanations, and step-by-step instructions.
Materials Needed
-
Yarn: Medium-weight (worsted) yarn (approx. 400–600 grams depending on size)
-
Crochet hook: Size H/8 (5.0 mm) or size recommended for your yarn
-
Yarn needle for weaving in ends
-
Scissors
-
Stitch markers (optional)
Abbreviations
-
ch = chain
-
sc = single crochet
-
dc = double crochet
-
sl st = slip stitch
-
st(s) = stitch(es)
-
tog = together
-
RS = right side
-
WS = wrong side
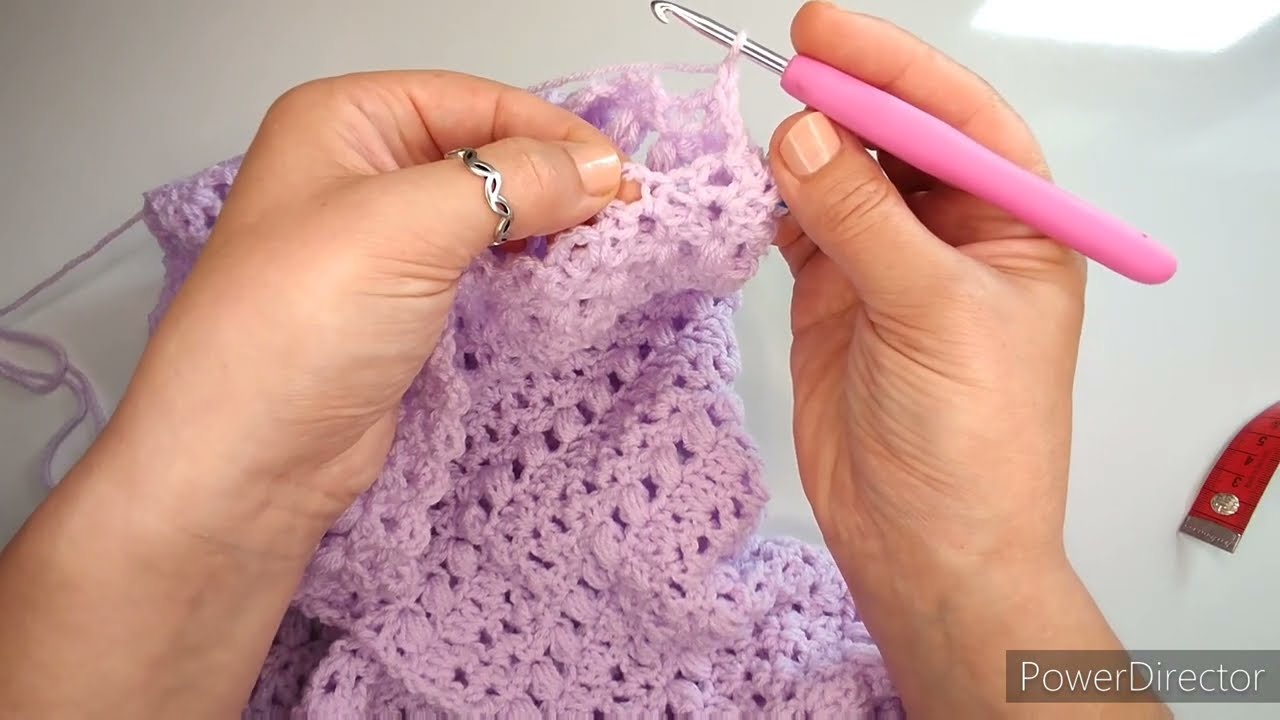
Stitch Pattern – The Four Stitch Repeat
For this hoodie, the body and sleeves use a simple 4-stitch pattern:
-
Sc in next st
-
Dc in next st
-
Hdc in next st
-
Ch 1, skip next st
Repeat across the row, then turn. This gives texture and stretchiness perfect for a hoodie.
Gauge
-
12 sts × 8 rows = 4 inches using the four-stitch pattern with worsted weight yarn and 5.0 mm hook.
-
Adjust hook size if needed to match gauge.
Sizes
-
Small: 3–4 years
-
Medium: 5–6 years
-
Large: 7–8 years
Adjust stitch counts according to the chest measurement: -
Small: 72 sts
-
Medium: 80 sts
-
Large: 88 sts
Instructions
1. Back
-
Chain the number of stitches for your size (e.g., 72 for small).
-
Work the four-stitch pattern across each row.
-
Continue until the back measures 14–16 inches from the bottom for the small size (adjust for size).
-
Shape the armholes: On the next row, skip 3 sts at each end and continue the four-stitch pattern. Repeat decreasing 1 stitch at each end every row until you have the desired armhole depth (approx. 5 inches).
-
Fasten off when armhole depth is reached.
2. Front
-
Chain same as back.
-
Work in four-stitch pattern for the same length as the back.
-
At the neckline (when front reaches 10–12 inches from bottom), split for the neck by working each side separately.
-
Decrease 1 stitch at the inner edge every row until shoulder height matches the back.
-
Fasten off.
3. Sleeves
-
Chain 36 sts for small size (adjust for larger sizes).
-
Work in four-stitch pattern until sleeve measures 12 inches from the cuff.
-
Slightly increase 1 stitch at each end every 4 rows for shaping.
-
Fasten off.
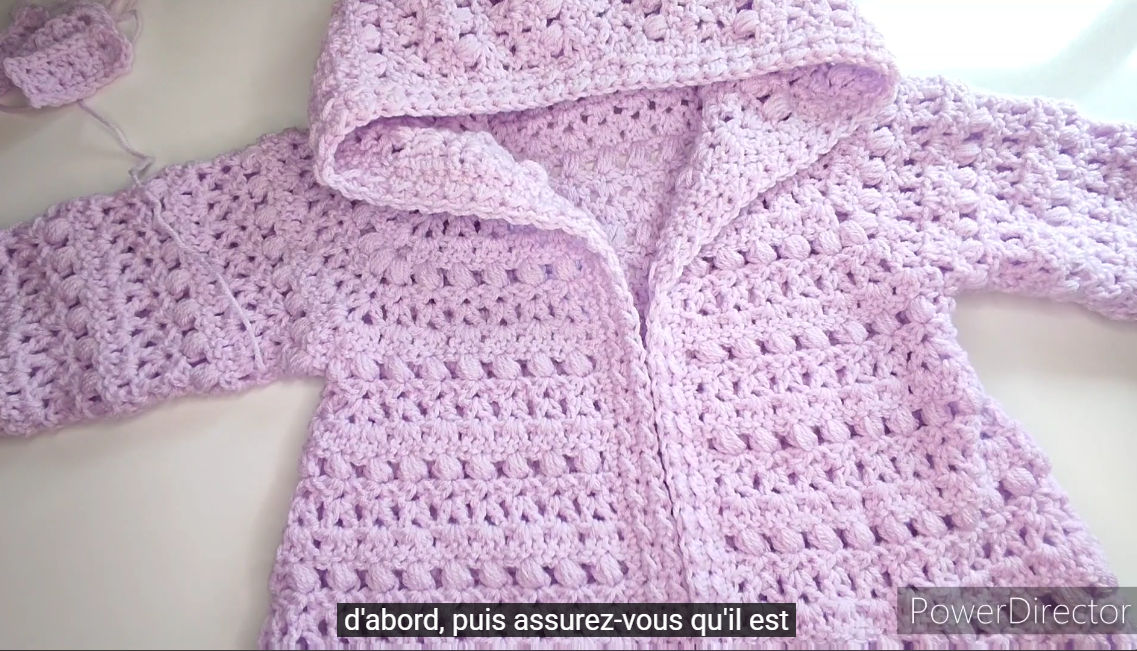
4. Hood
-
Chain 60 sts (adjust to size).
-
Work in four-stitch pattern for 10–12 inches.
-
Fold hood in half and seam the top edge using sl st or whip stitch.
-
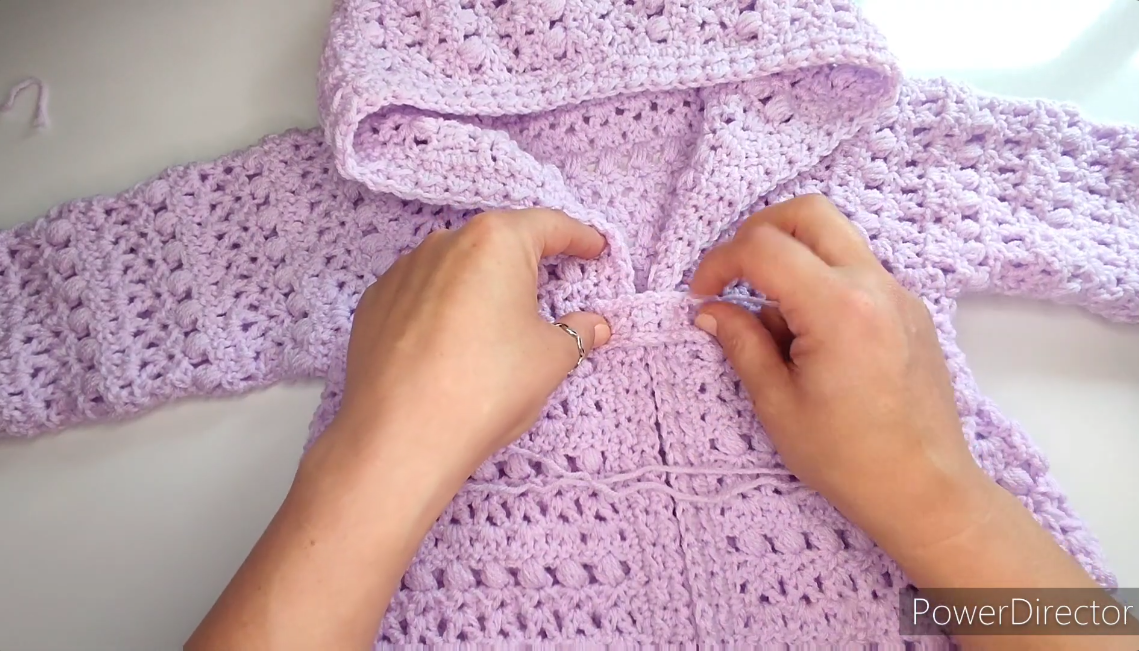
Attach hood to neckline of the front and back.
5. Assembly
-
Sew shoulder seams.
-
Attach sleeves to armholes.
-
Sew side seams and sleeve seams.
-
Weave in all ends.

6. Optional Edging
-
Add a border around the hoodie, cuffs, and bottom hem:
1 row sc, 1 row hdc for a clean finish.
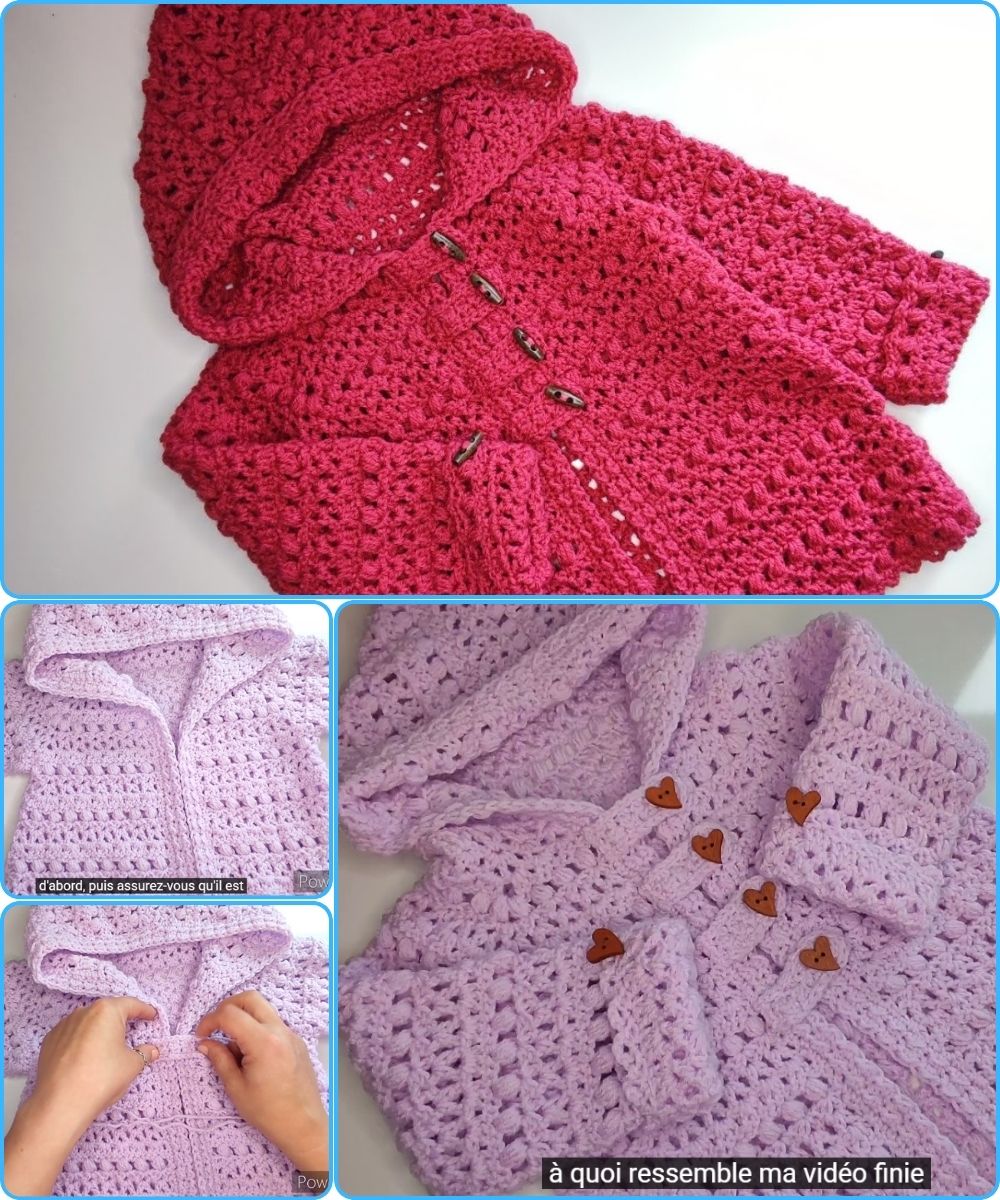
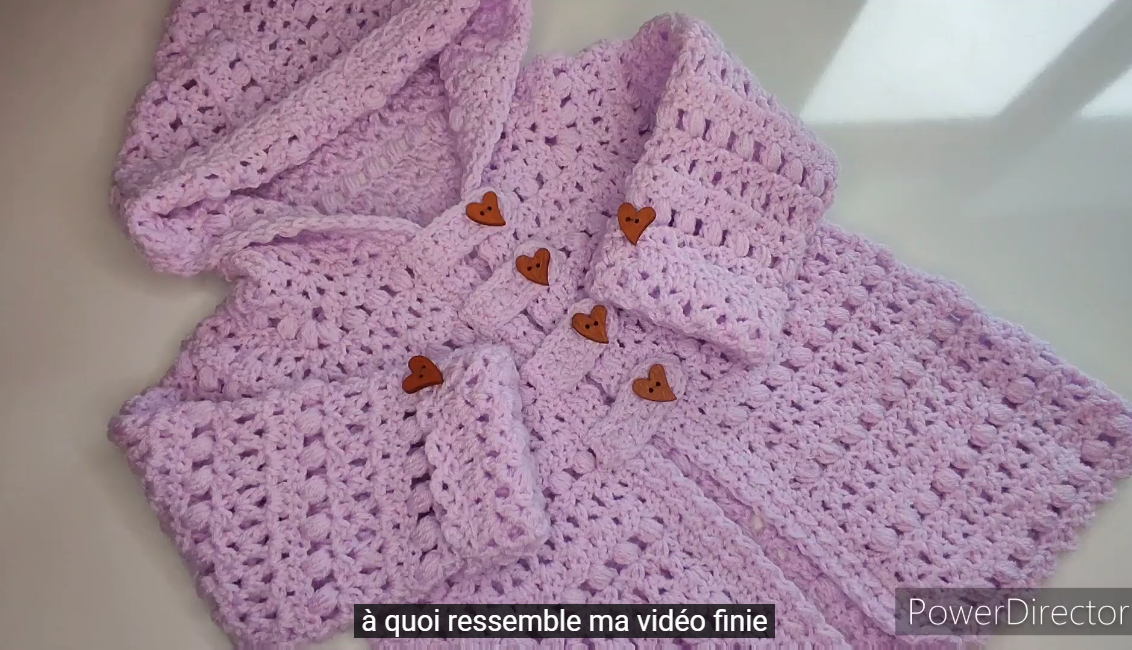
This pattern creates a cozy, textured hoodie that’s easy to wear and customize with color stripes or appliques.
If you want, I can draw a detailed stitch chart and a size diagram for this hoodie, so it will be even easier to follow visually.
Do you want me to do that?
Watch tutorial: