 by
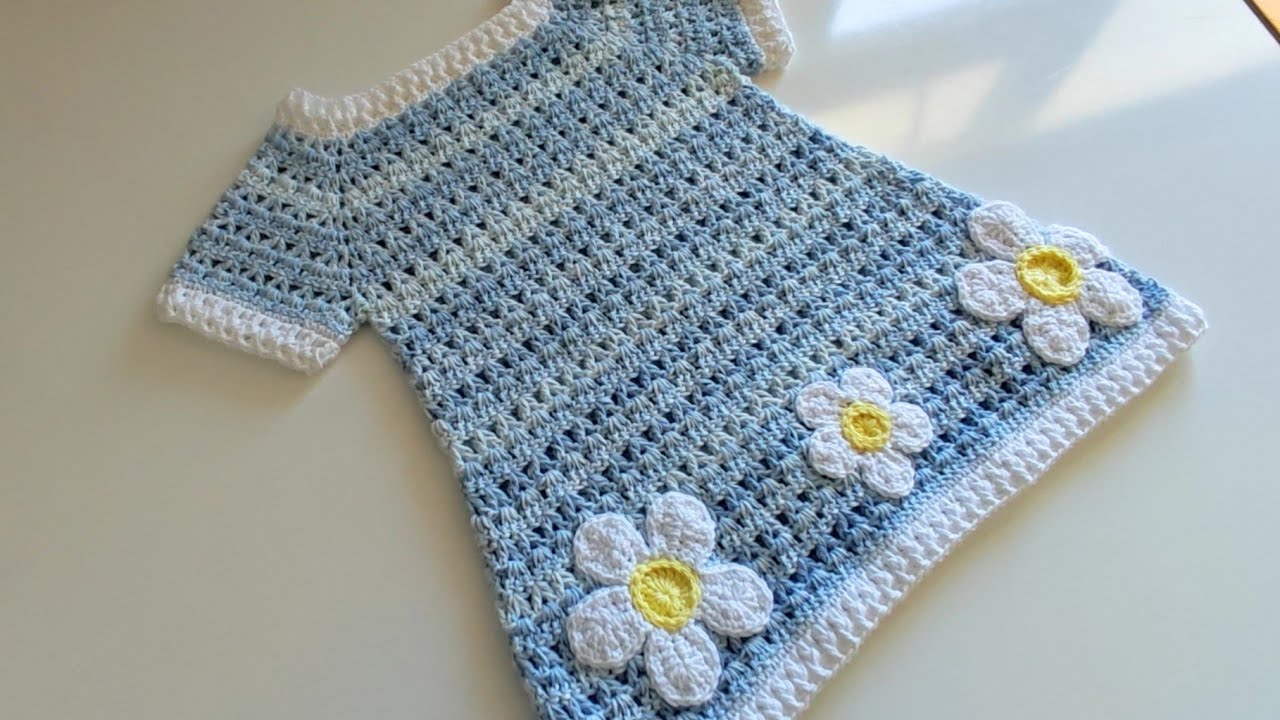
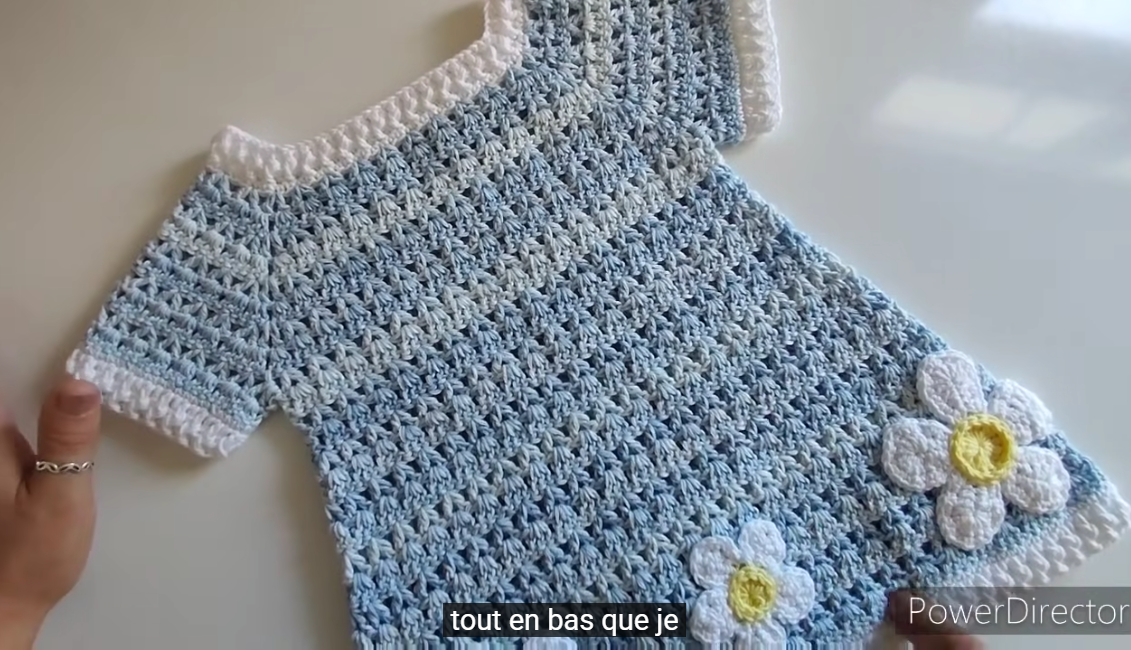
by Absolutely! Let’s go step by step in detail on how to make a crochet pullover summer dress for a girl. I’ll cover materials, sizing, stitch choices, construction, and finishing tips.
Materials You’ll Need
-
Yarn:
-
Lightweight cotton or cotton-blend yarn is ideal for summer (e.g., sport weight or DK).
-
Choose soft, breathable yarn that’s gentle on the skin.
-
-
Crochet Hook:
-
Check your yarn label for recommended hook size. For lightweight cotton, usually 3.5 mm – 4 mm (E/F) works well.
-
-
Other Supplies:
-
Scissors
-
Stitch markers
-
Measuring tape
-
Yarn needle for weaving in ends
-
Sizing and Measurement
Before starting, measure the child:
-
Chest circumference
-
Waist circumference (optional, if you want a fitted style)
-
Dress length from shoulder to desired hemline
-
Shoulder width
Tip: Add 2–4 inches to the chest measurement for ease.
Choosing a Stitch Pattern
For a summer dress, lightweight and airy stitches are perfect. Some options:
-
Mesh Stitch / Lattice Stitch – airy and breathable
-
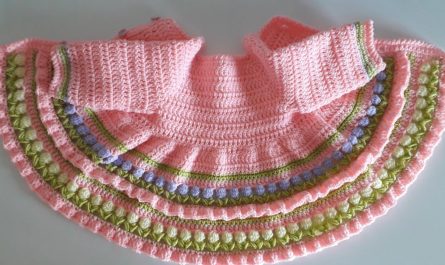
Shell Stitch – decorative and feminine
-
Granny Stripe / Motifs – colorful and playful
For a beginner-friendly version, a combination of double crochet (dc) and chain stitches works well.
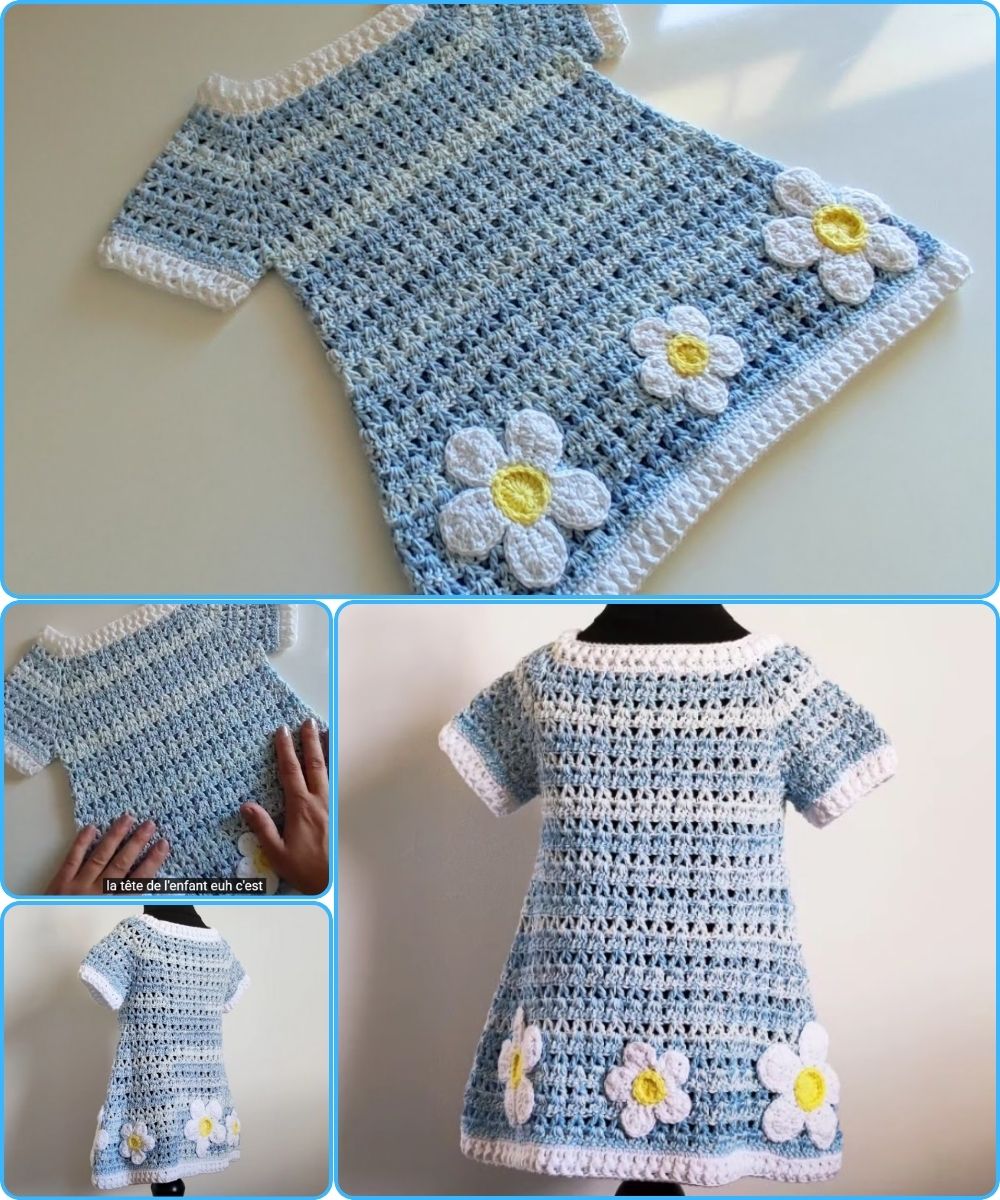
Dress Construction
A crochet pullover summer dress can be made in three main parts:
-
Top (Bodice)
-
Skirt
-
Finishing (neckline, armholes, edging)
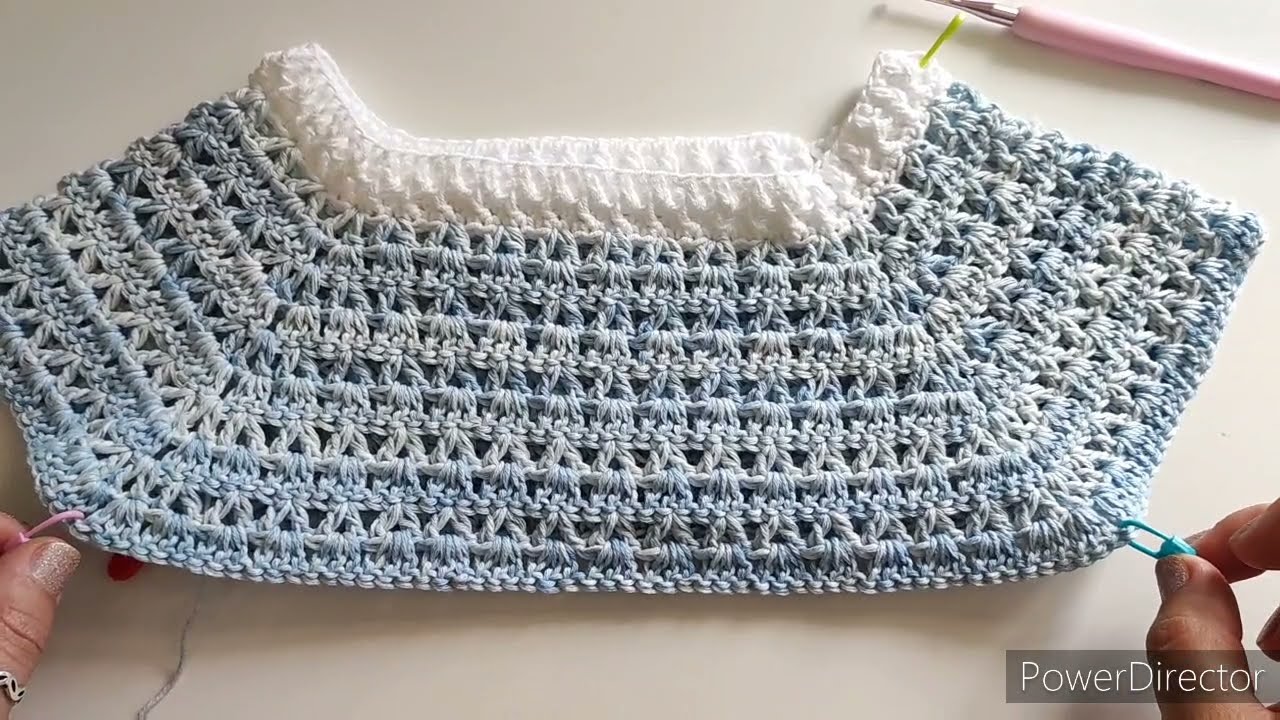
Step 1: Crocheting the Bodice
Option 1: Top-Down Pullover (easy for fitting)
-
Start with a chain foundation based on chest measurement.
-
Example: For a 24-inch chest with a gauge of 4 stitches per inch, chain 96.
-
-
Join into a round if circular, or work back and forth if flat.
-
Work in your chosen stitch (e.g., double crochet or shell) until you reach armhole depth.
-
Measure from shoulder down to armpit (~6–8 inches for a small girl, adjust as needed).
-
-
Split for armholes if making flat:
-
Leave a few inches for arm openings and continue for the front and back separately.
-
Option 2: Bottom-Up Pullover
-
Start with a chain for the hem, then increase gradually for bodice width.
Step 2: Skirt
-
From the bottom of the bodice, start working the skirt.
-
Increase slightly every few rows for a flared look, or keep straight for an A-line look.
-
Use lightweight airy stitch (mesh, shells, or granny stripes) for a summer-friendly flow.
-
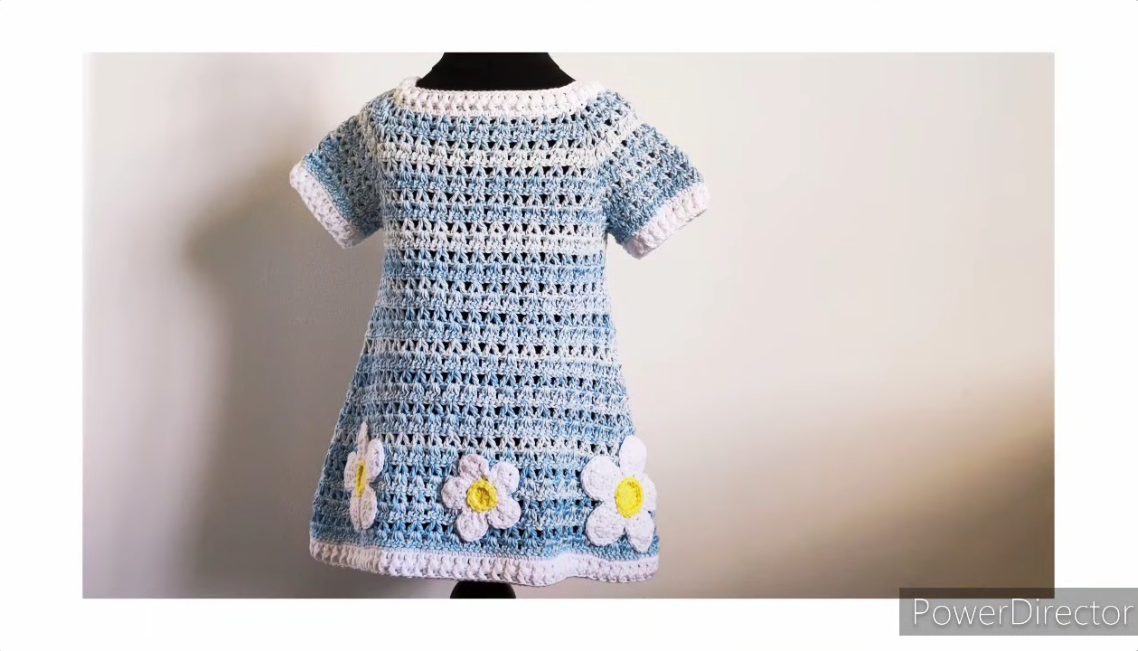
Work until desired dress length is reached.
Step 3: Sleeves (Optional)
-
For a sleeveless summer dress, just finish the armholes with a neat border.
-
For short sleeves:
-
Pick up stitches around armhole.
-
Work 3–5 rows of your chosen stitch.
-
Finish with a decorative edge (picot, scallop, or single crochet).
-
Step 4: Neckline & Finishing
-
Neckline:
-
Pick up stitches around neckline.
-
Work 1–2 rows of single crochet or ribbed stitch for stability.
-
-
Weave in all ends neatly.
-
Optional: Add ribbons, buttons, or applique for extra decoration.

Step 5: Blocking
-
Gently block the dress to shape it:
-
Wet the dress, lay it flat, and shape to measurements.
-
This evens out stitches and gives a professional finish.
-
Tips for Success
-
Gauge Swatch: Always make a small swatch to check stitch size.
-
Ease: Don’t make it too tight; add 2–4 inches to chest measurement.
-
Color Choices: Light pastels or bright summer colors work well.
-
Yarn Quality: Soft cotton is best; avoid scratchy acrylics.
-
Adjustable Fit: Consider adding a ribbon at waist for adjustable gathering.
If you want, I can make a detailed row-by-row beginner-friendly crochet pattern for a girl’s summer pullover dress, including stitch counts and measurements for different ages.
Do you want me to do that?
Watch tutorial: