 by
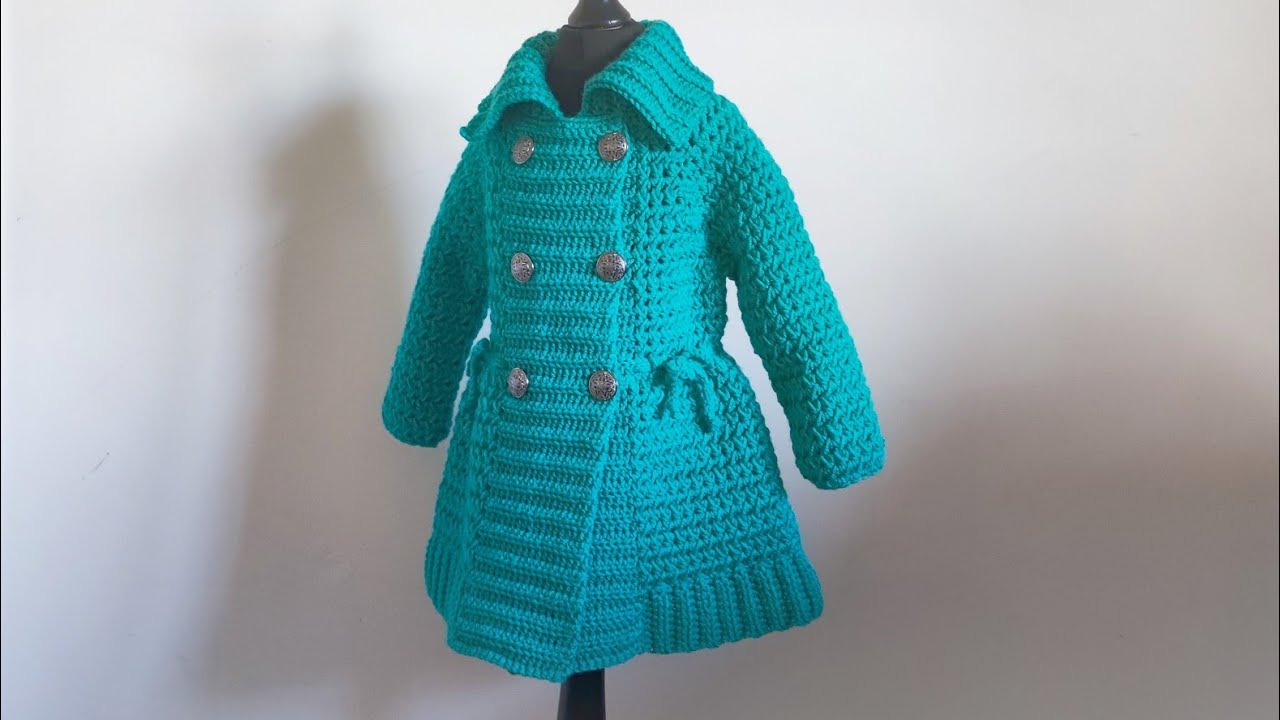
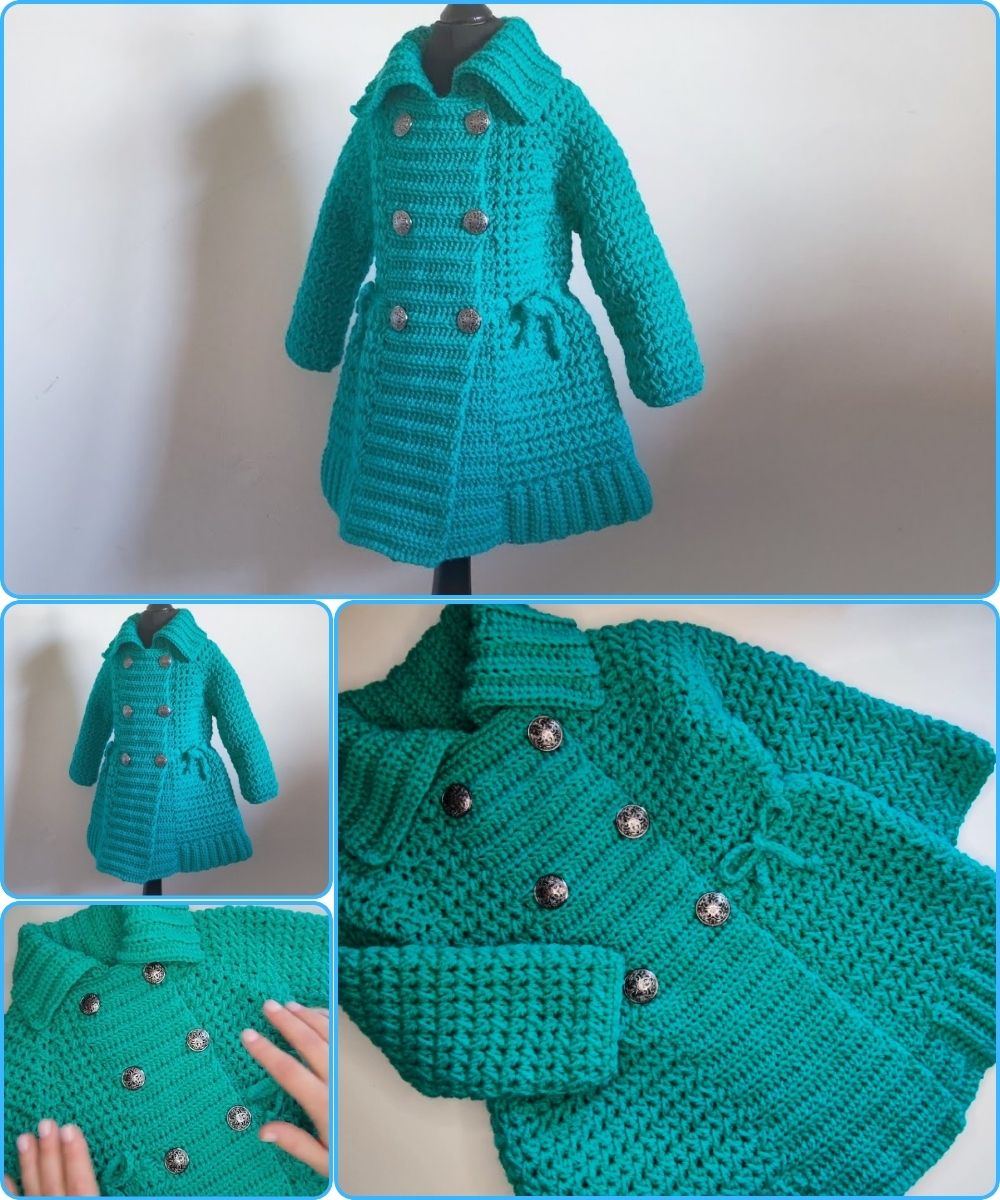
by Absolutely! Let’s go step by step. I’ll provide a detailed guide on how to crochet a double-breasted coat or cardigan for girls, covering materials, techniques, and step-by-step instructions. I’ll also include tips for sizing, stitch patterns, and finishing touches.
Materials Needed
-
Yarn: Medium-weight (worsted) yarn or DK (light worsted) for a softer, lighter coat. Choose a washable yarn for durability.
-
Crochet Hook: Use a hook size recommended for your yarn (usually 4–5 mm for worsted).
-
Buttons: 4–6 buttons depending on size.
-
Measuring Tape: For accurate sizing.
-
Tapestry Needle: For sewing seams and weaving in ends.
-
Scissors
Sizing Guide
For girls’ sizes, approximate chest circumference:
| Age | Chest Circumference | Coat Length |
|---|---|---|
| 2-3 | 52-55 cm | 35 cm |
| 4-5 | 56-58 cm | 40 cm |
| 6-7 | 60-64 cm | 45 cm |
| 8-9 | 66-70 cm | 50 cm |
Tip: Always make a gauge swatch to ensure your stitches match the desired size.
Basic Stitches Used
-
ch: chain
-
sc: single crochet
-
dc: double crochet
-
hdc: half double crochet
-
sl st: slip stitch
-
dec: decrease (for shaping)
Step 1: Back Panel
-
Foundation chain: Chain the width needed for the back (ch = chest circumference ÷ 2, plus 2 for ease).
Example: For a 56 cm chest, your chain might be around 60–62 stitches depending on gauge. -
Row 1: DC in the 3rd chain from hook and across. Turn.
-
Row 2 onwards: DC in each stitch across. Continue until you reach desired length (usually shoulder to waist/back length).
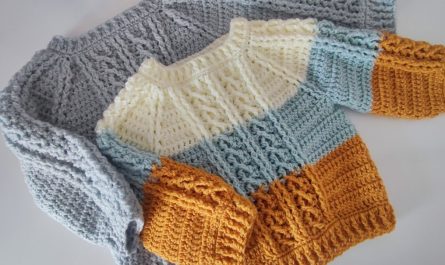
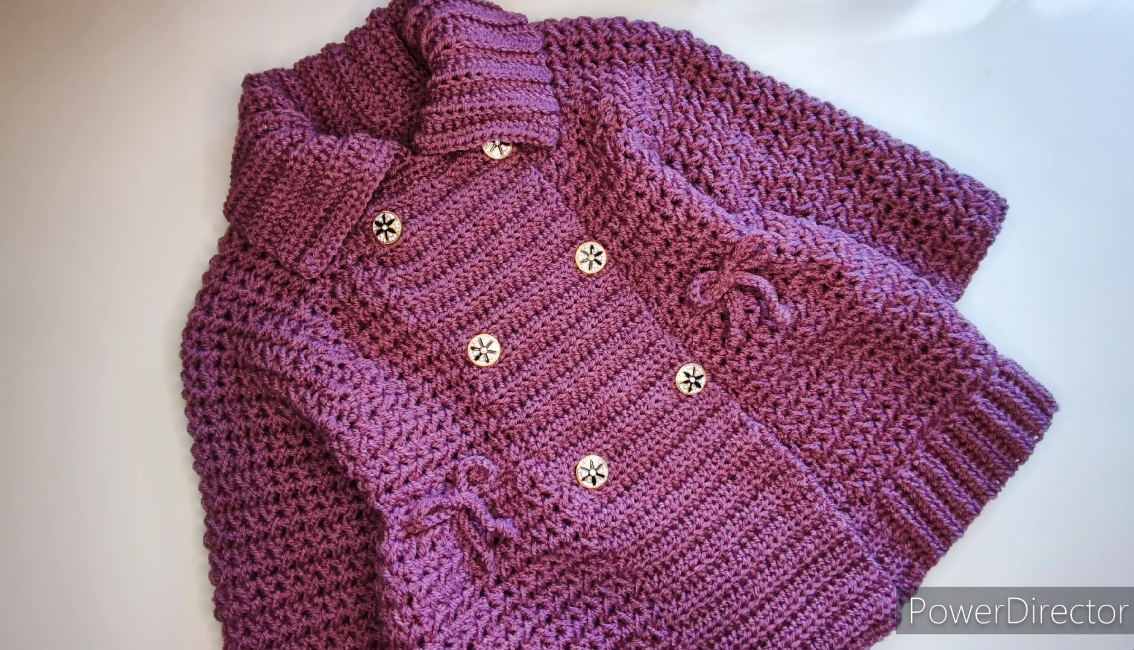
Optional: Add texture with hdc, shell stitches, or cables for a decorative look.

Step 2: Front Panels
For a double-breasted look, you need two front panels that overlap.
-
Foundation chain: About half the width of the back plus extra for overlap.
-
Rows: Work in the same stitch as back.
-
Shaping: Decrease near the neckline gradually for a curved opening.
-
Button Bands: Add a few rows of sc along the edge for a neat finish where buttons will be sewn.
Step 3: Sleeves
-
Foundation chain: Width = arm circumference × 0.8 (slightly snug).
-
Rows: Work dc or hdc until sleeve length is achieved.
-
Shaping: Gradually decrease stitches towards the wrist if desired.
Tip: You can make bell-shaped or straight sleeves depending on style.
Step 4: Assembly
-
Block all pieces to shape.
-
Sew shoulder seams using tapestry needle and whip stitch or mattress stitch.
-
Attach sleeves to armholes.
-
Sew side seams and underarm seams.
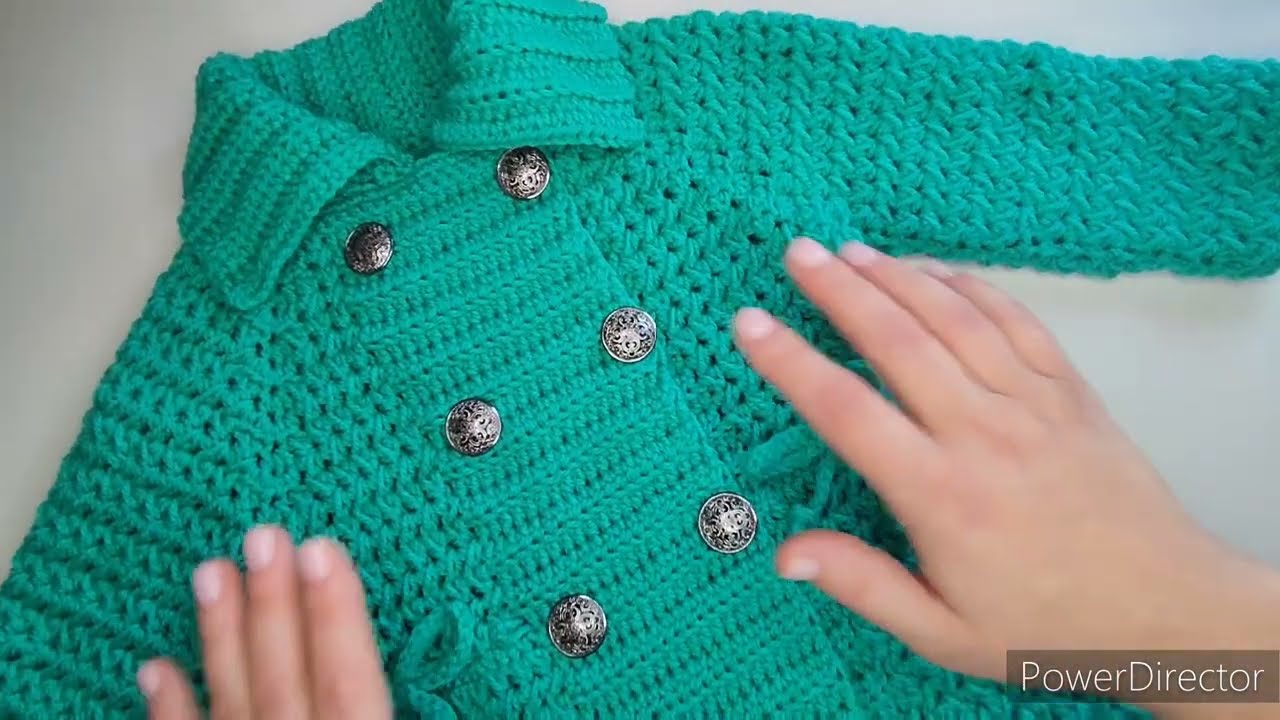
Step 5: Button Placement
-
Decide how far you want the coat to overlap (usually 3–5 cm).
-
Sew buttons on the right panel (for double-breasted style).
-
Create buttonholes or simply use loops on the left panel.
-
Typically, double-breasted coats have two columns of buttons, evenly spaced.
Step 6: Finishing
-
Weave in all loose ends.
-
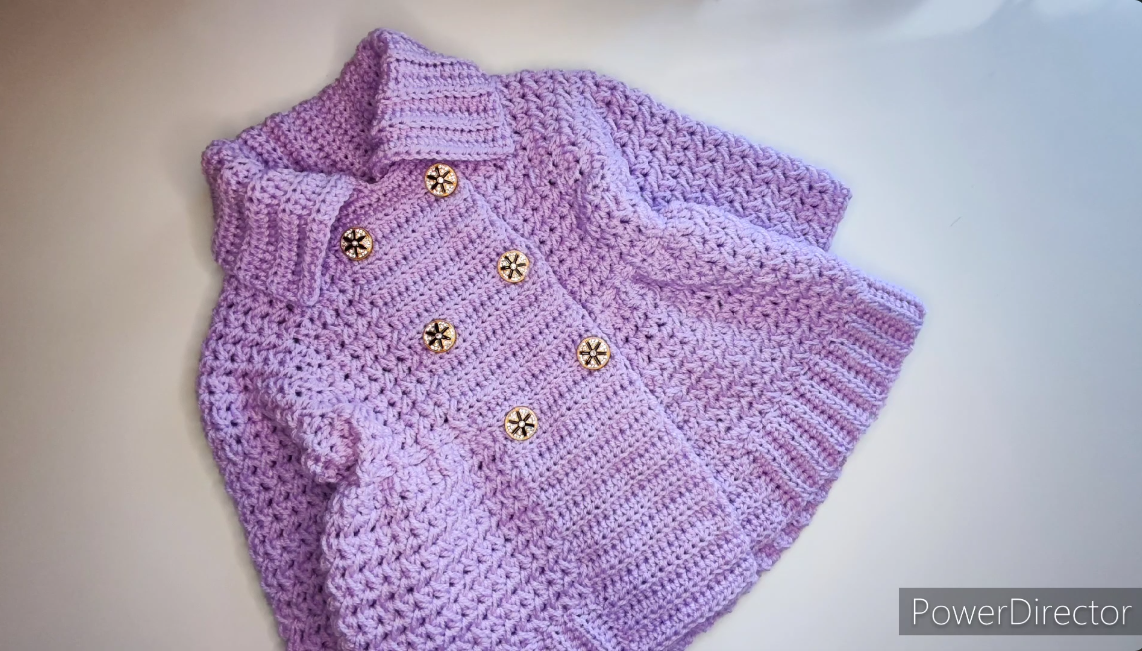
Add optional edging: sc or shell stitch along the hem, cuffs, and neckline for a polished look.
-
Steam/block lightly to even stitches.
Tips for Style & Fit
-
Use soft, washable yarns for children.
-
Add a hood for extra warmth.
-
Experiment with color blocking: different colors for sleeves or edging.
-
For a fancier look, use textured stitches like cables or puff stitches on the front panels.
If you want, I can create a full stitch-by-stitch pattern with exact stitch counts for each size so you can start crocheting right away. It’ll be like a mini crochet blueprint for a girls’ double-breasted coat.
Do you want me to do that?
Watch tutorial: