 by
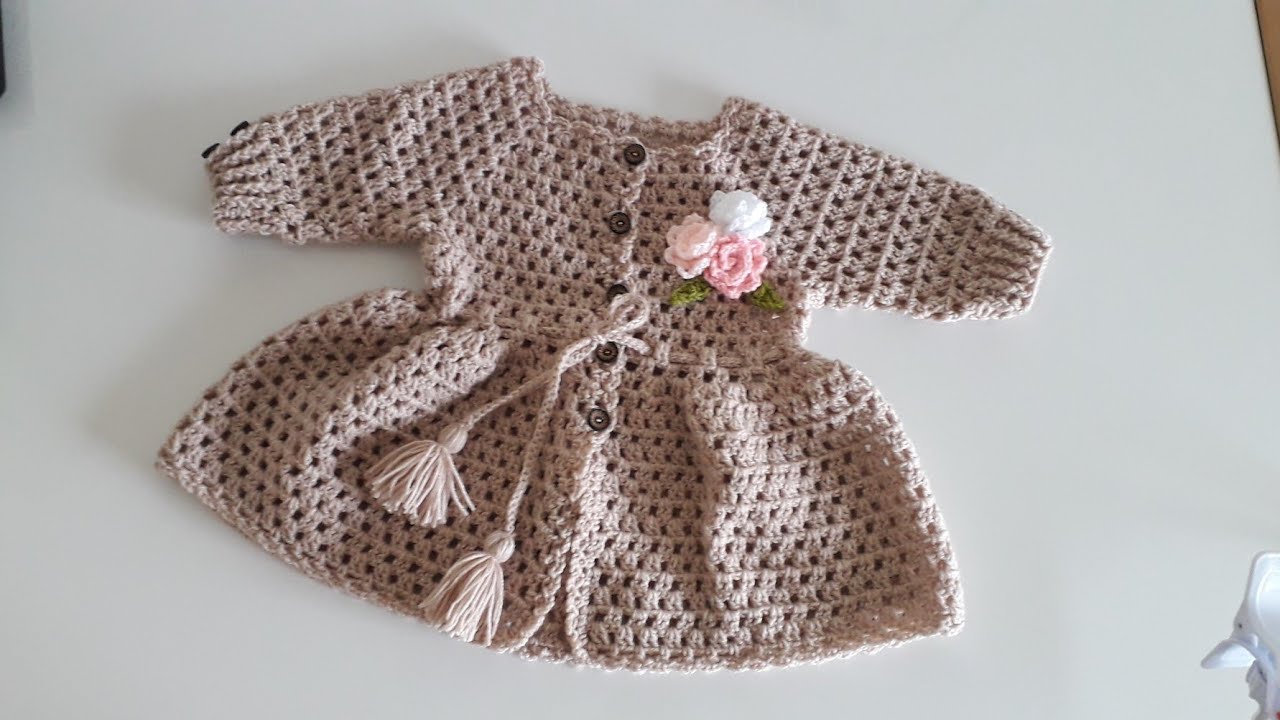
by Here is a clear, detailed, step-by-step guide on How to Crochet a Girl’s Cardigan, written in simple language so it’s easy to follow 🌸
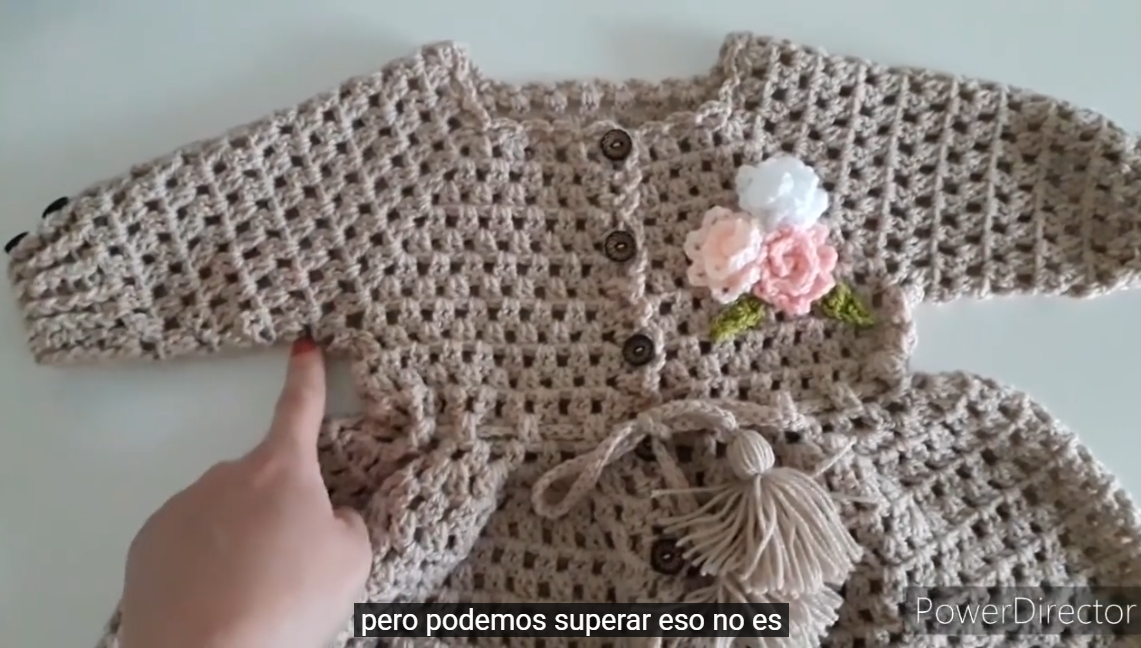
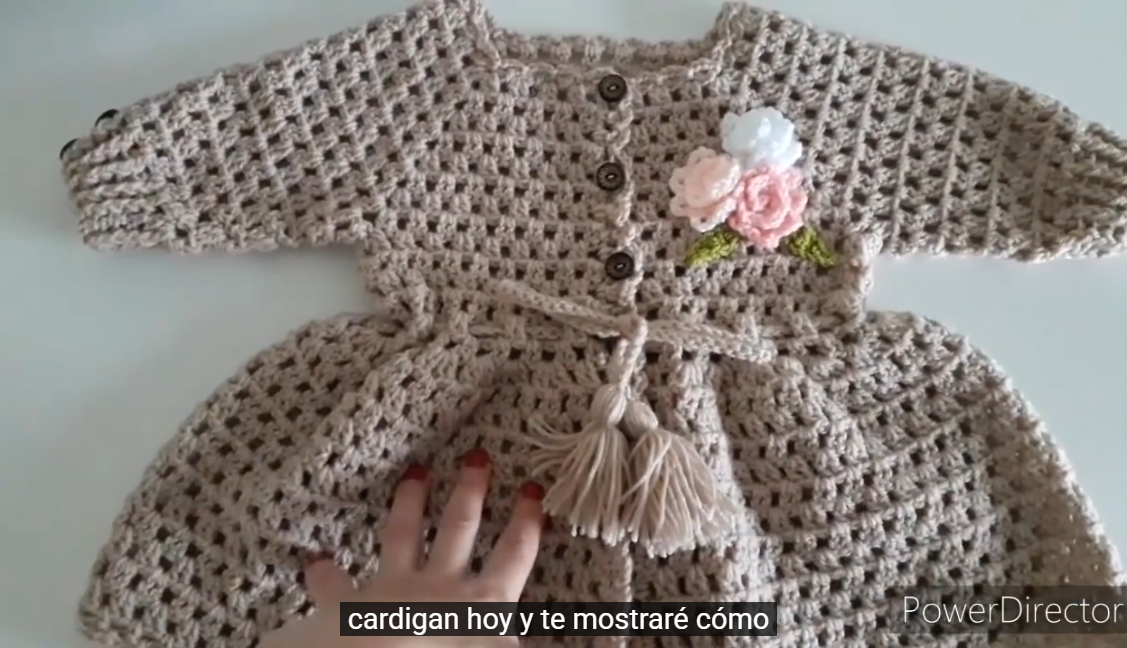
How to Make a Crochet Girl’s Cardigan
Crocheting a girl’s cardigan is a rewarding project that creates a warm, stylish, and handmade garment. This guide explains the materials needed, basic stitches, and step-by-step construction for a beginner-friendly cardigan.
Materials Needed
-
Yarn: Medium-weight (worsted) yarn or soft baby yarn
(Approximately 300–600 grams depending on size) -
Crochet Hook: Size 4.5–5.5 mm (check yarn label)
-
Scissors
-
Yarn Needle (for sewing and weaving ends)
-
Buttons or Zipper (optional)
-
Measuring Tape
Basic Crochet Stitches Used
You should know these basic stitches:
-
Chain (ch)
-
Slip Stitch (sl st)
-
Single Crochet (sc)
-
Half Double Crochet (hdc) or Double Crochet (dc)
Step 1: Take Measurements
Measure the child’s:
-
Chest circumference
-
Arm length
-
Cardigan length (shoulder to hip)
This ensures a good fit.
Step 2: Make the Back Panel
-
Chain enough stitches to match half the chest measurement.
-
Start in the second chain from the hook.
-
Work double crochet across the row.
-
Chain 2, turn, and repeat until the piece reaches the desired length.
-
Fasten off.
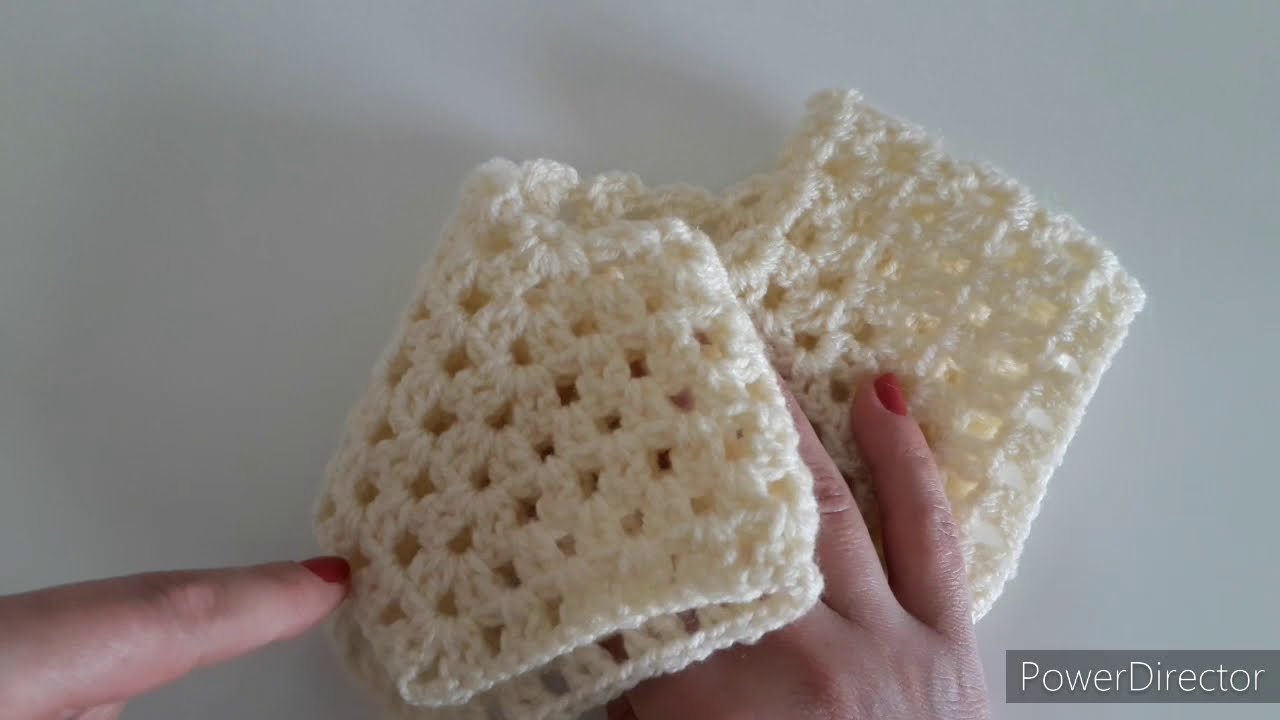
Step 3: Make the Front Panels (Left & Right)
-
Chain half the width of the back panel.
-
Crochet rows the same way as the back panel.
-
Stop a few inches shorter to form the neckline.
-
Make two identical front panels.
Step 4: Make the Sleeves
-
Chain to fit around the upper arm.
-
Join with a slip stitch to form a circle.
-
Crochet in rounds using double crochet.
-
Increase stitches gradually for comfort.
-
Continue until sleeve reaches wrist length.
-
Make two sleeves.
Step 5: Assemble the Cardigan
-
Lay all pieces flat.
-
Sew shoulder seams.
-
Attach sleeves to armholes.
-
Sew side seams and sleeve seams.
Step 6: Add Edging and Buttons
-
Crochet a neat border around the cardigan using single crochet.
-
Create buttonholes on one front panel.
-
Sew buttons onto the opposite panel.
Step 7: Finishing Touches
-
Weave in all loose ends.
-
Lightly block the cardigan for a neat shape.
-
Check fit and comfort.
Tips for Beginners
-
Choose soft yarn for children’s skin.
-
Count stitches regularly.
-
Try the cardigan on the child while making it.
-
Keep tension even for a professional look.
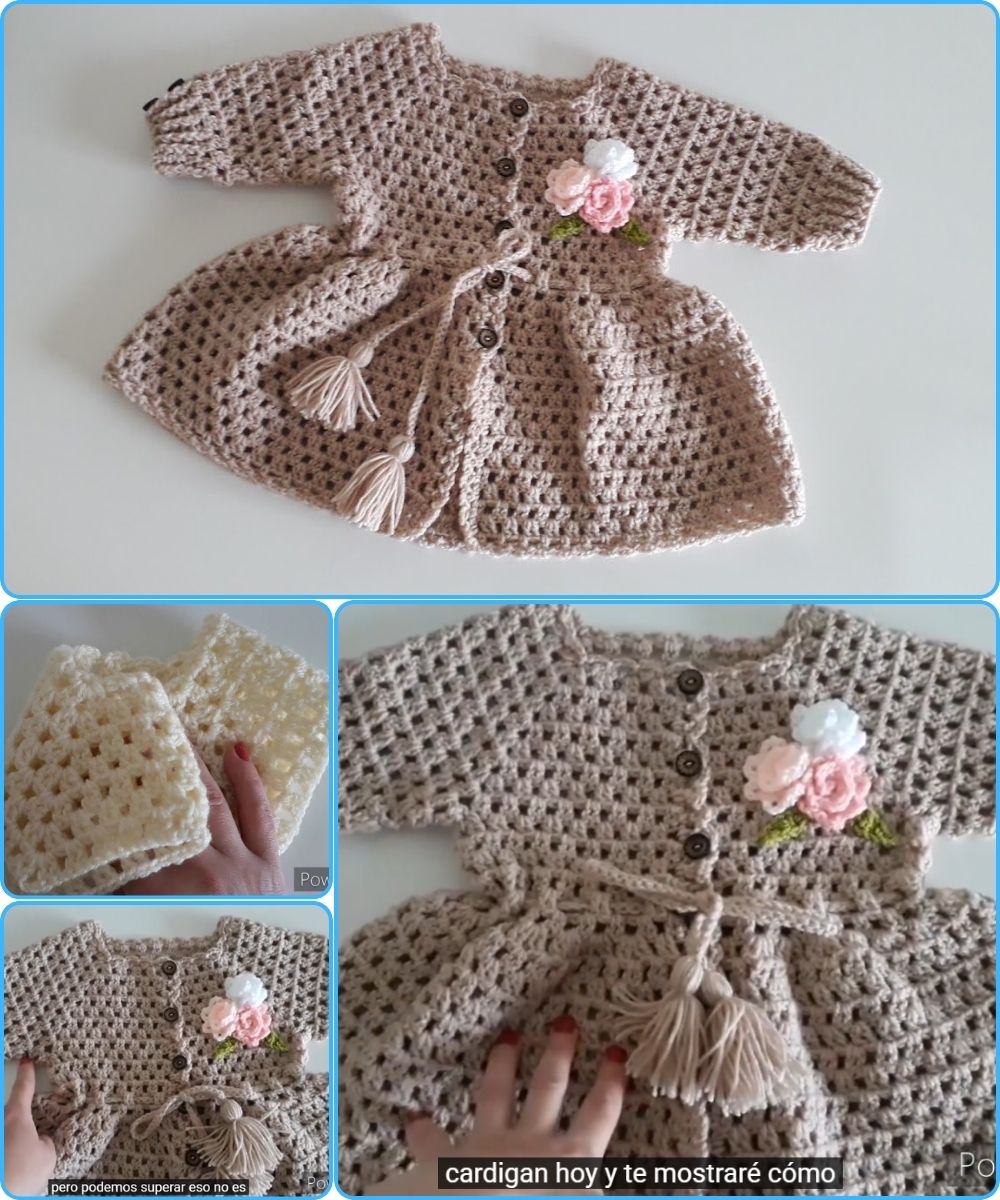
Conclusion
A crocheted girl’s cardigan is a beautiful handmade item that can be customized with colors, patterns, and buttons. With basic crochet skills and patience, you can create a cozy and stylish cardigan suitable for everyday wear or special occasions.
If you’d like, I can also:
-
Write this as a blog post
-
Create a size chart
-
Make a beginner-only pattern
-
Add pictures descriptions for each step
Just tell me 😊
Watch tutorial: