 by
by Absolutely! Let’s go step by step. I’ll provide a detailed guide on how to crochet a baby cardigan with fan stitches, including materials, techniques, and instructions. I’ll keep it clear and beginner-friendly, but also include tips for more advanced touches.
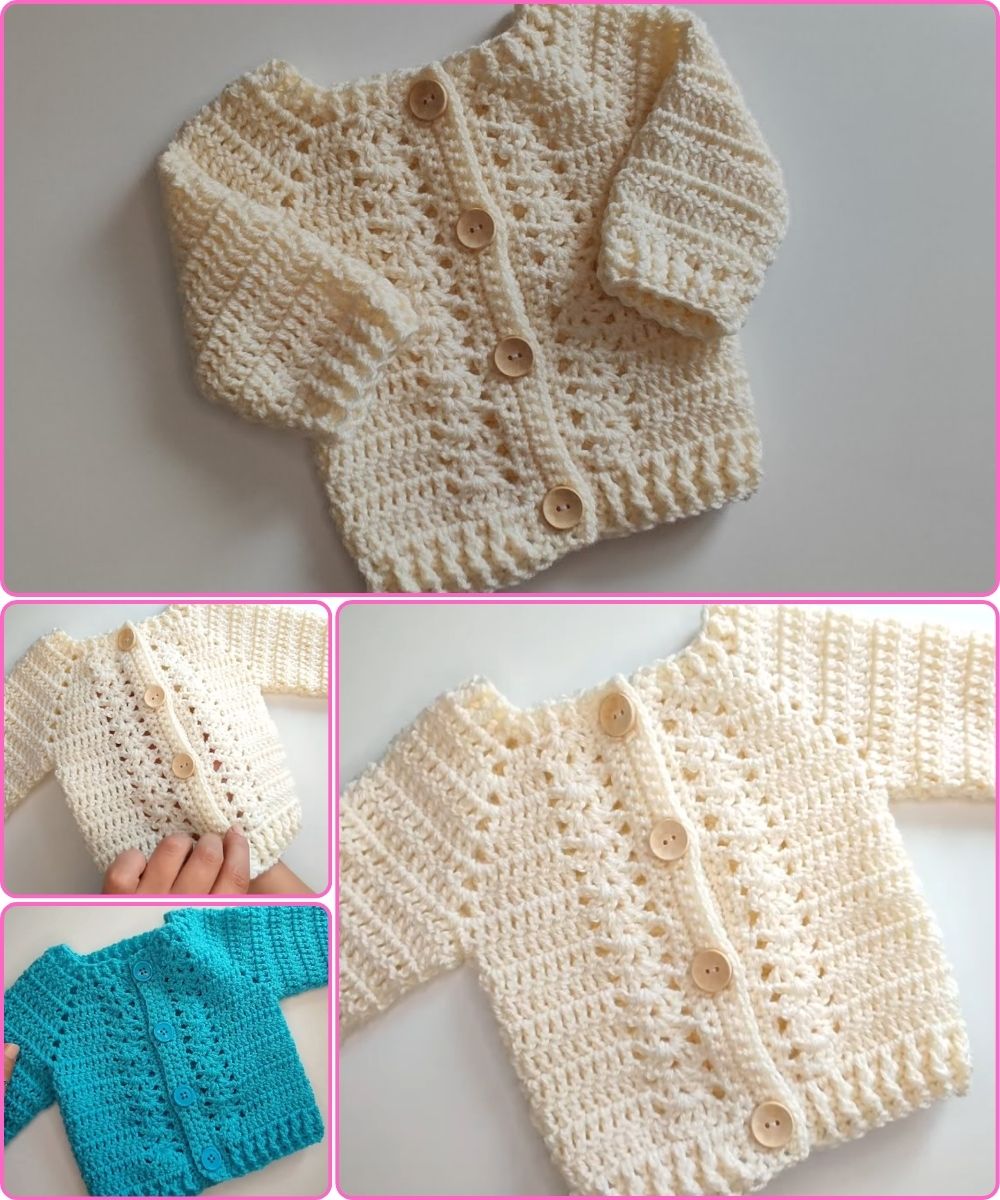
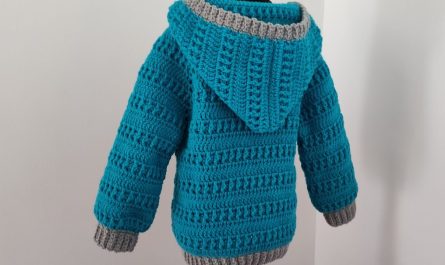
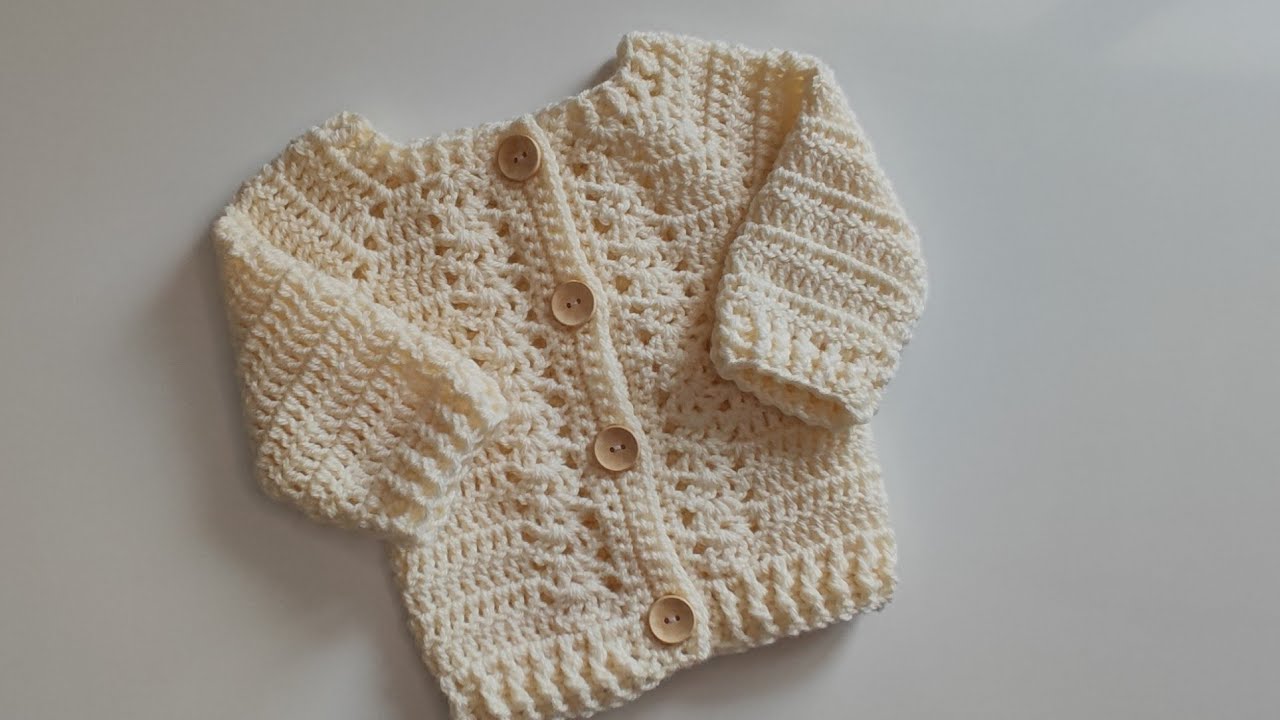
Crochet Baby Cardigan with Fan Stitches – Detailed Guide
Materials Needed
-
Yarn: Soft baby-friendly yarn (e.g., DK/light worsted weight; acrylic, cotton, or bamboo blends are ideal).
-
Hook: Recommended hook size for your yarn (usually 3.5–4.5 mm for DK yarn).
-
Notions:
-
Yarn needle for weaving in ends.
-
Stitch markers.
-
Buttons (optional, 3–5 depending on size).
-
-
Other Tools: Scissors, measuring tape.
Techniques You Should Know
-
Basic Stitches:
-
Chain (ch)
-
Slip stitch (sl st)
-
Single crochet (sc)
-
Double crochet (dc)
-
-
Fan Stitch:
-
Usually made by working multiple double crochets into a single stitch or space.
-
Example: 5 dc in one stitch = a fan.
-
-
Increasing and Decreasing: For shaping the sleeves and body.

Step 1: Gauge and Measurement
Before starting, measure the baby (or use standard sizes):
-
Newborn: Chest 16–17 in (41–43 cm)
-
3–6 months: Chest 17–18 in (43–46 cm)
-
6–12 months: Chest 18–20 in (46–51 cm)
Tip: Gauge swatch – 10×10 cm (4×4 in) using fan stitch pattern. Adjust hook if needed.
Step 2: Crochet the Back
-
Foundation Chain: Chain a number that matches the width of the back (adjust to your gauge).
-
Example: 50 ch for newborn.
-
-
Row 1: Dc in 4th ch from hook, skip 1 ch, dc in next ch, repeat across.
-
Row 2 (Fan Row):
-
Skip 1 dc, 5 dc in next dc (fan made), skip 1 dc, sc in next dc, repeat.
-
-
Continue alternating plain dc rows and fan rows until you reach the desired length of the back.
-
Optional: End with a plain dc row for a neat edge.
-

Step 3: Crochet the Front Panels
-
Left Front Panel:
-
Chain half the back width + 2 for turning.
-
Work the same fan stitch pattern as the back.
-
Optionally, leave a buttonhole space on the first few rows:
-
Skip 2–3 dc where button will go, chain same number, continue.
-
-
-
Right Front Panel:
-
Mirror the left panel.
-
Tip: Front panels are usually shorter than back at the neck for shaping.
Step 4: Crochet the Sleeves
-
Foundation Chain: Measure the arm circumference, chain that + 2 for turning.
-
Fan Pattern: Work in fan stitch pattern, increasing 1 dc at each end every 3–4 rows for sleeve shaping.
-
Length: Stop when sleeve reaches desired length. Make 2 sleeves.

Step 5: Assembly
-
Lay pieces flat.
-
Sew shoulder seams (back to front panels).
-
Attach sleeves to armholes.
-
Sew side seams and sleeve seams.
-
Weave in all ends.
Step 6: Edging
-
Use single crochet or scallop stitch along:
-
Front edges
-
Neckline
-
Bottom hem
-
Sleeve cuffs
-
-
This neatens the cardigan and strengthens edges.
Step 7: Adding Buttons
-
Mark button positions along one front panel.
-
Sew buttons on the opposite panel.
-
Ensure buttonholes are aligned with buttons.
Optional Variations
-
Fan Size: Increase to 7 dc per fan for more dramatic texture.
-
Yarn Colors: Alternate colors every 2–3 fan rows for stripes.
-
Lace Effect: Skip more stitches between fans for a lighter, airy design.
Tips for Success
-
Keep tension even to maintain fan shape.
-
Use stitch markers to track fan pattern repeats.
-
Always block the finished cardigan to even out stitches.
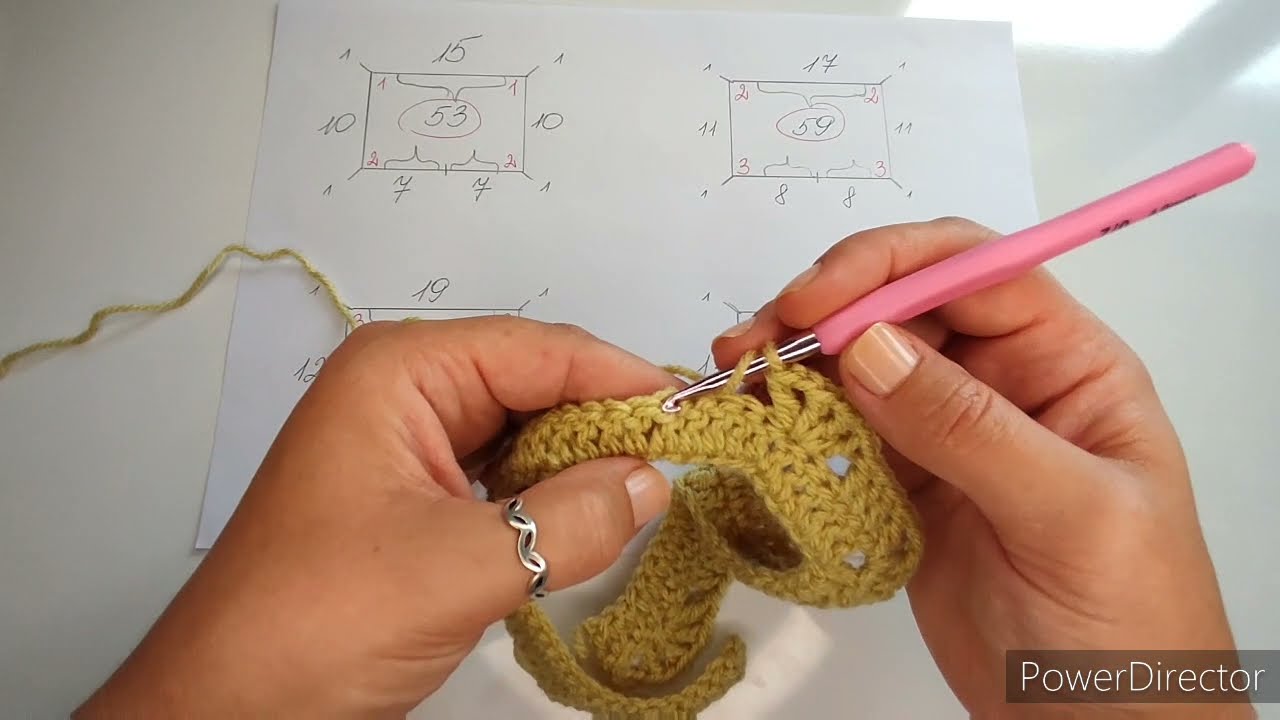
If you want, I can also draw a simple fan stitch diagram and layout for the baby cardigan, which makes following the pattern visually much easier.
Do you want me to make that diagram?
Watch tutorial: