 by
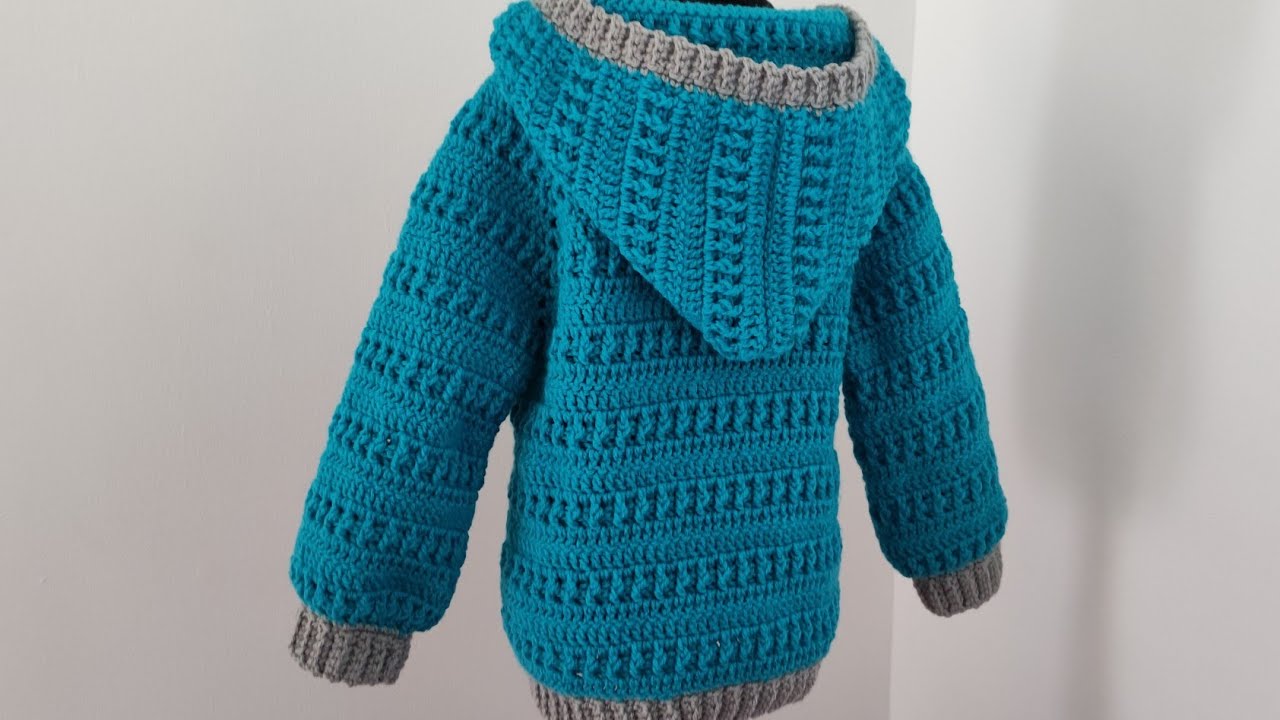
by Absolutely! I can guide you through a detailed step-by-step process for crocheting a pullover hoodie for children. I’ll break it down into materials, techniques, and step-by-step instructions so it’s beginner-friendly but also thorough.
Materials Needed
-
Yarn: Medium-weight (worsted) yarn is best for children’s hoodies. Choose a soft, washable yarn like acrylic or cotton blends.
-
Crochet Hook: Usually recommended hook size is 5 mm (H/8) for worsted yarn. Adjust based on your gauge.
-
Scissors
-
Tapestry Needle for weaving ends
-
Measuring Tape
-
Stitch Markers (optional but helpful)
Basic Techniques Required
Before starting, ensure you know how to:
-
Chain stitch (ch)
-
Slip stitch (sl st)
-
Single crochet (sc)
-
Half double crochet (hdc)
-
Double crochet (dc)
-
Increase and decrease stitches
-
Make a ribbed edge (optional)
Step 1: Take Measurements
For children, standard approximate measurements:
| Age | Chest (in) | Length (in) | Sleeve (in) |
|---|---|---|---|
| 2-3 yrs | 22-23 | 14 | 10 |
| 4-5 yrs | 24-25 | 16 | 12 |
| 6-7 yrs | 26-27 | 18 | 14 |
| 8-9 yrs | 28-29 | 20 | 15 |
-
Chest: Measure around the widest part
-
Length: Shoulder to desired hem
-
Sleeve: Shoulder seam to wrist
Step 2: Make the Body
You can choose top-down or bottom-up construction. Top-down is easier for sizing.
Top-Down Method:
-
Start with the neck:
-
Chain a length that fits around the neck comfortably (e.g., 28-32 ch for toddlers).
-
Join with a sl st to form a ring.
-
-
Yoke (shoulder shaping):
-
Work in rounds using double crochet (dc) or half-double crochet (hdc).
-
Increase evenly on four sides (front, back, two shoulders) every 2–3 rounds until chest measurement is reached.
-
-
Split for sleeves:
-
When yoke is wide enough, divide the work: place sleeve stitches on hold using stitch markers or scrap yarn.
-
Continue crocheting the body in the round to the desired length.
-
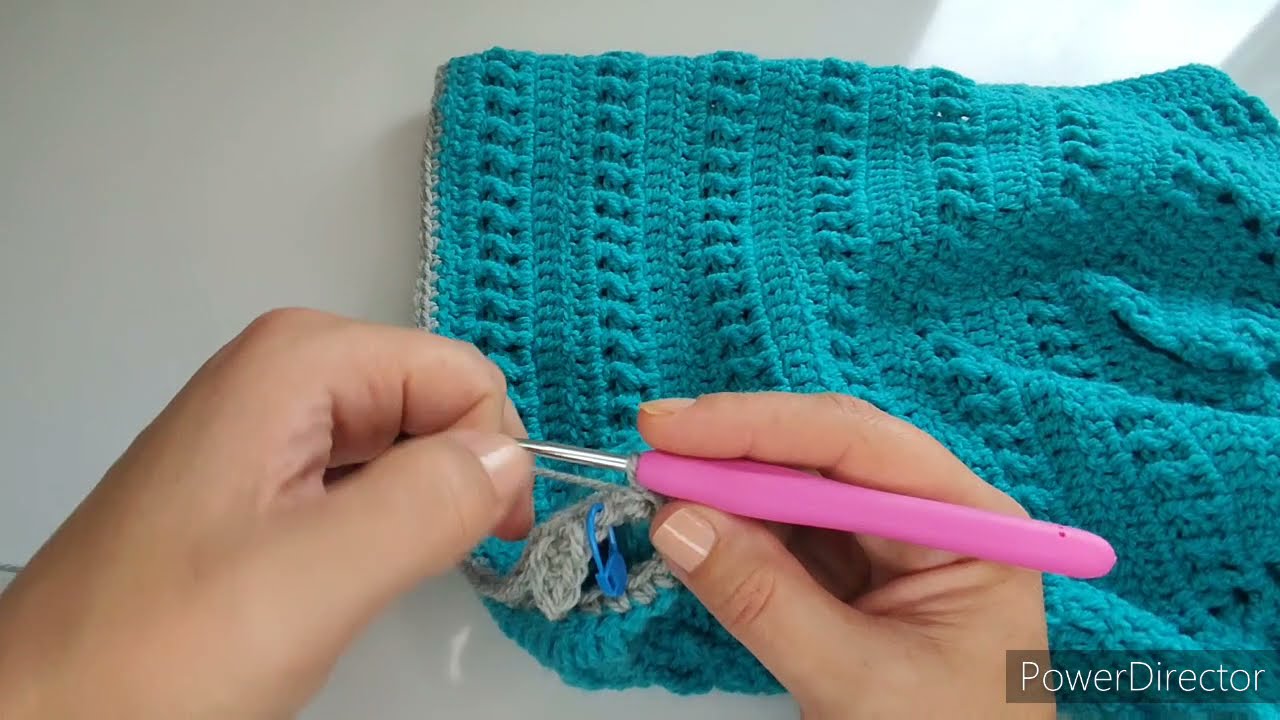
Bottom Edge (optional ribbing):
-
Work 1–2 inches in front post and back post double crochet (FPDC/BPDC) for a stretchy ribbed hem.
Step 3: Make the Sleeves
-
Pick up the stitches left for the sleeves.
-
Work in rounds using hdc or dc, increasing evenly until the widest part of the upper arm.
-
Decrease gradually toward the wrist for a snug fit, or leave straight for a looser fit.
-
Add ribbing at the cuffs (1–2 inches) using FPDC/BPDC.
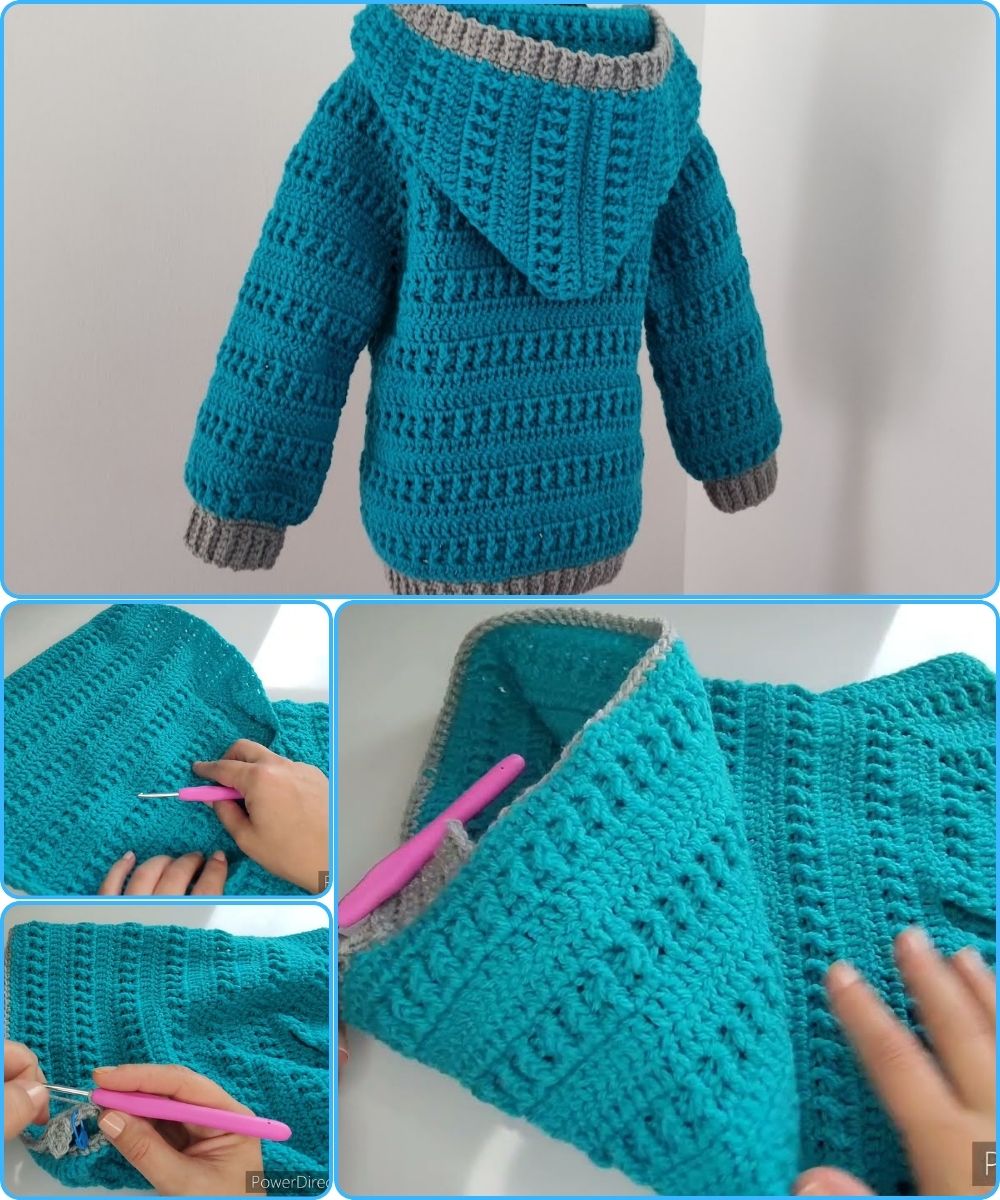
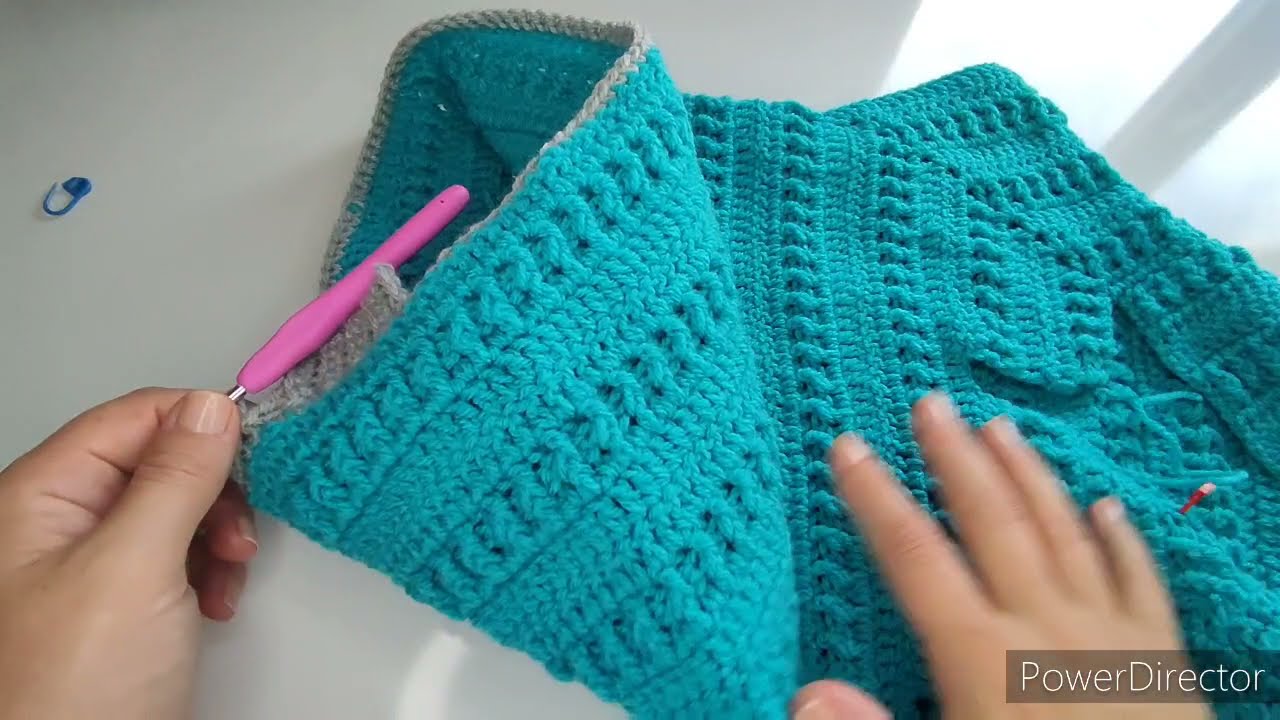
Step 4: Make the Hood
-
Pick up stitches around the neckline: Attach yarn at the center back neck.
-
Work in rows back and forth:
-
Use hdc or dc stitches for a cozy texture.
-
Increase 1 stitch at each end every few rows to give a rounded top.
-
-
Continue until the hood is long enough to cover the head.
-
Optionally, add a ribbed edge around the face opening.
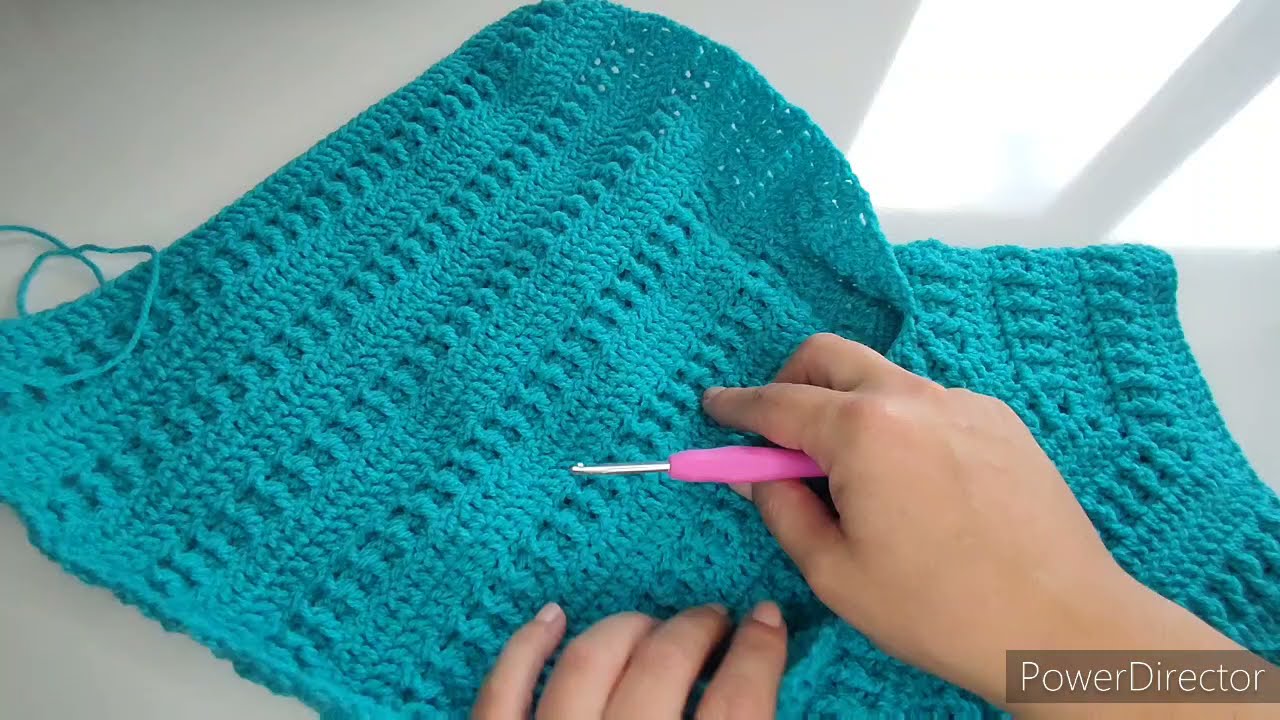
Step 5: Assembly
-
Sew underarm seams if working in pieces.
-
Weave in all ends using a tapestry needle.
-
Block lightly if needed (wet or steam blocking) to shape the hoodie.
Step 6: Optional Embellishments
-
Add a front pocket (kangaroo style): crochet a rectangle and sew it to the front.
-
Add a drawstring using a chain stitch through eyelets in the hood.
-
Embroider a small motif or applique for fun.
Tips
-
Always check the gauge: 4×4 inches in pattern stitch should match your pattern’s suggested gauge.
-
For toddlers, slightly looser fit is better for comfort.
-
Soft yarn is essential—children have sensitive skin.
-
Color-blocking sleeves or hood adds a playful design.
If you want, I can also draw a simple crochet diagram and pattern chart for a children’s hoodie so you can follow it visually—it makes the process much easier.
Do you want me to make that diagram?
Watch tutorial: