 by
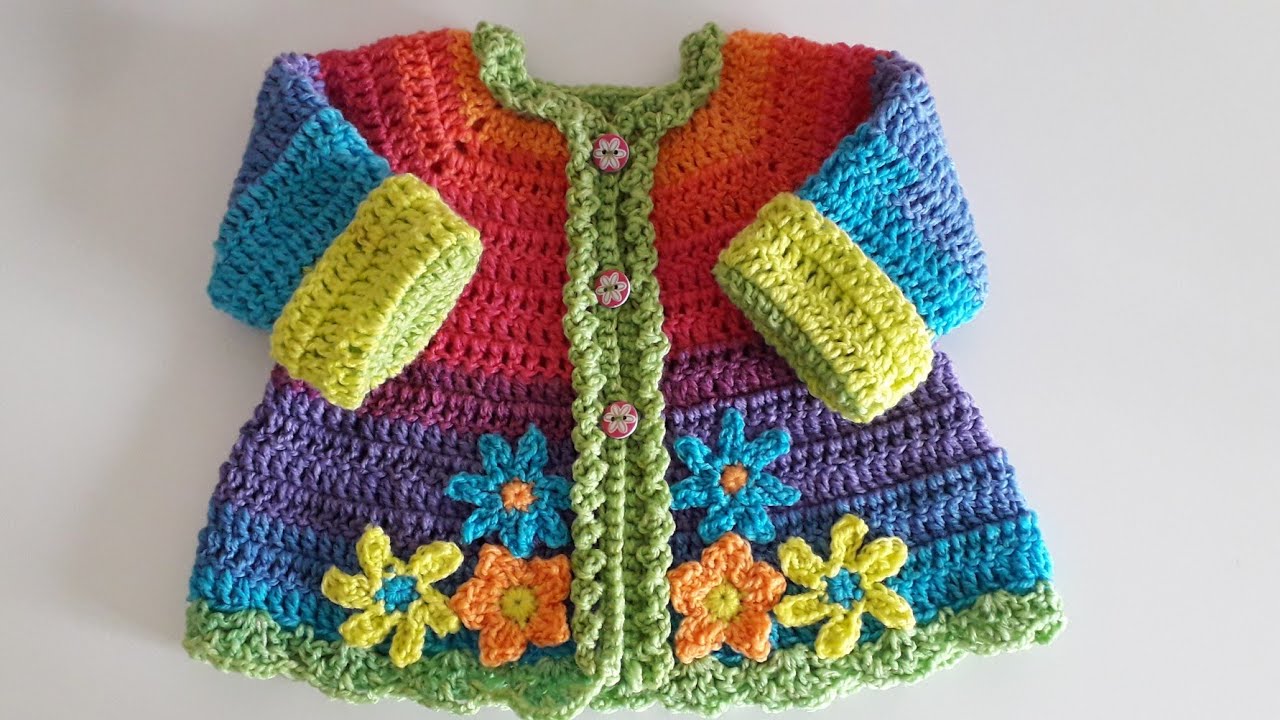
by Absolutely! Let’s break this down carefully. I’ll give you a detailed, step-by-step guide for crocheting a simple baby girl cardigan, including materials, measurements, and instructions. This will focus on a basic design suitable for beginners.
Materials Needed
-
Yarn: Soft baby yarn (DK/light worsted, approx. 150–200 g)
-
Hook: Size recommended on yarn label (usually 4.0–4.5 mm)
-
Buttons: 3–4 small buttons
-
Other tools: Yarn needle, scissors, stitch markers (optional)
Measurements (Approximate)
-
Age: 0–6 months
-
Chest: 16–18 inches
-
Length: 10–12 inches
-
Sleeve length: 6–7 inches
Adjust measurements proportionally for older babies.
Basic Stitches Used
-
Chain (ch)
-
Slip stitch (sl st)
-
Single crochet (sc)
-
Double crochet (dc)
-
Half double crochet (hdc)
-
Increasing: 2 stitches in one stitch
-
Decreasing: Crocheting 2 stitches together
Step 1: Make the Back Panel
-
Foundation chain: Chain about 42–50 stitches (depending on desired width).
-
Row 1: Dc in 3rd chain from hook, continue dc across. Turn.
-
Row 2 onward: Chain 2 (counts as first dc), dc across.
-
Continue: Repeat until piece measures about 10–12 inches.
-
Fasten off and set aside.
Step 2: Make the Front Panels (2 pieces)
-
Foundation chain: About half the width of back panel plus 1–2 extra stitches for overlap.
-
Rows: Work same as back panel (dc stitch).
-
Length: Same as back panel.
-
Shape neckline: On last 2–3 rows, decrease 1 dc at the inner edge to make a gentle curve for the neckline.
-
Make 2 pieces (left and right front).
Step 3: Make the Sleeves (2 pieces)
-
Foundation chain: Approx. 20–24 stitches.
-
Row 1: Dc across, turn.
-
Rows 2 onward: Dc across, increasing 1 dc at each end every 4th row until sleeve reaches desired width.
-
Length: Approx. 6–7 inches.
-
Make 2 sleeves.
Step 4: Assembly
-
Shoulders: Sew front panels to back panel at the shoulders.
-
Attach sleeves: Align the center of sleeve top with shoulder seam, sew along armhole.
-
Side seams: Sew sides from bottom edge to underarm, including sleeve seams.
Step 5: Add Button Band & Finishing
-
Button band: Pick up stitches along front edges with sc or hdc.
-
Left front: sc all along for buttonholes (make small gaps for buttons).
-
Right front: sc across.
-
-
Buttons: Sew buttons to match buttonholes.
-
Neckline & Bottom Edge: Optional: Crochet 1–2 rows of sc around neckline and bottom for a neat finish.
-
Weave in all ends.
Tips for a Baby-Friendly Cardigan
-
Use soft, washable yarn (acrylic or cotton blends).
-
Avoid sharp edges; all seams should be flat and smooth.
-
Ensure buttons are securely attached to prevent choking hazards.
-
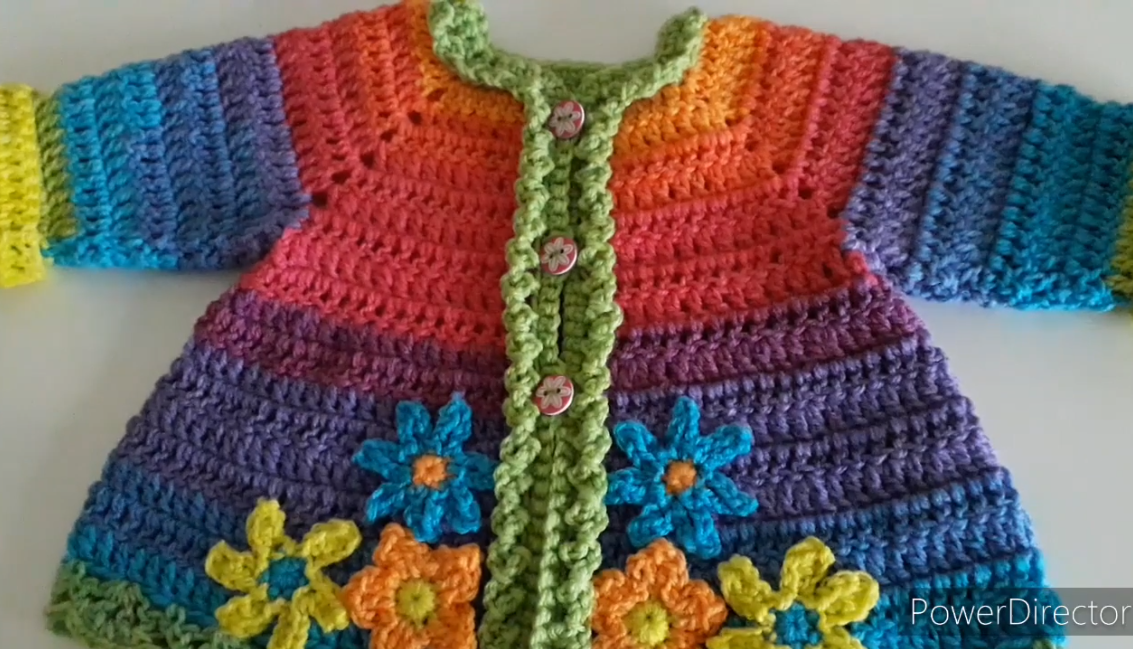
You can decorate with a small crochet flower or bow for a cute touch.
If you want, I can also make a diagram with stitch counts and measurements, showing exactly how many stitches for each panel and where to increase/decrease. That makes it super easy to follow for a first-time cardigan project.
Do you want me to create that diagram?
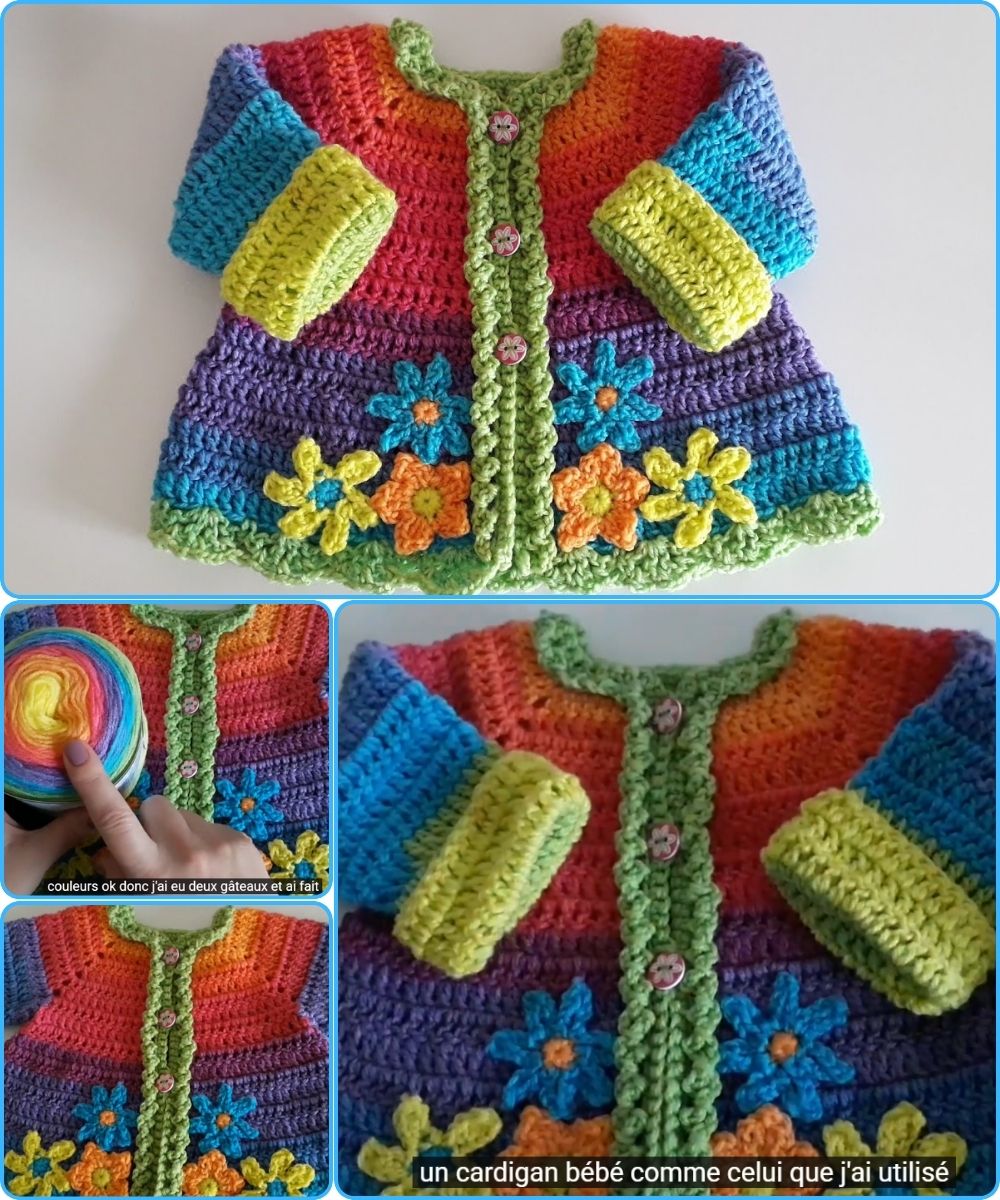
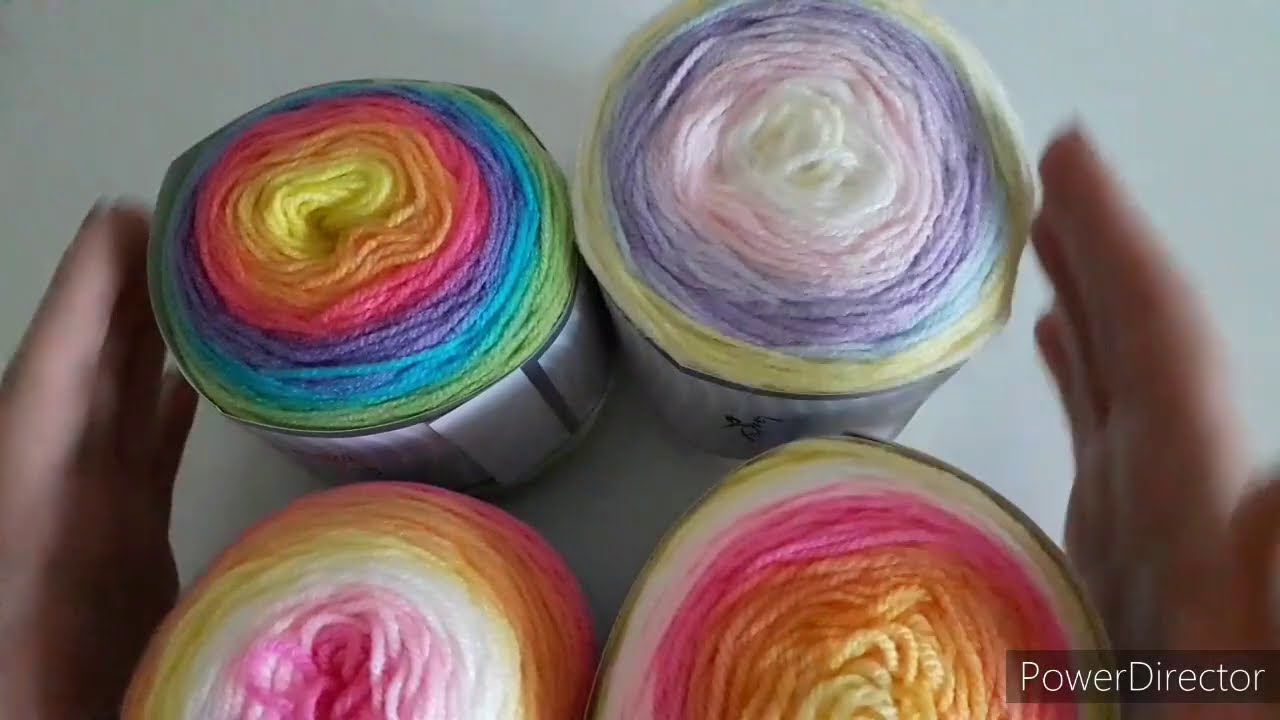
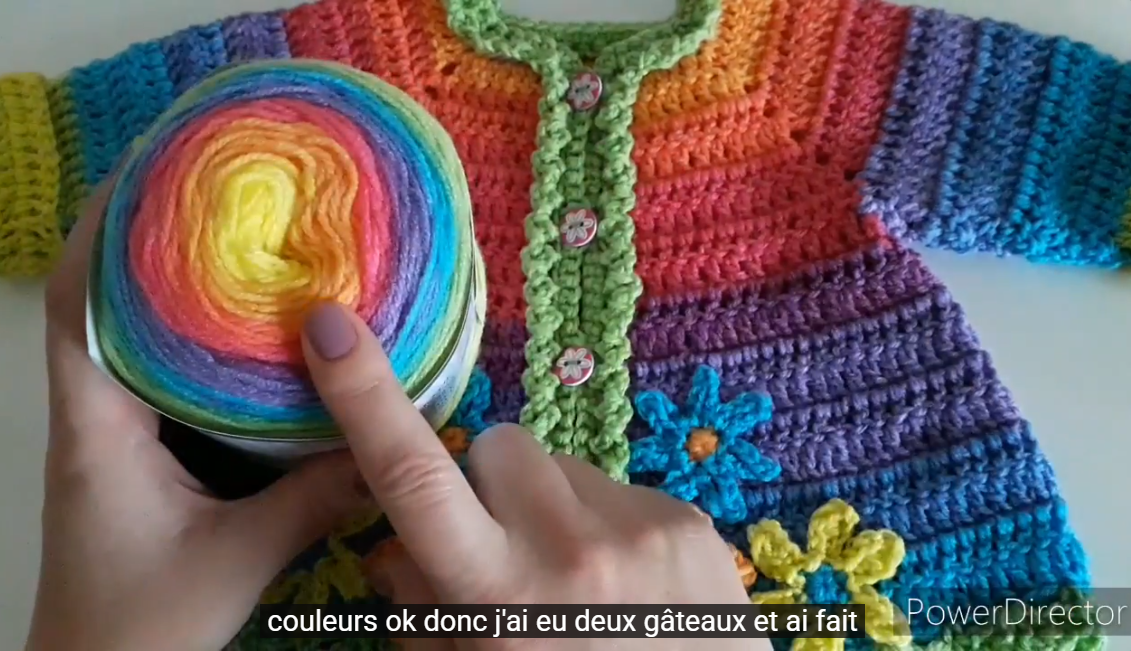
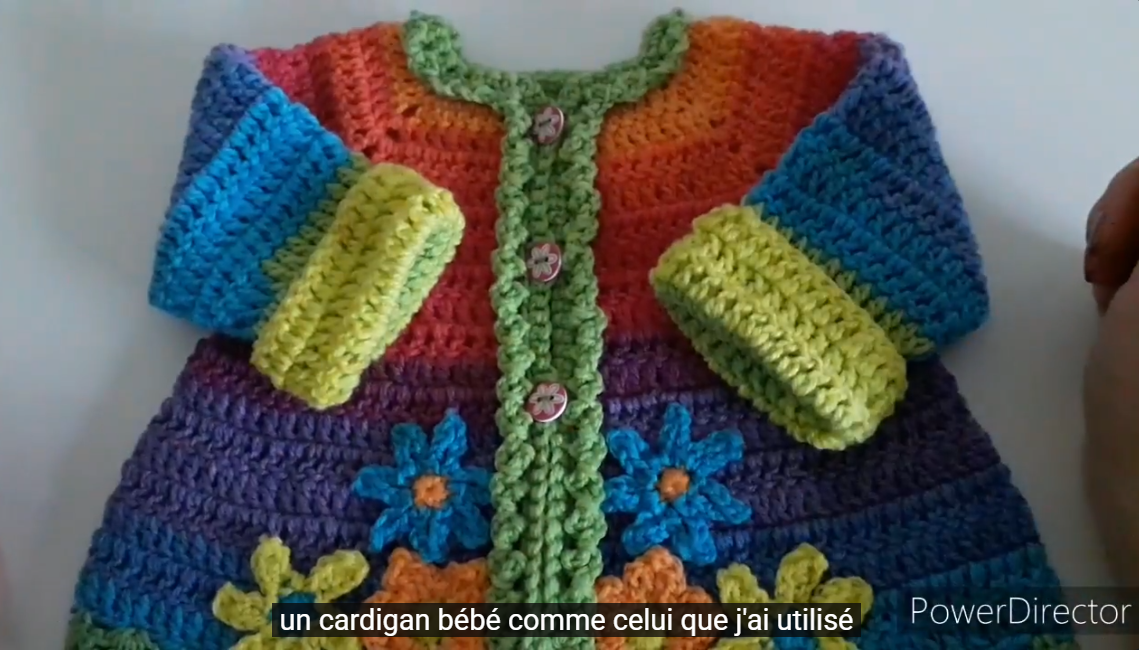
Watch tutorial: