 by
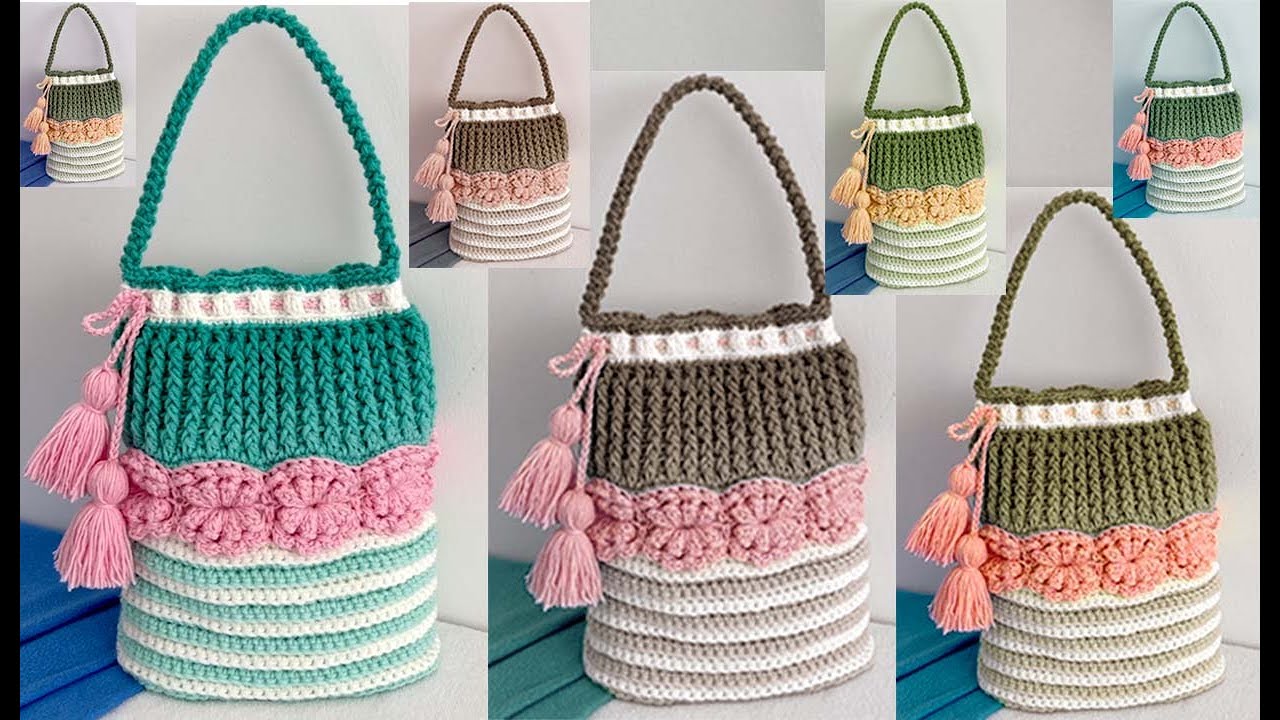
by Sure! Here’s a detailed guide on how to make pretty, easy, cute, and elegant bags that you can use as DIY gift bags. These are ideal for birthdays, holidays, party favors, weddings, or just thoughtful little surprises.
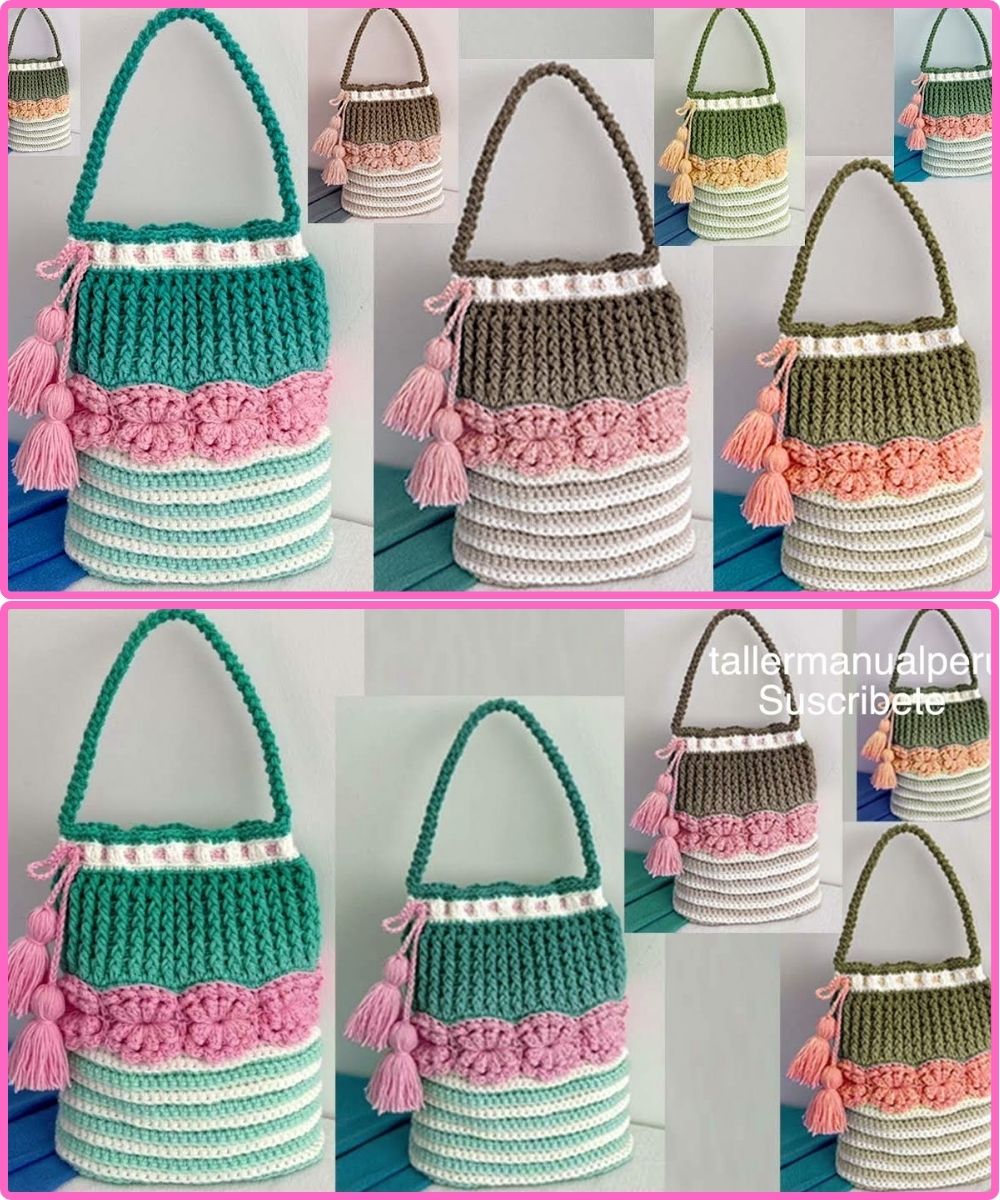
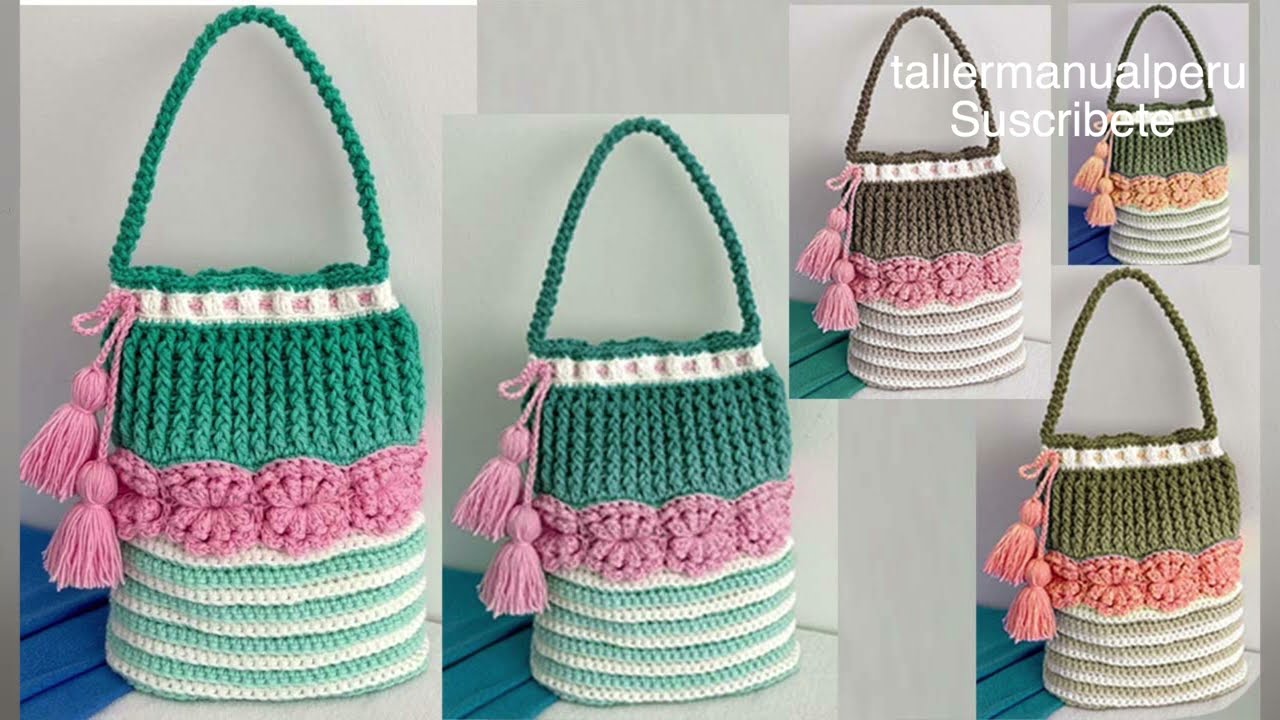
How to Make Pretty, Easy, Cute, and Elegant Gift Bags
✂️ MATERIALS YOU’LL NEED:
-
Paper or Fabric (depending on the bag type)
-
Cardstock, scrapbook paper, kraft paper, or decorative wrapping paper (for paper bags)
-
Cotton, linen, organza, velvet (for fabric bags)
-
-
Tools
-
Scissors or rotary cutter
-
Ruler
-
Pencil or fabric chalk
-
Glue stick, double-sided tape, or fabric glue
-
Sewing machine or needle and thread (for fabric bags)
-
Hole punch (optional)
-
Iron (for fabric)
-
-
Decorative Items
-
Ribbon, twine, lace
-
Buttons, charms
-
Tags or labels
-
Washi tape, stickers
-
STYLES YOU CAN MAKE:
1. PAPER GIFT BAG (No sewing!)
Best for: quick, easy, and customizable gift wrapping
✅ Instructions:
-
Cut your paper into a rectangle: e.g. 10″ x 7″
-
Fold in thirds lengthwise, overlapping the edges about 0.5″ and glue/tape them together to form a tube.
-
Fold the bottom edge up about 2 inches. Open the fold and squash it into a diamond shape.
-
Fold the top and bottom points of the diamond inward to meet in the center and glue/tape them. This creates the base.
-
Fold in the sides slightly to add dimension (optional).
-
Punch two holes at the top and thread with ribbon for handles or close with a clothespin or sticker.
Style Ideas:
-
Use pastel scrapbook paper with gold ribbon for a cute look
-
Use kraft paper and lace ribbon for a rustic, elegant vibe
-
Add personalized name tags for a more thoughtful touch
2. DRAWSTRING FABRIC BAG
Best for: small gifts like jewelry, soap, candies
✅ Instructions:
-
Cut fabric into a rectangle: e.g. 8″ x 10″
-
Fold the fabric in half (right sides together), forming an 8″ x 5″ piece.
-
Sew along both sides, leaving the top open.
-
Fold the top edge down 1″ and sew along the edge to create a casing for the drawstring.
-
Turn the bag right side out.
-
Thread ribbon or string through the casing using a safety pin.
Style Ideas:
-
Use floral cotton with satin ribbon for a cute cottagecore look
-
Velvet with gold cord for an elegant evening vibe
-
Sheer organza for wedding or baby shower favors
3. ENVELOPE-STYLE POUCH (Paper or Fabric)
Best for: flat items like gift cards, letters, or treats
✅ Instructions:
-
Cut material into a square: e.g. 8″ x 8″
-
Fold in three corners to form an envelope shape (like you’re wrapping a present).
-
Glue or sew the edges to secure.
-
Close the flap with a sticker, wax seal, or ribbon tie.
Style Ideas:
-
Use vintage-style paper for a romantic, old-world look
-
Fabric versions with lace trim are perfect for handkerchiefs or small keepsakes
4. MINI TOTE BAGS (Beginner Sewing Project)
Best for: more substantial gifts like books, makeup, or treats
✅ Instructions:
-
Cut two rectangles of fabric (e.g. 12″ x 10″) and two pieces of strap material (12″ each).
-
Place right sides together, sew around three sides.
-
Hem the top edge.
-
Turn the bag right side out.
-
Sew the straps to the inside of the hemmed top (one on each side).
Style Ideas:
-
Use canvas or linen for a minimalist style
-
Add iron-on initials or embroidery for personalization
-
Pair with matching tissue paper inside for a finished look
TIPS TO ELEVATE YOUR DIY BAGS:
-
Color Coordination: Choose complementary or themed colors (e.g. pastels, monochrome, holiday tones)
-
Add Texture: Layer materials like paper and fabric or use embossed paper
-
Keep Sizes Consistent if you’re making a set
-
Personal Touch: Handwrite the recipient’s name or a message
BONUS: NO-SEW FABRIC POUCH
You can use fabric glue or fusible hemming tape instead of sewing. Perfect for last-minute crafting or gifting!
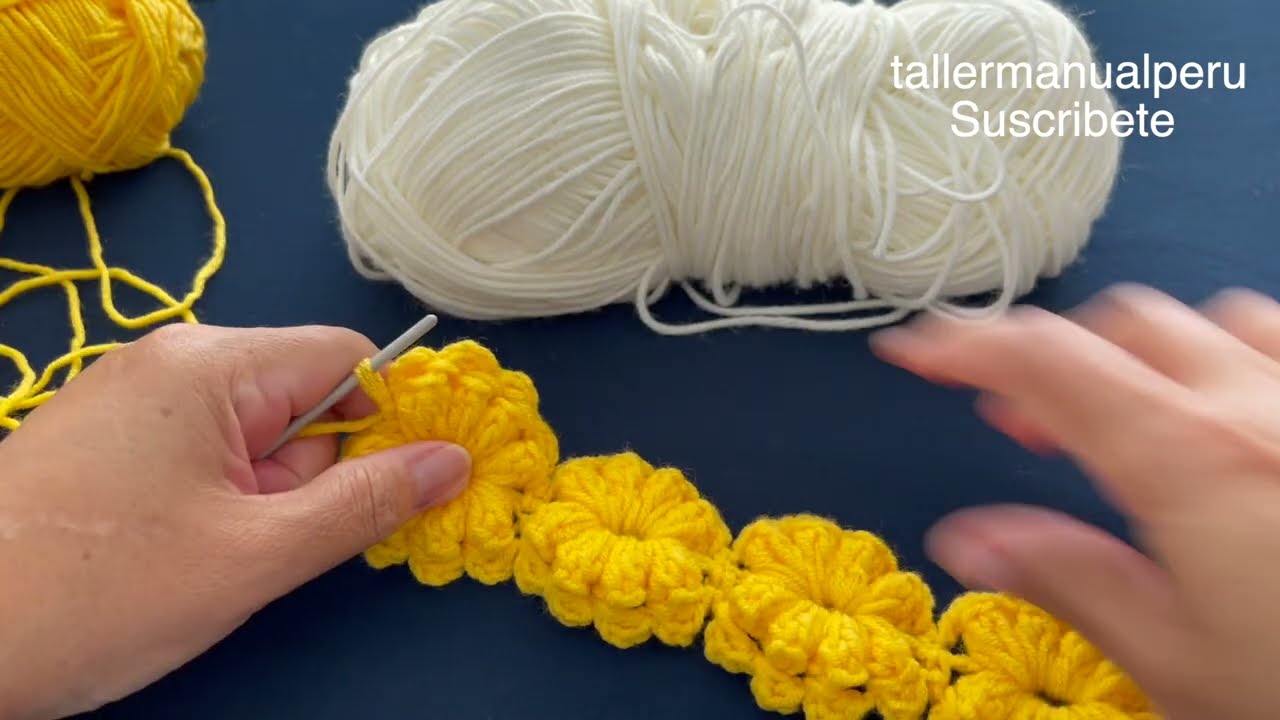
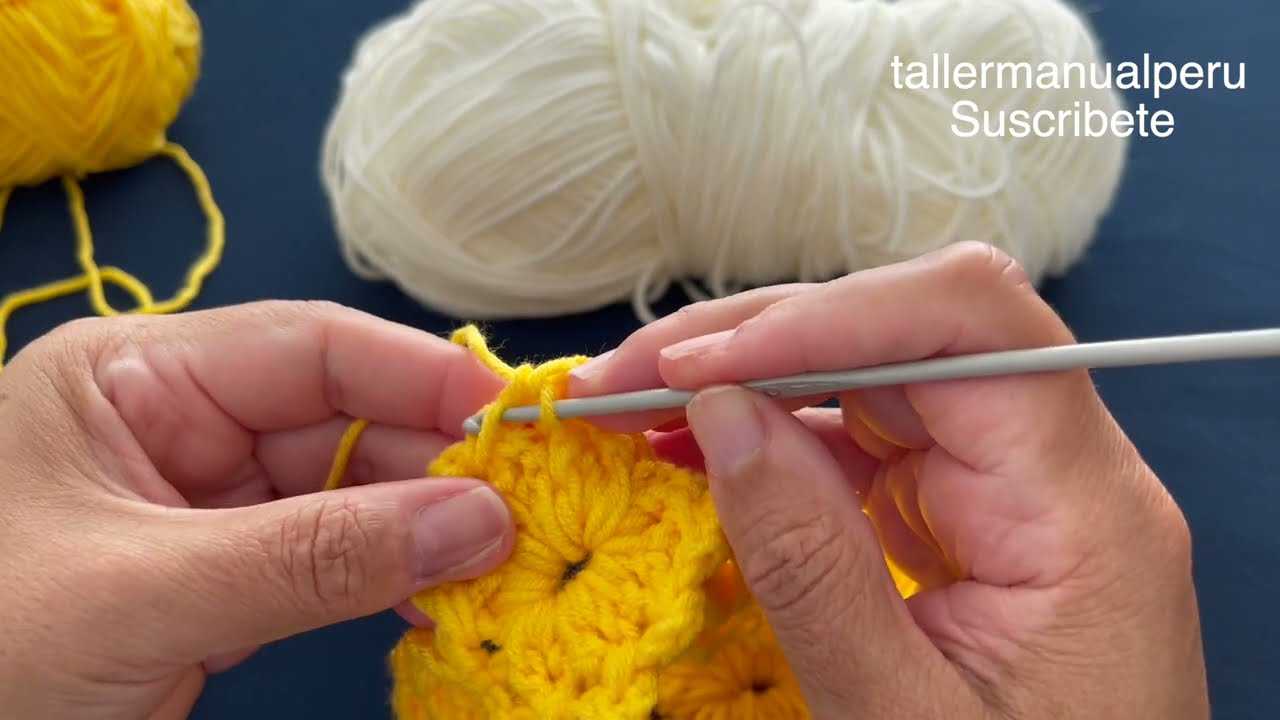
Watch tutorial: