 by
by Below is a clear, beginner-friendly, step-by-step tutorial on how to make simple knitted slippers. This method is perfect for people who know only the basics—knit stitch, purl stitch, and casting on/off.

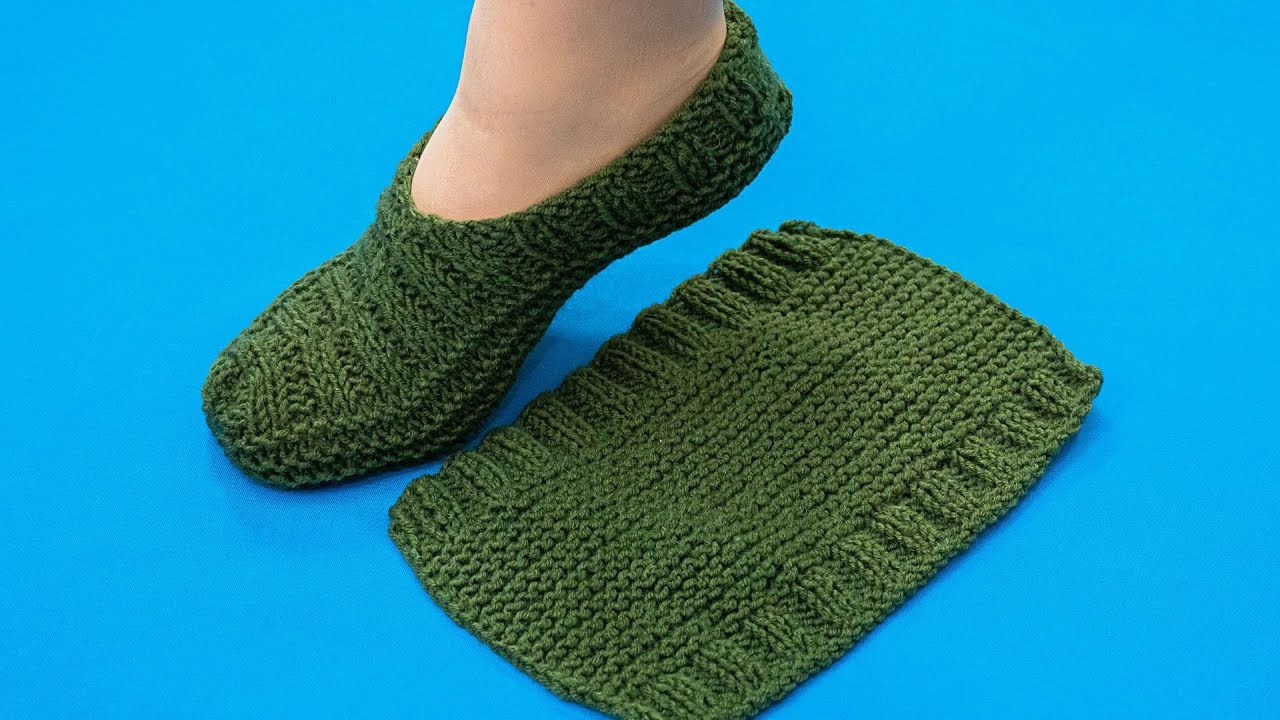
🧶 How to Make Simple Knitted Slippers (Beginner Friendly!)
These cozy slippers are worked flat—just like knitting a rectangle—then folded and sewn into shape. No shaping skills required!
⭐ Materials You’ll Need
-
Yarn: Medium weight (Category 4 / worsted weight) – about 100–150g
-
Needles: US size 8 (5 mm) or size that matches your yarn
-
Tapestry needle (for sewing)
-
Scissors
-
Optional: stitch marker, measuring tape
🧦 Skill Level
Absolute Beginner
You only need:
-
Cast on
-
Knit stitch (garter stitch)
-
Basic seaming
📝 Measurements
These slippers are customizable.
You’ll knit a rectangle that is:
-
Width: The circumference of your foot / around the ball of your foot
-
Length: Toe to heel
For a standard adult:
-
Width (flat): ~7–8 inches (18–20 cm)
-
Length: ~9–10 inches (23–25 cm)
🧶 Step-by-Step Instructions
Step 1 — Cast On
Cast on 28 – 36 stitches depending on size.
(28 for small, 32 for medium, 36 for large.)
This number determines how “tall” the slipper will be around the foot.
Step 2 — Knit the Body (Garter Stitch)
Knit every row.
Continue knitting until the piece measures:
-
Adult Small: 8–9″ (20–23 cm)
-
Adult Medium: 9–10″ (23–25 cm)
-
Adult Large: 10–11″ (25–28 cm)
This piece becomes the top + sole of your slipper.
Step 3 — Shape the Toe (Still Easy!)
Optional but improves fit.
For the last 2 inches:
-
Row 1: K2tog, knit to last 2 sts, K2tog
-
Row 2: Knit
Repeat these 2 rows 3–4 times.
This slightly narrows the toe area.
If this feels too advanced → just keep knitting normally. It still works!
Step 4 — Bind Off
Bind off all stitches loosely so the edge stays stretchy.
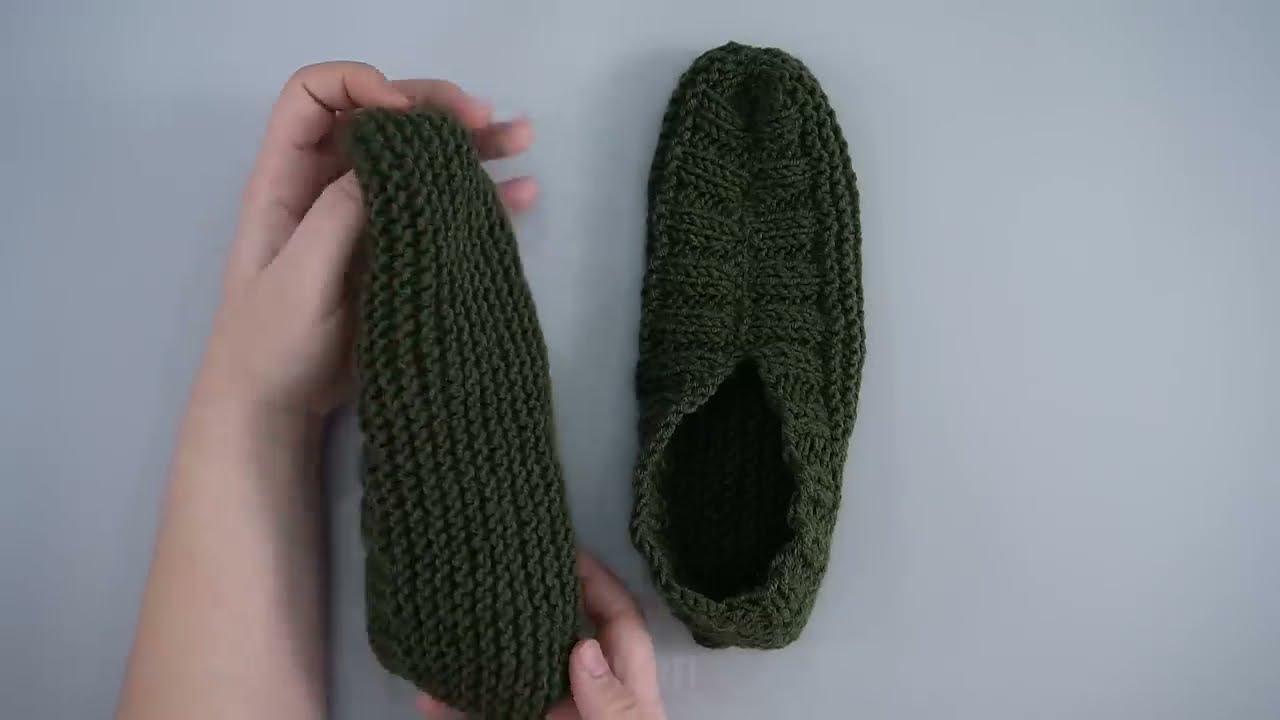
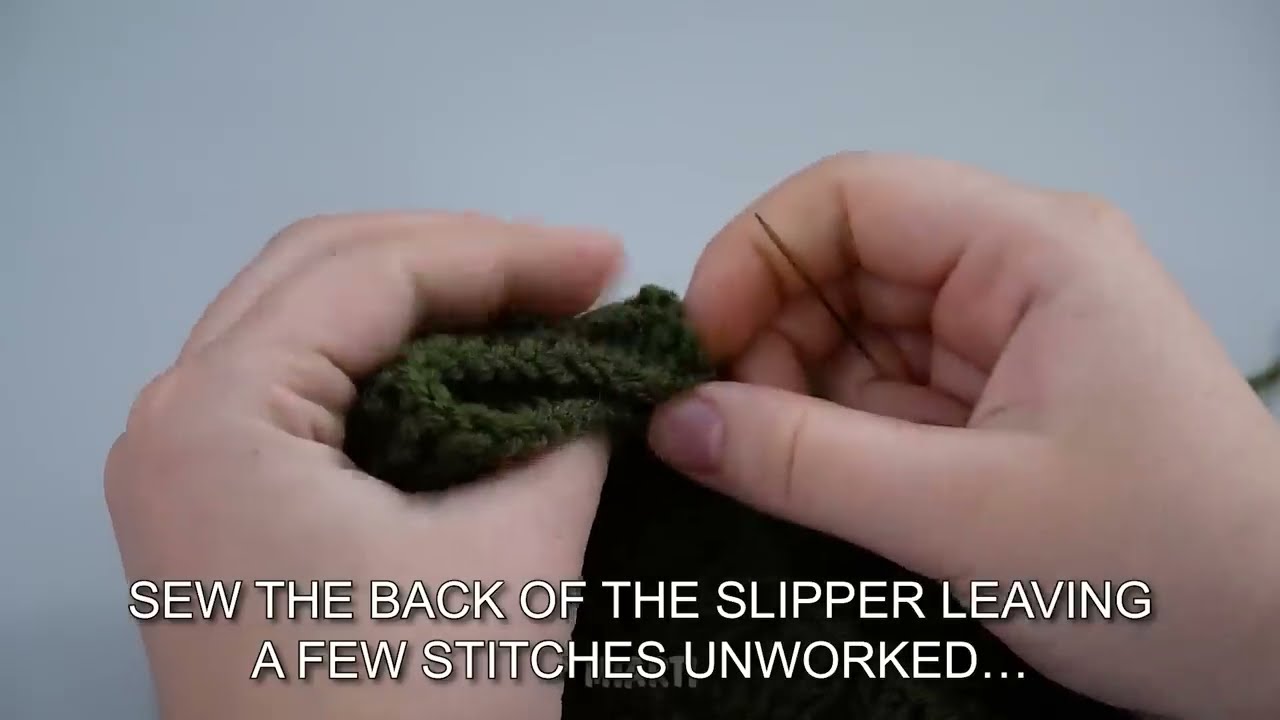
🧵 Step 5 — Sew the Slippers Together
Lay your knitted rectangle flat horizontally.
🦶 A. Fold in Half Lengthwise
Fold so the cast-on edge meets the bind-off edge.
🧵 B. Sew the Toe
With a tapestry needle, whipstitch the front ⅓ of the folded piece to form the toe.
🦵 C. Sew the Heel
Sew the back ⅓ to close the heel, leaving the ankle opening.
🧶 D. Optional Cuff
Fold the top opening down about 1 inch to form a cuff.

🎨 Customization Options
-
Stripes: Change colors every 10 rows
-
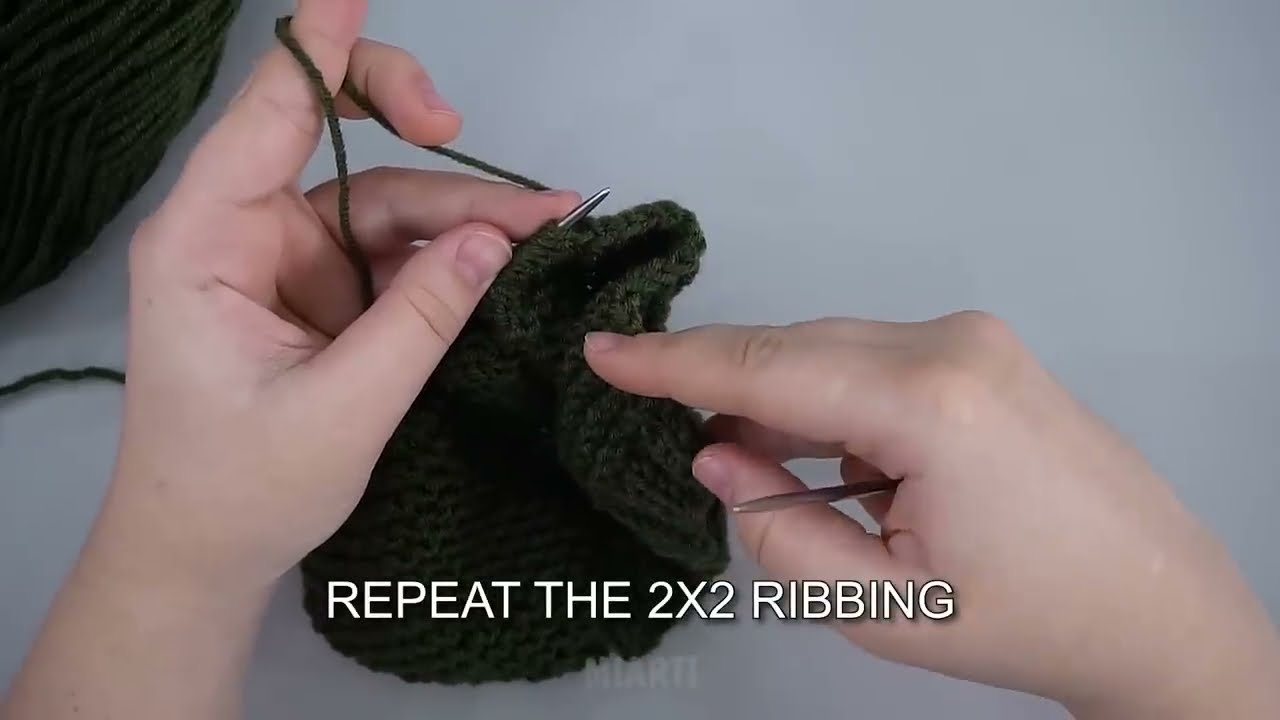
Ribbed top: Knit 1, purl 1 for the first 6 rows
-
Pom-poms: Sew a pom-pom at the toe
-
Buttons or bows for decoration
-
Add non-slip dots to the sole using puffy fabric paint
👣 Sizing Guide (Cast On Suggestions)
| Size | Cast On | Length |
|---|---|---|
| Kids 2–5 | 20 stitches | 6–7″ (15–18 cm) |
| Kids 6–10 | 24 stitches | 7–8″ (18–20 cm) |
| Adult Small | 28 stitches | 8–9″ (20–23 cm) |
| Adult Medium | 32 stitches | 9–10″ (23–25 cm) |
| Adult Large | 36 stitches | 10–11″ (25–28 cm) |
🎉 Final Tip
This pattern is intentionally simple. Once you master it, you can experiment with:
-
Chunky yarn (faster!)
-
Ribbing or cables
-
Double-stranding yarn for extra warmth
If you want, I can also provide:
-
A printable PDF pattern
-
A diagram showing how to fold and sew the rectangle
-
A version worked in stockinette stitch
-
A video-style step-by-step script
Would you like any of those?
Watch tutorial: