by
by Below is a clear, beginner-friendly, step-by-step guide for making a warm hood-scarf (snood) with a button. The instructions assume only basic sewing skills and can be done with a sewing machine or by hand.
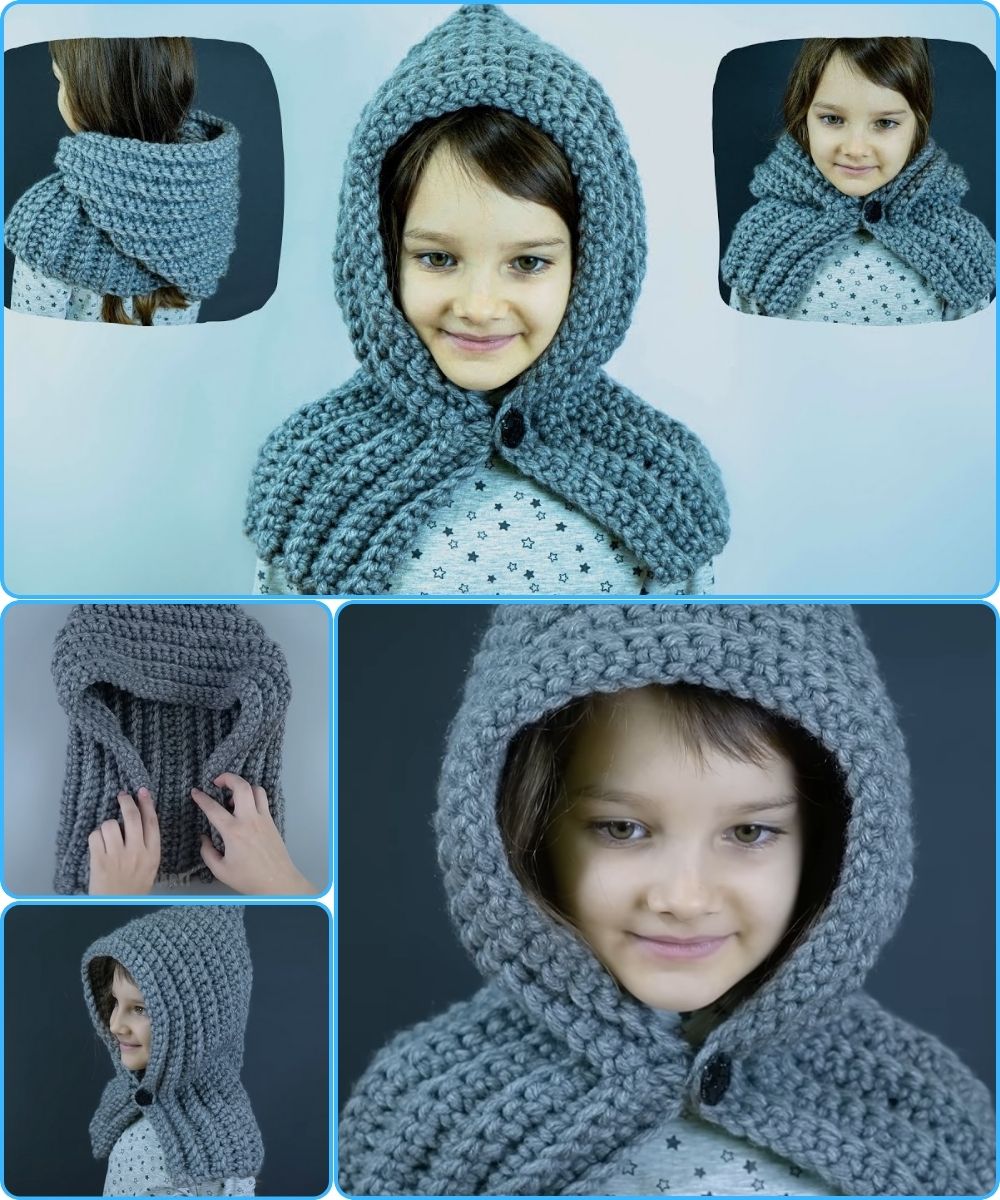
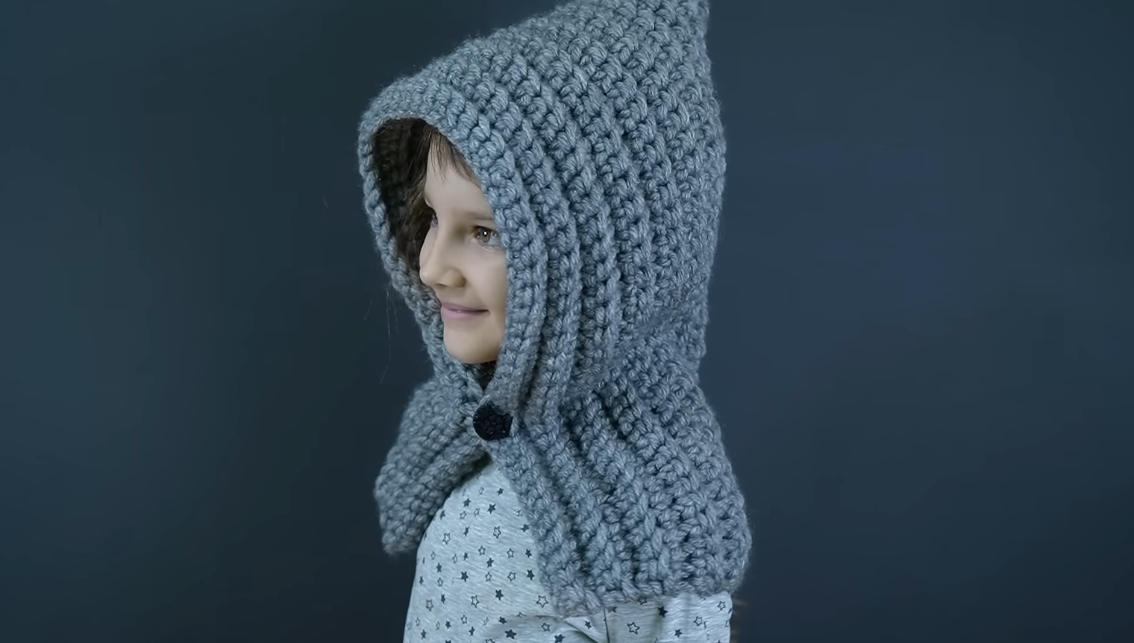
⭐ How to Make a Warm Hood-Scarf / Snood With a Button
Easy, Quick, and Perfect for Beginners!
✅ What You’ll Make
A cozy hood-style scarf that wraps around your neck and closes with a button. It keeps your head and neck warm without needing a separate hat.
🧵 Materials You Need
-
Outer fabric (½ yard / 0.5 m)
Fleece, flannel, minky, wool blend, or sweatshirt knit – cozy and warm. -
Lining fabric (½ yard / 0.5 m)
Fleece, jersey, or soft cotton. -
1 large button (1–1.5 inch / 2.5–3.5 cm)
-
Matching thread
-
Sewing tools:
Scissors or rotary cutter, pins/clips, sewing machine (or hand-sewing needle), measuring tape, iron (optional).

✂️ Cutting Your Fabric
Cut two rectangles:
-
Outer fabric:
24″ wide x 28″ long (60 x 70 cm) -
Lining fabric:
Same size: 24″ wide x 28″ long
⭐ Tip: You can adjust length for a tighter or looser snood.
Shorter = snug; longer = drapier.
🧵 Step-by-Step Instructions
1. Create the Hood Shape
-
Fold each rectangle in half widthwise (so it becomes 24″ x 14″).
-
Along the top short edge, measure 10 inches (25 cm) from the fold and mark it.
-
Sew from that mark to the far edge — this forms the curved back of the hood.
-
Use a straight stitch
-
Repeat for both outer and lining pieces
-
You now have two “hood pockets.”
2. Join the Hood and the Scarf
-
Turn both hood pieces right side out.
-
Insert the lining hood inside the outer hood, right sides touching.
-
Match all edges and pin/clip around the face opening (front of the hood).
-
Sew all the way around the face opening.
-
Turn right-side out through the neck opening.
Your hood is now fully lined!
3. Close the Snood Tube
-
Lay the hood so the neck opening is flat.
-
Pin or clip the outer fabric neck edge to the corresponding lining edge.
-
Sew around the entire opening, leaving a 3-inch (7 cm) gap for turning.
-
Turn it right-side out through the gap.
-
Close the gap with a small top-stitch or invisible hand stitch.
You now have one long, soft, finished hood-scarf tube.
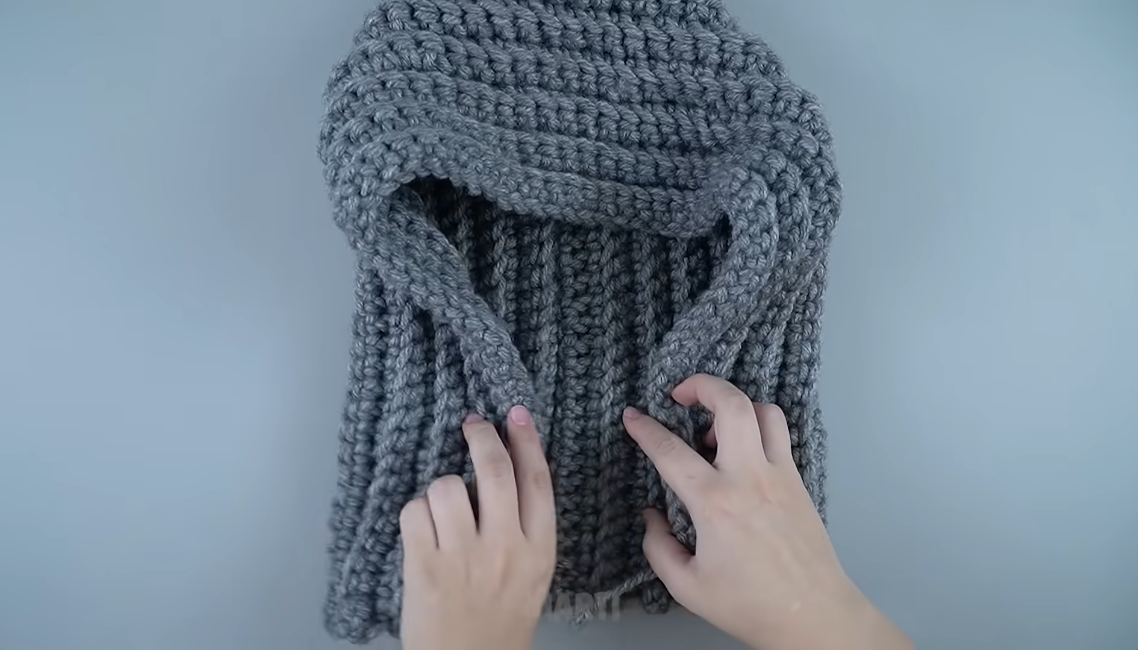
4. Wrap and Fasten
To convert it into a snood shape:
-
Overlap the ends of the “scarf” portion around your neck by about 3–4 inches (8–10 cm).
-
Decide where the overlap looks comfortable.
-
Sew your button onto one end of the overlap.
-
Mark the place on the other end where the button will pull through.
-
Either sew a buttonhole (machine or hand-stitched) or use a fabric loop:
-
For a loop: use a short ribbon, elastic, or a small strip of fabric folded and stitched.
-
🎉 You’re Done!
You now have a warm, stylish hood-snood that:
-
Fits snugly around the neck
-
Covers the head like a hood
-
Stays in place with a simple button
-
Looks like something from a cozy winter boutique

⭐ Extra Tips for Beginners
✔ Choose No-Fray Fabrics
Fleece and minky do not fray, which makes them extremely beginner-friendly.
✔ Use Clips Instead of Pins
Clips are easier on thick winter fabrics.
✔ Try Chunky Buttons
Large wooden or plastic buttons are easier to fasten with gloves.
✔ Skip the Buttonhole
If buttonholes feel intimidating, use:
-
A loop
-
An elastic band
-
A toggle button
🧣 Optional Upgrades
-
Add ears (bear, cat, wolf shape) to the hood seam
-
Sew in a drawstring around the face edge
-
Add a pocket to the scarf portion
-
Use reversible fabrics for a 2-in-1 style
If you’d like, I can also make:
✅ a printable PDF
✅ a template drawing
✅ a no-sew version
✅ a shorter/faster pattern
Just tell me!
Watch tutorial: