 by
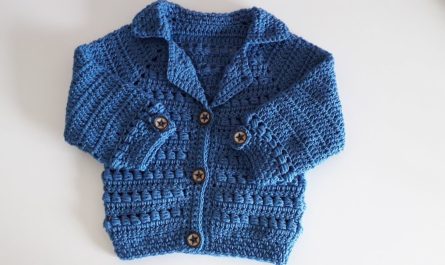
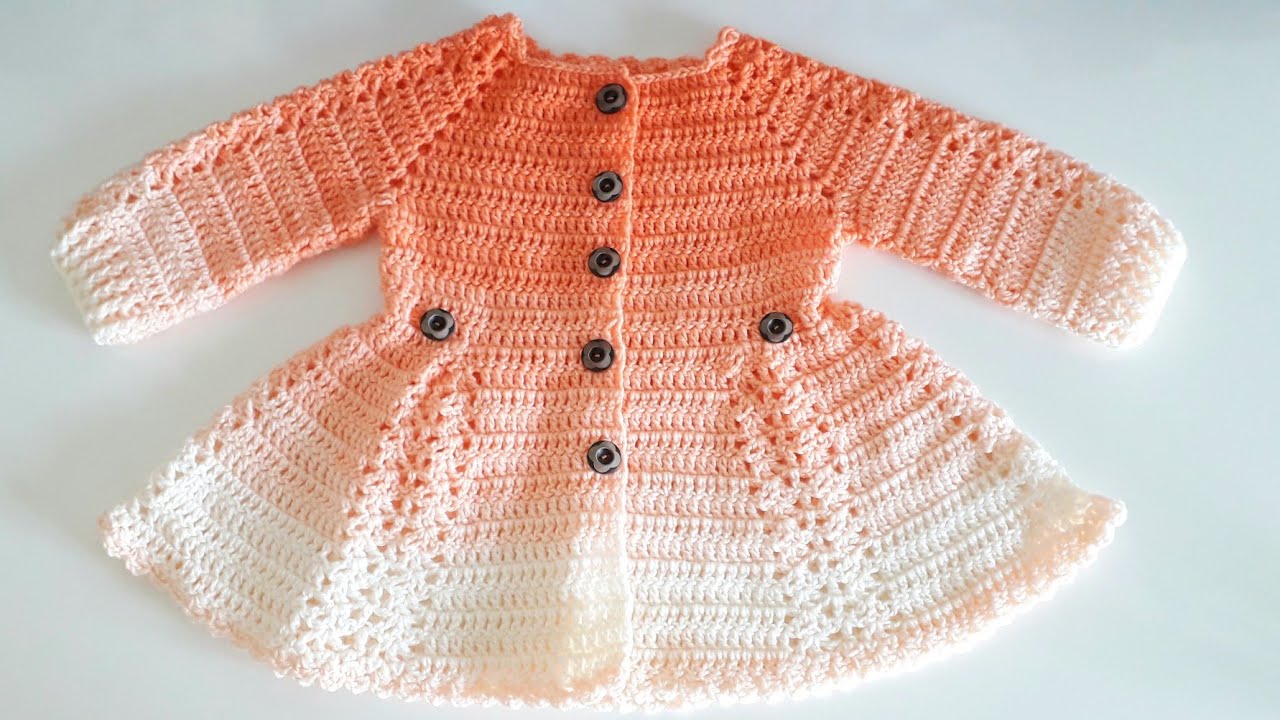
by Below is a detailed, beginner-to-intermediate friendly guide on how to crochet a “Blush” girls cardigan.
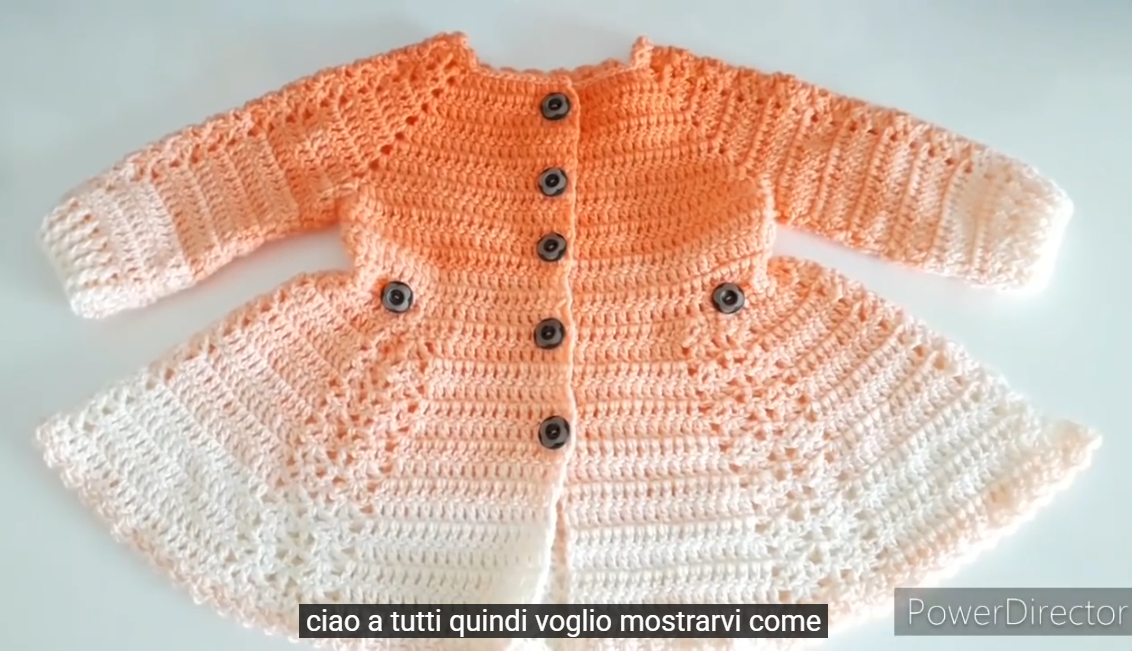
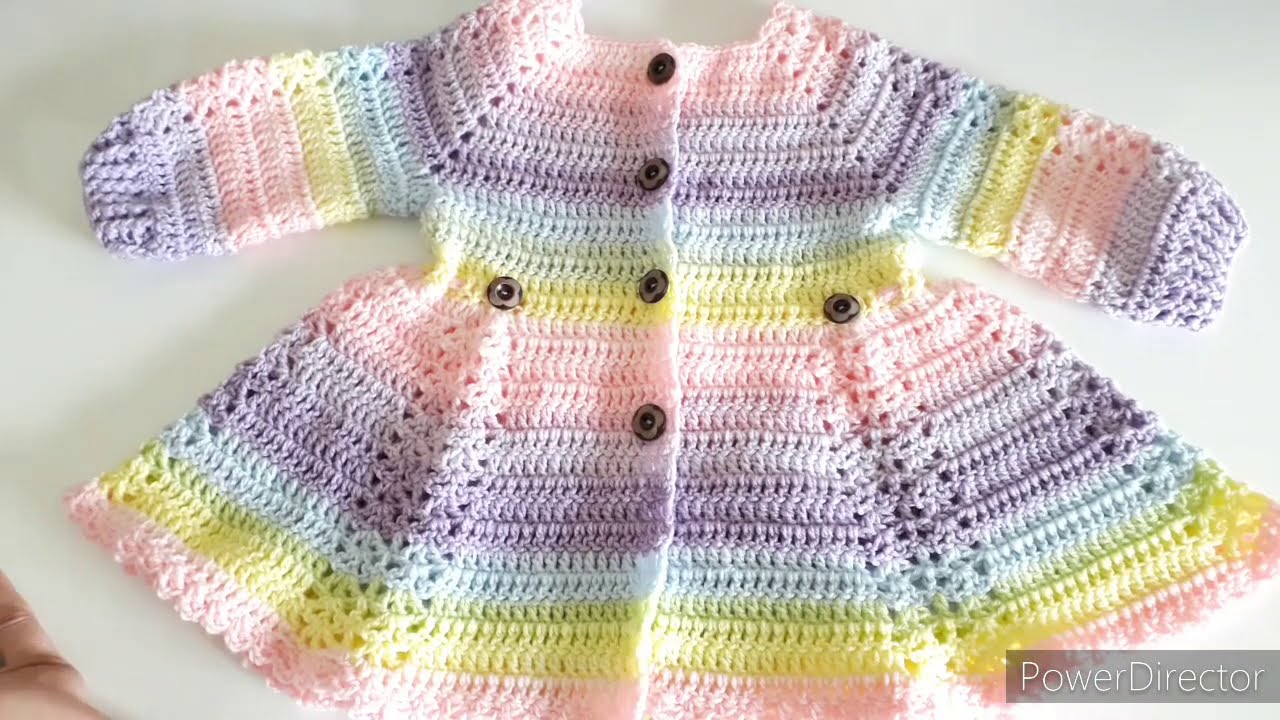
This is a classic soft cardigan style, worked top-down, with a delicate look that suits a blush (soft pink) yarn. You can easily adjust it for different girls’ sizes.
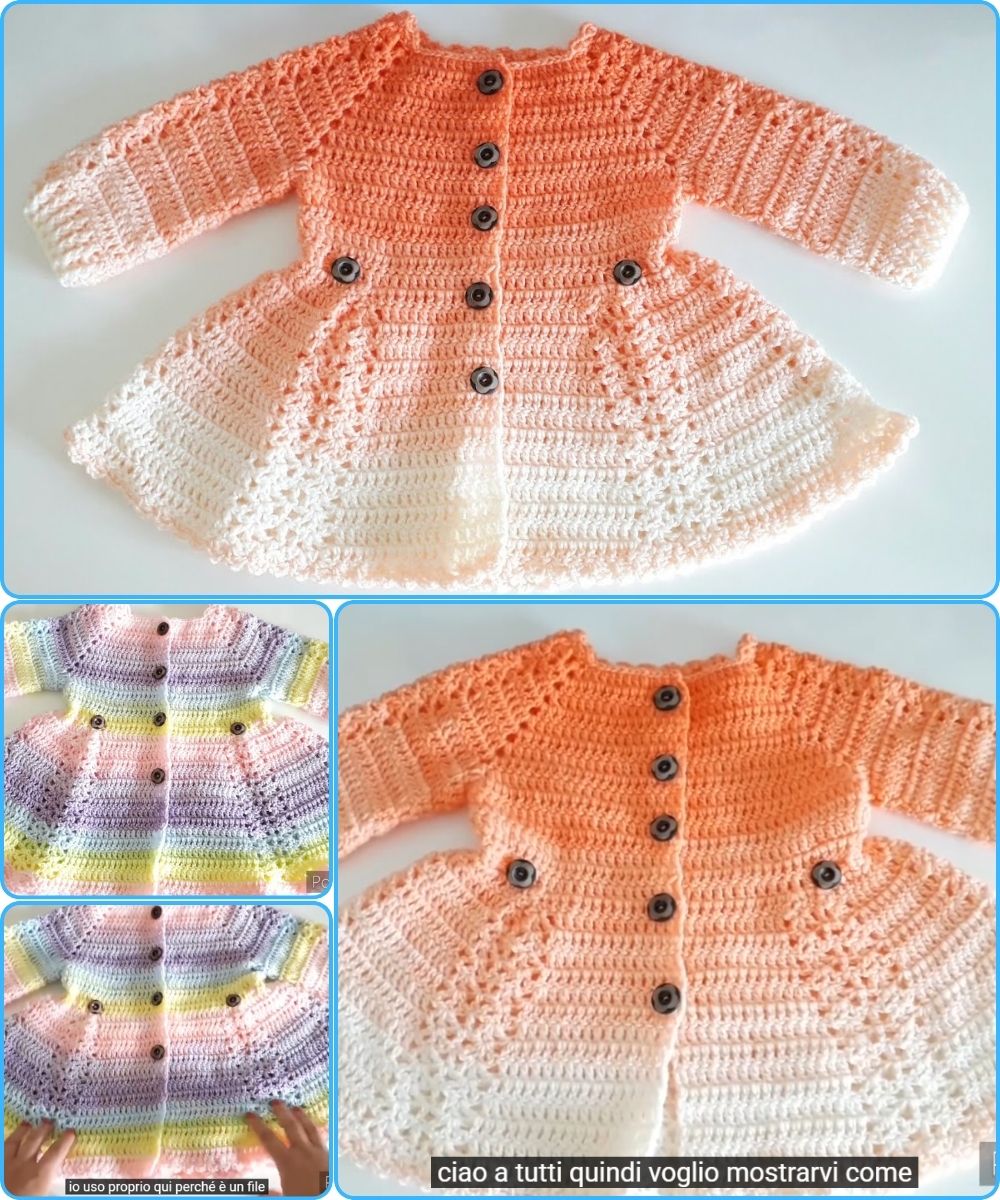
🌸 Blush Girls Cardigan – Crochet Guide
Skill Level
Beginner to Intermediate
(You should know: chain, slip stitch, single crochet, double crochet, increase)
🧶 Materials Needed
-
Yarn: DK or light worsted weight (Category 3 or 4)
Color: Blush / soft pink
Amount:-
Toddler (2–3 yrs): ~250–300 g
-
Child (4–6 yrs): ~350 g
-
Older child (7–9 yrs): ~400–450 g
-
-
Crochet hook: 4.0 mm or 4.5 mm (adjust to gauge)
-
Stitch markers (4–6)
-
Yarn needle
-
Scissors
-
Buttons (3–5 small buttons) optional
📏 Gauge (Important)
-
16–18 double crochet stitches = 4 inches (10 cm)
-
Always make a small swatch before starting
✨ Cardigan Construction
This cardigan is worked top-down in one piece:
-
Yoke (neck and shoulders)
-
Divide for sleeves
-
Body
-
Sleeves
-
Edging and finishing
1️⃣ Yoke (Top Section)
Step 1: Foundation Chain
-
Chain 52–60 stitches (depending on size)
-
Join with slip stitch to form a ring
(Make sure chain is not twisted)
Step 2: Set Up Yoke
-
Chain 2 (counts as first DC)
-
Work double crochet (DC) around
-
Place stitch markers to divide:
-
Front panel
-
Sleeve
-
Back panel
-
Sleeve
-
Example division:
-
Front: 10 sts
-
Sleeve: 8 sts
-
Back: 16 sts
-
Sleeve: 8 sts
-
Front: remaining sts
Step 3: Increase Rounds
-
At each marker, work:
-
(DC, chain 1, DC) to increase
-
-
Continue increasing every round
-
Work 6–10 rounds until yoke fits comfortably around shoulders
💡 Tip: Try it on the child if possible.
2️⃣ Divide for Sleeves
-
Crochet across the first front panel
-
Skip sleeve stitches, chain 6–8
-
Crochet across back panel
-
Skip second sleeve, chain 6–8
-
Crochet across second front
Now your cardigan body is formed.
3️⃣ Body of the Cardigan
Step 1: Body Length
-
Work in rows, turning each row
-
Use double crochet or a simple stitch pattern (DC + chain spaces)
-
Continue until desired length:
-
Toddler: 10–11 inches
-
Child: 12–14 inches
-
Step 2: Optional Texture
You can add:
-
Shell stitches
-
V-stitch (DC, ch 1, DC)
-
Half double crochet for a softer look
4️⃣ Sleeves
Step 1: Attach Yarn
-
Join yarn at underarm
-
Crochet in rounds
Step 2: Sleeve Shaping
-
Work DC evenly around
-
Decrease 1–2 stitches every 4–5 rounds
-
Continue until sleeve reaches wrist
Step 3: Sleeve Cuff
-
Switch to single crochet
-
Work 3–5 rounds for a neat cuff
Repeat for second sleeve.

5️⃣ Button Band & Edging
Button Band
-
Attach yarn to front edge
-
Work single crochet evenly
-
On one side, make buttonholes:
-
Chain 2, skip 2 stitches
-
Neck & Hem Edging
-
Single crochet or crab stitch around neck, hem, and cuffs
-
This gives a clean, professional finish
🌷 Finishing
-
Weave in all ends
-
Sew on buttons
-
Lightly block the cardigan for best shape
💗 Styling Tips
-
Use soft blush yarn with a slight sheen
-
Add a small flower applique or bow
-
Pair with a dress or jeans for a sweet look
If you’d like, I can:
-
Adjust this pattern for a specific age
-
Write it as a printable pattern
-
Add a lace or textured stitch version
Just tell me 😊
Watch tutorial: