by
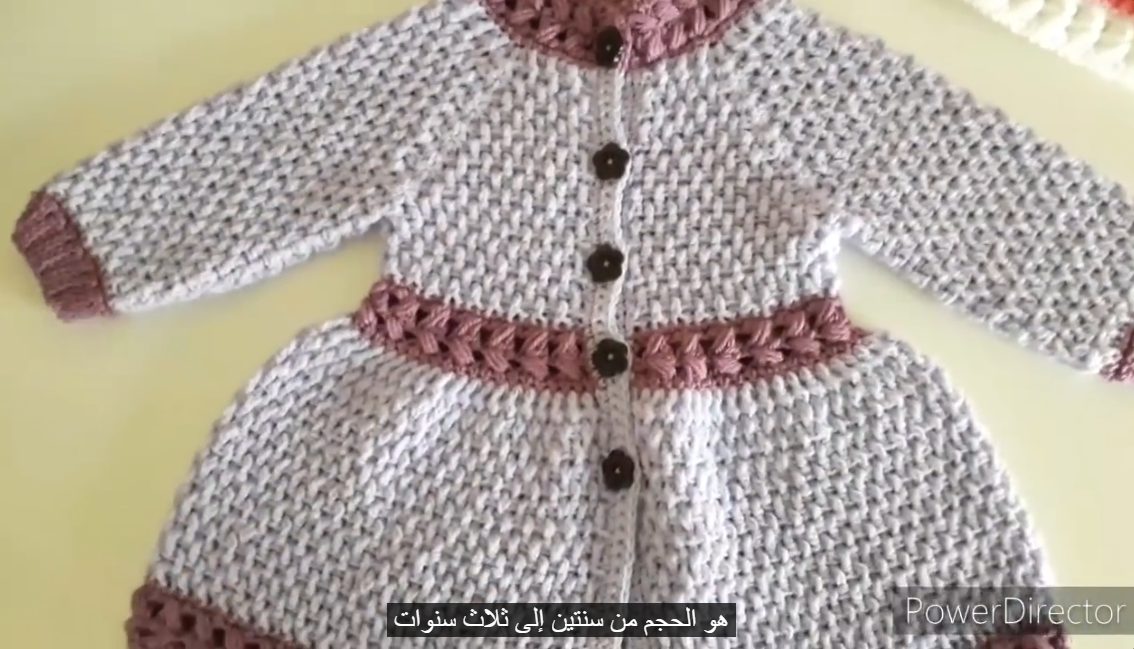
by Below is a detailed, beginner-to-intermediate friendly guide on how to crochet a “Springtime” Girls’ Coat. The design is lightweight, soft, and perfect for spring weather, using simple stitches with a pretty texture.

How to Crochet a “Springtime” Girls’ Coat
Overview
A Springtime girls’ coat is typically:
-
Light and breathable
-
Slightly fitted with room for layering
-
Made using pastel or bright spring colors
-
Finished with buttons and a simple edging
This pattern is worked top-down, which makes sizing easier and allows you to adjust the length as you go.
Skill Level
Intermediate Beginner
(You should know how to chain, single crochet, double crochet, and increase stitches.)
Materials Needed
-
Yarn: Light Worsted (DK / Category 3) or Worsted (Category 4)
-
Cotton or cotton-blend yarn is best for spring
-
-
Hook Size: 4.5 mm – 5.5 mm (check yarn label)
-
Buttons: 3–5 medium buttons
-
Yarn needle (for weaving in ends)
-
Scissors
-
Stitch markers
Basic Crochet Stitches Used
-
ch – chain
-
sl st – slip stitch
-
sc – single crochet
-
dc – double crochet
-
inc – increase (2 stitches in same stitch)
-
sk – skip
-
rep – repeat

Size Guide (Approximate)
You can easily adjust this pattern by adding chains or rows.
| Age | Chest Width | Coat Length |
|---|---|---|
| 2–3 yrs | 22–24 in | 14–16 in |
| 4–5 yrs | 24–26 in | 17–19 in |
| 6–7 yrs | 26–28 in | 20–22 in |
Step 1: Yoke (Top Section)
-
Foundation Chain:
Chain enough stitches to fit around the child’s neck comfortably (usually 50–65 chains). -
Row 1:
Dc in 3rd chain from hook and in each chain across. Turn. -
Row 2 (Increase Row):
Ch 2, dc across, placing increase stitches evenly for shoulder shaping. -
Rows 3–6:
Repeat Row 2 until the yoke reaches just under the arms.
💡 Tip: Try it on or measure as you go.

Step 2: Divide for Sleeves
-
Mark stitches for:
-
Left front
-
Sleeve
-
Back
-
Sleeve
-
Right front
-
-
Skip sleeve stitches and connect front to back with chains.
-
Continue crocheting across the body only.
Step 3: Body of the Coat
-
Row 1:
Ch 2, dc across. Turn. -
Rows 2–12 (or desired length):
Repeat dc rows. -
Add a subtle spring texture by alternating:
-
1 row dc
-
1 row (dc, ch 1, sk 1) pattern
-
Continue until coat reaches knee or desired length.
Step 4: Sleeves
-
Attach yarn at armhole.
-
Round 1:
Dc evenly around sleeve opening. -
Rounds 2–6:
Dc around, decreasing slightly toward the wrist. -
Finish sleeve with sc edging.
Repeat for second sleeve.
Step 5: Front Button Band
-
Attach yarn at bottom front edge.
-
Row 1:
Sc evenly up the front edge. -
Row 2 (Buttonholes):
Sc 2, ch 2, sk 2 (repeat evenly). -
Make a plain sc row on the opposite front side.
Step 6: Collar & Edging
-
Work sc or shell stitch around neckline for a neat collar.
-
Add a decorative edge around the bottom:
-
Picot stitch
-
Shell stitch
-
Simple sc border
-
Step 7: Finishing Touches
-
Sew on buttons securely
-
Weave in all loose ends
-
Lightly block the coat for shape
Styling Ideas
-
Use pastel colors (mint, peach, lavender)
-
Add a flower appliqué
-
Use wooden or floral buttons
-
Crochet a matching hat or headband
Final Notes
This Springtime girls’ coat is:
-
Comfortable and stylish
-
Customizable in length and color
-
Perfect for casual or dressy outfits
If you’d like, I can:
-
Rewrite this as a printable PDF pattern
-
Adjust it for a specific age
-
Create a photo-based step guide
-
Add a hood or pockets
Just tell me 🌸
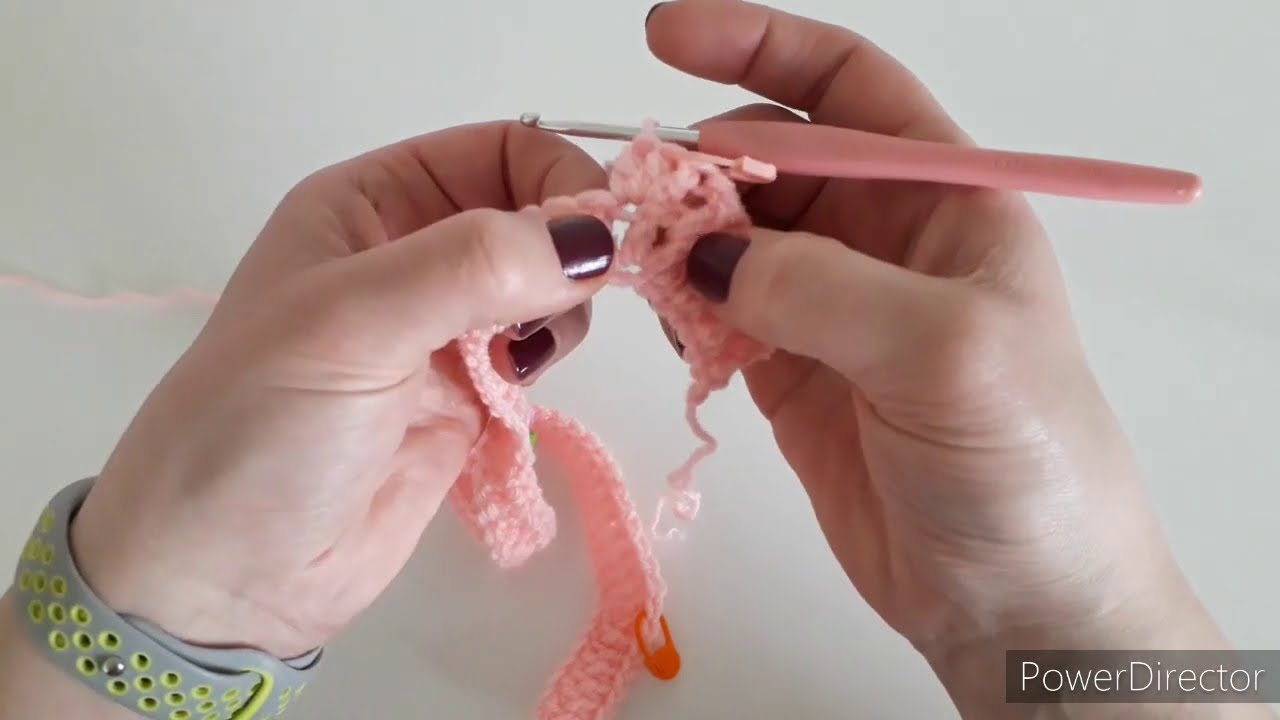
Watch tutorial: