 by
by Sure! Here’s a detailed guide on How to Make New Cute Patterns for You: Easy Crochet Mini Bags, perfect for beginners and intermediate crocheters. This includes tips for designing your own patterns, along with a basic mini bag tutorial to get you started.
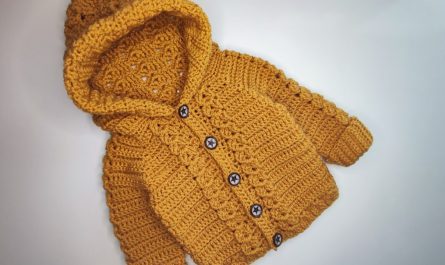
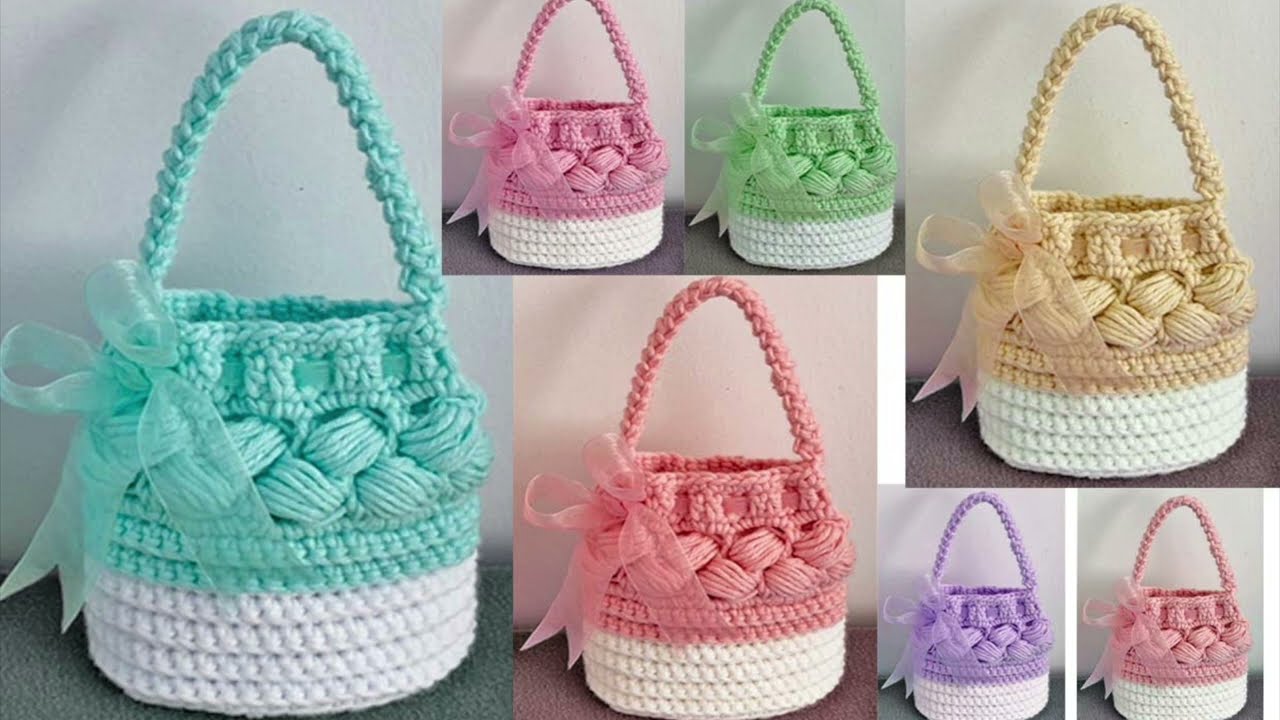
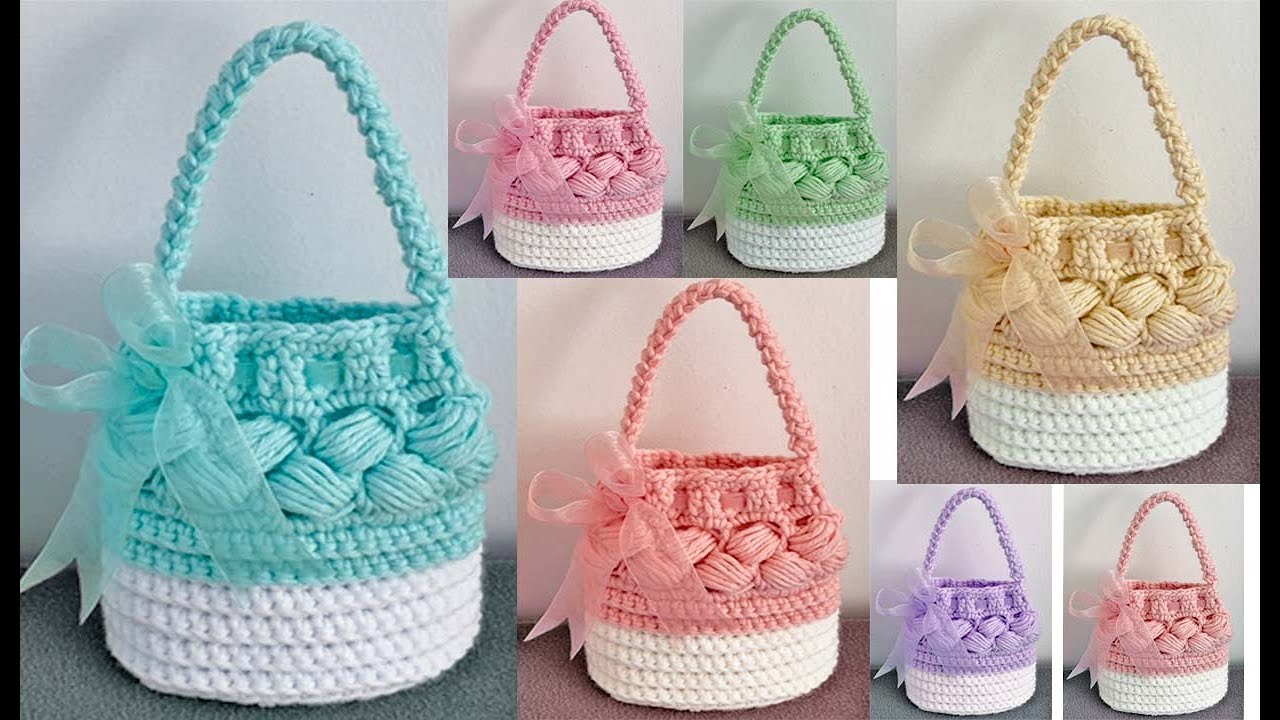
How to Make New Cute Patterns for You: Easy Crochet Mini Bags
✨ Why Mini Bags?
Crochet mini bags are trendy, practical, and perfect for using up leftover yarn. They’re also a fun way to express creativity and make personalized gifts or accessories.
1. Choose Your Materials
Before designing or crocheting, gather your tools:
-
Yarn: Choose cotton or acrylic (worsted or DK weight). Cotton gives structure; acrylic is softer.
-
Hook: Use the hook size recommended for your yarn (usually 3.5mm–5mm).
-
Scissors
-
Tapestry needle: For sewing ends
-
Buttons, zippers, beads (optional)
2. Basic Crochet Stitches You Need
You don’t need advanced skills—just the basics:
-
Chain (ch)
-
Slip Stitch (sl st)
-
Single Crochet (sc)
-
Half Double Crochet (hdc)
-
Double Crochet (dc)
-
Magic Ring (optional)
3. Design Your Own Cute Pattern
Step-by-Step Pattern Creation Process:
Step 1: Pick a Shape
-
Square or rectangle for envelope bags
-
Circle or oval for pouch styles
-
Shells or clusters for a textured look
Step 2: Decide the Size
Typical mini bags are:
-
Width: 10–15 cm (4–6 inches)
-
Height: 10–12 cm (4–5 inches)
Use a gauge swatch to measure how many stitches you need per inch.
Step 3: Pick a Stitch Pattern
Some cute options:
-
Moss stitch (sc + ch): for a textured, flat fabric
-
Granny square: classic and customizable
-
Shell stitch: scalloped and feminine
-
Puff stitch: adds a 3D look

4. Easy Crochet Mini Bag Pattern (Beginner-Friendly)
“Cherry Pop” Mini Pouch
Skill level: Beginner
Finished size: 5″ x 5″
Yarn: Worsted weight cotton
Hook: 4.0 mm
Pattern:
Front and Back Panels:
-
Ch 21 (adjust for width).
-
Row 1: Sc in 2nd ch from hook and across. (20 sc)
-
Row 2-25: Ch 1, turn. Sc across.
-
Fasten off. Make 2 panels.
Assembly:
-
Place panels together. Sc around 3 sides to join.
-
Leave top open for flap or closure.
Strap (optional):
-
Ch to desired length (e.g., 80 for crossbody).
-
Attach to top corners with sc or sew in.
Flap (optional):
-
On one panel, continue with:
-
Row 1: Sc across top edge, ch 1, turn.
-
Row 2–5: Sc, decreasing 1 st at each end (optional).
-
Finish with buttonhole row if using a button.
-
Finishing:
-
Weave in ends.
-
Add a button, snap, or drawstring.
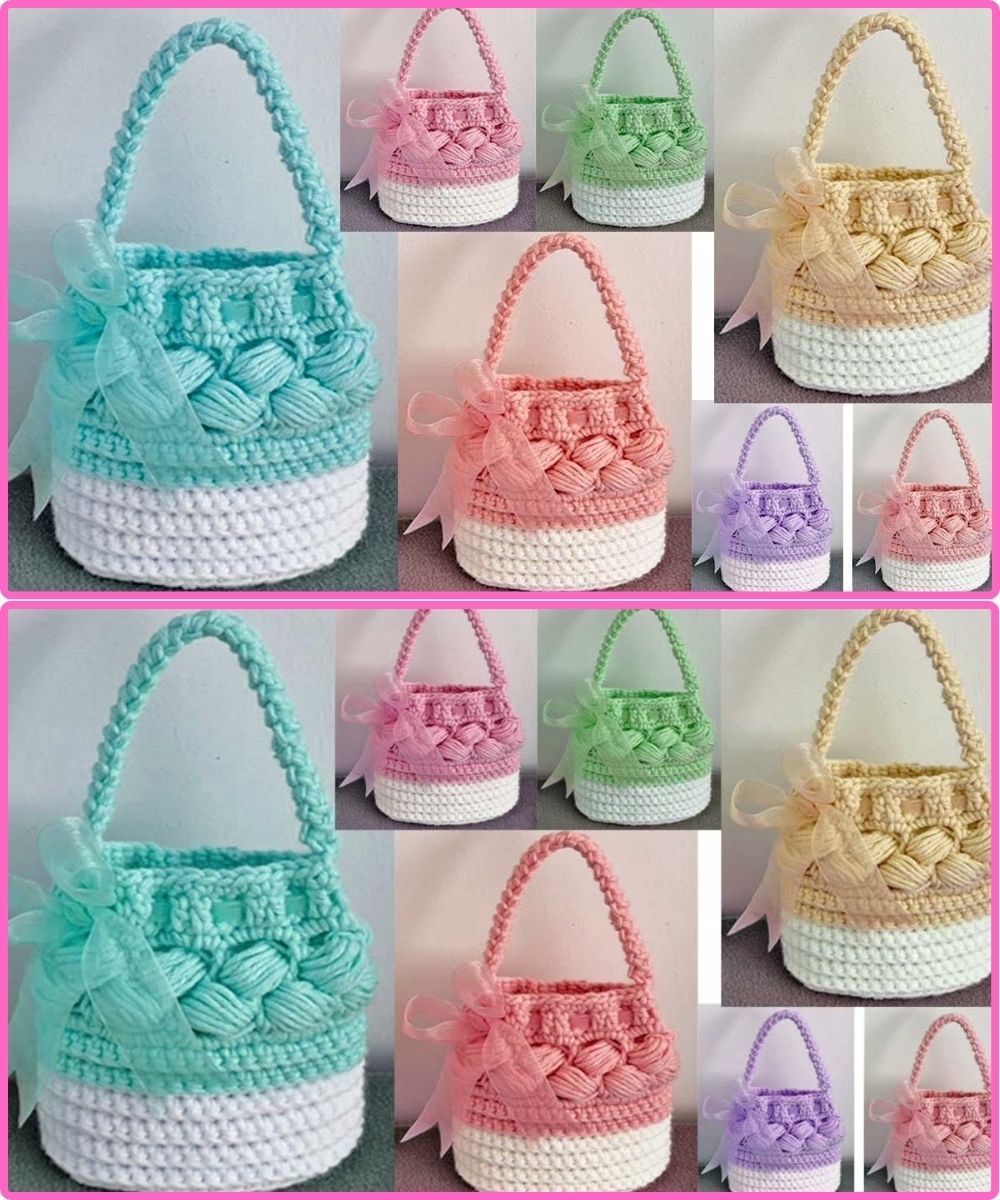
5. Add Cute Personal Touches
-
Appliqués: Crochet flowers, hearts, or fruit motifs.
-
Colorwork: Try stripes, color-blocking, or tapestry crochet.
-
Edging: Add a picot or scalloped edge.
-
Lining (optional): Sew in a fabric lining for durability.
6. Tips for Designing Original Patterns
-
Draw it first: Sketch the shape and size.
-
Sample swatches: Try a few stitch combos before committing.
-
Keep notes: Write your stitch counts, rows, and details.
-
Test and tweak: Make a prototype and adjust.
7. Inspiration for Your Patterns
| Style | Stitch Idea | Theme Inspiration |
|---|---|---|
| Boho | Granny square | Sunsets, feathers |
| Kawaii | Puff stitch | Strawberries, bunnies |
| Chic | Moss stitch | Neutral tones, minimal |
| Retro | Chevron | 70s color blocks |
Final Thoughts
Creating your own cute crochet mini bag patterns is all about combining simple shapes, stitch textures, and fun details. Start with a basic pattern like the one above, then evolve your designs as you gain confidence. These make great gifts, market items, or personal accessories!
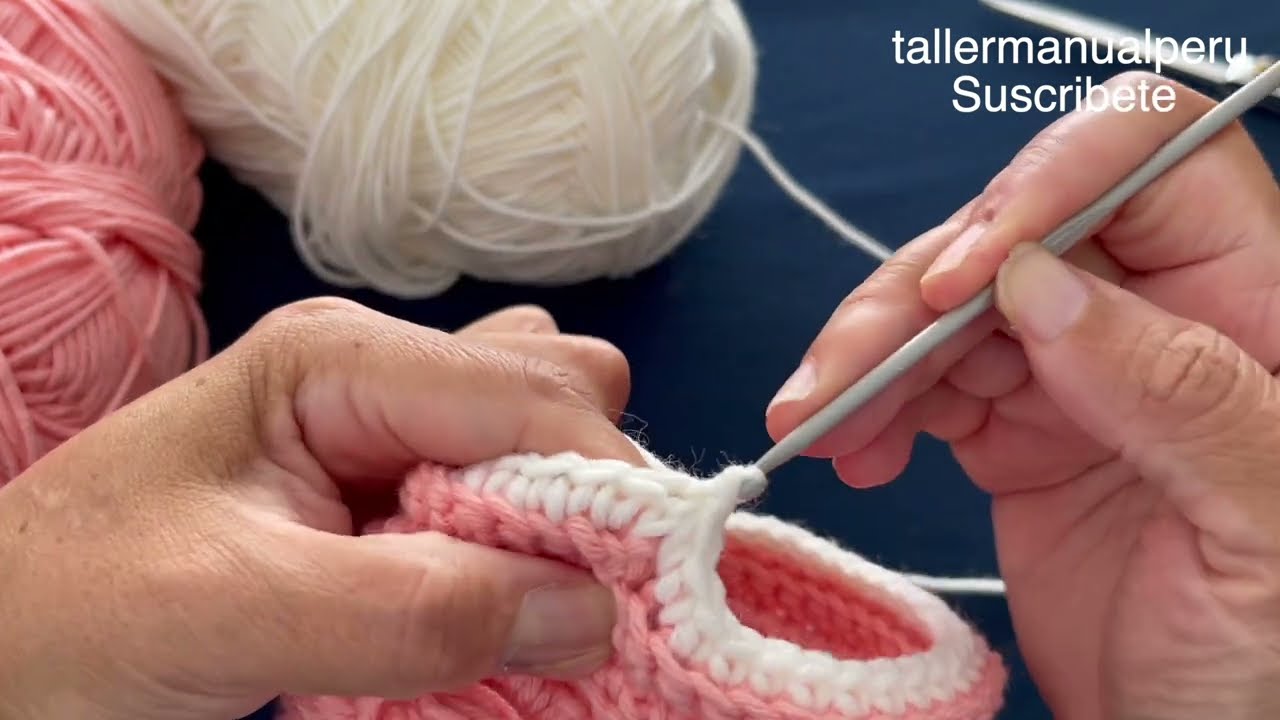
Watch tutorial: