 by
by Here is a simple and easy step-by-step tutorial for making
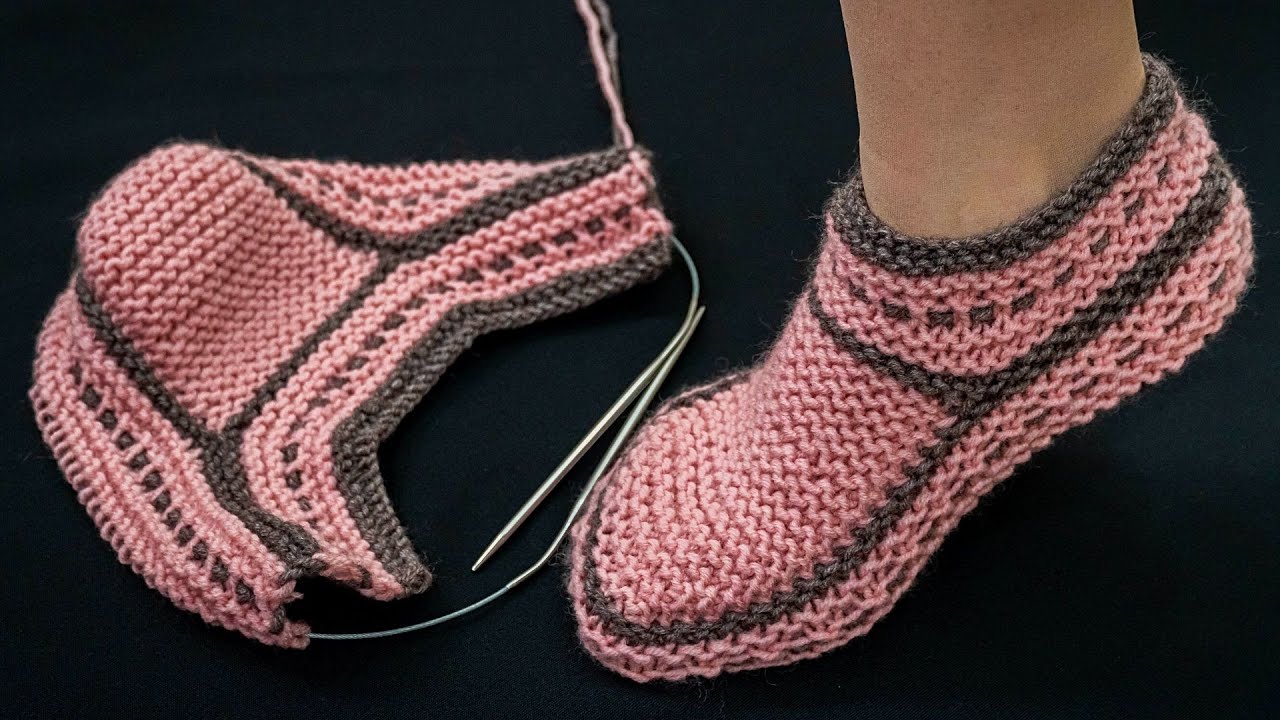
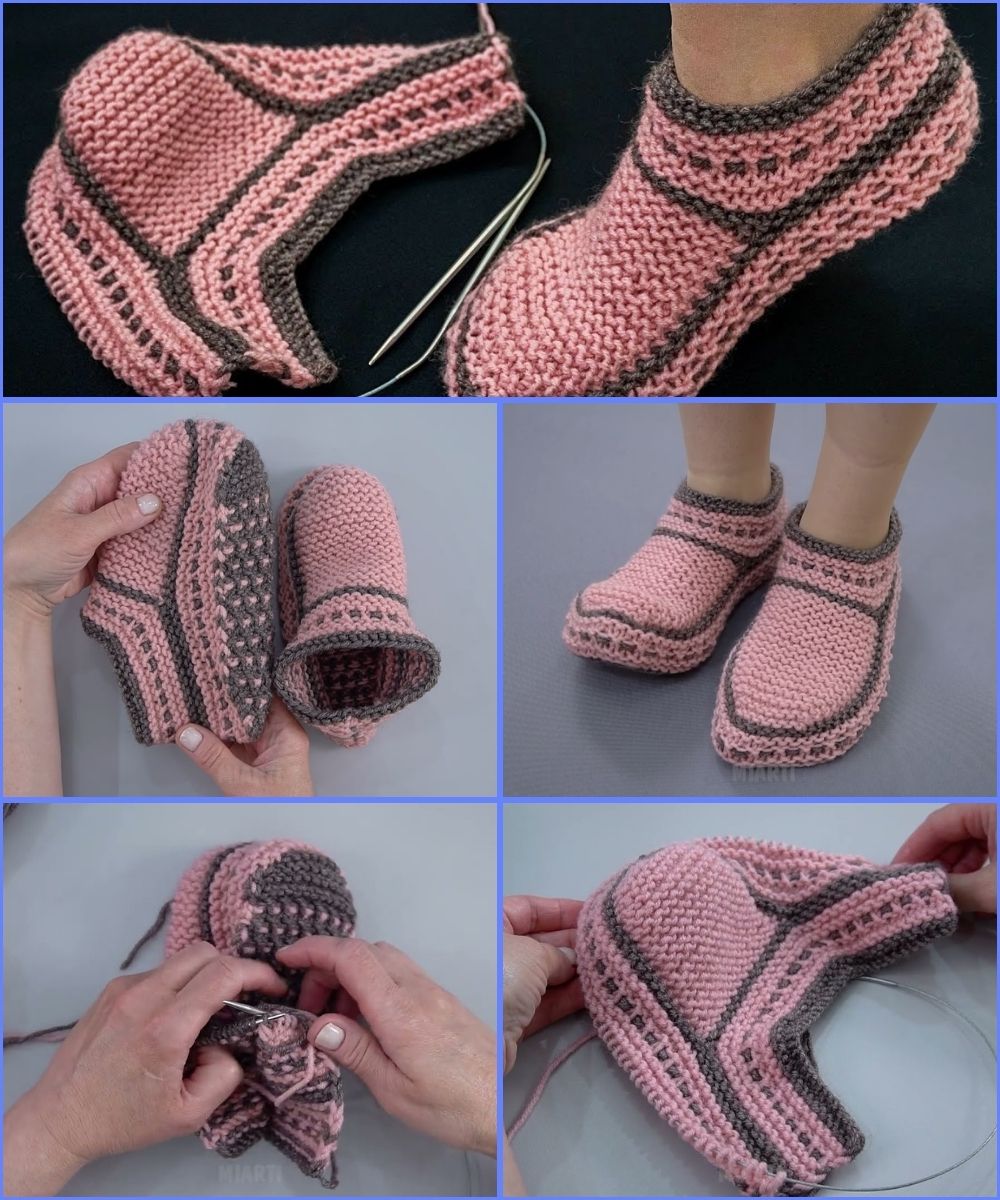
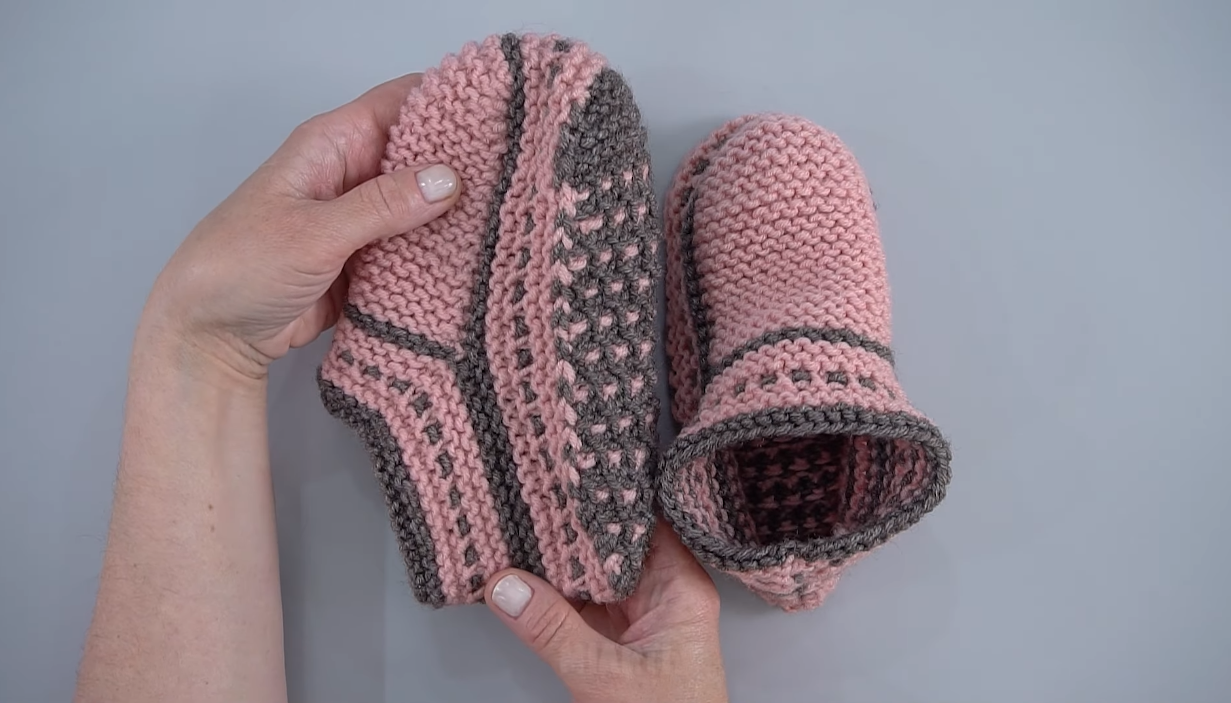
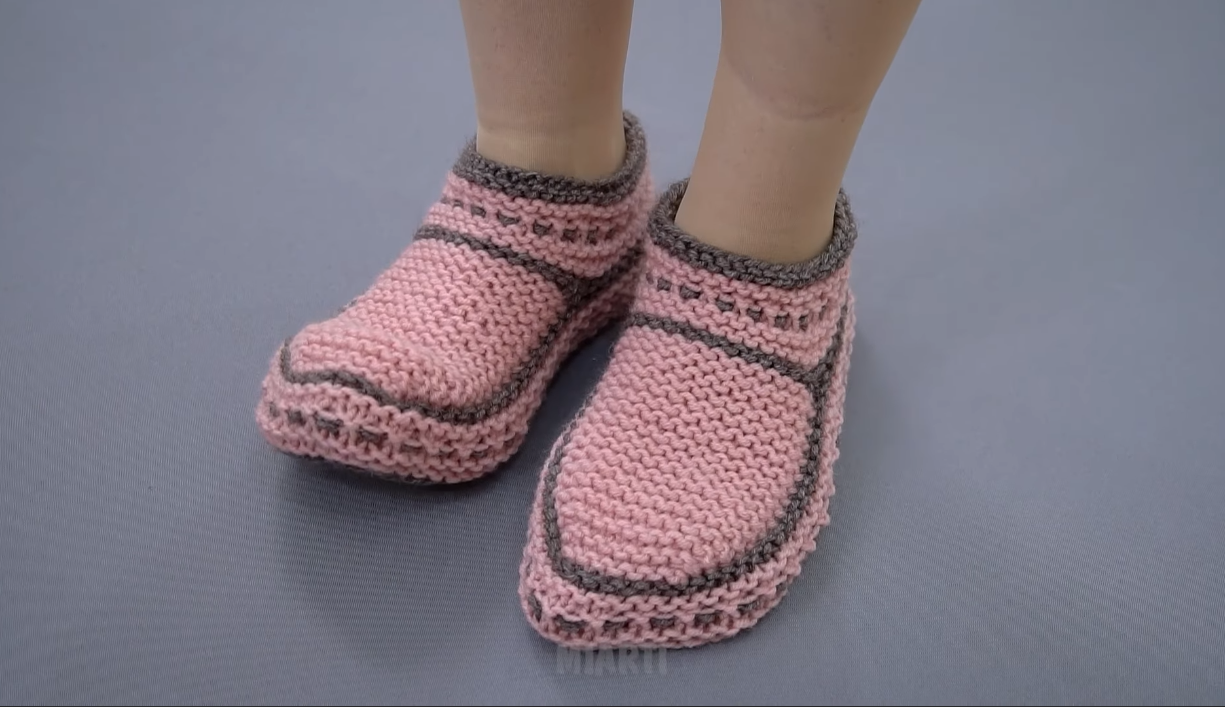
🧶 Slippers on 2 Knitting Needles – No Seam on the Sole
This method is:
✔ Knit flat on straight needles
✔ Very beginner friendly
✔ No seam under the foot
✔ Only one small back seam
✔ Soft and comfortable
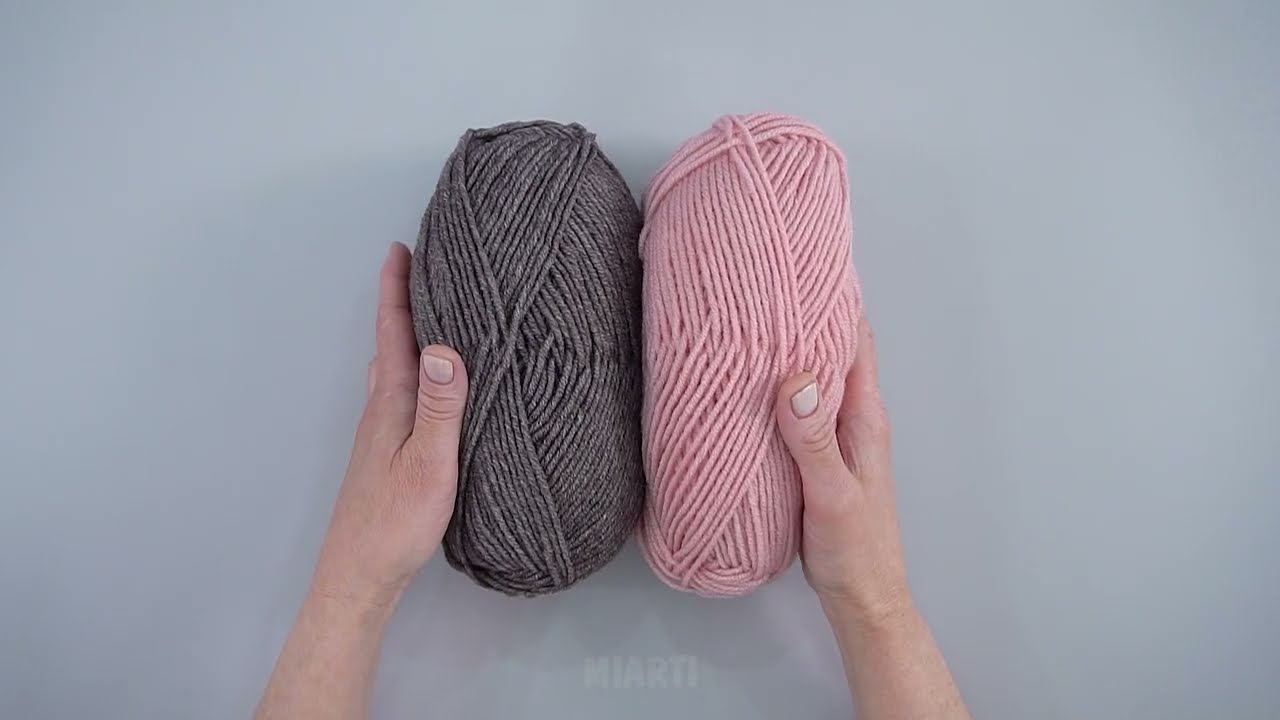
🧵 Materials
-
Worsted weight yarn (or chunky for faster results)
-
2 straight knitting needles
-
4.5–5 mm (US 7–8) for worsted
-
6–8 mm (US 10–11) for chunky
-
-
Yarn needle
-
Scissors
Tip: Wool or wool blend yarn works best because it stretches and keeps feet warm.
📏 Size (Adjustable Pattern)
This sample fits Women’s US 7–8 (Medium).
To adjust size:
-
Add stitches for larger feet
-
Subtract stitches for smaller feet
-
Knit more rows to make longer
Medium size guide:
-
Cast on: 36 stitches
-
Finished foot length: about 9 inches
🪡 How the Slipper Is Made
You will:
-
Knit from the toe upward
-
Shape the foot
-
Form the heel
-
Sew only the back seam
The bottom stays smooth — no seam on the sole.
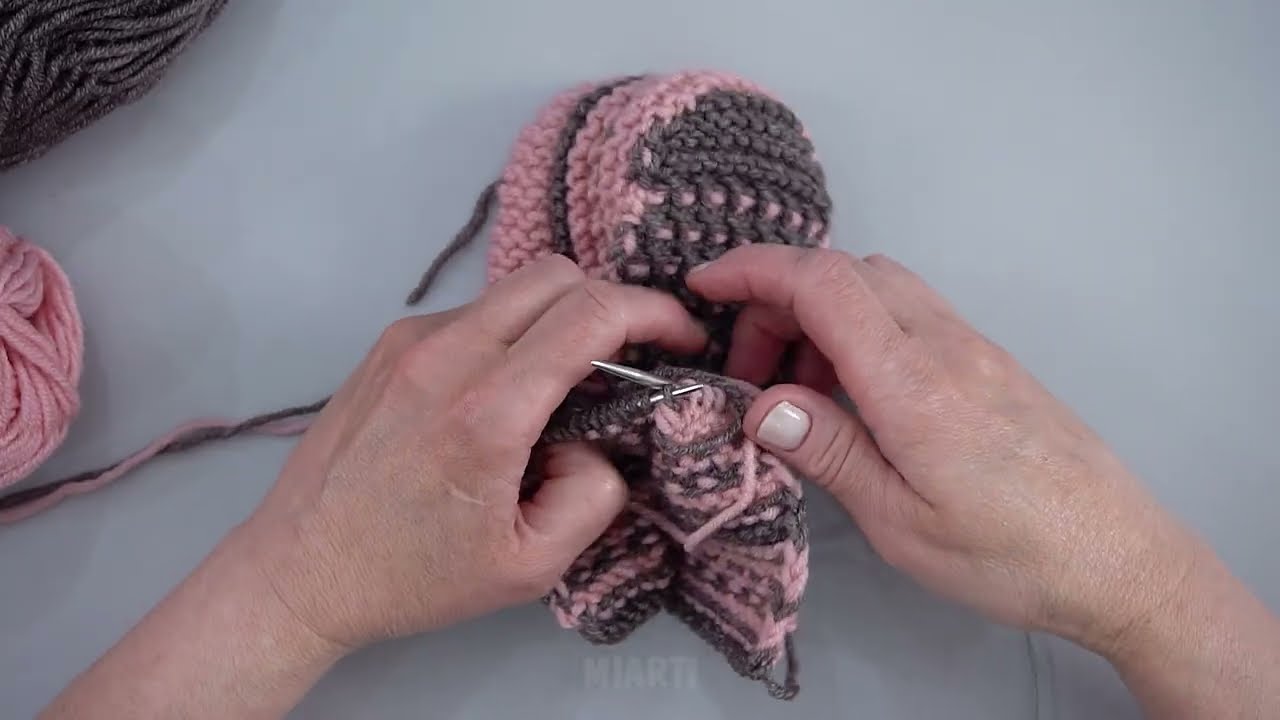
👣 STEP 1: Knit the Toe
Cast on 8 stitches.
Row 1: Knit
Row 2: Knit
Now begin increasing.
Increase Row (Right Side):
K1, make 1 stitch (M1), knit to last stitch, M1, K1
Next Row: Knit all stitches
Repeat these two rows until you have 36 stitches.
This creates a rounded toe.
👟 STEP 2: Knit the Foot
Once you reach 36 stitches:
Knit every row (garter stitch).
Continue until the piece measures:
About 2 inches shorter than your full foot length.
Example:
If foot length is 9 inches → knit until 7 inches.
Tip: Place it against your foot to check.
🦶 STEP 3: Shape the Heel (Easy Method)
Now we shape the heel without creating a sole seam.
Row 1: Knit 24 stitches, turn.
Row 2: Knit 12 stitches, turn.
Now continue:
Each row, knit 1 stitch more before turning.
Example:
-
Knit 13, turn
-
Knit 14, turn
-
Knit 15, turn
Continue until all stitches are worked again.
This forms a heel cup.
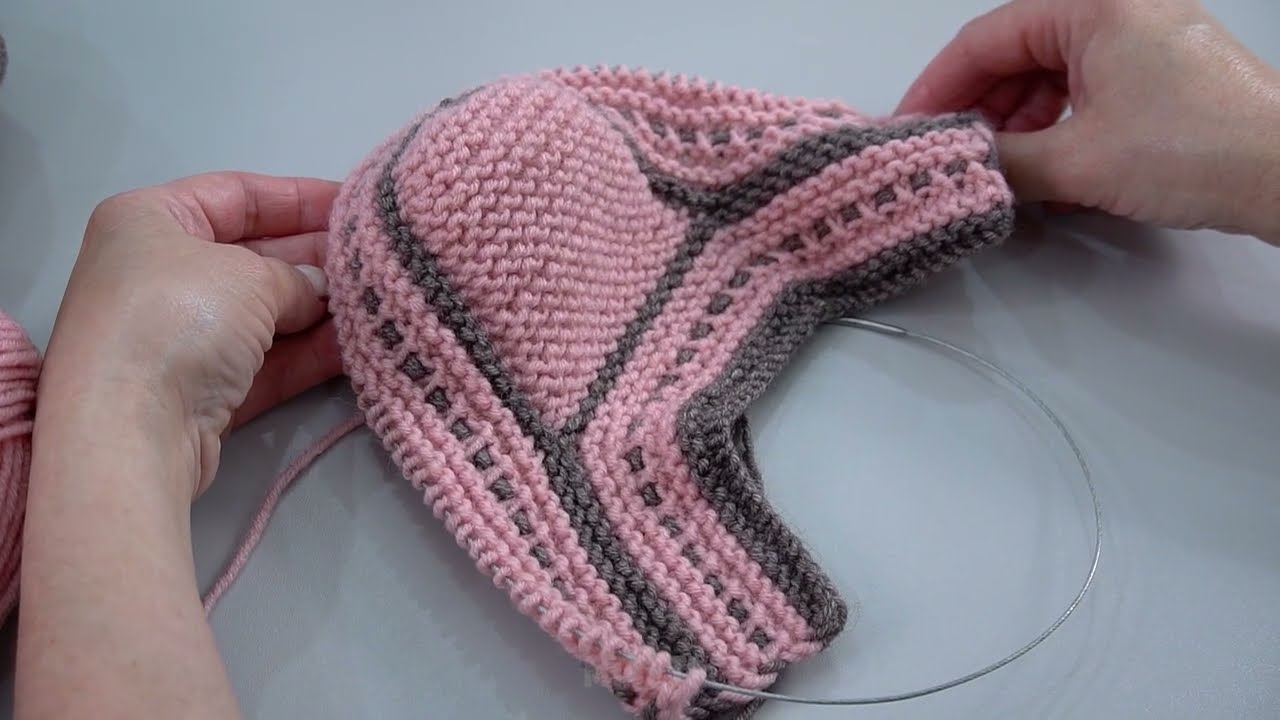
🧵 STEP 4: Knit the Ankle Edge
After heel shaping:
Knit 6–10 rows for a soft ankle edge.
Optional:
Switch to ribbing (K1, P1) for stretchy top.
✂️ STEP 5: Bind Off
Bind off loosely.
Cut yarn, leaving a long tail.
🪢 STEP 6: Sew the Back Seam Only
Fold slipper in half at the heel.
Sew only the back edge together.
That’s it!
✔ No seam under the foot
✔ Smooth sole
✔ Very comfortable
🧦 Optional Add-Ons
-
Add ribbed cuff
-
Add pom-poms
-
Sew on a suede sole
-
Add non-slip paint dots
-
Use double yarn for winter version
⏱ How Fast Is It?
Beginner: 2–3 hours per pair
Experienced: About 1–2 hours
Using chunky yarn makes it even faster.
🧶 Skill Level
Beginner
You only need to know:
-
Cast on
-
Knit
-
Make 1 increase
-
Basic turning
-
Bind off
If you’d like, I can also:
-
Write a no-turn (even simpler) version
-
Create a men’s size version
-
Add step-by-step size math
-
Make a printable pattern layout
-
Add pictures explained in words
Just tell me what you prefer 😊
Watch tutorial: