 by
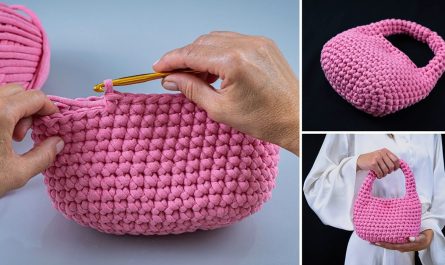
by Sure! Here’s a detailed step-by-step guide on how to crochet a baby vest starting from the collar, made in one piece without stitching (seamless). This method uses crochet, not knitting, and is perfect for beginners to intermediate crocheters who want to make a cute and functional baby vest.

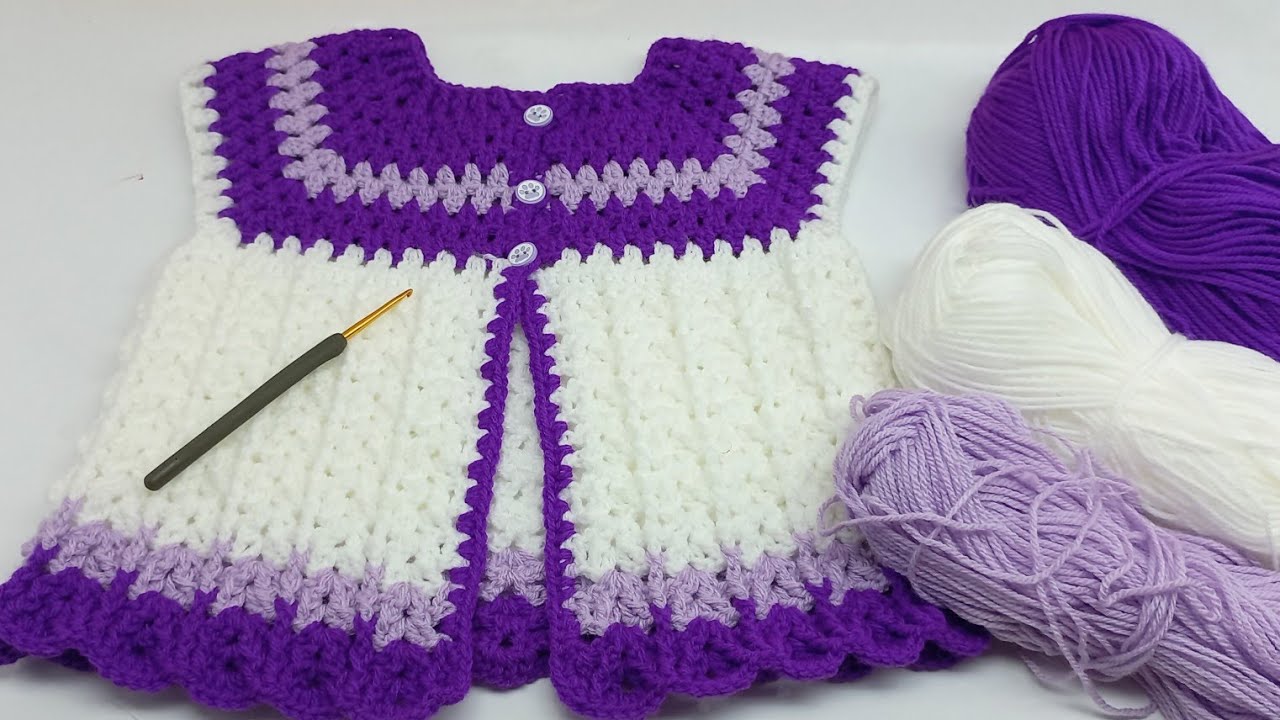
Crochet Baby Vest from the Collar Down (One-Piece, No Stitching)
Materials Needed:
-
Yarn: Soft baby yarn, DK (double knit) or light worsted weight (category 3 or 4)
-
Hook: 4.0mm or 4.5mm crochet hook (check yarn label)
-
Scissors
-
Tapestry needle
-
Stitch markers (optional but helpful)
Size:
This pattern can be adjusted for different baby sizes. The example below is suitable for 0–6 months. I’ll show how to customize the sizing too.
Pattern Overview:
-
This vest is worked from the top down (starting at the neck).
-
It is crocheted in one piece, using raglan increases for shaping the yoke.
-
After completing the yoke, you separate the sleeves and work the body.
-
You can finish with a simple border or decorative edging.
✅ Abbreviations (US terms):
-
ch – chain
-
sc – single crochet
-
dc – double crochet
-
sl st – slip stitch
-
st(s) – stitch(es)
-
inc – increase (2 dc in same stitch)
Step-by-Step Instructions:
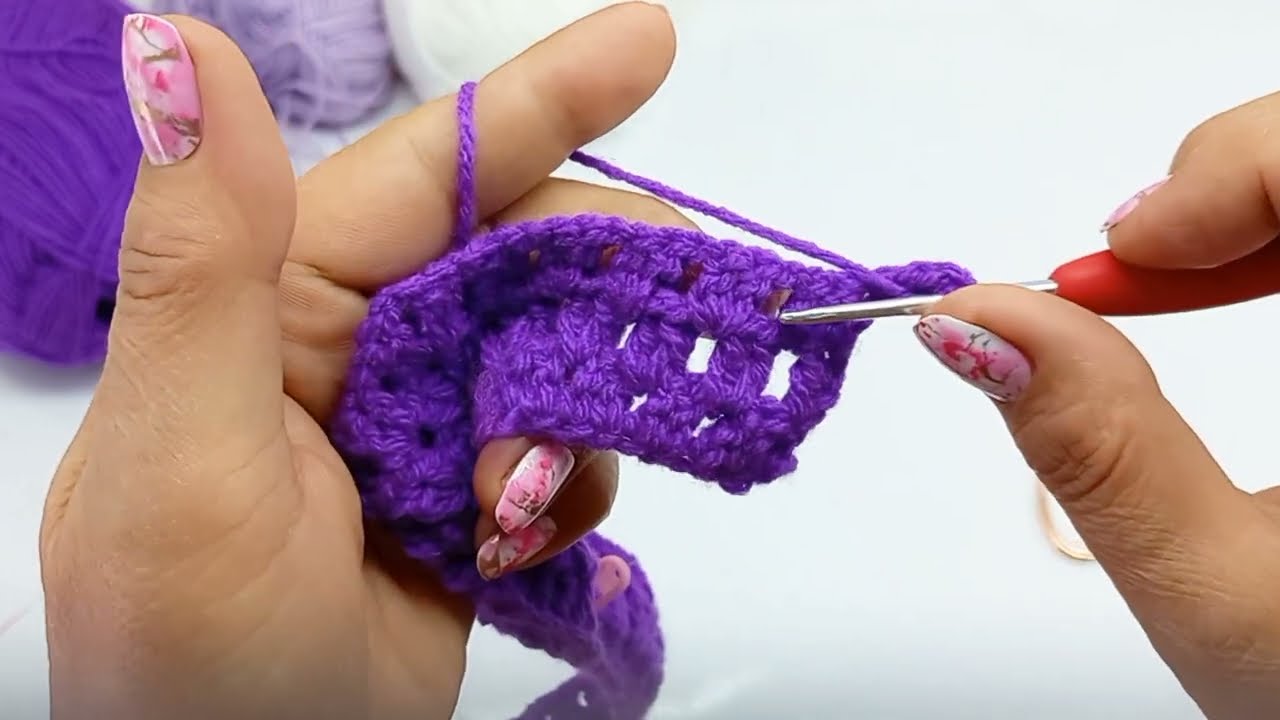
STEP 1: Foundation Chain (Collar)
Start with a foundation chain for the neckline.
Adjustable rule of thumb: Use a measuring tape around baby’s neck and chain enough to loosely match that size.
Join with a sl st to form a ring. Be careful not to twist the chain.
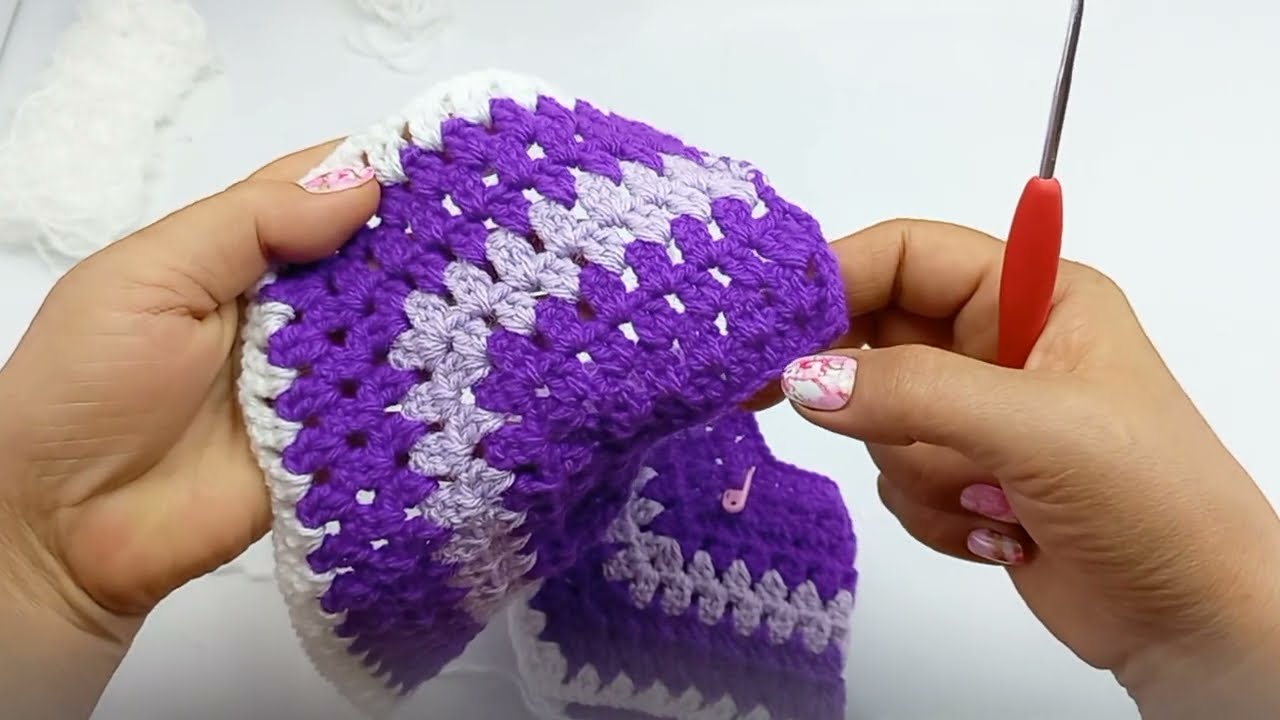
STEP 2: Yoke (Top Part with Increases)
You will work in rows, turning your work at the end of each row.
Row 1 (Setup Row):
Row 2 (Start Raglan Increases):
Place stitch markers at the 4 raglan points:
For 52 stitches, place markers at:
-
1st section (front): 10 sts
-
2nd (sleeve): 8 sts
-
3rd (back): 16 sts
-
4th (sleeve): 8 sts
-
Remaining 10 sts (front)
Repeat this row with raglan increases for 8–10 rows, or until the yoke reaches desired armhole depth.
Try-On Tip: You can stop here and check sizing by placing the work around baby’s shoulders.
STEP 3: Separate for Sleeves
Once the yoke is long enough:
-
Work across the first front.
-
Skip all sleeve stitches (you can place them on a stitch holder or chain across).
-
Work across the back.
-
Skip the second sleeve.
-
Finish the second front.
You now have a vest shape without sleeves.
Optional:
STEP 4: Body of the Vest
Continue working in dc rows back and forth (or in the round, if preferred) for the length of the vest.
-
Continue for 10–15 rows (or desired length).
-
You can add stripes, texture (e.g., front post/back post stitches), or a lacy pattern if desired.
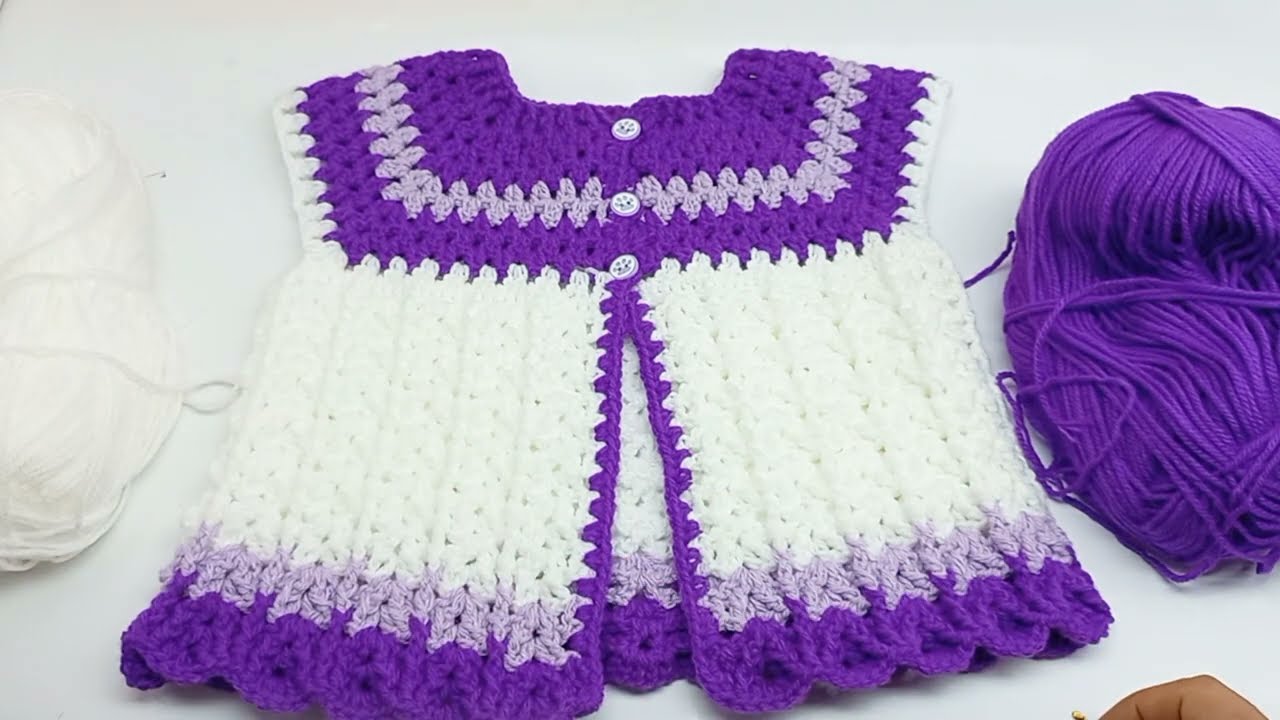
STEP 5: Finishing Edges
You can finish the vest with a simple edging around:
-
The bottom
-
Sleeve openings
-
Neckline
-
Front edges (where buttons or ties might go)
Example border:
Optional:
-
Add 3–4 buttons on one side and chain loops on the other.
-
Add a shell stitch border (5 dc in one stitch) for a more decorative look.
Optional Additions:
-
Add pockets or appliqués.
-
Crochet a hood and attach it to the neckline.
-
Make matching booties or a hat!
Care Tips:
Use baby-friendly yarn that is machine washable and soft. Always weave in ends securely.
Visuals Help?
If you’d like, I can draw a diagram or provide video links for a visual walkthrough. Let me know!
Watch tutorial: