 by
by Below is a clear, detailed, beginner-friendly guide on how to crochet a “braided” baby hoodie, including materials, stitch explanations, construction steps, and assembly. If you want, I can also turn this into a printable PDF-style pattern or add images/charts.

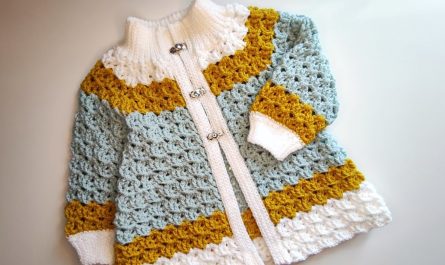
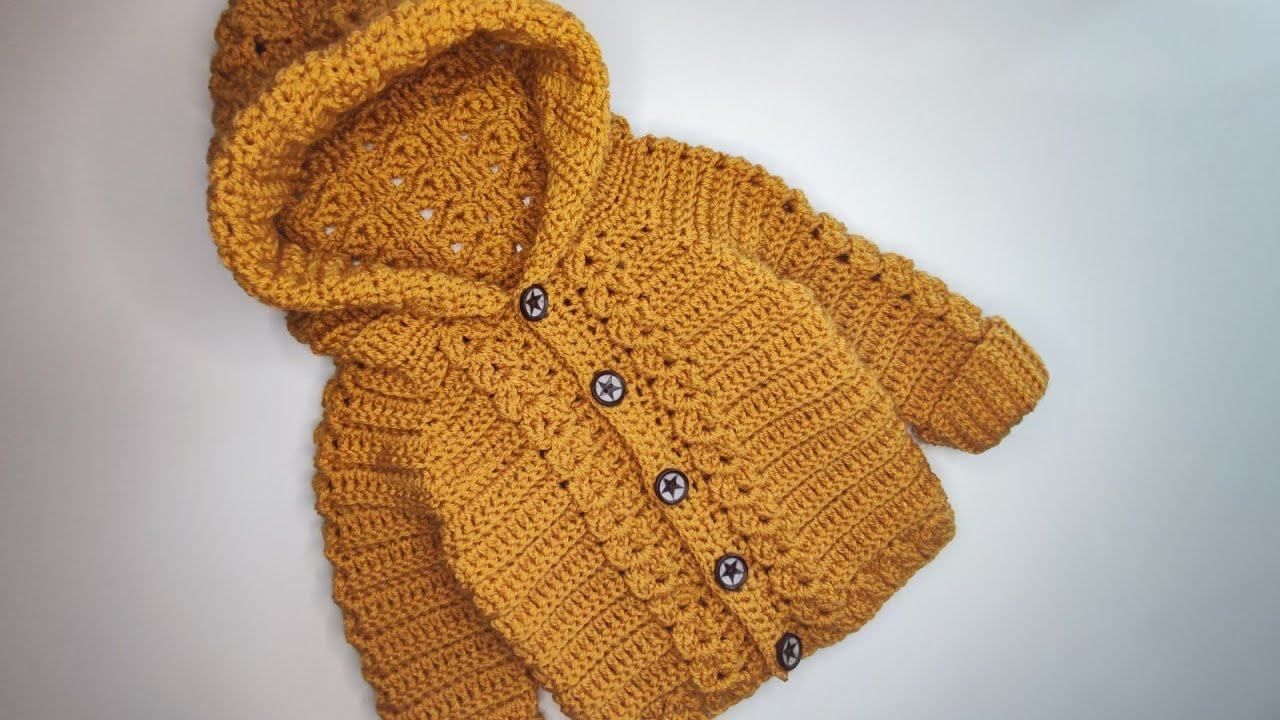
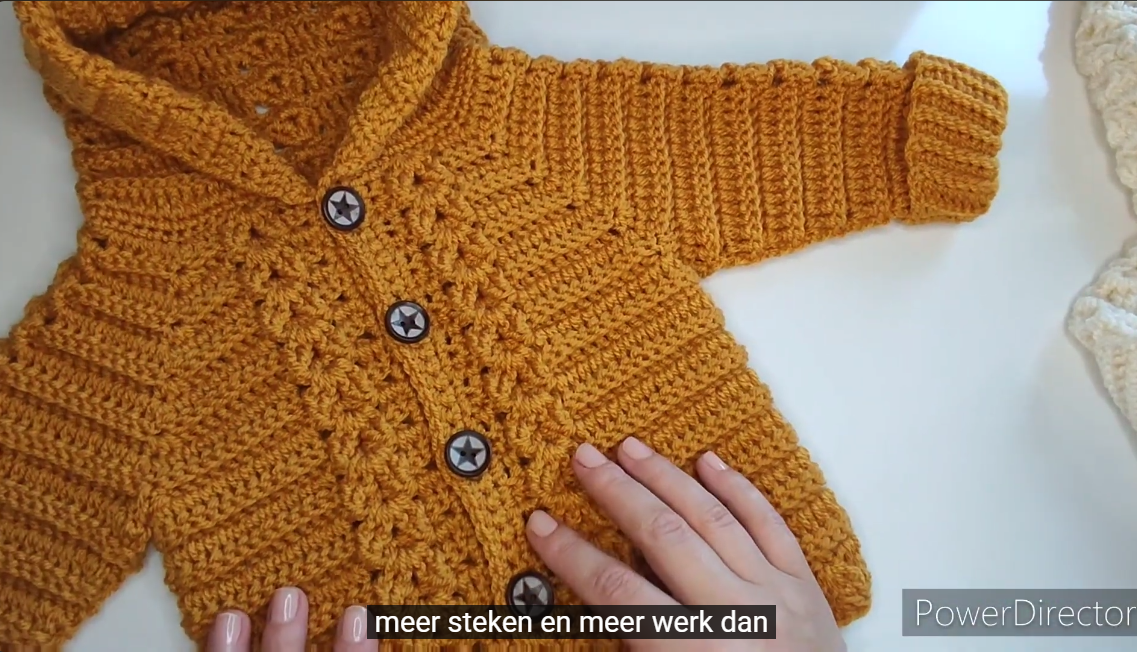
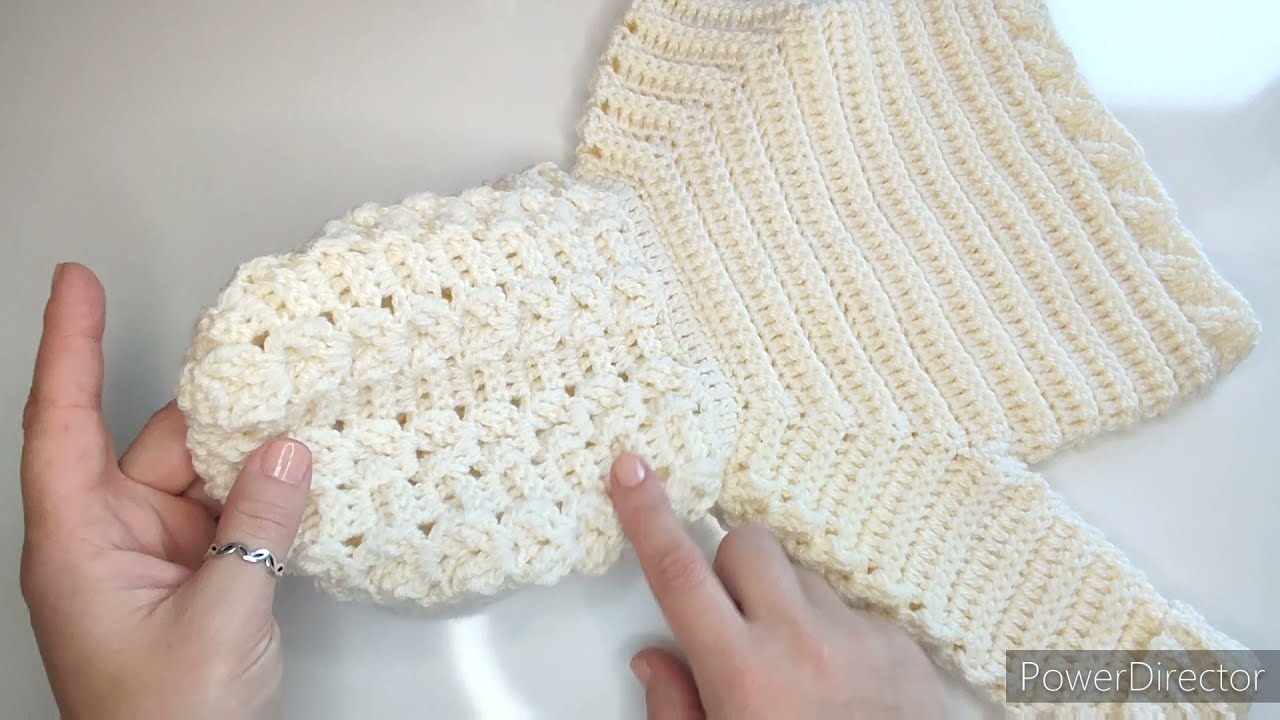
🧶 How to Crochet a “Braided” Baby Hoodie (Detailed Guide + Pattern)
This guide walks you through crocheting a cozy baby hoodie featuring a braided texture. The “braid” effect is usually created with front-post/back-post stitches, cables, or a braid stitch repeat.
This version uses an easy braided cable panel on the front and/or sleeves.
⭐ Size
Instructions fit 0–6 months, but I note where to adjust for larger sizes.
🧵 Materials
-
Yarn: Soft worsted-weight (Category 4) baby yarn — approx. 350–450 yards
(Cotton blends, acrylic, or bamboo are good for babies.) -
Hook: 5.0 mm (H) crochet hook
-
Tapestry needle for sewing
-
Stitch markers
-
4–6 small buttons (optional if adding a cardigan-style front)
-
Scissors
🧶 Stitches Used
-
ch — chain
-
sl st — slip stitch
-
sc — single crochet
-
hdc — half-double crochet
-
dc — double crochet
-
fpdc — front-post double crochet
-
bpdc — back-post double crochet
-
Cable/Braid repeat: A simple 4-stitch cable (cross-front-post stitches)
🧩 Construction Overview
This hoodie is worked in 5 parts:
-
Back panel
-
Front panels (left + right)
-
Sleeves
-
Hood
-
Assembly + edging
The braided effect is added as a vertical panel wherever you choose (front panels or sleeves).
🪡 1. Back Panel
-
Chain 46 (for 0–6 months).
For other sizes: chain in multiples of 4 + 2. -
Row 1: hdc in 2nd ch from hook and across. (45 sts)
-
Rows 2–30: hdc across each row.
-
This makes a simple, soft rectangle.
-
Adjust length for larger sizes (up to 36–40 rows).
-
Fasten off.
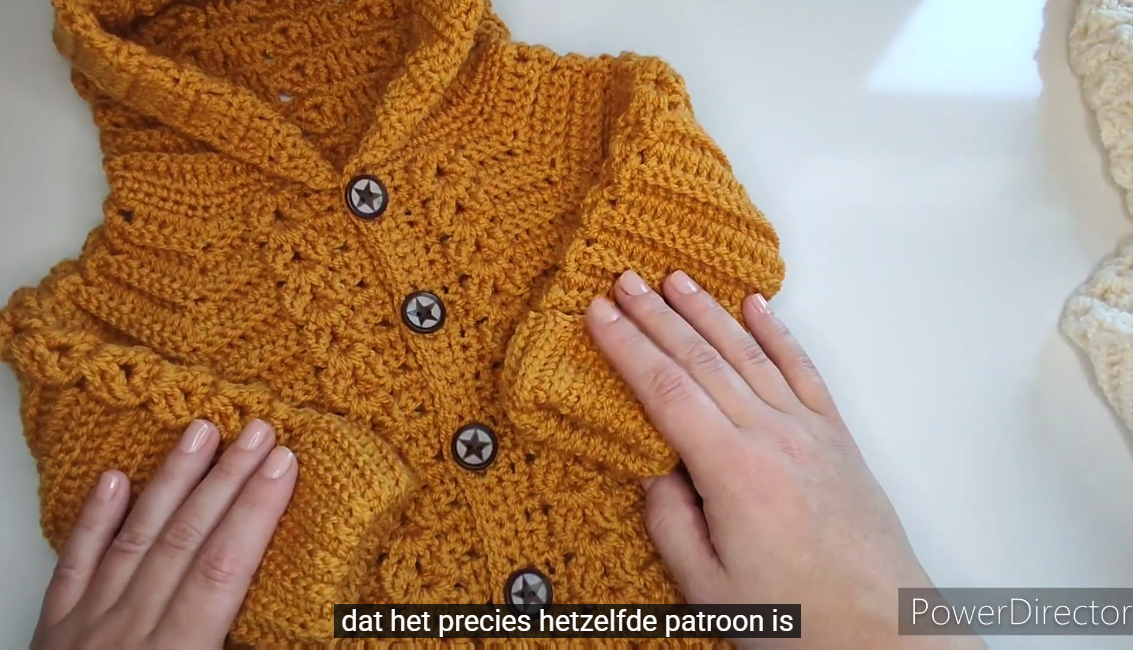
🪡 2. Front Panels (Make 2)
Each panel is half the width of the back.
Start the Braid Section
-
Chain 22.
-
Row 1: hdc across. (21 sts)
-
Row 2:
-
hdc in first 8 sts
-
Braid panel (4-st cable):
skip next 2 sts, fpdc around the next 2 sts, fpdc around the skipped sts -
hdc to end
(21 sts)
-
-
Rows 3–4: repeat Row 2.
-
Rows 5–30:
-
To make the braid advance upward:
-
Every 4th row, switch the cable crossing direction (skip first 2, work next 2, then go back and fpdc around skipped stitches).
-
-
This creates a raised, rope-like braid.
Fasten off when length matches back panel.
🪡 3. Joining the Shoulders
Place the front panels on top of the back panel.
Sew or slip-stitch shoulders only, leaving armholes open.
🪡 4. Sleeves
-
Chain 26.
-
Row 1: hdc across (25 sts).
-
Rows 2–5: hdc across.
Add the braid (optional)
-
Row 6:
-
hdc 10
-
work the 4-st cable
-
hdc to end
-
-
Rows 7–25:
-
Continue with 1 cable cross every 4th row
-
Hdc rows in between
-
Seam underarm edges to shape sleeve.
Attach sleeves to armholes.
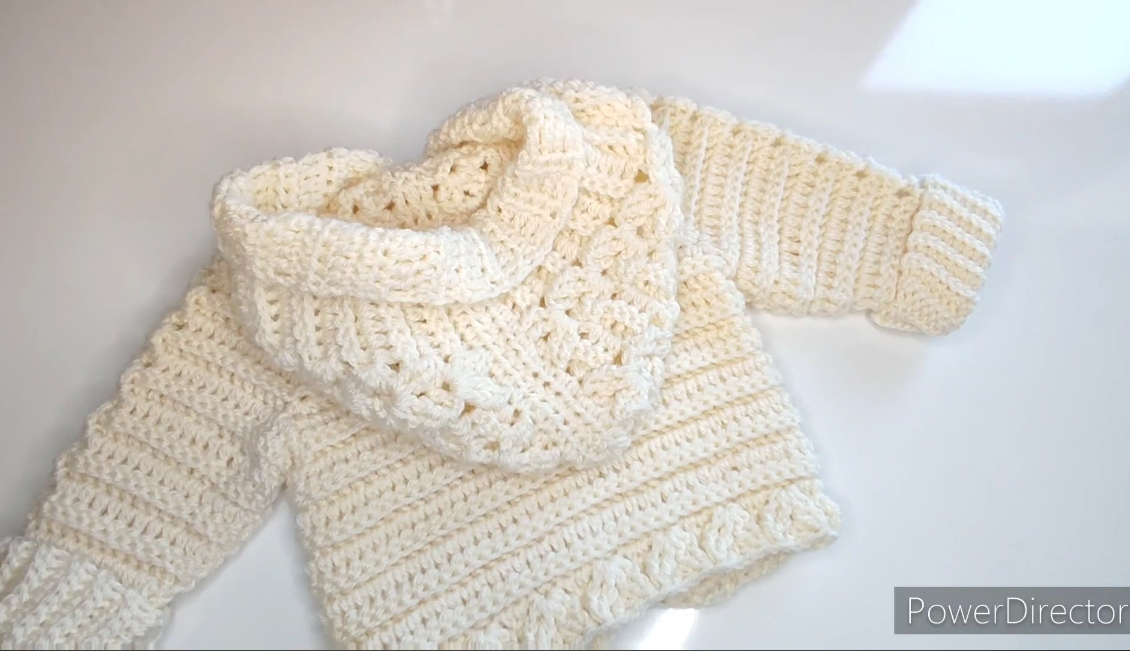
🪡 5. Hood
-
Attach yarn at the neckline.
-
Row 1: hdc evenly across the neck opening (typically 40–50 sts).
-
Rows 2–25: hdc across each row.
-
To shape the top of the hood:
-
Fold the hood rectangle in half
-
Seam the top closed with whip stitch or slip stitch.
-
Add a cable panel centered on the hood if you want more braid detail (optional).
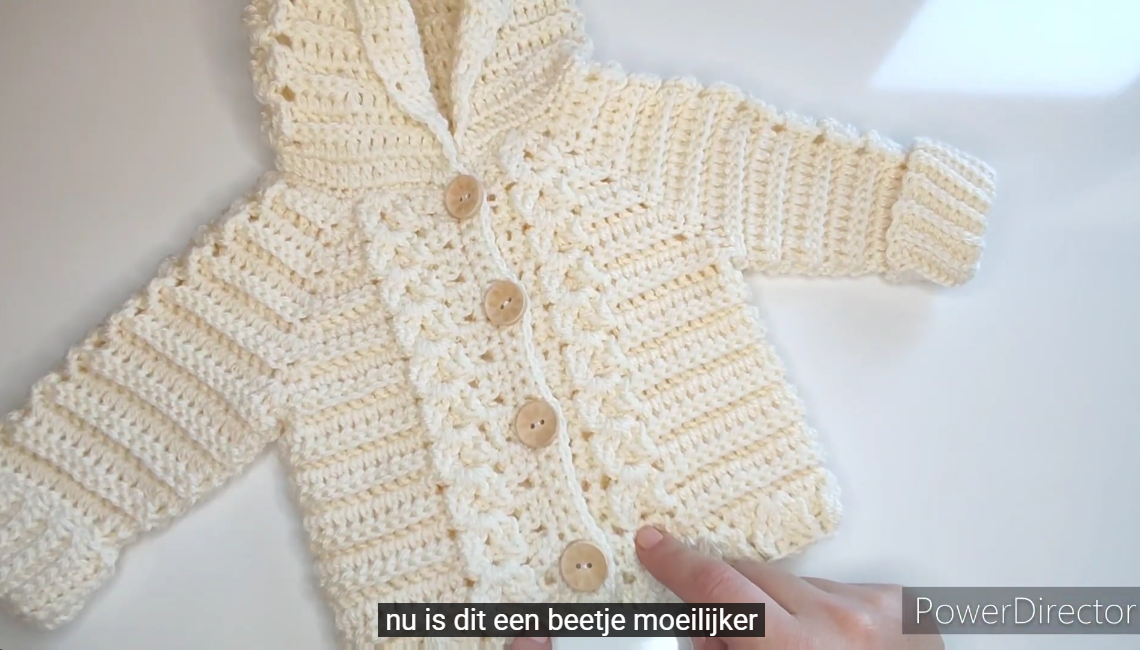
🪡 6. Edging (Front + Hood)
Work a full edging around the entire hoodie front and hood:
-
Attach yarn at bottom corner.
-
Row 1: sc evenly up front edge, around hood, and down opposite edge.
-
Row 2: sc again for a clean border.
-
Add buttonholes by chaining 2 and skipping 2 stitches (if desired).
🧷 7. Optional Add-Ons
-
Add ears (bear, bunny, cat) on top of hood.
-
Add pockets with mini braid details.
-
Add tie strings or button closures.
-
Make sleeves ribbed by ending with fpdc/bpdc rows.
✨ Tips for Crocheting the Braid
-
Work fpdc loosely so the cable isn’t tight.
-
Use a stitch marker to track every 4th “braid-crossing” row.
-
If the cable looks twisted, block gently with steam or water.
🎁 Would you like:
✓ A fully formatted written pattern with row-by-row instructions?
✓ A diagram / chart of the braid?
✓ A video-style step-by-step version?
✓ Instructions adjusted for 12 months, 2T, or 3T sizes?
Watch tutorial: