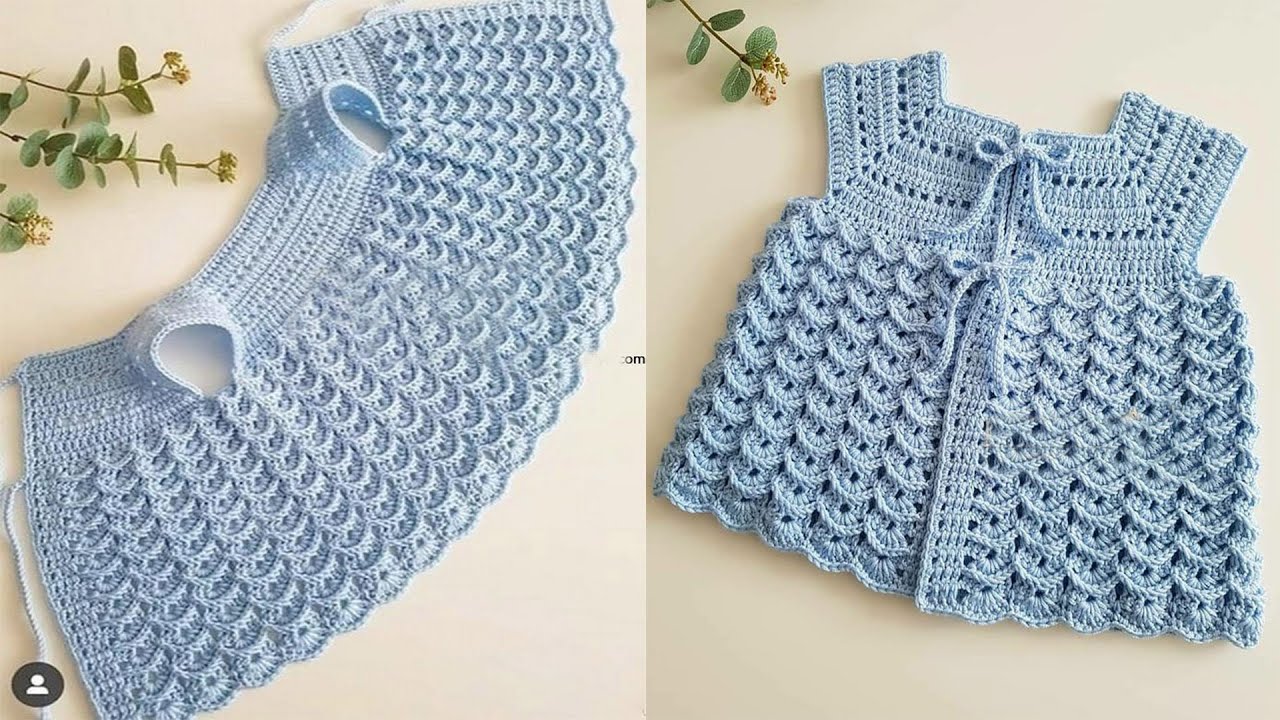
Sure! Here’s a detailed step-by-step guide on how to crochet a baby vest for the first months (0–3 months) — perfect for beginners. This guide includes tools, materials, basic stitches, pattern steps, and tips for success.
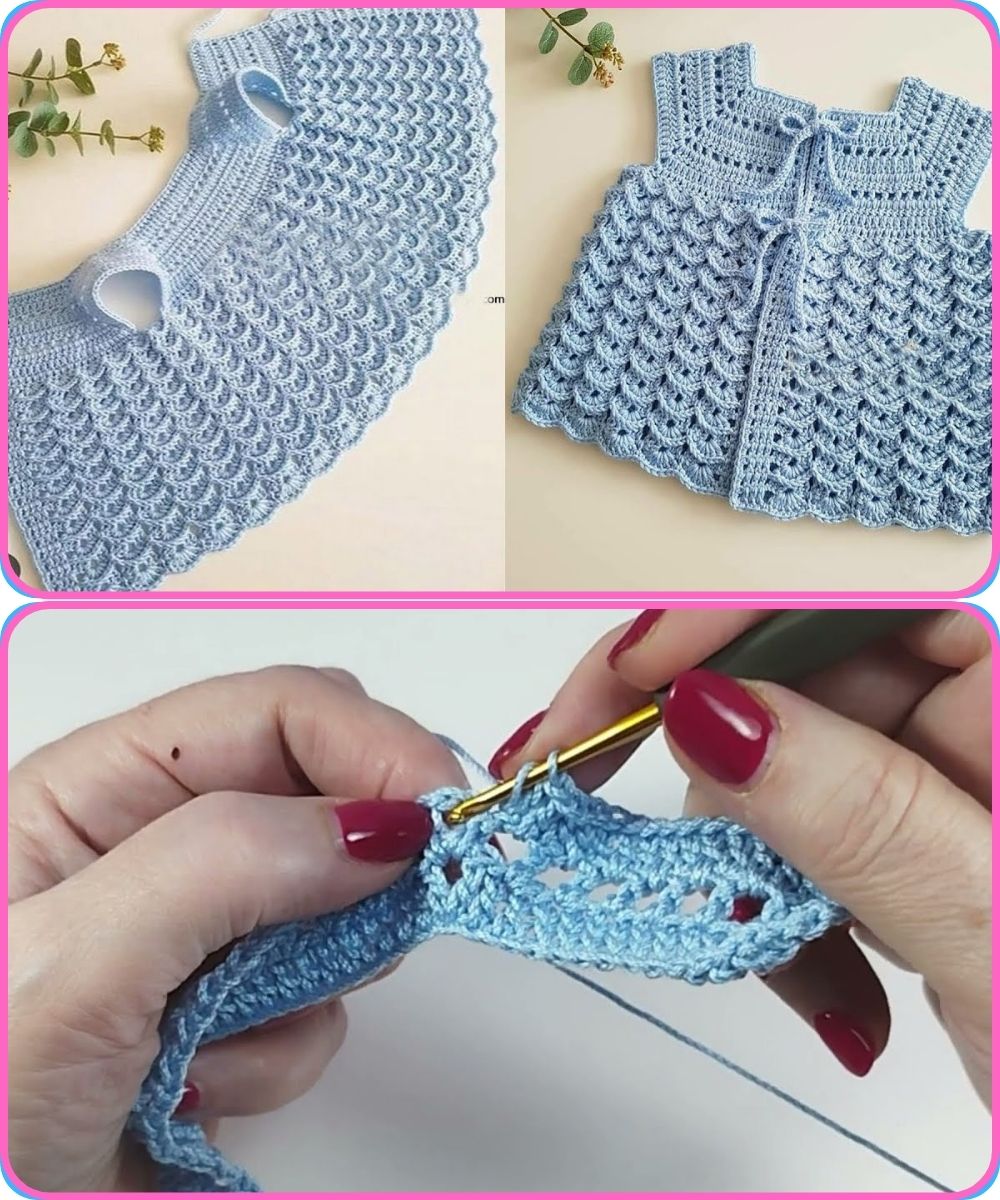
How to Crochet a Baby Vest for the First Months (0–3 Months)
Skill Level: Beginner to Intermediate
Estimated Time: 3–5 hours
Size: 0–3 months (you can adjust as needed)
Materials You’ll Need
| Item | Details |
|---|---|
| Yarn | Light/DK (Double Knitting) or Size 3 baby yarn (100% soft cotton or acrylic) |
| Crochet hook | Size 4.0 mm (G-6) or as recommended by your yarn |
| Stitch markers | Optional but helpful for counting |
| Yarn needle | For weaving in ends |
| Scissors | For cutting yarn |
| Buttons (optional) | 2–3 small buttons for front closure |
Basic Stitches to Know
| Abbreviation | Stitch Name | Description |
|---|---|---|
| ch | Chain | Foundation stitch used to start most crochet projects |
| sc | Single Crochet | Basic dense stitch |
| hdc | Half Double Crochet | A little taller than sc |
| dc | Double Crochet | Taller and looser stitch |
| sl st | Slip Stitch | Used to join rounds or move across stitches |
| inc | Increase | Two stitches in the same stitch |
| dec | Decrease | Combine two stitches into one |
Note: US terminology is used in this guide.
Pattern: Basic Baby Vest (0–3 Months)
We’ll work top-down, creating a yoke first, then dividing for armholes and finishing the body.
Step 1: Start with the Yoke
Foundation chain:
Ch 44.
Row 1:
Dc in 4th ch from hook and across (41 dc). Turn.
Row 2 (Start raglan increases):
Ch 2 (counts as dc), dc in same st. Dc in next 3 sts, 2 dc in next st — repeat from * to * across. Turn. (About 52 sts)
Rows 3–6:
Continue increasing on every 4th stitch (or where the corners of the yoke would be). You should have noticeable raglan “lines” forming at 4 points.
Tip: Use stitch markers to mark the increase points.

Step 2: Divide for Armholes
After row 6 or 7 (depending on your gauge), your yoke should measure around 4.5 to 5 inches deep.
Next Row:
Work across the front, skip the armhole stitches, and connect to the back panel.
For example:
-
Work dc in 10 stitches (front)
-
Ch 4 (creates armhole)
-
Skip 10 stitches (sleeve)
-
Dc across next 20 sts (back)
-
Ch 4
-
Skip 10 sts
-
Dc in final 10 sts (front)
You’ll now work just the body of the vest in rows or rounds.
Step 3: Body of the Vest
Rows 1–8 (or desired length):
Ch 2, dc in each stitch and chain across. Turn.
Customize the length: For 0–3 months, around 6–7 inches from shoulder to bottom is standard.
Step 4: Finishing Touches
Neck and Armhole Edging (optional but neat)
-
Use sc or sl st to go around neck and armholes.
-
Ch 1, sc around, sl st to join. Fasten off.
Button Band (optional)
-
On the front edge, attach yarn and sc up the side.
-
For buttonholes: Ch 1, sc 2, ch 2 (skip 2), repeat.
Sew buttons on the opposite side to align.
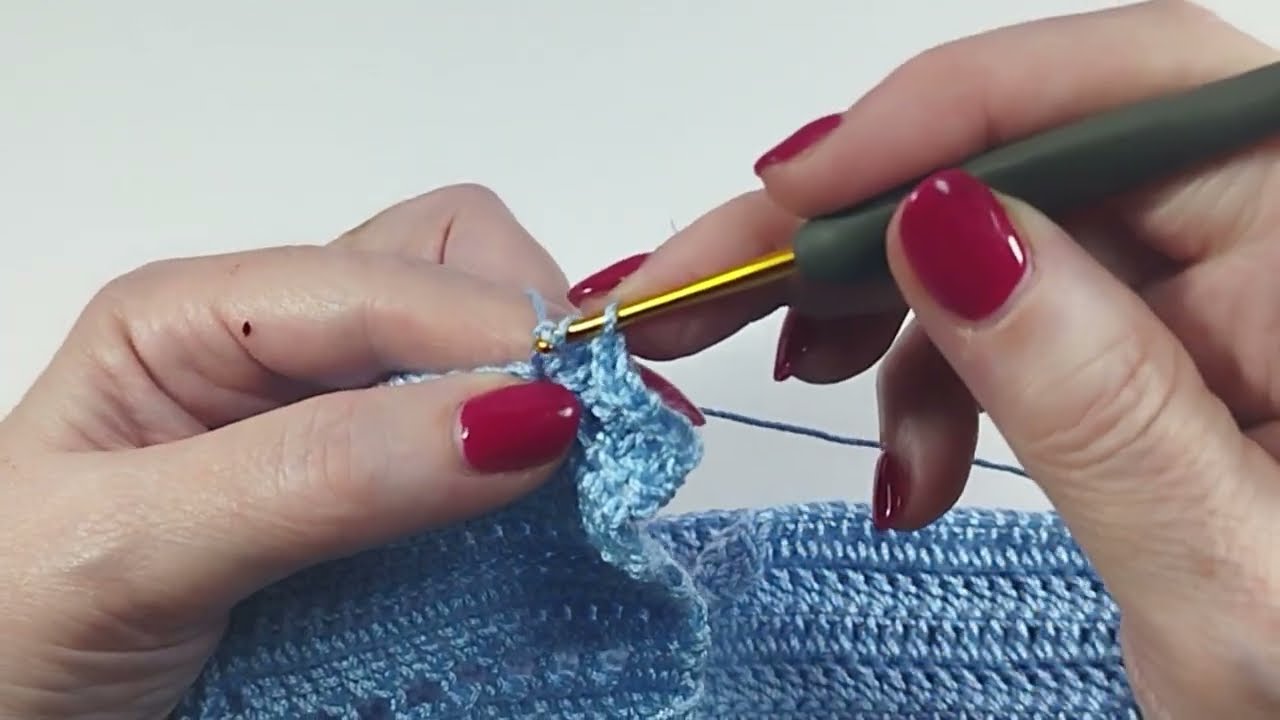
Step 5: Weave in Ends
Use your yarn needle to carefully weave in all loose ends.
Approximate Finished Size
-
Chest: 16–17 inches
-
Length: 6–7 inches
-
Armhole depth: 3–4 inches
Tips for Success
-
Gauge matters: Make a swatch to ensure size accuracy.
-
Use stitch markers: Mark increases and armholes.
-
Choose soft yarn: Babies have sensitive skin. Go for hypoallergenic yarns.
-
Wash test: Always wash the yarn before gifting.
Care Instructions for the Vest
-
Machine wash gentle or hand wash
-
Lay flat to dry
-
Avoid high heat or bleach
Optional Customizations
-
Add a decorative border (picot, shell stitch)
-
Use contrasting colors for stripes or borders
-
Sew on cute appliqués (hearts, animals, etc.)
Watch tutorial:
