 by
by Sure! Here’s a detailed guide on how to make a trendy summer dress — perfect for DIY lovers or anyone wanting a light, stylish outfit for the warm weather. This will walk you through planning, choosing materials, cutting, sewing, and finishing. We’ll focus on a simple, flowy, sleeveless A-line dress (very trendy and easy for beginners).
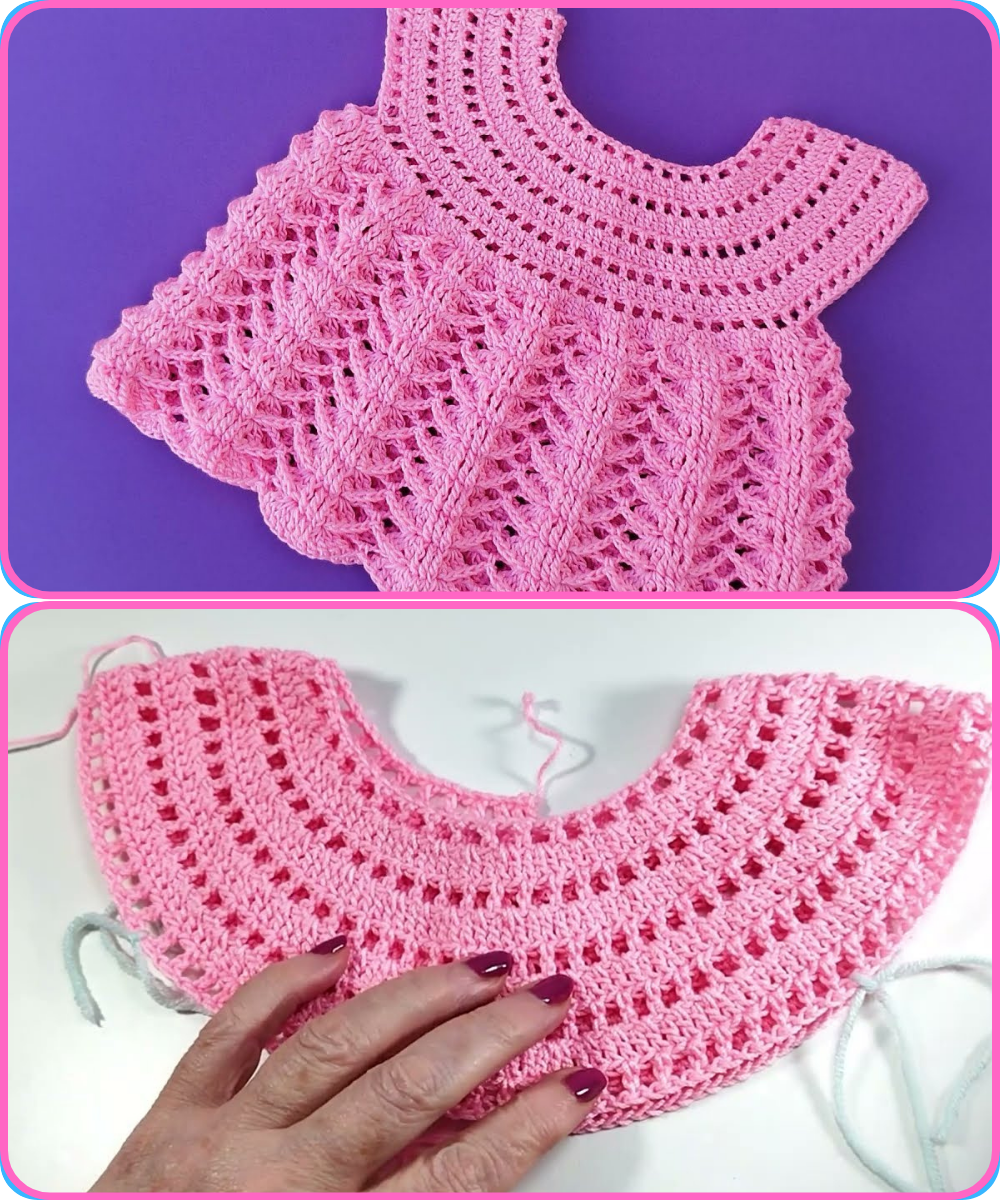
How to Make the Trendy Summer Dress (DIY Guide)
✂️ Materials You’ll Need:
| Item | Description |
|---|---|
| Fabric | Light and breathable fabrics like cotton, linen, rayon, or chambray (2–3 yards depending on size and length) |
| Pattern | Use a printable PDF pattern (or trace one from an existing dress) |
| Thread | Matching color for your fabric |
| Sewing Machine | Optional, but highly recommended |
| Scissors | Fabric scissors for clean cutting |
| Pins or Clips | For securing fabric while sewing |
| Elastic (optional) | For the waist if you want a cinched effect |
| Bias tape (optional) | For clean neckline or armhole finishes |
| Measuring Tape | For accurate sizing |
| Iron and Ironing Board | To press seams and fabric |
Step-by-Step Instructions
Step 1: Choose the Dress Style
A popular and trendy option for summer is:
-
Sleeveless or spaghetti straps
-
Loose, A-line shape or cinched waist
-
Knee-length or midi
-
V-neck or round neckline
You can find free or paid dress patterns online or trace a dress you already own.
Step 2: Prepare Your Pattern & Fabric
-
Pre-wash your fabric to avoid shrinking after sewing.
-
Iron the fabric flat for smooth cutting.
-
Lay out your pattern and pin it onto the fabric.
-
Cut out the fabric pieces as per your pattern:
-
Front bodice
-
Back bodice
-
Skirt panels (or one front and one back piece if it’s a simple shape)
-
Optional: straps, pockets, waistband
-
Step 3: Assemble the Dress
1. Sew the Bodice
-
Place front and back bodice right sides together, pin at shoulders.
-
Sew shoulder seams and side seams.
-
Press seams open with an iron.
2. Finish Neckline and Armholes
-
Use bias tape or fold and stitch for a clean hem.
-
If using spaghetti straps, sew those in place before finishing edges.
3. Attach the Skirt
-
Sew side seams of skirt panels.
-
Gather the top of the skirt (if needed) so it matches the bodice width.
-
Pin and sew the skirt to the bodice right sides together.
-
Press seam upward and topstitch if desired.
4. Add Elastic or Waist Tie (Optional)
-
If you want a cinched waist, sew a casing into the waist seam and insert elastic.
-
Or add belt loops and a tie made from matching fabric.
5. Hem the Bottom
-
Fold up the bottom edge twice (¼” + ½”) and sew for a neat hem.
Final Touches
-
Try on the dress and make any necessary adjustments.
-
Press all seams and hems for a polished look.
-
Add accessories like lace, tassels, or buttons for personalization.
✅ Tips for Beginners
-
Start with simple cotton fabric — it’s easier to handle.
-
Avoid slippery or stretchy fabrics on your first try.
-
Use clips instead of pins if the fabric is delicate.
-
Don’t skip ironing — it makes a huge difference in the final result.
Pattern Ideas (Free & Paid)
-
Mood Fabrics Free Patterns – stylish and free!
-
Etsy – search for “summer dress sewing pattern PDF”
-
Peppermint Magazine Patterns
-
Simplicity and McCall’s commercial patterns
Style Variations
| Style | Description |
|---|---|
| Wrap Dress | Flattering and adjustable waist |
| Tiered Dress | Adds volume and fun movement |
| Off-Shoulder | Trendy and breathable |
| Shirred/Bodice Smocking | Stretchy and fitted bodice without zippers |
| Backless or Tie-back | Cool and stylish for hot days |
Watch tutorial: