by
by Sure! Here’s a detailed step-by-step guide on how to make the easiest and most beautiful crochet blouse for all sizes, especially designed for beginners and adaptable for small to plus sizes.
How to Make the Easiest & Most Beautiful Crochet Blouse (All Sizes)
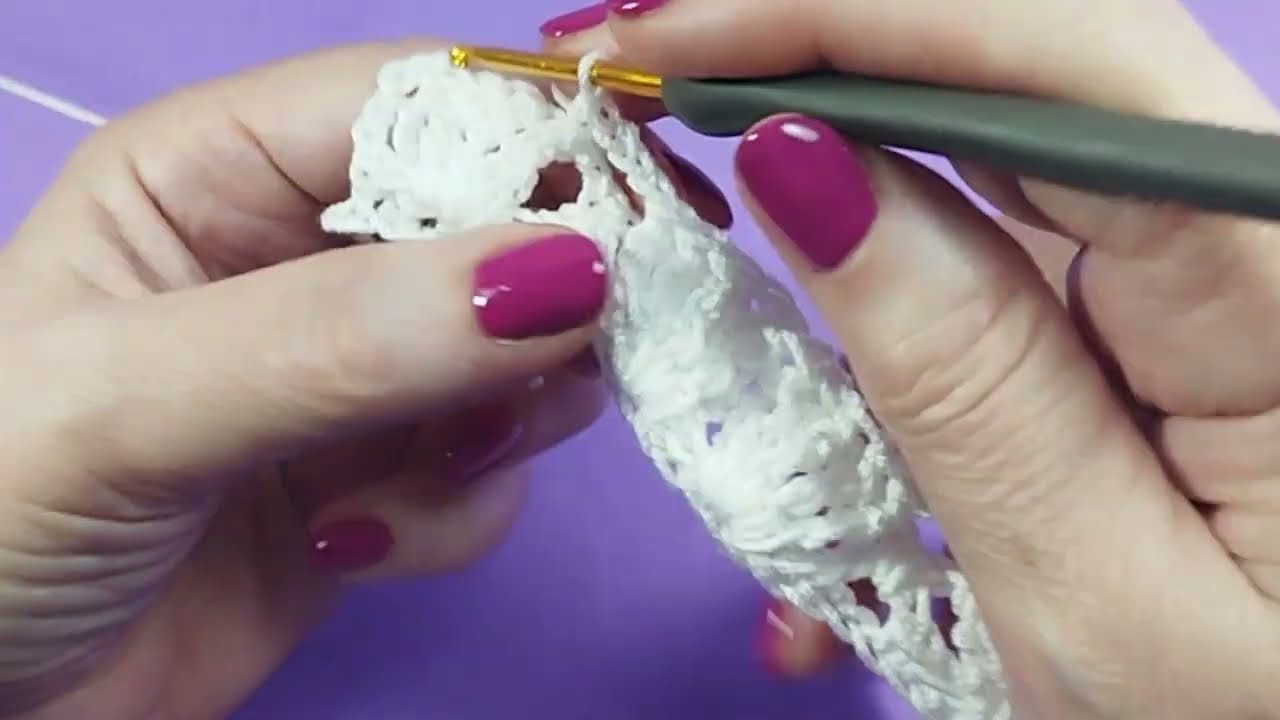
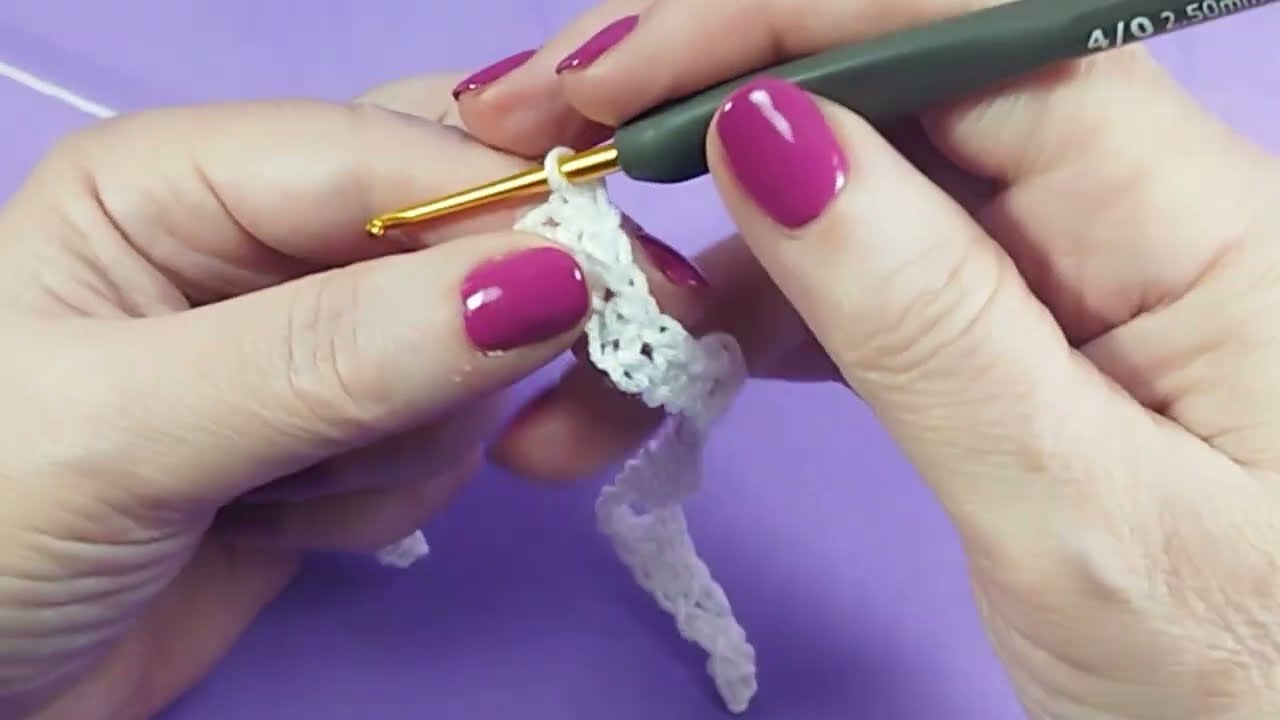
This crochet blouse is easy, customizable, and uses basic stitches, making it perfect for beginners. It’s made in two panels (front and back) and sewn together. You can make it loose, fitted, short-sleeved, or long-sleeved.
Supplies Needed:
-
Yarn: Cotton or bamboo blend (lightweight: category 3 or 4 worsted)
-
Crochet hook: Size recommended for your yarn (usually 4.0mm – 5.5mm)
-
Tapestry needle
-
Scissors
-
Measuring tape
-
Stitch markers (optional)
✂️ Stitch Knowledge (Beginner Friendly):
-
Chain (ch)
-
Slip stitch (sl st)
-
Single crochet (sc)
-
Double crochet (dc)
(Optional for design: Shell stitch or V-stitch for more beauty)
Sizing Guide:
This blouse is made with two rectangles. The size is determined by:
-
Width = Half of bust + ease (loose or tight fit)
-
Height = From shoulder to the desired bottom length
| Size | Bust (inches) | Width of Panel | Length |
|---|---|---|---|
| S | 32–34 | 18″ | 20–22″ |
| M | 36–38 | 20″ | 22–24″ |
| L | 40–42 | 22″ | 24–25″ |
| XL | 44–46 | 24″ | 25–26″ |
| 2XL | 48–50 | 26″ | 26–27″ |
| 3XL | 52–54 | 28″ | 27–28″ |
✅ Add 1–2″ for a looser fit
✅ Adjust stitch counts for your yarn gauge
Step-by-Step Instructions:
✅ STEP 1: Measure and Make Foundation Chain
-
Measure your bust and divide by 2 → this is the width of one panel.
-
Make a foundation chain that matches that measurement in inches.
-
Example: For 40″ bust, half = 20″. If your gauge is 4 dc = 1 inch, then 20″ = 80 chains.
-
-
Add 2 extra chains for turning.
✅ STEP 2: Work the Body (Front & Back Panels)
You’ll make two identical rectangles.
-
Row 1: Double crochet in the 3rd chain from hook and across. Turn.
-
Row 2: Ch 2, dc across. Repeat until the panel is the desired length.
-
Add a shell stitch row every 5th row for beauty (optional).
-
-
Make two rectangles this way (front and back).
✅ STEP 3: Create Neck Shaping (Optional)
-
For the front panel only:
-
On the last 4–5 inches before you reach the top, leave a gap in the middle:
-
Crochet across for left shoulder, skip stitches in the middle (neck opening), and crochet right shoulder.
-
-
This gives a scoop or boat neckline.
✅ STEP 4: Join the Panels
-
Lay the two rectangles on top of each other, right sides facing in.
-
Sew the shoulders together using whip stitch or slip stitch.
-
Sew the sides, leaving armholes (6–8″ for S–L, 8–10″ for XL–3XL).
✅ Tip: Try it on before final sewing to adjust armhole and fit!
✅ STEP 5: Add Sleeves (Optional)
You can make cap sleeves, short sleeves, or long sleeves.
Cap Sleeve (Easiest):
-
Join yarn at the armhole.
-
Work 2–4 rounds of dc or shell stitch in the round.
Long Sleeve:
-
Measure your desired sleeve length.
-
Chain to desired length (wrist to shoulder), make a rectangle.
-
Sew to the armhole and seam along the sleeve.
✅ STEP 6: Finish Neckline & Edging
-
Join yarn at the neckline and work 1–2 rounds of sc or shell stitch.
-
You can add edging to bottom and sleeves for a polished look.
Optional Customizations:
-
Use variegated yarn or ombre yarn for a beautiful fade.
-
Add shell stitch, V-stitch, or lace pattern for more texture.
-
Insert ribbon tie at the neckline for a cute detail.
-
Add fringe or tassels at the hem.
Washing & Care:
-
Hand wash or machine wash on gentle cycle
-
Lay flat to dry
-
Do not wring
Summary:
| Feature | What Makes It Easy/Beautiful |
|---|---|
| Construction | Two rectangles only |
| Sizing | Fully adjustable |
| Yarn Type | Light cotton, breathable |
| Stitch Used | Basic (dc), with optional lace or shell stitch |
| Customization | Length, sleeves, neckline |
| Skill Level | Beginner |
Watch tutorial: