 by
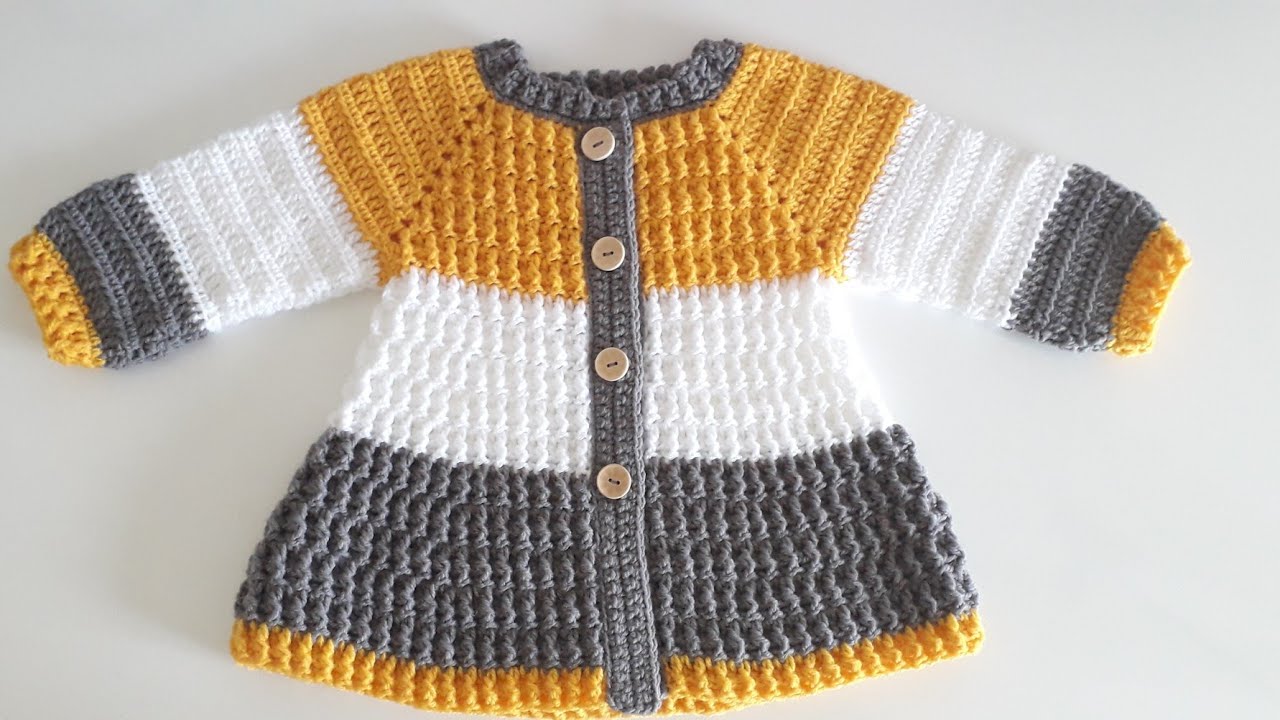
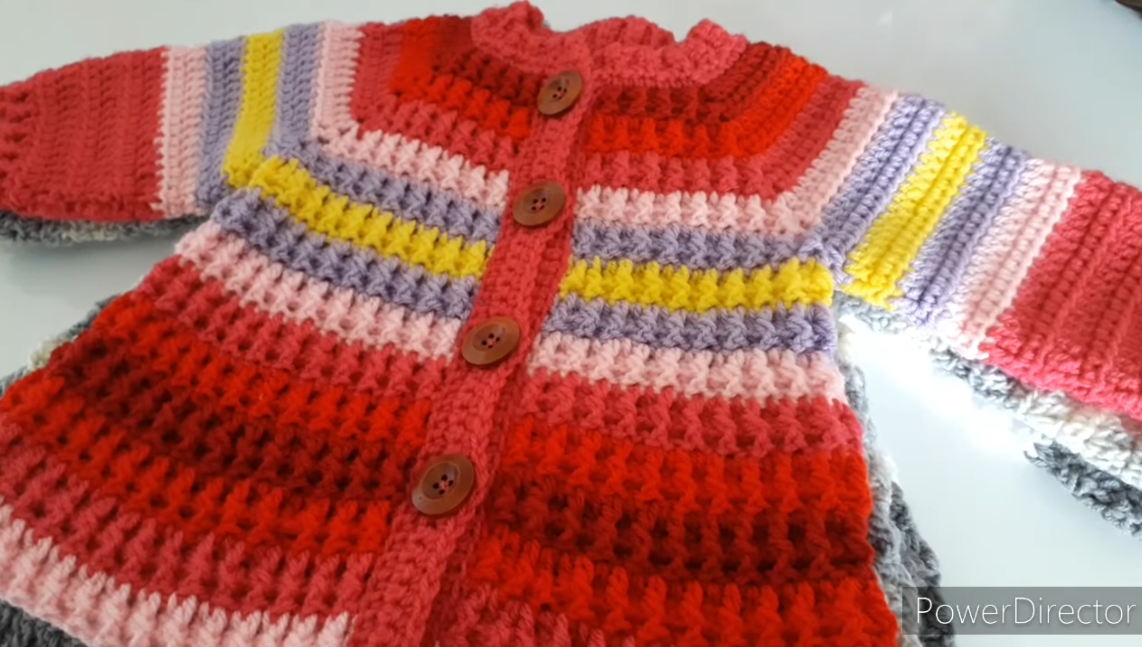
by Below is a detailed, step-by-step guide for how to crochet a “Fall Cardicoat” (a cozy, long, cardigan-style coat perfect for autumn). This is written like a pattern + tutorial so you can follow it even if you’re a confident beginner moving into intermediate skills.
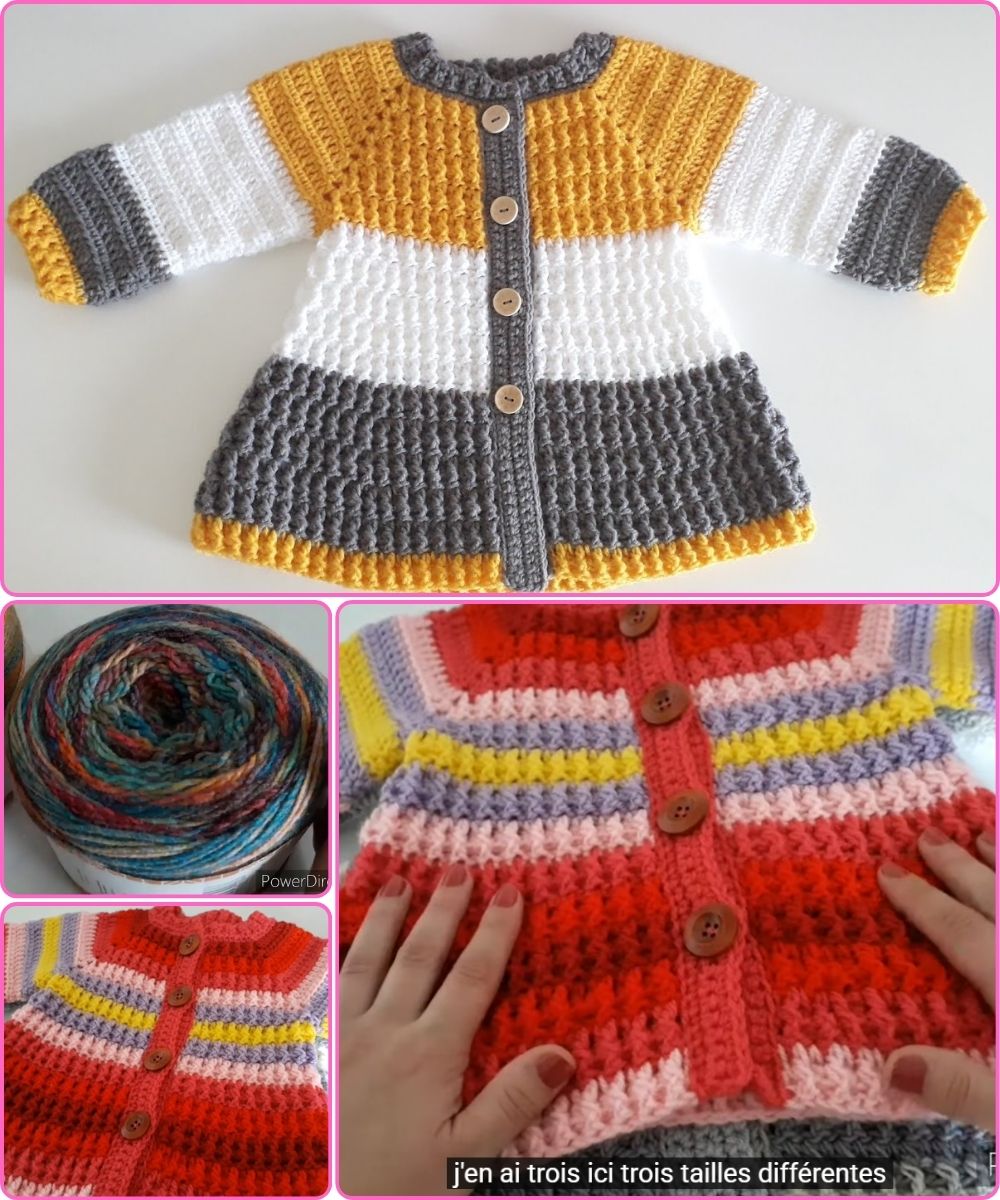
🍂 How to Crochet the “Fall” Cardicoat — Detailed Guide
Skill Level: Confident Beginner / Intermediate
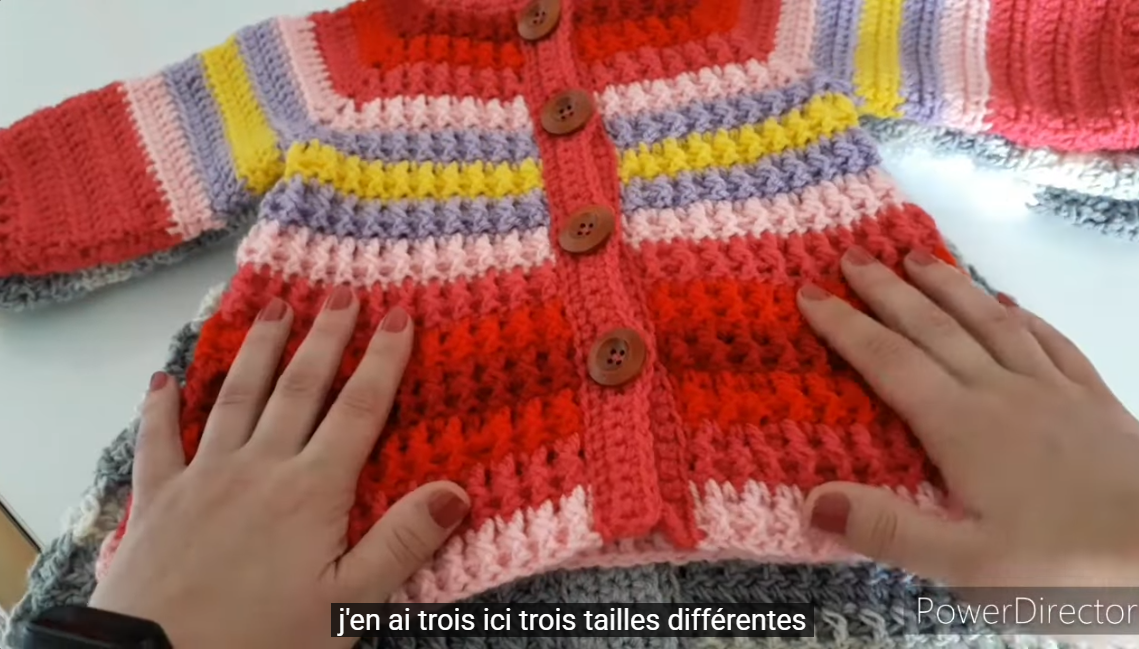
Sizes: S–3XL (instructions include how to adjust)
Construction: Worked flat in panels → seamed → sleeves added → front bands added
Look: Long, cozy, slightly oversized cardigan-coat with textured body
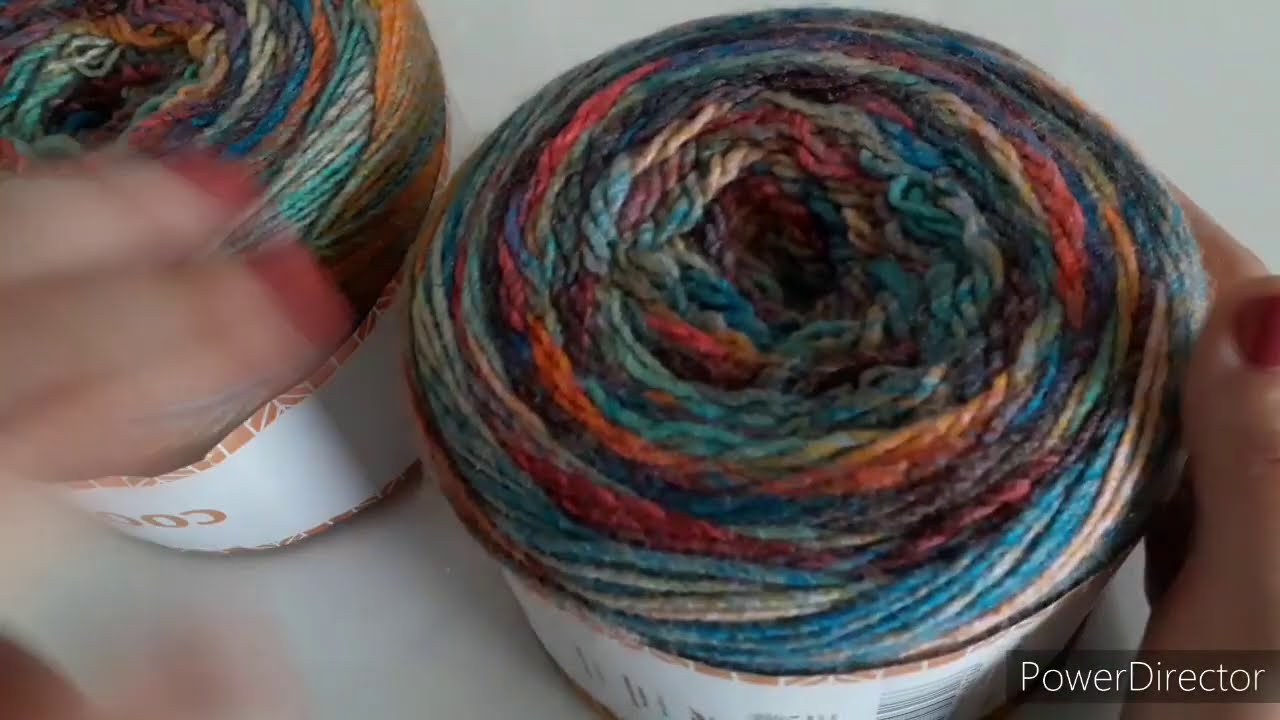
🧶 Materials
-
Yarn: Category #5 Bulky or #4 worsted (held double for extra thickness)
-
Yardage estimate:
-
S–M: 1300–1500 yds
-
L–XL: 1600–1800 yds
-
2XL–3XL: 1900–2200 yds
-
-
-
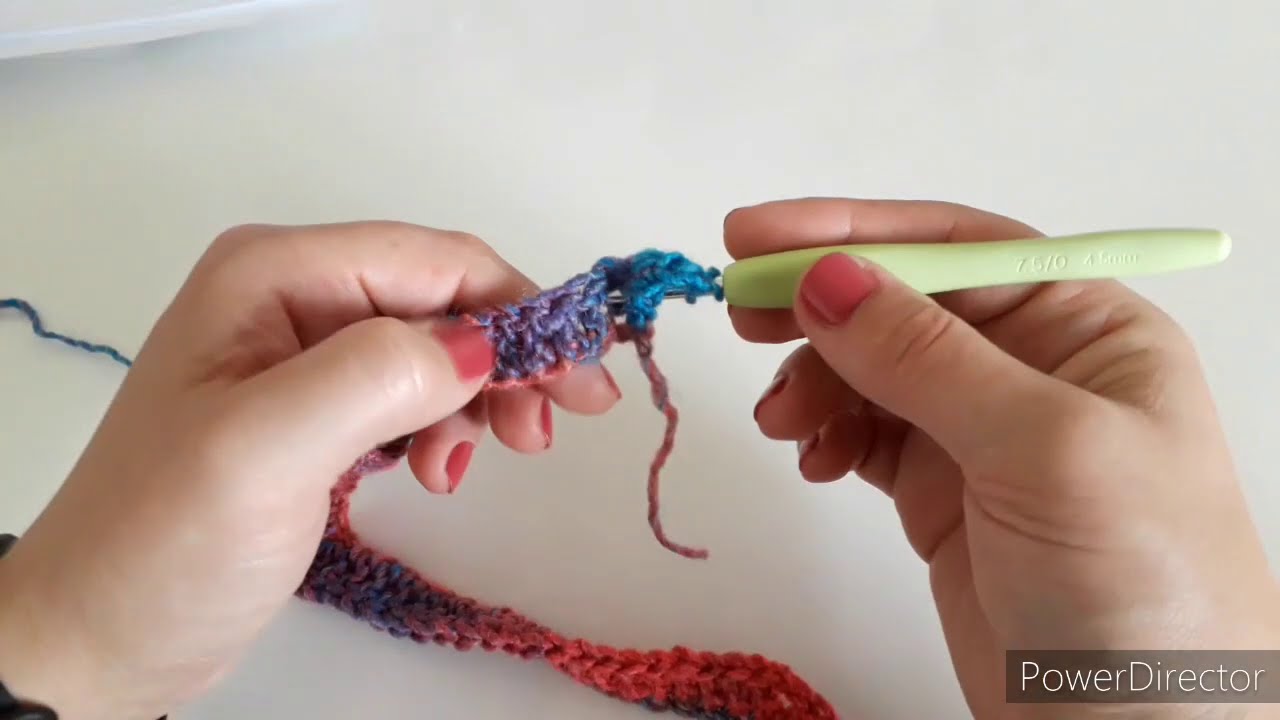
Hook:
-
6.5 mm (K) for bulky OR
-
8 mm (L) for a looser, drapey fabric
-
-
Notions:
-
Stitch markers
-
Tapestry needle
-
Buttons (optional)
-
Measuring tape
-
📏 Gauge (important!)
If using bulky (#5):
10 sts × 8 rows = 4″ (10 cm) in half-double crochet (HDC)
If your gauge is too tight or stiff, go up a hook size.
🧵 Stitches Used
-
CH – chain
-
SC – single crochet
-
HDC – half-double crochet
-
DC – double crochet
-
SL ST – slip stitch
-
FHDC – foundation half-double crochet (or CH + HDC)
-
FPDC/BPDC – front post/back post double crochet (for ribbing)
🍁 Texture Used in the Cardicoat
This pattern uses a simple repeat that makes a warm, fall-friendly texture:
Row Repeat:
-
Row A: HDC across
-
Row B: (HDC in next st, SL ST in next st) repeat
This gives a gentle ribbed texture with drape.
🧥 PART 1 — Back Panel
Width:
Measure hip circumference → divide by 2 → add 2–4” for positive ease.
Foundation:
FHDC a chain long enough to match your measurement.
Typical stitch counts:
-
S: 60
-
M: 66
-
L: 72
-
XL: 78
-
2XL–3XL: 84–90
Pattern:
-
Row 1: HDC across, ch 1, turn
-
Row 2: HDC, SL ST repeat across, ch 1, turn
-
Row 3: HDC across
-
Repeat Rows 2–3 until back panel = desired length
-
For a coat length: 28–34 inches
-
Fasten off, weave ends.
🧥 PART 2 — Front Panels (Make 2)
Width:
Back panel stitch count ÷ 2 minus 4 stitches for the front opening.
Typical stitch counts:
-
S: 26–28
-
M: 30–32
-
L: 34–36
-
XL: 38–40
-
2XL–3XL: 42–46
Pattern:
Same as back panel:
-
Row 1: HDC across
-
Row 2: (HDC, SL ST) repeat
-
Row 3: HDC across
-
Repeat until front panel matches the back panel height.
For Neck Shaping (optional):
When panel is 3–4″ from desired height, decrease 1 st every other row for 6 rows.
🪡 PART 3 — Assembly (Seaming)
Lay pieces down:
-
Match shoulders
-
Seam shoulders using whip stitch or SC seam
-
Seam sides, leaving:
-
7–9 inches open for arm holes
-
Try on the piece to adjust
-
🧵 PART 4 — Sleeves (Make 2)
Foundation:
FHDC 26 (S–M) or 30 (L–XL) or 34 (2XL–3XL)
Pattern:
Repeat same texture as body:
-
Row 1: HDC
-
Row 2: (HDC, SL ST) repeat
-
Row 3: HDC
-
Repeat until sleeve measures: 17–20 inches
Tapering (optional):
Decrease 1 stitch every 6 rows if you want a fitted wrist.
Seam sleeve:
Fold sleeve in half lengthwise → seam → attach sleeve to armhole.
🧵 PART 5 — Front Band / Collar
This is what gives the “cardiCOAT” look and thickness.
Attach yarn at bottom of front opening.
Row Repeat for Ribbed Collar:
-
Row 1: SC evenly up one side, around neck, and down the other side.
-
Row 2: FPDC, BPDC repeat across.
-
Row 3: FPDC in FPDC, BPDC in BPDC.
Repeat Rows 2–3 for 6–12 rows depending on how thick you want the coat trim.
🪡 Optional: Add Pockets
Make two rectangles:
-
FHDC 18
-
Work 12–14 rows of the same body texture
Sew onto lower front panels.
🔘 Optional: Add Buttons
Add 3–5 large wooden or metal buttons along one front panel.
Create button loops with small chain loops along the opposite band.
🌾 Finishing
-
Weave in all ends
-
Block gently if needed (steam blocking works well for acrylic or wool blends)
-
Try it on and adjust sleeve length or band thickness as desired
🍂 Want me to turn this into a printable PDF pattern?
I can format it into:
-
a clean printable PDF
-
a row-by-row written pattern
-
a stitch chart
-
or even a beginner-friendly version with photos
Just tell me!
Watch tutorial: