 by
by Below is a clear, step-by-step, detailed guide for how to crochet a baby hoodie, written for beginners but thorough enough for experienced crocheters too.
If you want a specific size (0–3m, 3–6m, 6–12m, 12–24m) or pattern style (zip-up, buttoned, pullover), tell me and I’ll customize it.
🧶 How to Crochet a Baby Hoodie
Skill level: Easy–Intermediate
Construction style: Made from simple rectangles that turn into a hoodie
Age size shown: 6–12 months (can be adjusted)
🪄 Materials
-
Yarn: Medium (Worsted) weight #4 yarn — ~350–450 yards
-
Hook: 5 mm (H hook)
-
Tapestry needle
-
Stitch markers
-
Scissors
-
Buttons (optional)
🧵 Stitches Used
-
CH – chain
-
SC – single crochet
-
HDC – half double crochet
-
DC – double crochet
-
SL ST – slip stitch
-
INC – increase (2 stitches in one stitch)
-
DEC – decrease (work 2 stitches together)
🧥 Step-by-Step Instructions
1. Make the Back Panel
-
CH 40 (adjust: fewer for smaller sizes, more for larger)
-
Row 1: HDC in 2nd CH from hook, HDC across.
-
Row 2–32: CH 1, turn, HDC across.
Goal: A rectangle approx. 10″ x 12″.
This will form the back of the hoodie.
2. Make the Two Front Panels
These form the left and right “sides” of the hoodie.
Left Panel
-
CH 20
-
Row 1: HDC in 2nd CH, HDC across
-
Row 2–32: CH 1, HDC across
-
Fasten off.
Right Panel
Same as left.
Tip: You can make the front panels narrower if you want a V-opening.
3. Assemble the Body
-
Lay the back panel flat.
-
Place the two front panels on top (edges aligned).
-
Sew the shoulders together — leave a loose 4–5″ gap in the middle (for the neck opening).
-
Sew the sides, leaving 5–6″ armholes.
You now have a sleeveless baby cardigan shape.
4. Crochet the Sleeves
You will work in the round around each armhole.
-
Attach yarn under the armpit.
-
Round 1: HDC evenly around armhole (about 28–34 stitches), SL ST to join.
-
Rounds 2–14:
-
CH 1, HDC around
-
Every 3–4 rounds, DEC once on each side to taper the sleeve.
-
Length should be approx. 7–8″.
-
Finish with 1–2 rounds of SC for a neat cuff.
Repeat for the second sleeve.
5. Create the Hood
Crochet the hood directly onto the neckline.
-
Attach yarn to front neckline.
-
Round 1: HDC evenly around the neck opening (usually 40–48 stitches).
-
Rows 2–20:
-
CH 1, turn, HDC across.
-
Do not join in the round—work back and forth to create a rectangle.
-
-
Once the hood rectangle is tall enough (about 9″), fold the top edge together and sew across to close the hood shape.
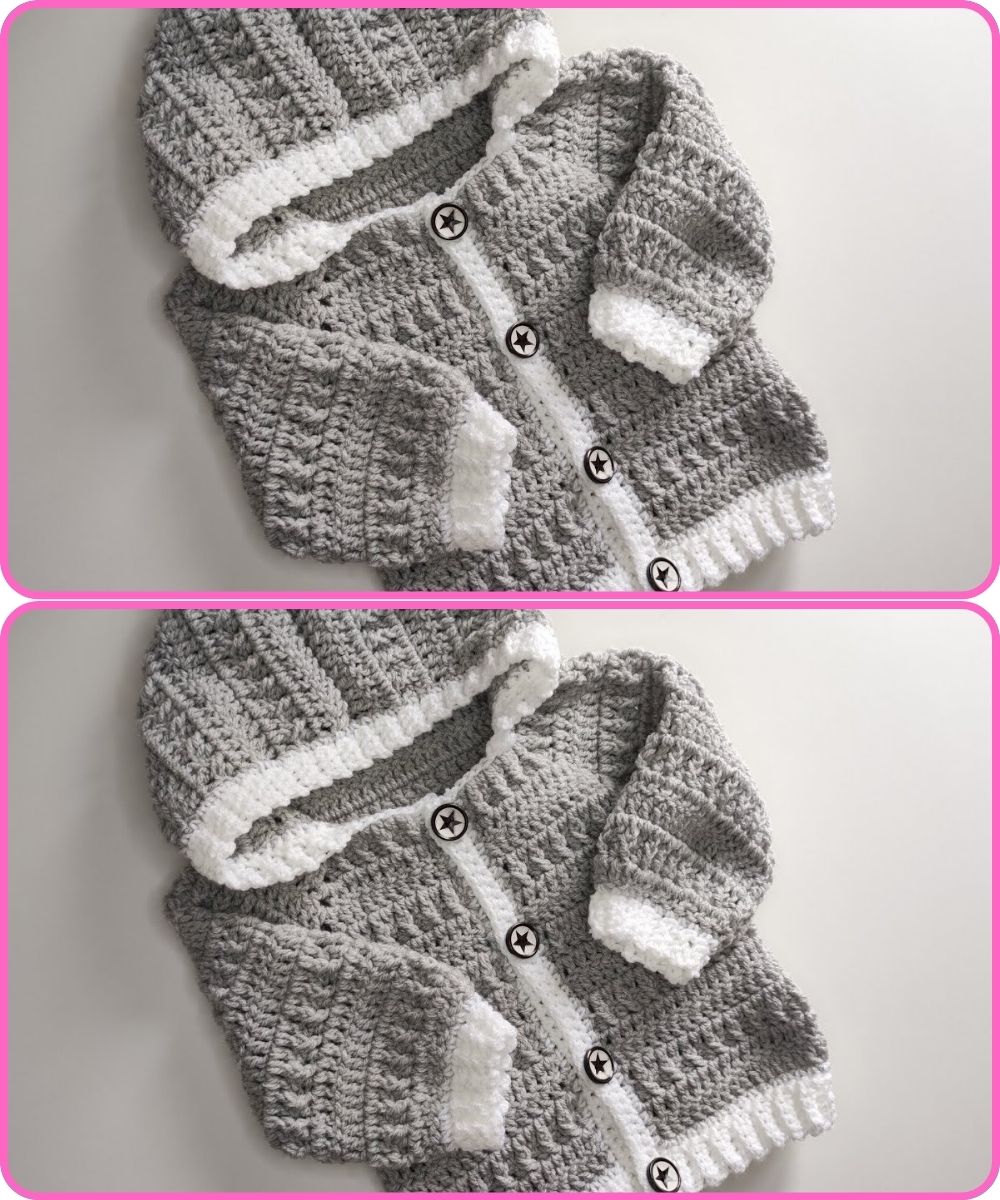
6. Add Front Border
This tidy border helps the hoodie look finished (and can hold buttons).
-
Attach yarn at bottom front corner.
-
SC evenly up the front edge, around the hood edge, and down the opposite side.
-
Work 1–3 rows depending on the thickness you want.
Optional:
-
Add 3–5 evenly spaced buttonholes on one side.
-
Sew buttons on the opposite panel.
7. Finishing Touches
-
Weave in all yarn ends.
-
Add a pom-pom on the hoodie top (optional).
-
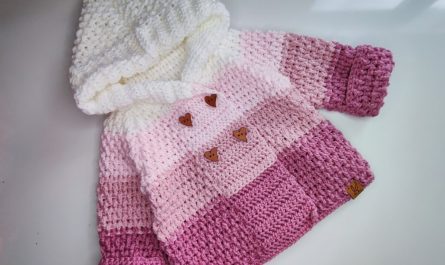
Add cute appliqués (bears, hearts, etc.).
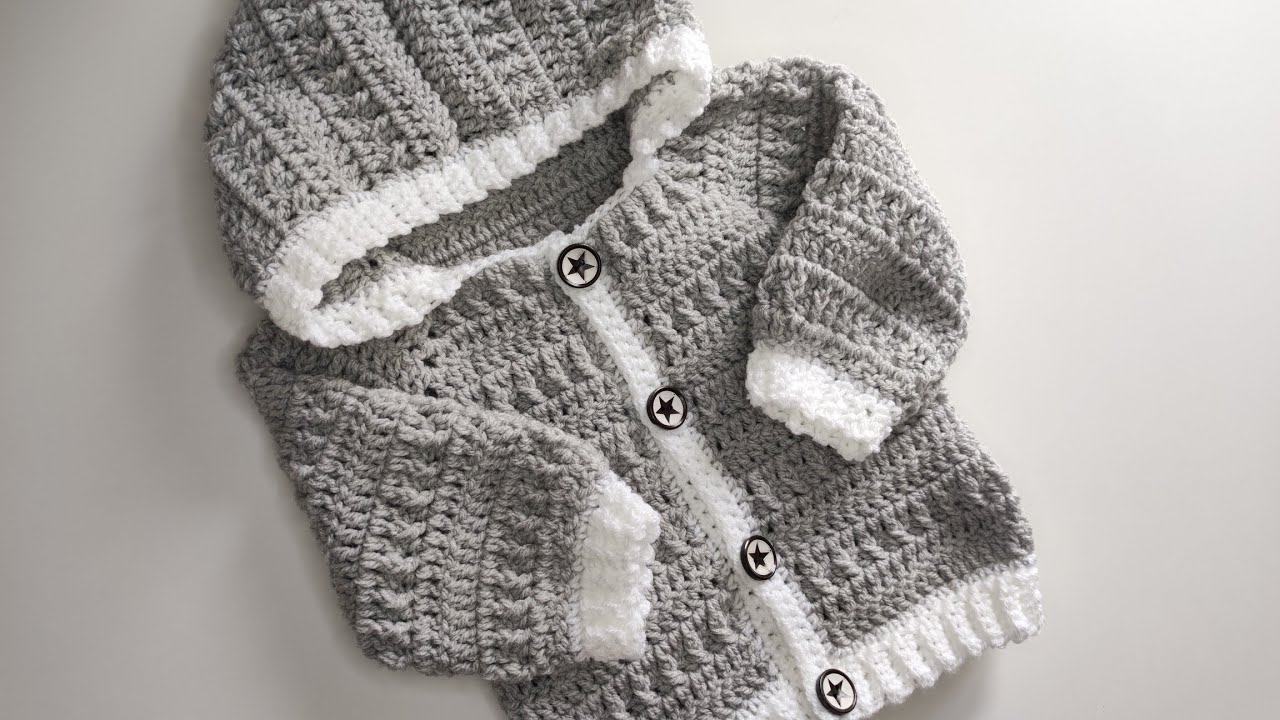
🎉 Your Baby Hoodie Is Ready!
This design is simple and customizable. You can make it striped, solid, textured, or add pockets.
Want a Printable Pattern?
I can format this into a clean, printable PDF-style pattern.
Want a Specific Size or Style?
Tell me:
-
Baby age range
-
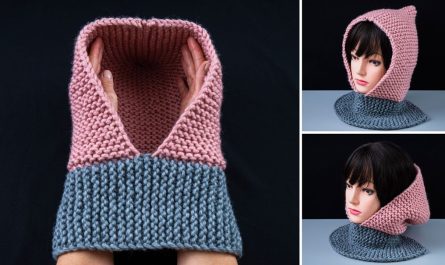
Hood style (pointed/rounded)
-
Closure (zipper, buttons, no closure)
-
Stitch texture (ribbed, bobble, granny, waffle)
I’ll customize the hoodie pattern for you!
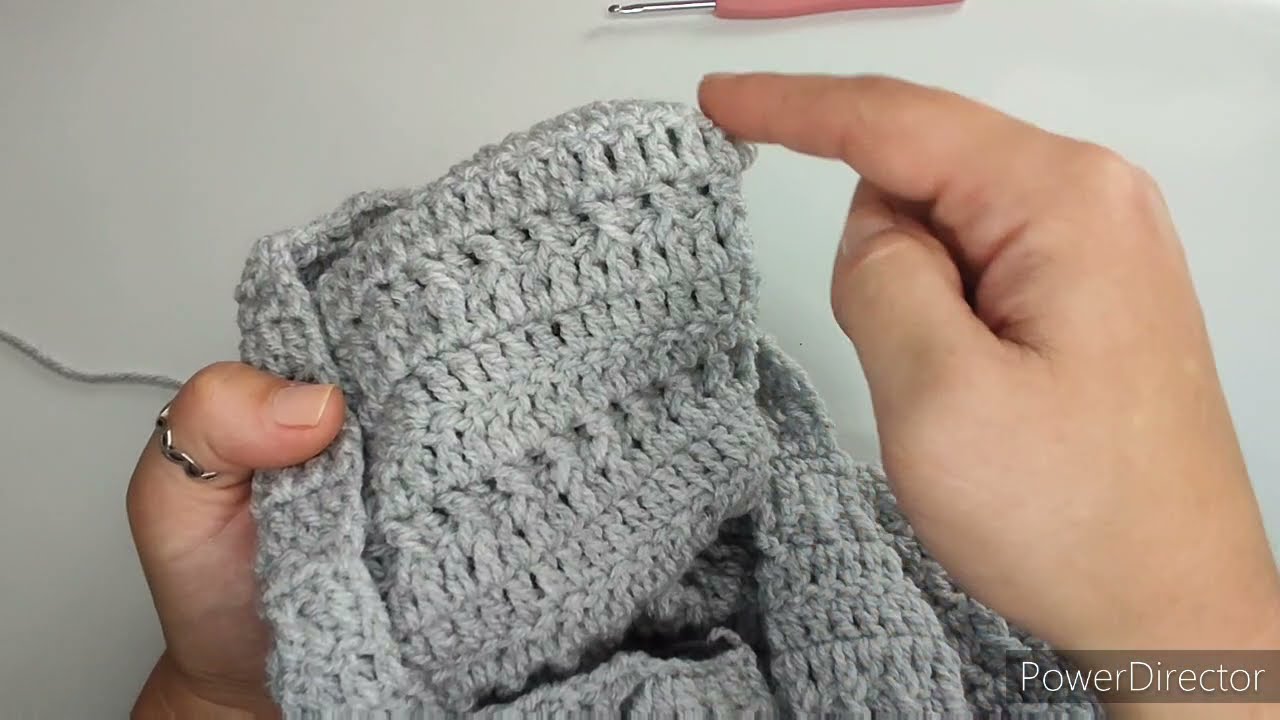
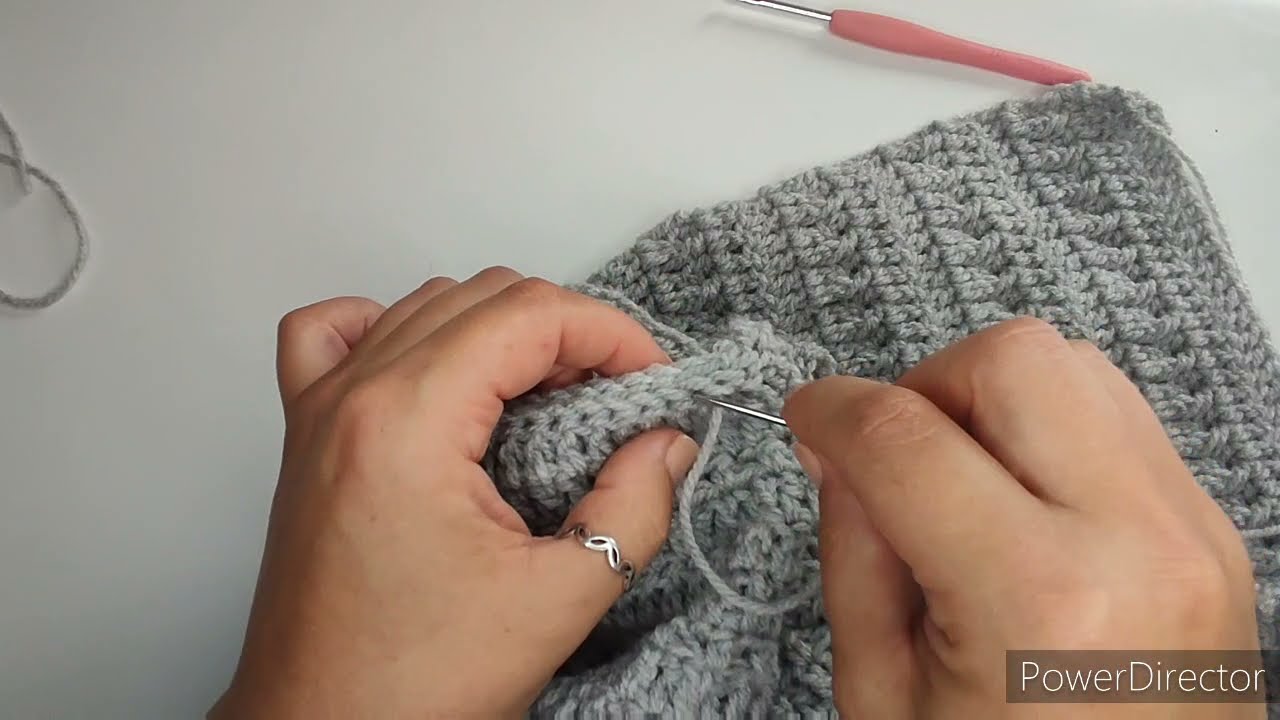
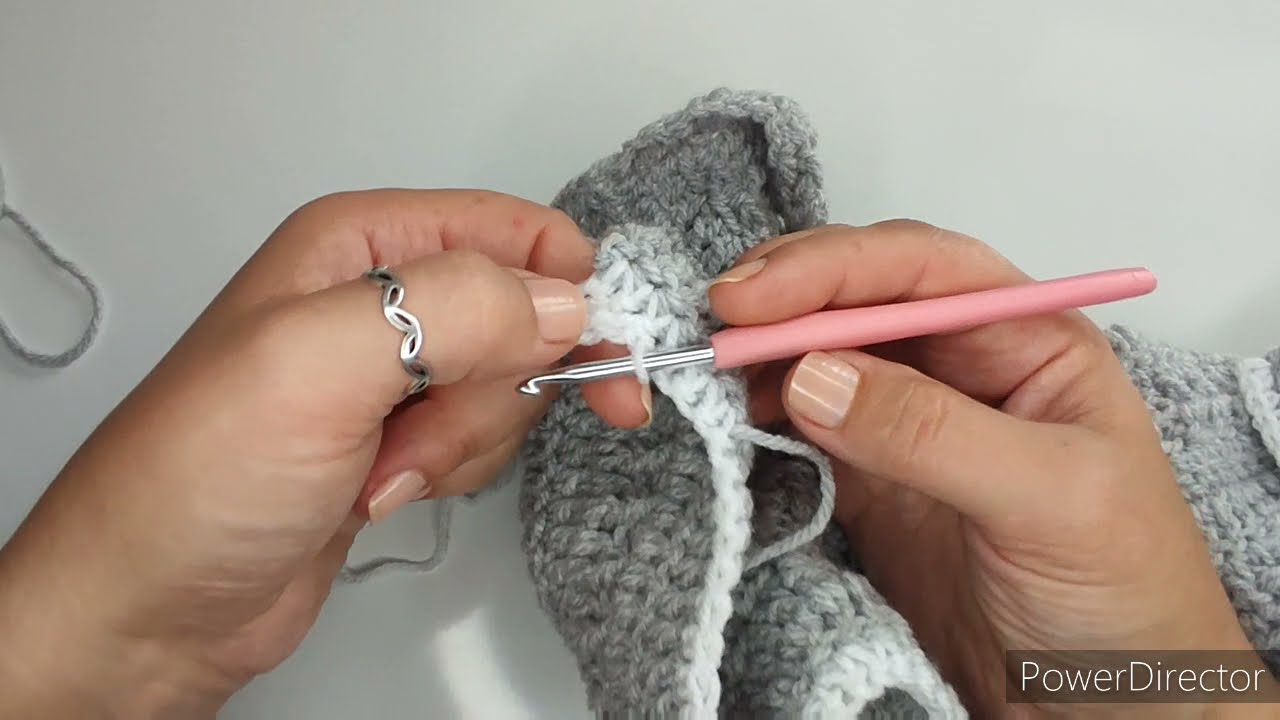
Watch tutorial: