 by
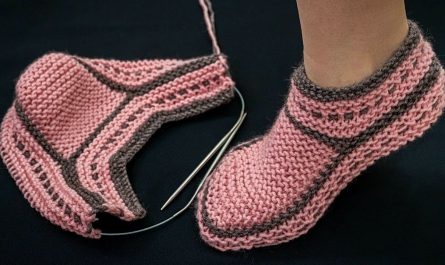
by Here is a detailed, step-by-step guide to crocheting a baby coat suitable for both girls and boys. This design is warm, classic, and customizable with different colors, buttons, or small details.
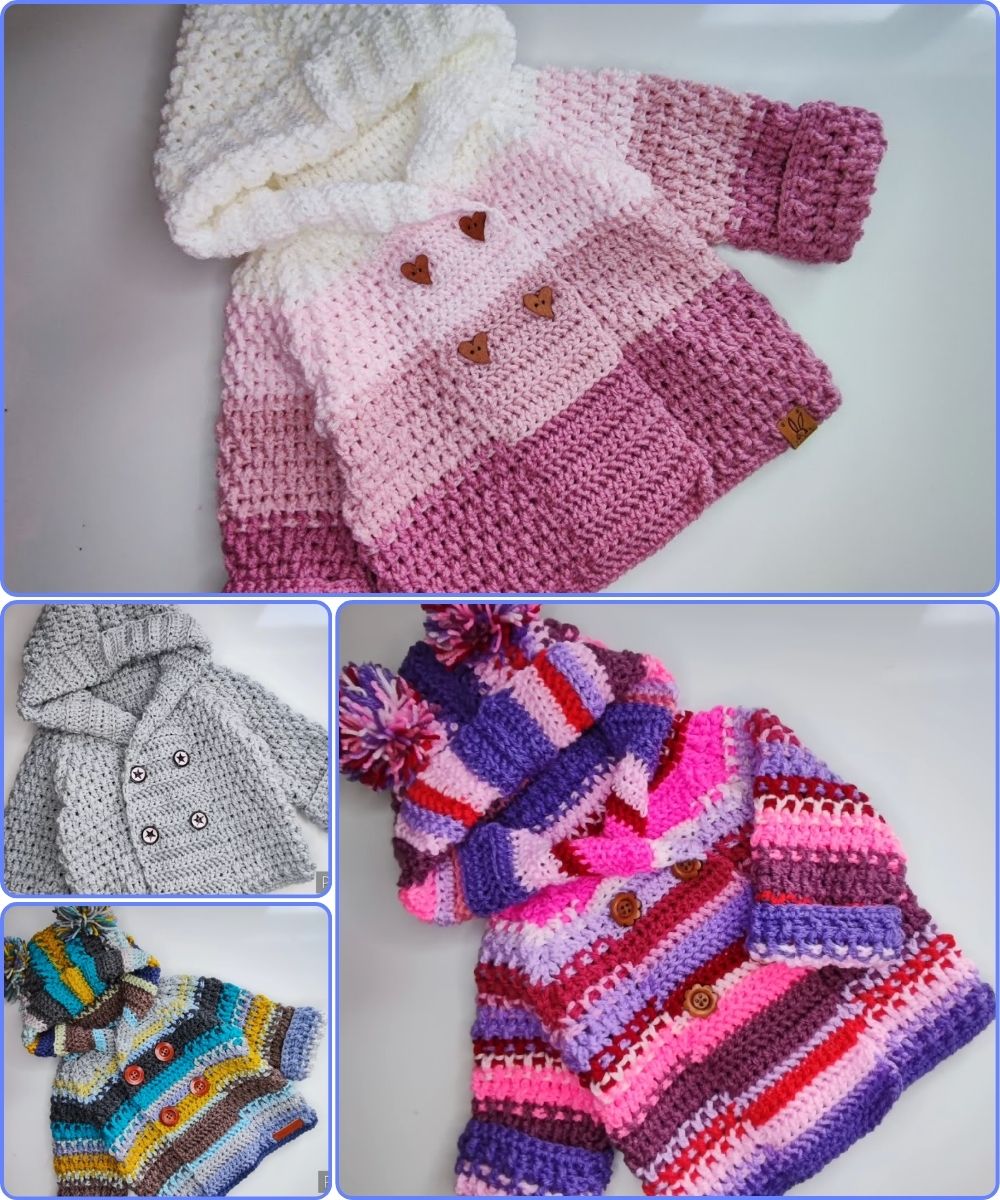
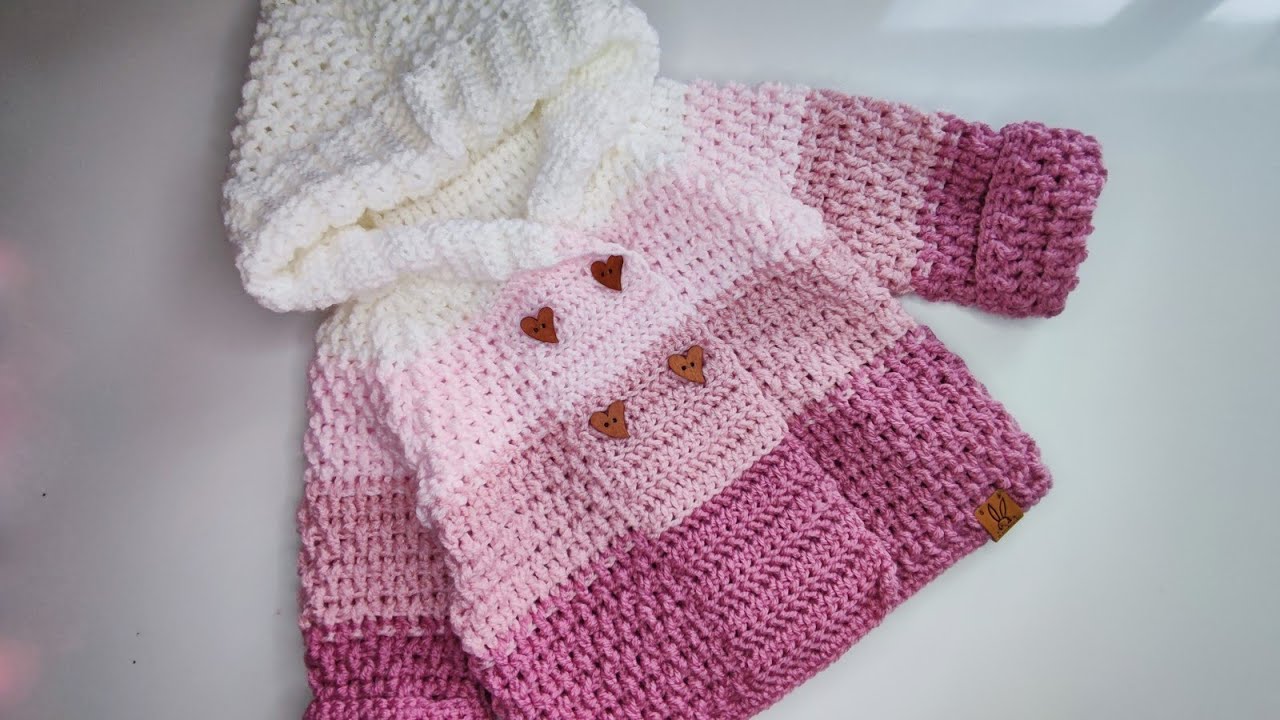
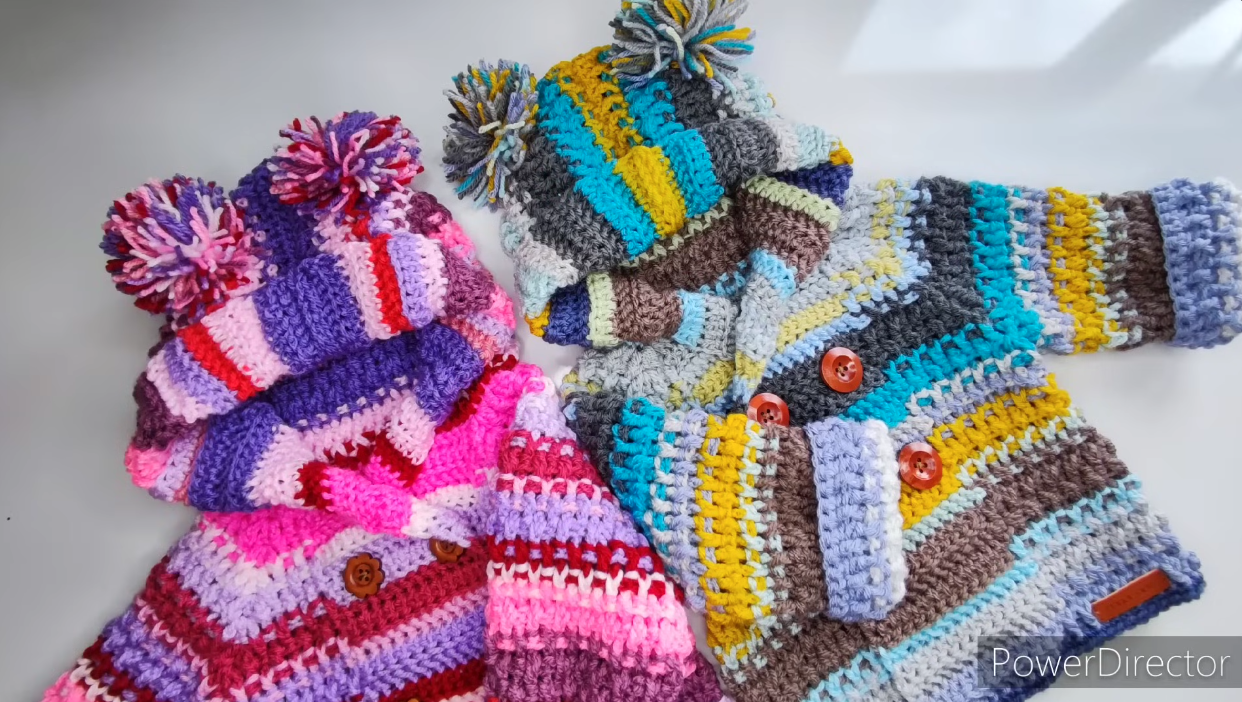
🧥 How to Crochet a Girls/Boys Baby Coat
This baby coat is worked top-down with raglan increases, making it easy to adjust size and length. You can turn it into a simple coat, hooded coat, or even a dress-style coat.
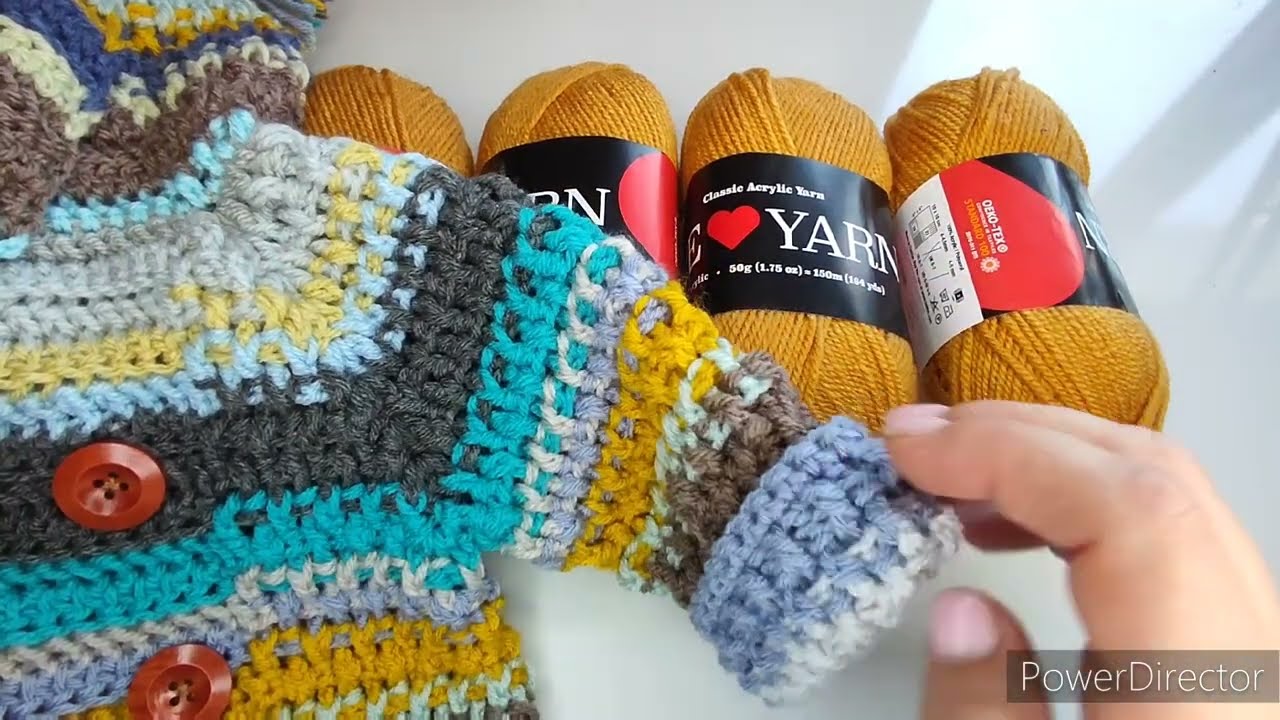
🧶 Materials
-
Yarn: DK or Worsted weight (soft wool, baby acrylic, or cotton blend)
Approx. 600–900 yards (depending on size) -
Hook: 4.0 mm (G/6) for DK or 5.0 mm (H/8) for worsted
-
Stitch markers (4 minimum)
-
Yarn needle
-
Scissors
-
4–6 buttons
-
Optional: Toggle buttons or zipper
📏 Suggested Sizes
-
0–3 months
-
3–6 months
-
6–12 months
-
1–2 years
(You can customize size by adjusting foundation chain and raglan depth.)
🪡 Construction Overview
-
Start at neckline
-
Work raglan increases for yoke
-
Separate sleeves
-
Work body (straight or flared)
-
Add sleeves
-
Add button band and optional hood
🧵 Step 1: Foundation & Neckline
Chain Example (3–6 months):
Chain 60
Row 1:
-
dc in 3rd chain from hook
-
dc across
📌 Divide for Raglan
Divide stitches as follows (example):
-
9 stitches (front)
-
2 stitches (raglan)
-
14 stitches (sleeve)
-
2 stitches (raglan)
-
18 stitches (back)
-
2 stitches (raglan)
-
14 stitches (sleeve)
-
2 stitches (raglan)
-
9 stitches (front)
Place stitch markers at raglan points.
🪡 Step 2: Raglan Increases (Yoke)
Each right-side row:
-
dc to marker
-
(dc, ch 1, dc) in raglan stitch
-
repeat at each raglan
Turn and repeat.
Continue until yoke measures:
-
4–5 inches (baby sizes)
-
5–6 inches (toddler sizes)
This forms shoulders and upper chest.
🪡 Step 3: Separate Sleeves
When yoke is deep enough:
-
dc across first front
-
Skip sleeve stitches
-
Chain 2–4 (underarm)
-
dc across back
-
Skip next sleeve
-
Chain 2–4
-
dc across final front
Now you’re working body only.
🪡 Step 4: Body of Coat
Option A: Straight Coat (Classic Style)
Work evenly in dc until desired length.
Option B: Slight Flare (Popular for Girls or Dress Coat)
Increase evenly:
-
2 dc in every 4th stitch every 3rd row.
Continue until coat reaches knee length or desired length.
🪡 Step 5: Add Texture (Optional)
For warmer winter look, try:
Rib Texture
Alternate rows of:
-
Row 1: dc
-
Row 2: FPdc/BPdc across
Blanket Stitch Look
-
2 dc, skip 2 stitches, sc in next
Simple Moss Stitch
-
sc, ch 1, skip 1
🪡 Step 6: Sleeves
Attach yarn at underarm.
Work in rounds:
-
dc around
Decrease every 4–5 rows if needed for taper.
Finish with:
-
4 rows of FPdc/BPdc ribbing
OR -
Simple sc cuff
Repeat for second sleeve.
🪡 Step 7: Button Band
Attach yarn at bottom front edge.
Work:
-
sc evenly up front
-
sc across neckline
-
sc down other front
On one side, create buttonholes:
-
ch 1, skip 1 stitch
Sew buttons opposite holes.
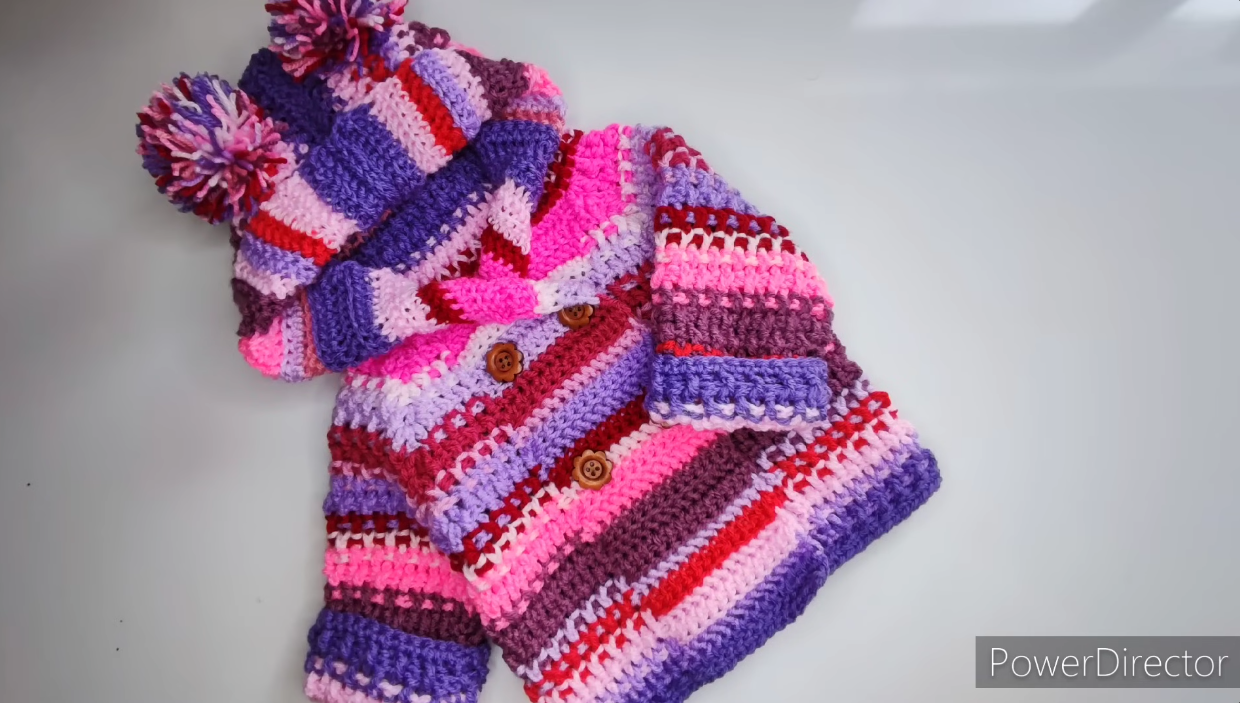
🪡 Optional: Add Hood
-
Attach yarn at neckline.
-
Work dc rows back and forth across neck width.
-
Continue until hood height is enough to fold.
-
Fold and seam top closed.
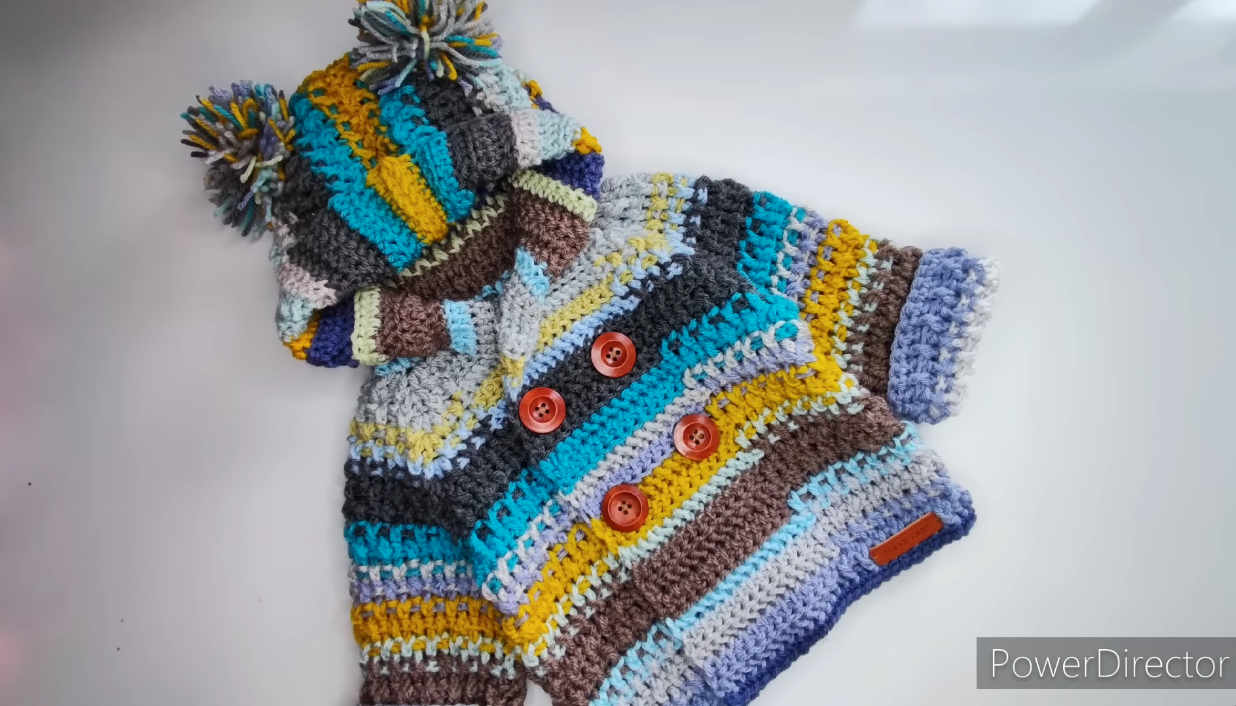
Add pom-pom if desired.
🎨 Styling Ideas
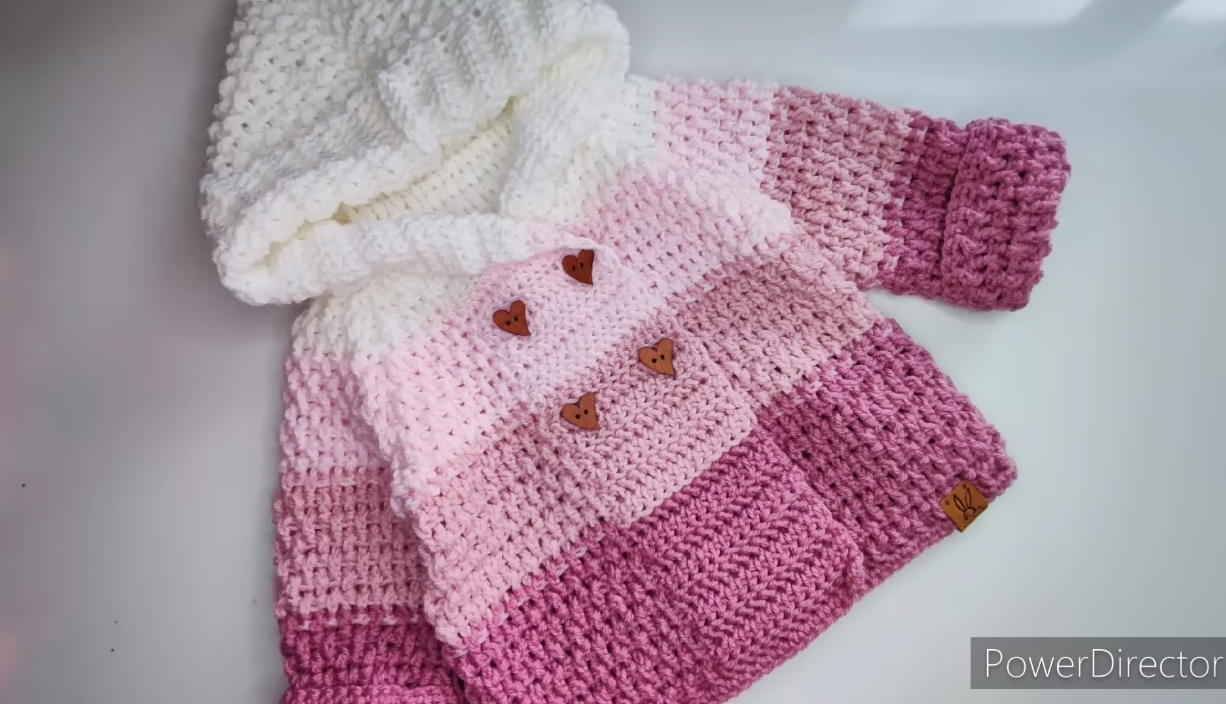
For Girls:
-
Add scalloped edging
-
Add flower applique
-
Use pastel or soft tones
-
Slight flared skirt shape
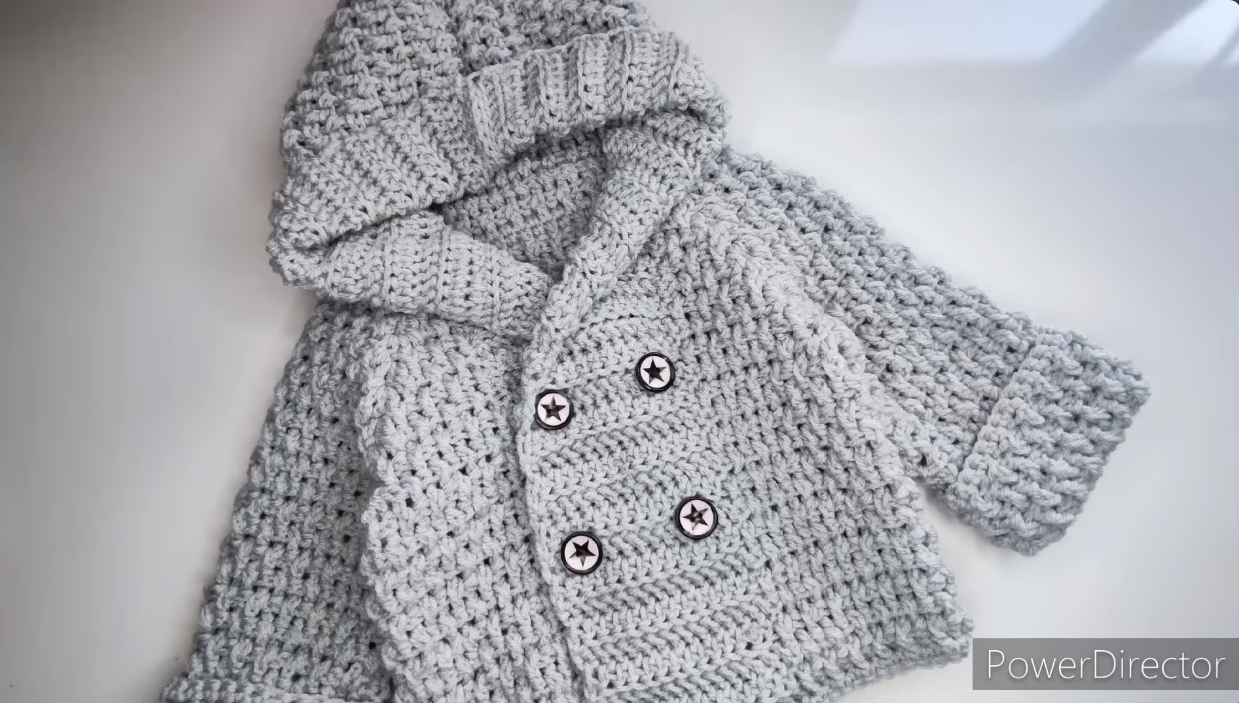
For Boys:
-
Straight body
-
Toggle buttons
-
Neutral tones (navy, grey, camel)
-
Add small pockets
📐 Basic Size Formula
To adjust size:
-
Measure baby chest.
-
Multiply chest width by stitch gauge.
-
Divide stitches into:
-
2 fronts
-
2 sleeves
-
1 back
-
4 raglan stitches
-
Always check gauge before beginning.
🧡 Yarn Tips
Best yarns:
-
Superwash merino (soft + warm)
-
Acrylic (easy wash)
-
Cotton blend (mild climates)
Avoid heavy bulky yarn for small babies — it becomes stiff.
If you’d like, I can:
-
Write a complete stitch-count pattern for a specific size
-
Create a hooded winter coat version
-
Make a beginner-friendly simplified coat
-
Provide a print-ready pattern layout
Just tell me the size you want 😊
Watch tutorial: