 by
by Sure! Here’s a detailed guide on how to make a beautiful home decoration picture featuring crocheted leaves and giant roses — using a new, super pretty crochet model. This project blends aesthetics with creativity, making it perfect for wall art or framed decoration.
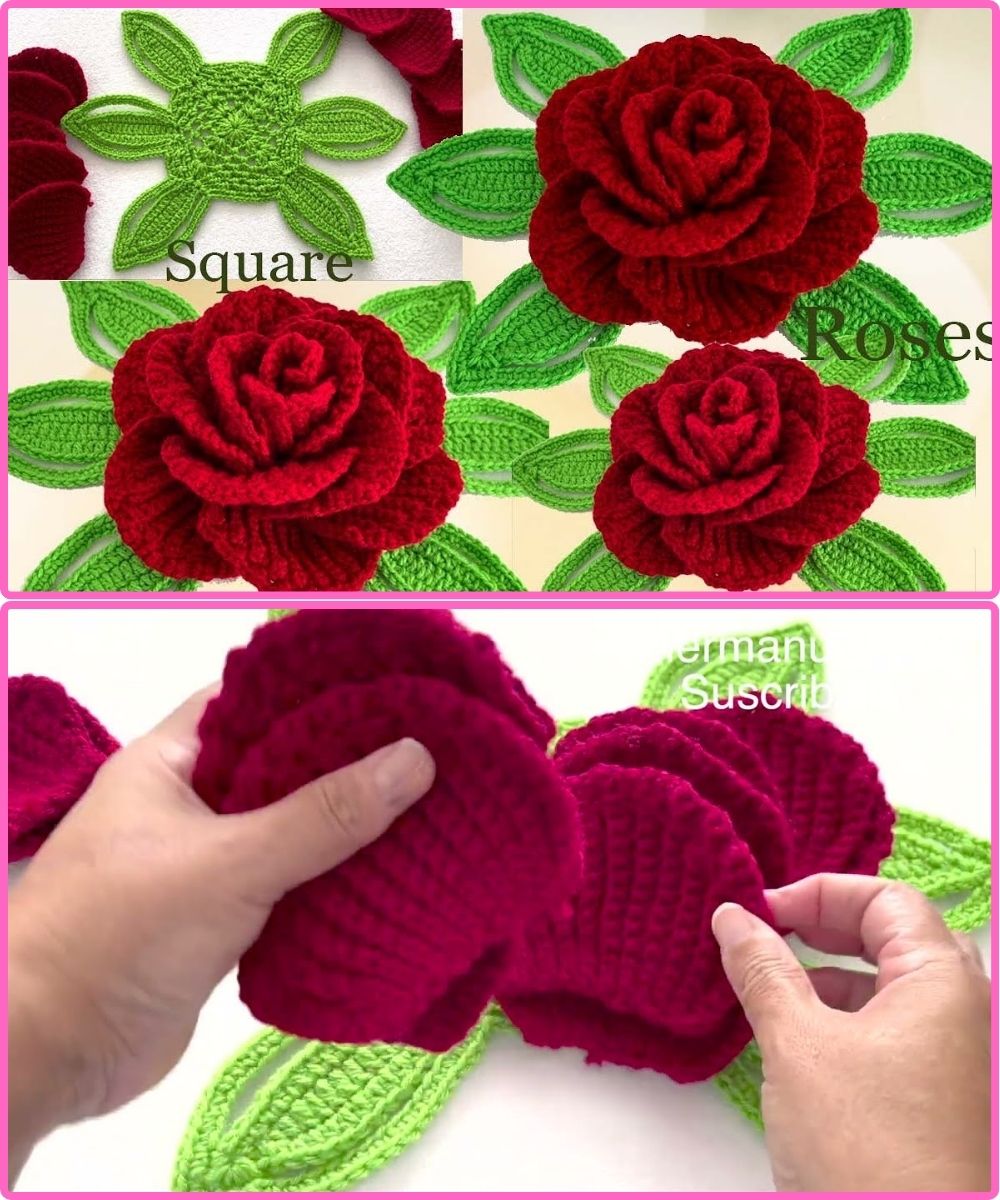
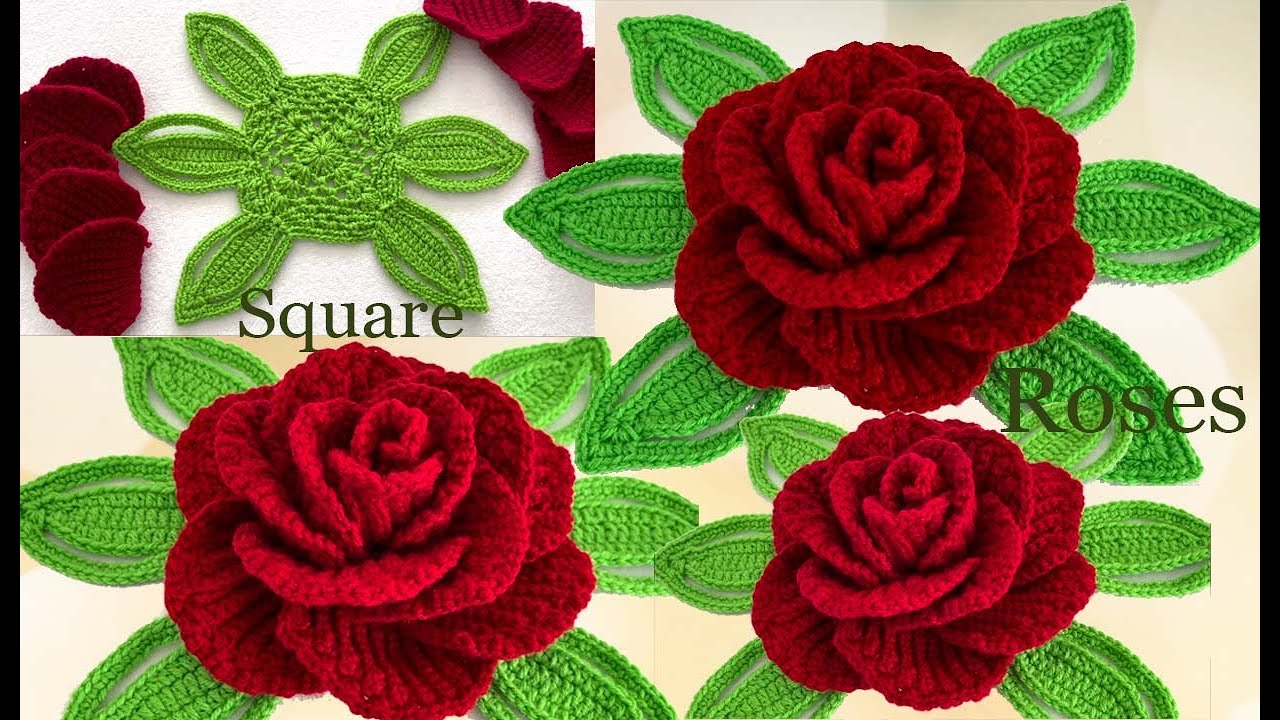
How to Make a Beautiful Home Picture with Leaves & Giant Roses – New Model Crochet Guide
✨ Project Overview:
This project involves crocheting giant roses and realistic leaves and arranging them into a decorative picture — ideal for wall hangings or framed art. It uses modern crochet techniques and vibrant yarns for a fresh, elegant look.
Materials Needed:
| Item | Notes |
|---|---|
| Worsted weight yarn | Choose colors: green (leaves), rose (roses), others |
| Crochet hook (5.0 mm or H) | Adjust depending on your yarn size |
| Tapestry needle | For weaving in ends |
| Scissors | Sharp pair |
| Hot glue gun (optional) | For picture assembly |
| Canvas frame or wood board | To mount your finished crochet pieces |
| Embellishments (optional) | Beads, glitter, pearls |
Step-by-Step Instructions:
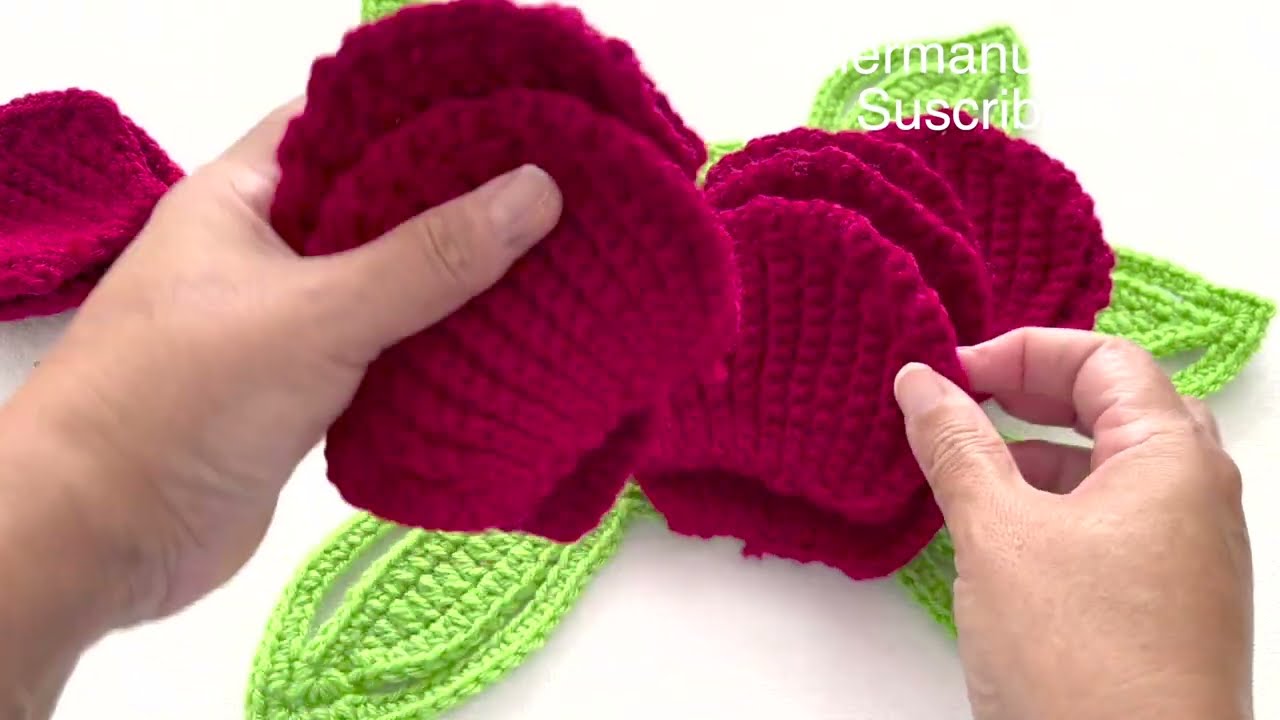
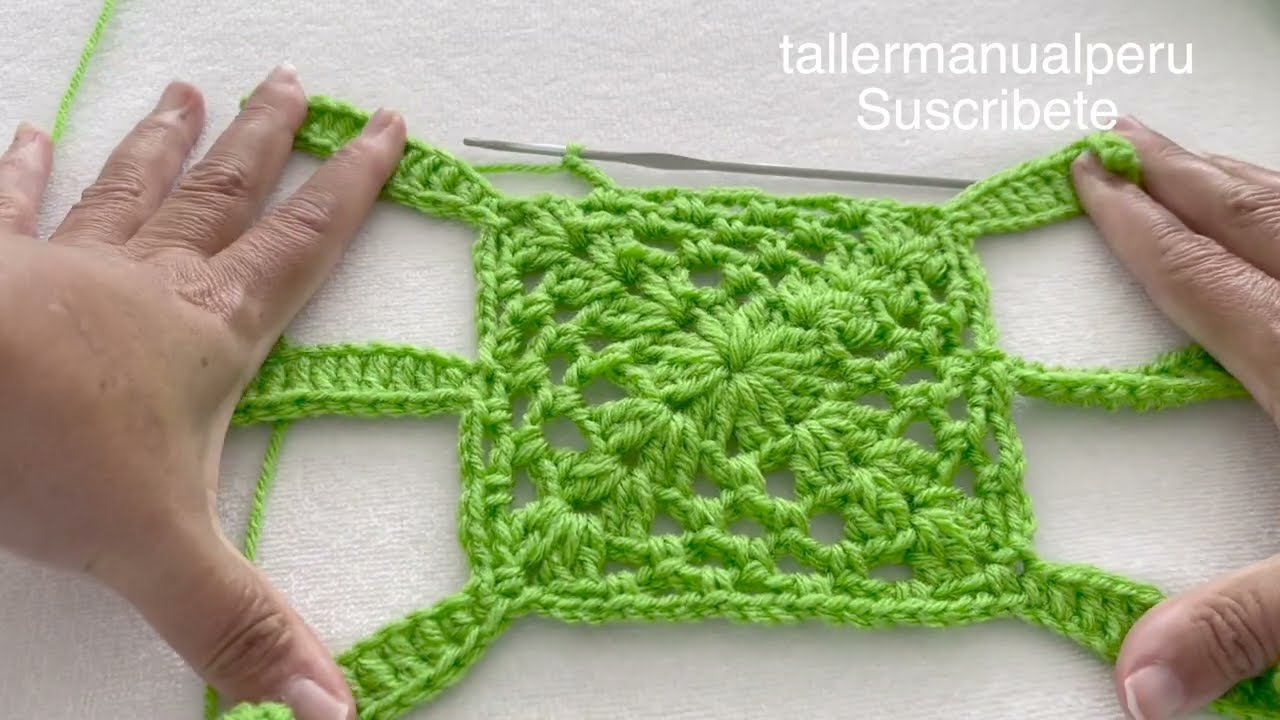
Part 1: Crochet Giant Roses
✅ Rose Petal Pattern (New Model, Layered Look):
-
Magic ring, ch 2.
-
Round 1: Work 10 dc into the ring. Sl st to first dc. (10 sts)
-
Round 2: In each dc, do: (ch 2, 3 dc, ch 2, sl st) — repeat in every stitch to make 10 petals.
-
Round 3: Behind each petal, make a back loop foundation: ch 3, sl st behind each petal.
-
Work larger petals into those back loops: (ch 3, 4 tr, ch 3, sl st).
-
Repeat for 3–4 layers, increasing stitch height for a giant, full rose.
Tip: Use gradient yarn for a natural rose shading effect.
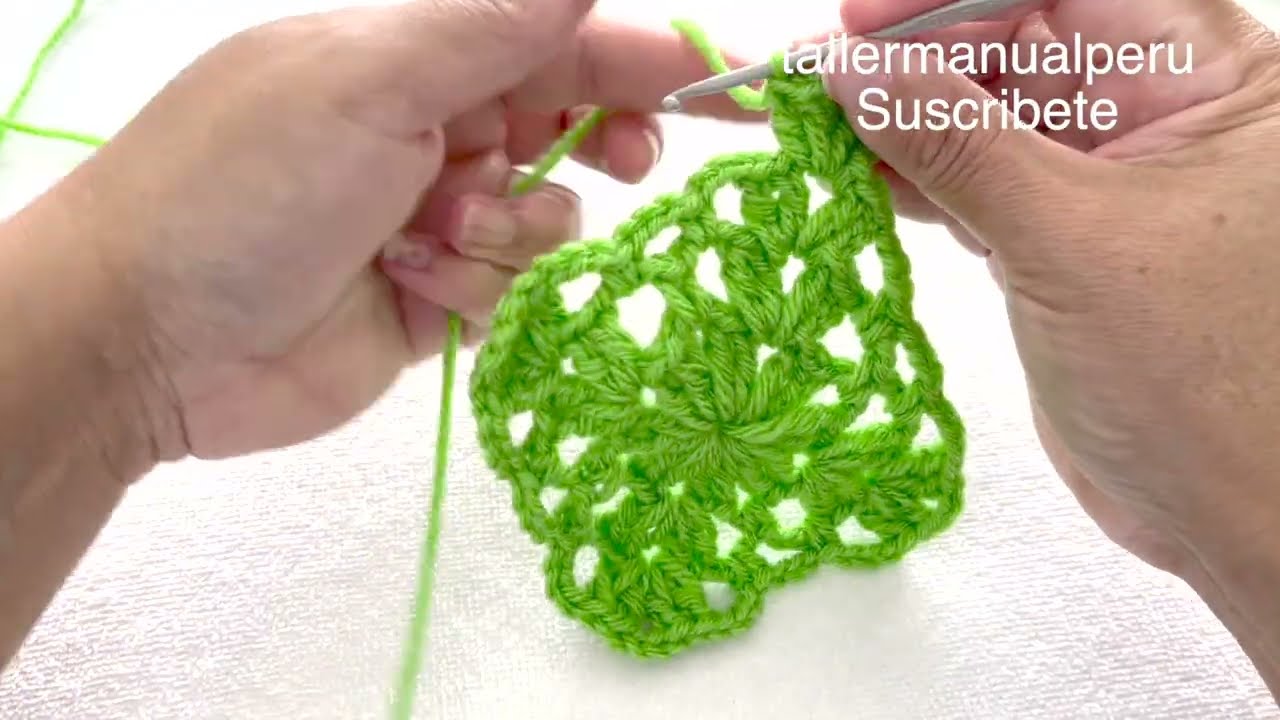
Part 2: Crochet Leaves (Realistic Shape)
✅ Leaf Pattern:
-
Ch 13.
-
Row 1: In 2nd ch from hook: sl st, sc in next, hdc in next 2, dc in next 5, hdc, sc, sl st.
-
Row 2 (other side of chain): Repeat same pattern down the other side.
-
Finish with a sl st and leave a long tail for sewing or gluing.
Optional: Lightly block leaves to get a crisp edge and realistic veins.
Part 3: Assemble the Picture
-
Arrange your roses in a circular or diagonal composition on a canvas or frame background.
-
Position leaves around roses — tucking under or fanning outward.
-
Use a hot glue gun or sew them onto a backing fabric (like linen or canvas).
-
Add extra touches: mini flowers, pearls, ribbons.
️ Framing Ideas:
-
Use a shadow box frame for a 3D floral art effect.
-
Mount on a wood slice for a rustic look.
-
Hang as a wall tapestry with crochet edging.
Care Tips:
-
Dust lightly with a cloth or use a soft brush.
-
Avoid direct sunlight to prevent color fading.
-
You can lightly steam block if pieces get wrinkled.
Style Variations:
-
Romantic Theme: Use soft pastels like blush pink, ivory, mint.
-
Bold Modern: Use burgundy, gold, and emerald green.
-
Boho Chic: Incorporate wildflowers, macramé fringe, or beads.
Watch tutorial: