 by
by Below is a clear, detailed, beginner-friendly guide on how to crochet a girl’s coat. I’ve included materials, sizing tips, stitch instructions, assembly steps, and customization ideas.
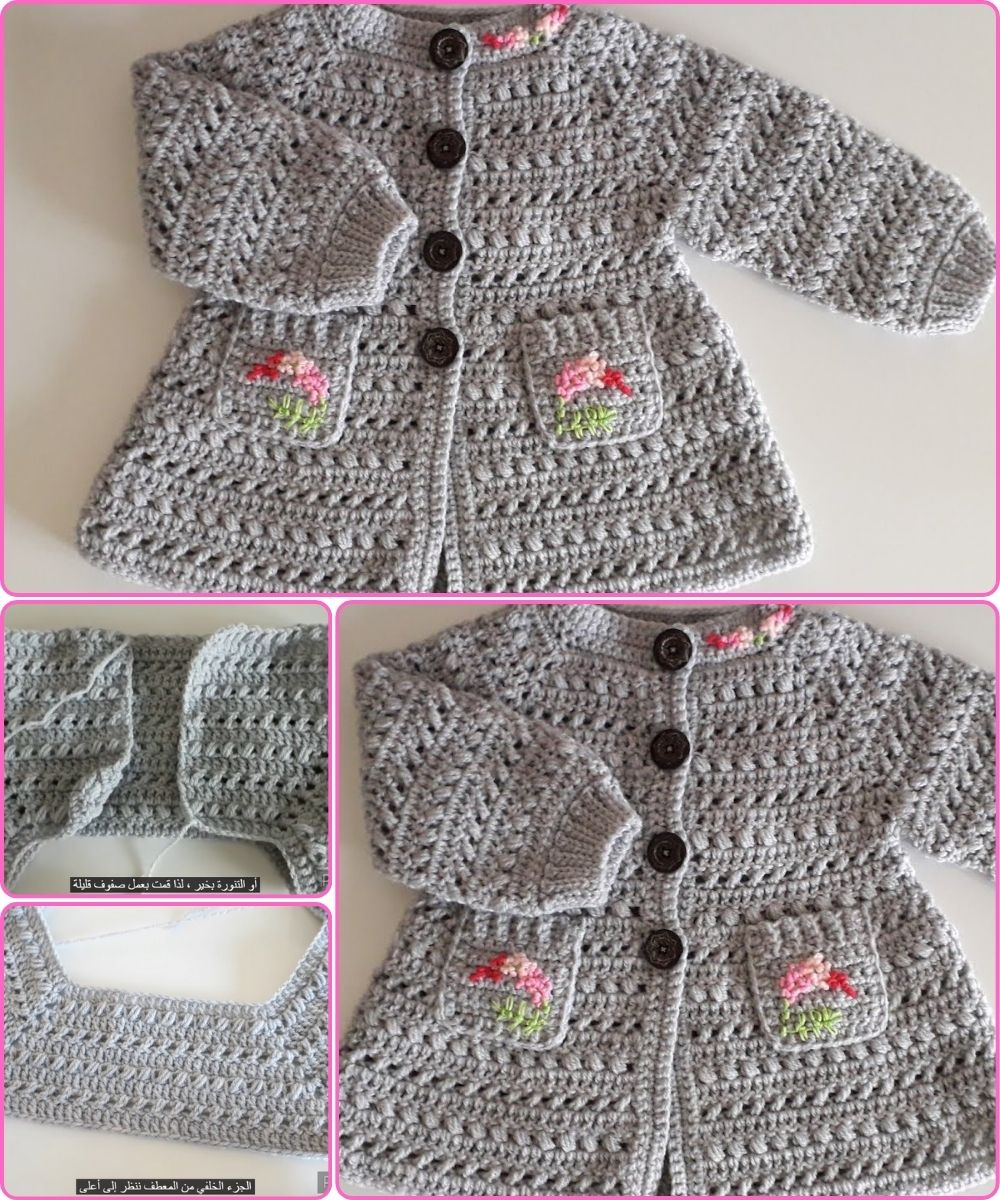
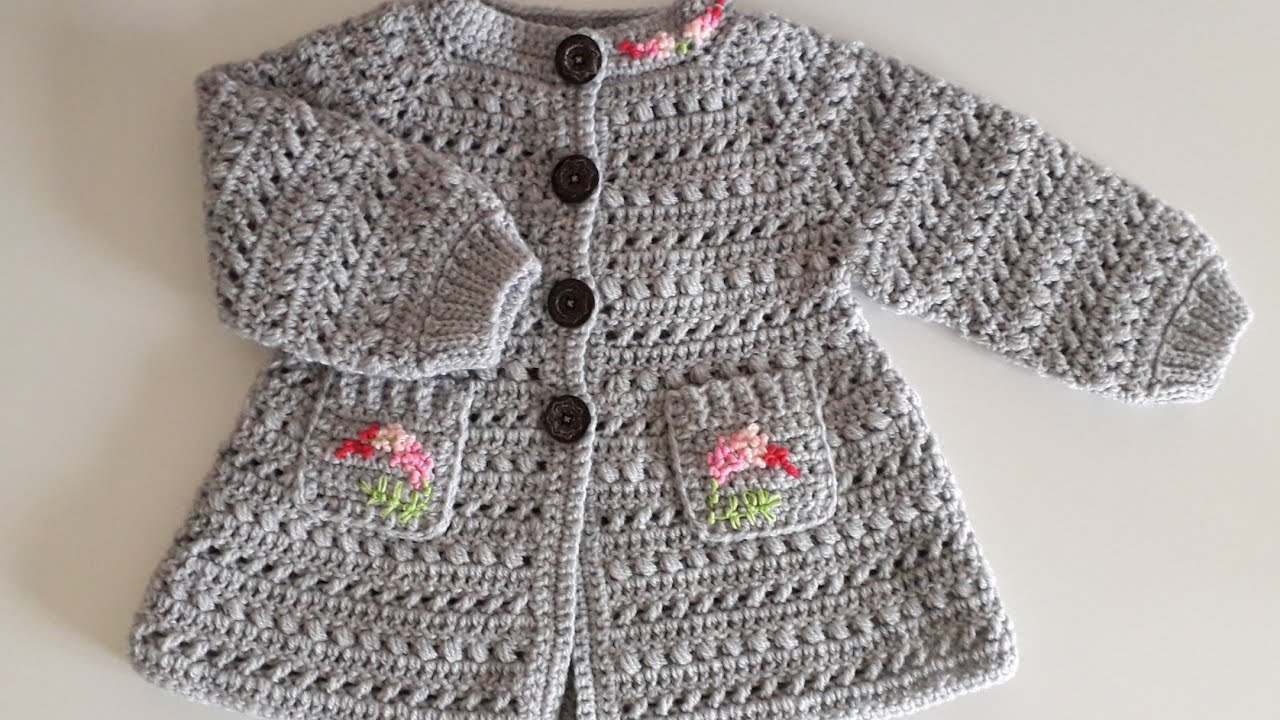
🧶 How to Crochet a Girl’s Coat (Step-by-Step Guide)
Crocheting a coat for a little girl is a fun and manageable project, even for beginners who know the basic stitches. The method below uses simple shapes (rectangles and squares) that are later assembled into a stylish coat.
⭐ Materials You Will Need
-
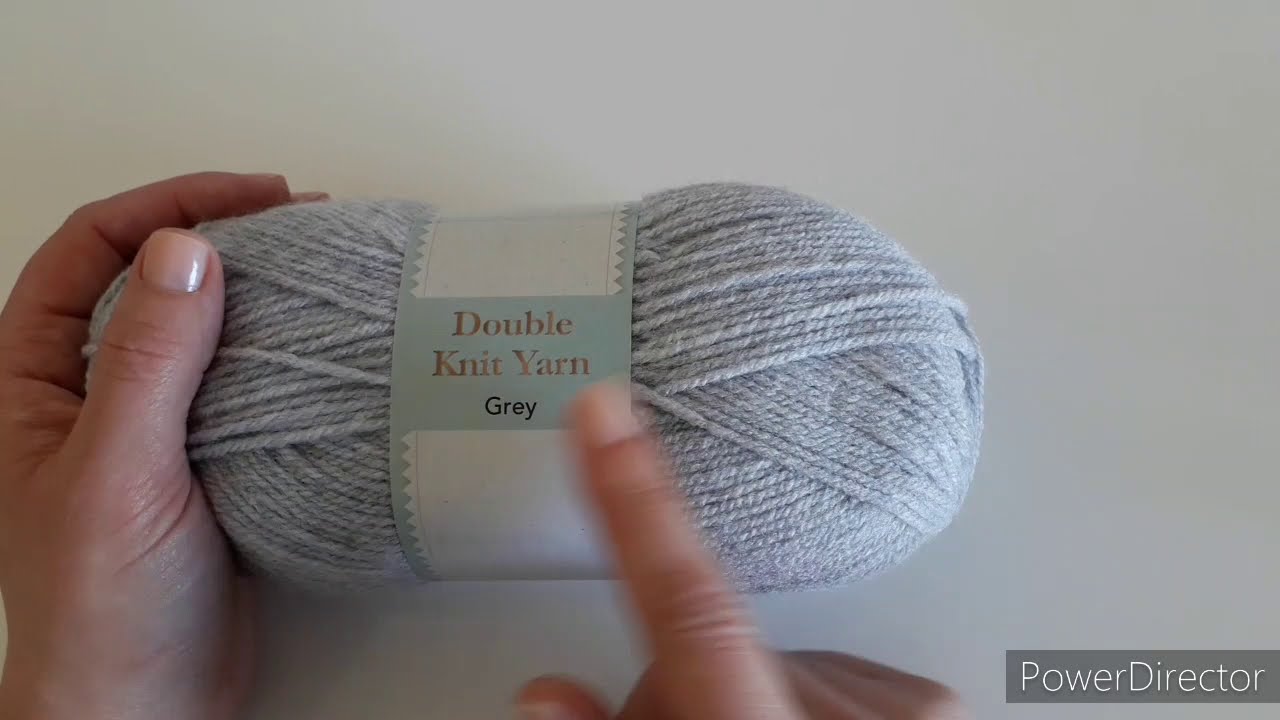
Yarn: Worsted weight (category 4) or DK (category 3) for a lighter coat
Amount: 400–800g depending on size -
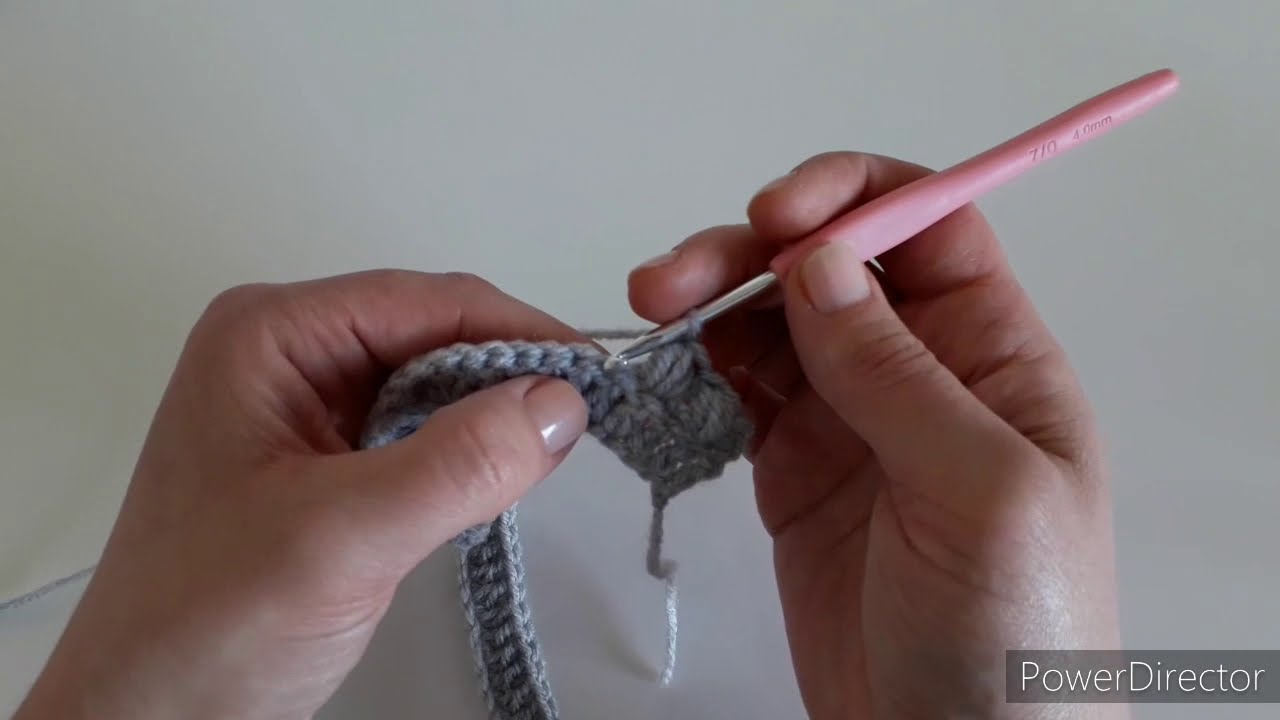
Hook: 4.0 mm or 5.0 mm (check yarn label)
-
Stitch markers
-
Measuring tape
-
Yarn needle for sewing pieces
-
Buttons (3–5)
-
Scissors
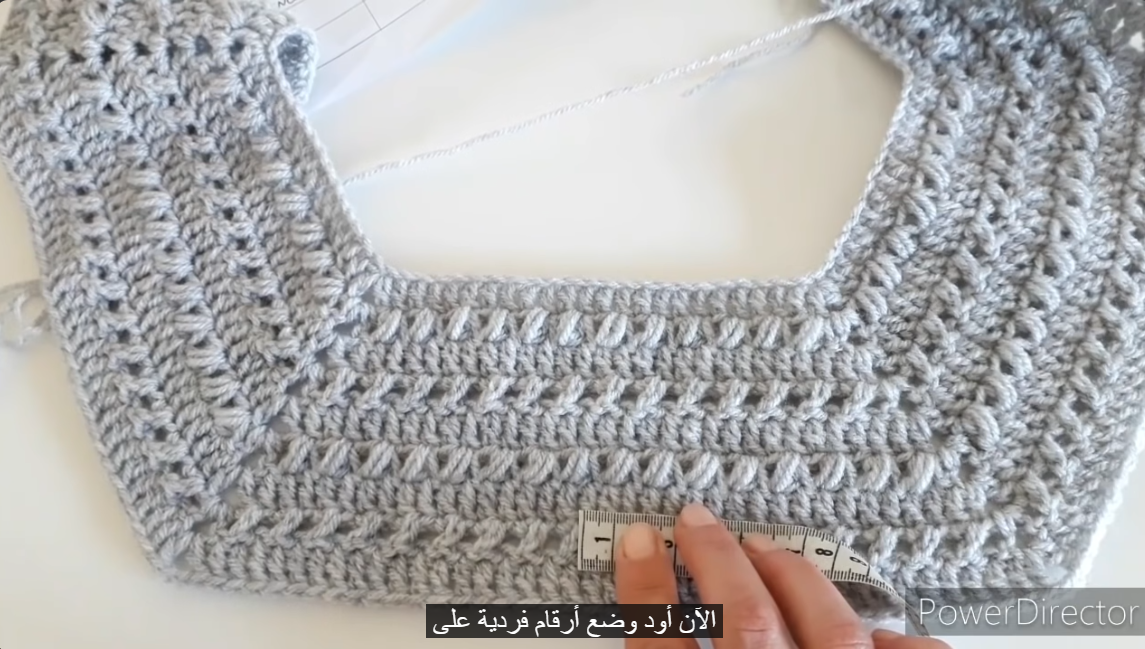
📏 Measurements & Sizing
Before starting, take these measurements for the child:
-
Chest width
-
Coat length (shoulder to desired length)
-
Sleeve length (shoulder to wrist)
-
Armhole depth
Use these to adjust your foundation chains.
🧵 Basic Stitches Used
-
CH – chain
-
SC – single crochet
-
HDC – half double crochet
-
DC – double crochet
-
SL ST – slip stitch
You can pick one stitch for the entire coat (e.g., HDC or DC) to make it easier.
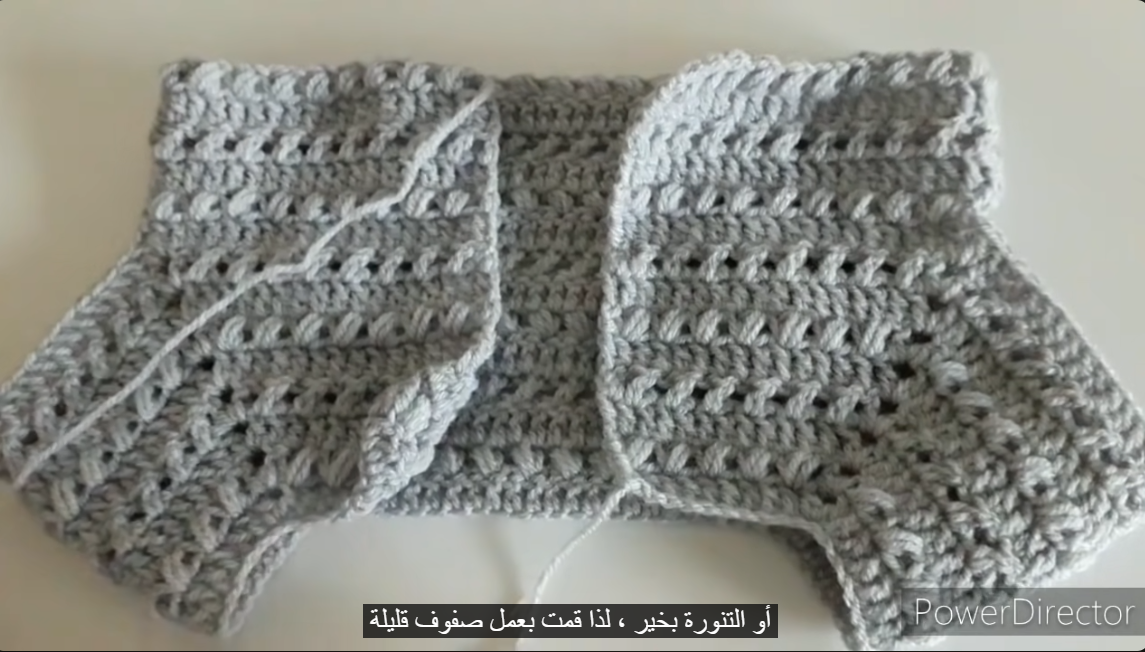
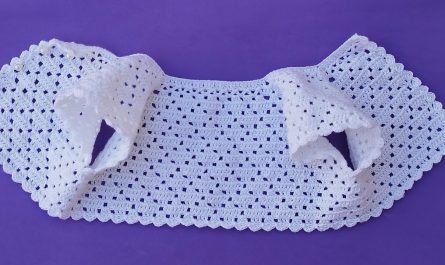
🧥 Construction Method: Simple Panel Coat
This coat is constructed from five pieces:
-
Back panel
-
Left front panel
-
Right front panel
-
Two sleeves
✨ Step-by-Step Pattern (Adjustable for Any Size)
1. Back Panel
-
Chain enough stitches to match coat width (e.g., 50–70 chains depending on size).
-
Row 1: Work HDC in the second chain from hook; continue across.
-
Row 2+: CH 1, turn, HDC across.
-
Continue until your panel equals the desired coat length.
✔ Tip: Add color stripes or textured rows for decoration.
2. Front Panels (Left & Right)
You will make two identical pieces.
-
Chain enough stitches to equal half the back panel width.
-
Work rows of HDC (or stitch of your choice) until you reach same length as the back panel.
-
For a collar opening:
-
Stop about 2–3 inches before the top and decrease 1 stitch at the neck edge every 2 rows.
-
✔ Optional: Add buttonhole spaces on the right panel by chaining 2 and skipping 2 stitches.
3. Sleeves
-
Chain enough stitches for upper arm measurement (e.g., 25–35 stitches).
-
Work HDC rows.
-
Gradually increase 1 stitch on each side every 4 rows for shaping.
-
When the piece reaches desired arm length, finish off.
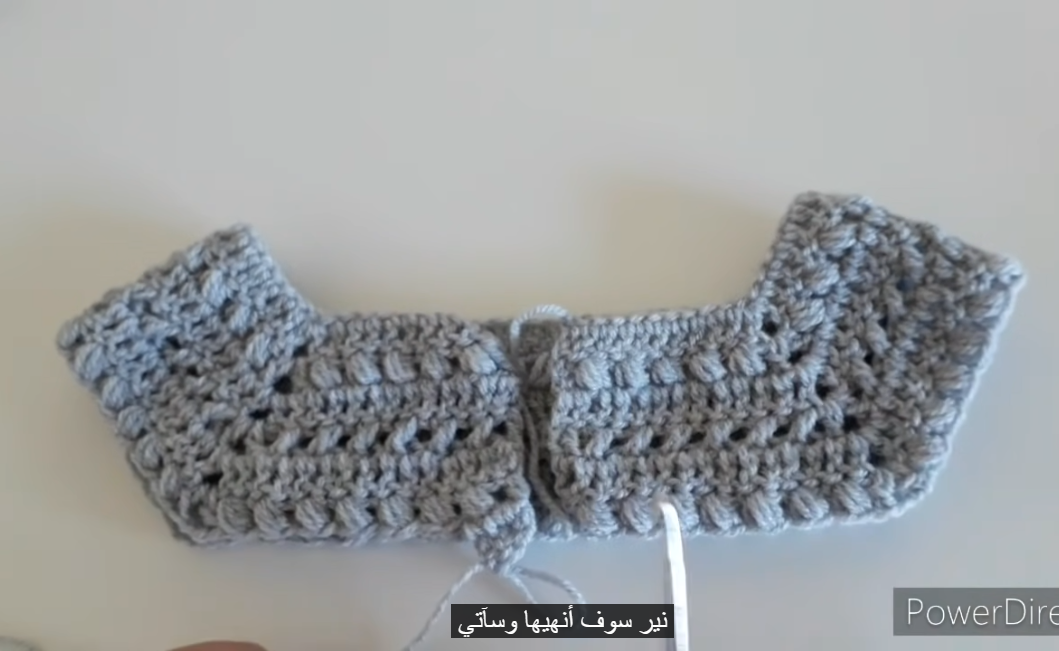
4. Assembly
-
Lay the back panel flat.
-
Place front panels over it, matching shoulders.
-
Sew shoulders using whip stitch or mattress stitch.
-
Sew sides from bottom up, leaving armholes open.
-
Fold sleeve pieces lengthwise and sew sides.
-
Attach sleeves to armholes using stitch markers, then sew around.
5. Collar & Front Border
To create a clean coat opening:
-
With coat open, attach yarn at the bottom of one front panel.
-
Work SC evenly up the front, around the neck, and down the other side.
-
Add 2–4 rows for a thicker border.
-
Add buttonholes if you haven’t already.
6. Add Buttons
Sew buttons evenly spaced along one front panel.
Test closure to ensure proper alignment.
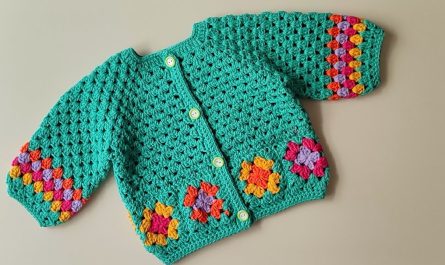
🎀 Customization Ideas
-
Add pockets (simple squares stitched on)
-
Add edging in contrasting color
-
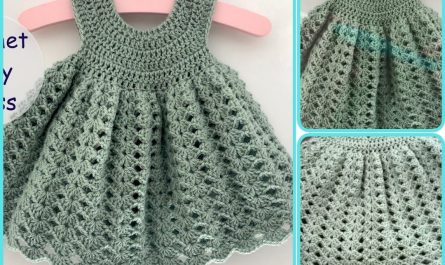
Use a shell stitch for a fancy look
-
Add a hood by crocheting a rectangle, folding it, and stitching one side
-
Add appliqués like flowers, hearts, or bows

🧵 Basic Hood Add-On (Optional)
-
Chain enough length to go across the back neck width.
-
Crochet rows until rectangle’s height equals the child’s head height.
-
Fold rectangle in half and sew the top seam.
-
Attach the bottom edge to the neckline.
🎉 You Now Have a Handmade Girl’s Coat!
This simple panel method is perfect for beginners and easy to size up or down. If you’d like, I can also write:
✅ A specific size pattern (1–2 yrs, 3–4 yrs, 5–6 yrs, etc.)
✅ A written row-by-row pattern
✅ A granny square girl’s coat pattern
✅ A PDF-style formatted version
Watch tutorial: