 by
by Below is a clear, detailed, step-by-step guide on how to crochet a baby girl’s cardigan, suitable for confident beginners and intermediate crocheters. If you want, I can also convert this into a printable PDF pattern, add a diagram, or adjust sizing (0–3 mo, 3–6 mo, 6–12 mo, 1–2 yrs).
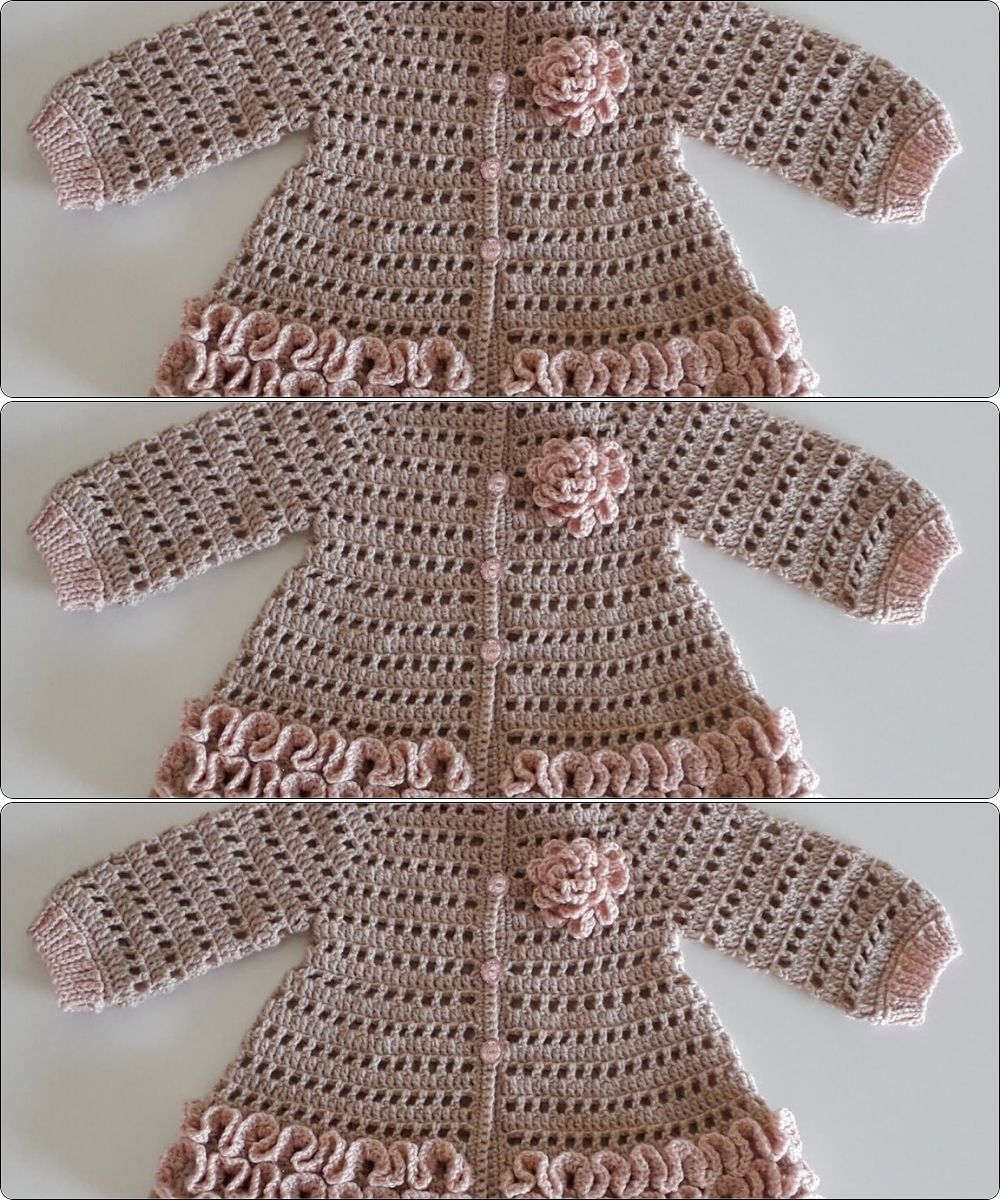
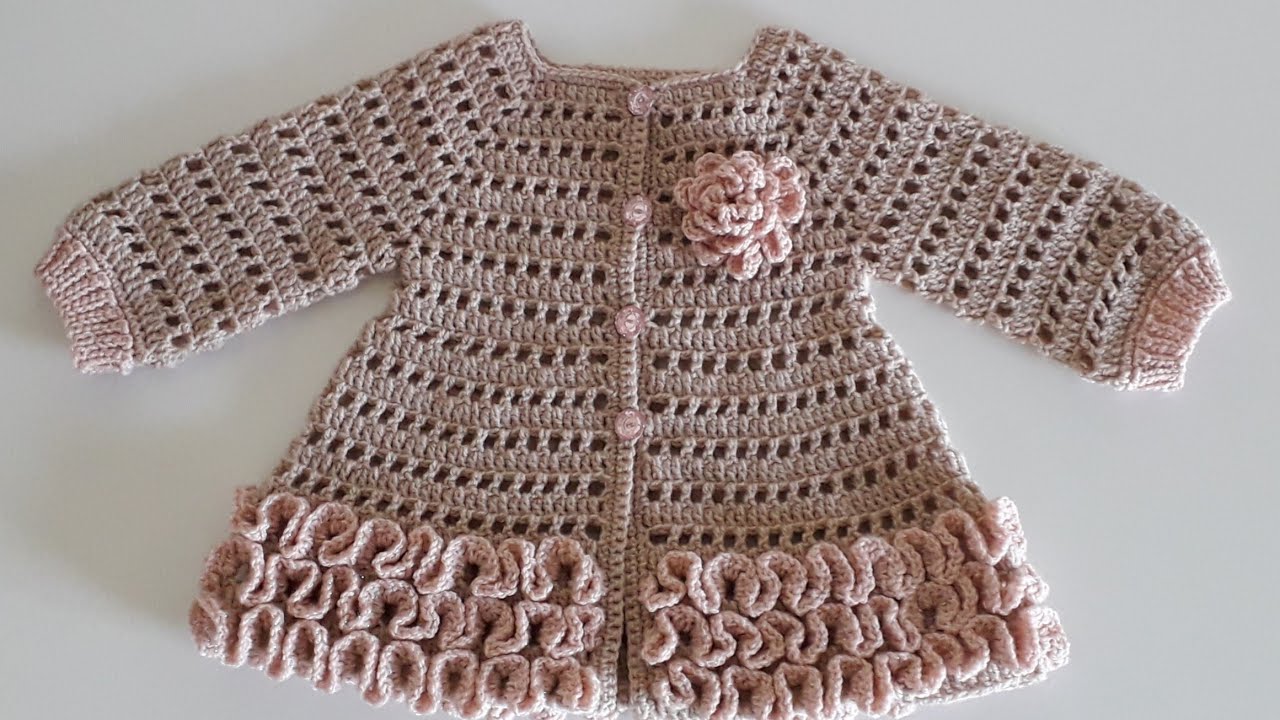
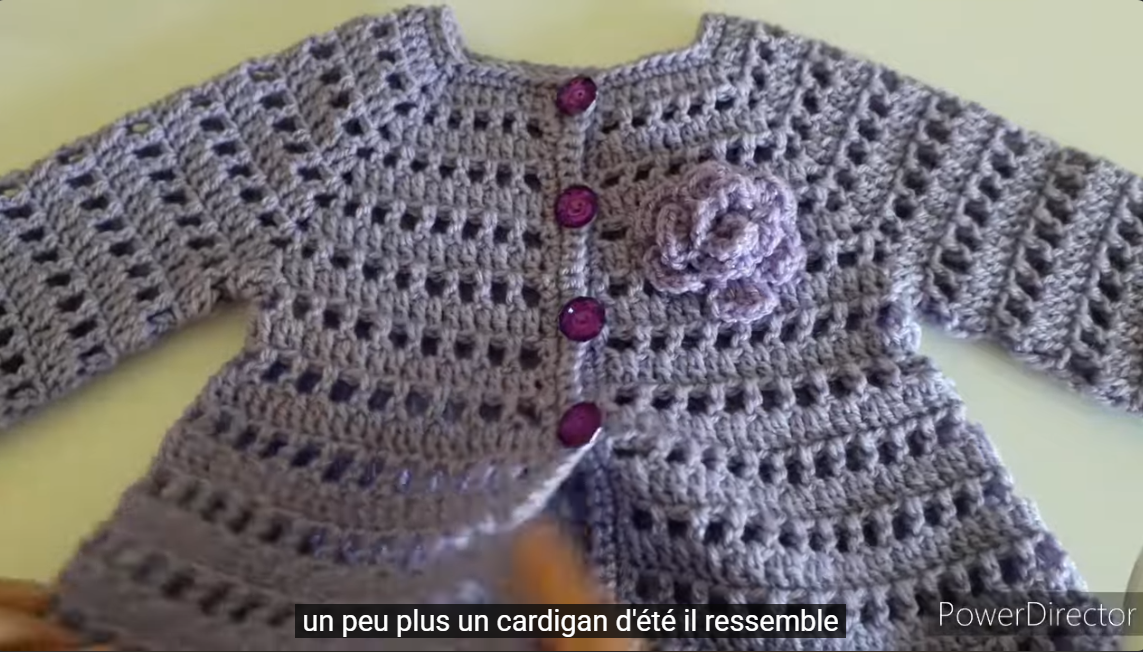
🧶 How to Crochet a Baby Girl’s Cardigan
Skill Level: Easy–Intermediate
Construction: Top-down (yoke), seamless, worked in rows
Size Provided: 0–3 months (I can add other sizes on request)
✨ Materials
-
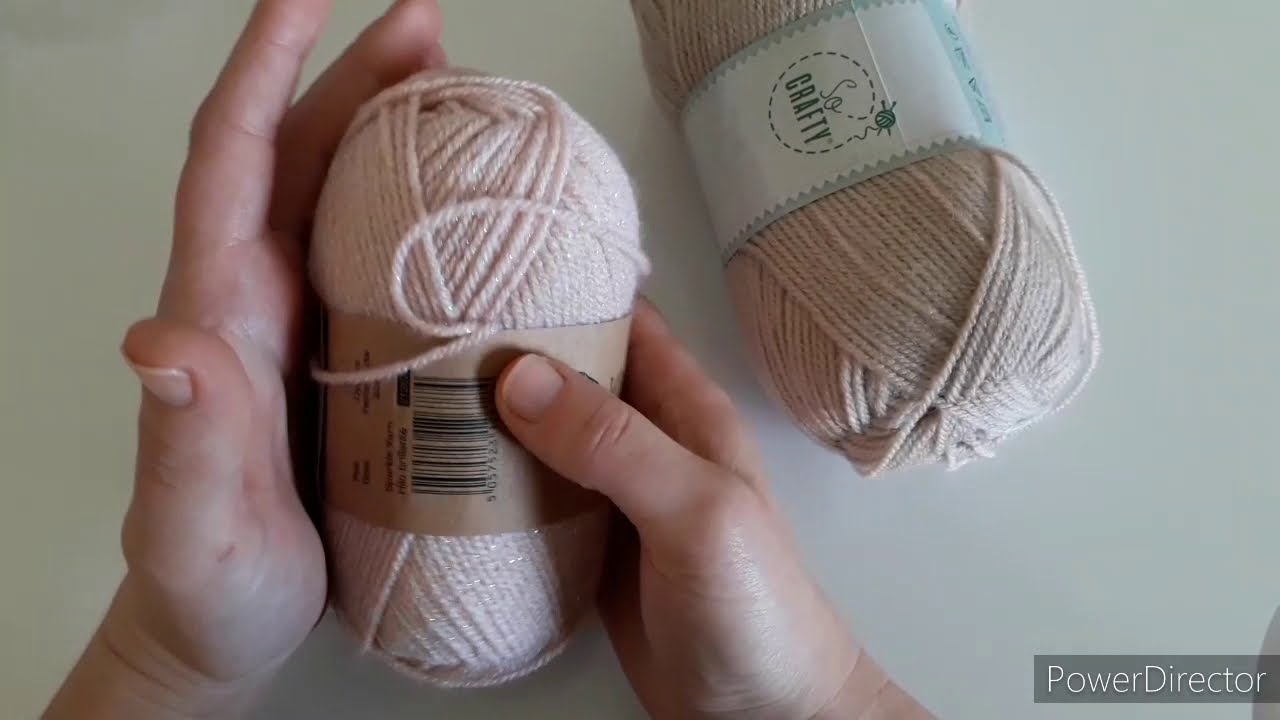
Yarn: 200–250 g DK (Light #3) baby-soft yarn
-
Hook: 4.0 mm (US G)
-
Notions: 3–5 small buttons, yarn needle, scissors, stitch markers
-
Gauge: 16 stitches × 12 rows = 10 cm (4 in) in double crochet (dc)
🧵 Abbreviations (US Terms)
-
ch = chain
-
sc = single crochet
-
dc = double crochet
-
sl st = slip stitch
-
st(s) = stitch(es)
-
sk = skip
-
inc = increase (2 dc in same st)
-
rep = repeat
🌸 Construction Overview
The cardigan is worked top-down in one piece:
-
Make a yoke (neckline).
-
Separate the stitches for sleeves and body.
-
Work the body downward.
-
Attach yarn to each armhole and crochet the sleeves.
-
Add the button band and edging.
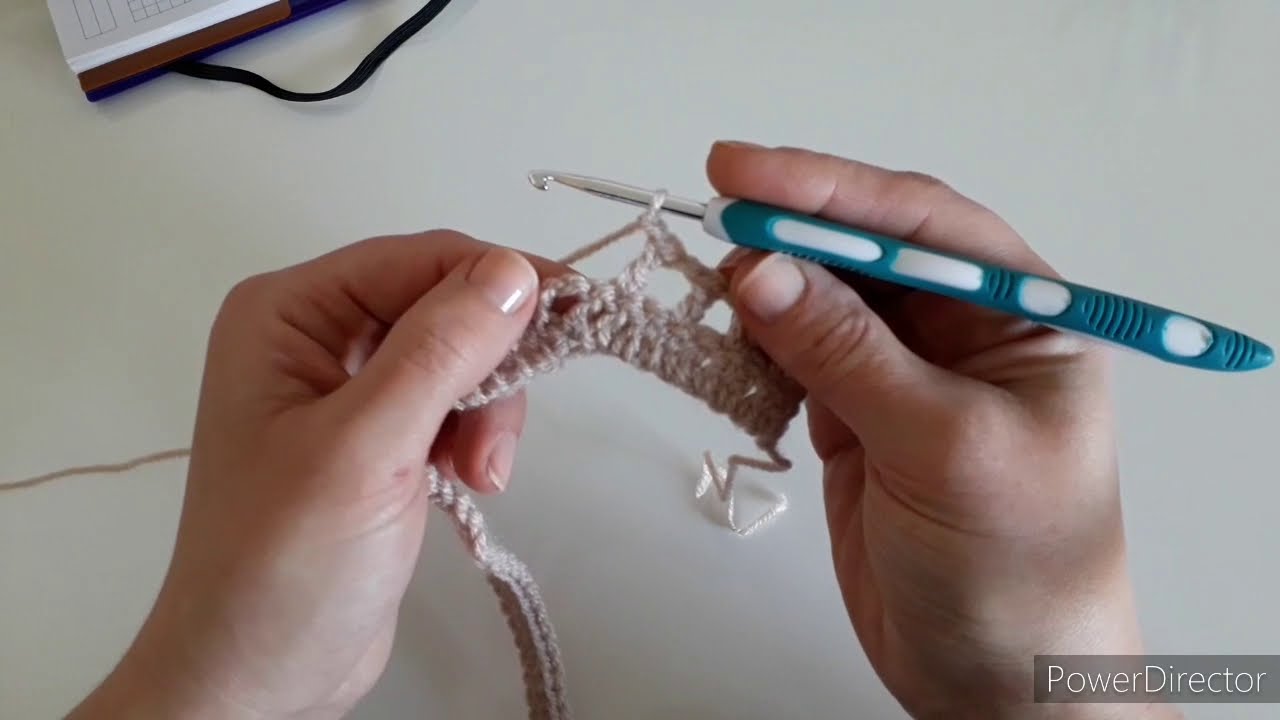
🧶 Step-by-Step Instructions
1. Yoke (Top of Cardigan)
Foundation Chain: 52 ch
This creates the neckline.
Row 1:
-
Dc in 3rd ch from hook and in each st across. (50 dc)
-
Turn.
Row 2 (Start of Raglan Increases):
-
Ch 2 (counts as dc), dc in next 6 sts, inc
-
Dc in next 8 sts, inc
-
Dc in next 12 sts, inc
-
Dc in next 8 sts, inc
-
Dc in last 7 sts.
-
Turn. (Total increases: 4 corners)
Row 3–10:
Repeat Row 2, always placing increases in the stitches above last row’s increases.
After Row 10 the piece should have a rounded yoke and measure about 4.5–5 in (11–12 cm) from top.
2. Separate the Sleeves
Next Row:
-
Dc to first increase point
-
Ch 4 (creates underarm)
-
Skip all sleeve sts until next increase
-
Dc across the back until next increase
-
Ch 4
-
Skip sleeve sts
-
Dc to end of row
Your cardigan now looks like a little rectangle with two open armholes.
3. Crochet the Body
Work the body in dc rows:
Rows:
-
Ch 2, dc across.
-
Repeat rows until body measures 5–6 in (13–15 cm) or desired length.
Optional: Add a decorative border at the bottom
Shell Stitch Row:
-
Sk 1 st, 5 dc in next st, sk 1 st, sc in next st. Repeat across.
4. Crochet the Sleeves (Make 2)
Attach yarn at armhole.
Round 1:
-
Dc evenly around armhole (usually 26–30 sts).
-
Join with sl st.
Round 2–8:
-
Dc around.
-
For tapered sleeves: dc2tog at the start of every 3rd round.
Optional: Add a shell border at the cuff.
Fasten off and weave ends.
5. Add Front Border and Buttonholes
Work along the cardigan’s front edges.
Right Side (Buttonhole Side):
Row 1: Sc evenly along edge.
Row 2:
-
Sc 3, ch 2, sk 2 (buttonhole), sc across.
-
Repeat buttonholes every 1.5–2 in.
Left Side:
Work 2 rows of sc evenly—no holes.
Fasten off.
🎀 Finishing Touches
-
Sew buttons to line up with buttonholes
-
Weave in all ends
-
Lightly block cardigan to shape
💗 Tips for Success
-
Use stitch markers for the four increase corners.
-
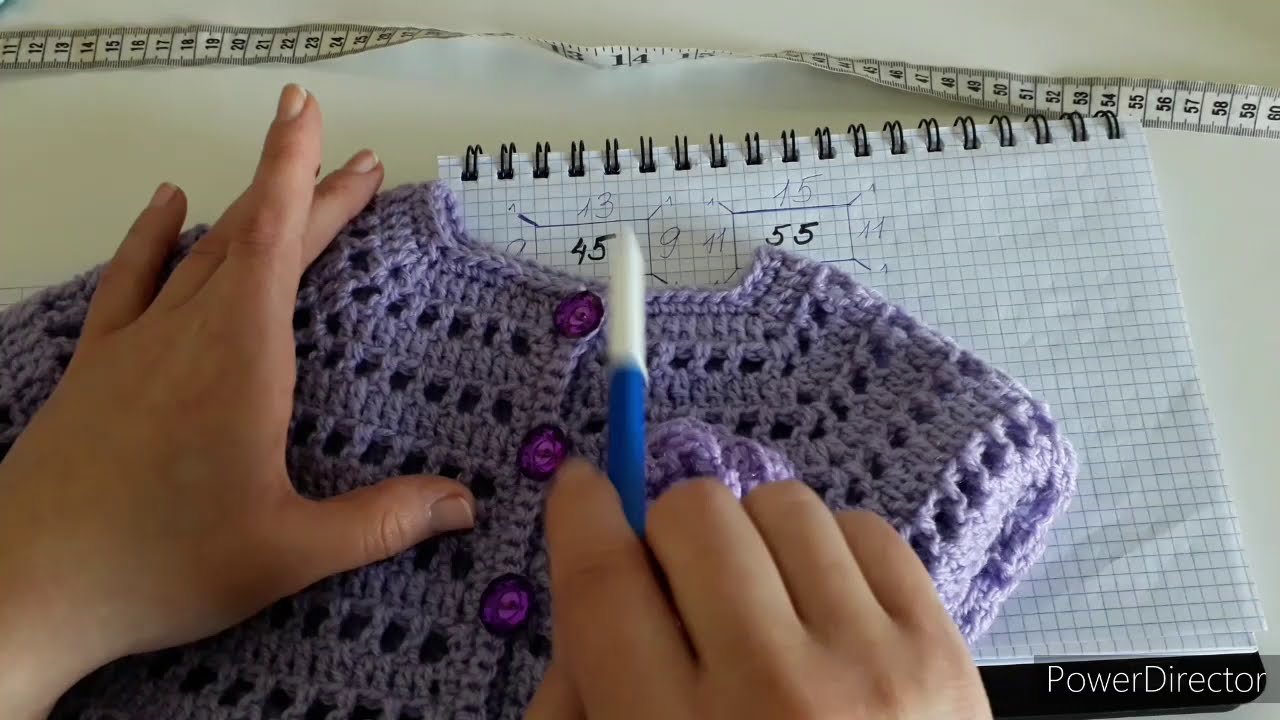
For larger sizes, add 2–4 rows to the yoke, and increase foundation chain proportionally.
-
For a frillier look, use a shell stitch for the entire bottom edge.
Want a Version With Pictures, Diagram, or Video?
I can create:
📌 A diagram of the yoke
📌 A printable, formatted PDF
📌 A baby cardigan in any size
📌 A softer “lacy” version for summer
Just tell me!
Watch tutorial: