 by
by Sure! Here’s a detailed step-by-step guide on how to crochet a baby dress, designed for beginners to intermediate crocheters. This tutorial will cover everything from materials to final touches.
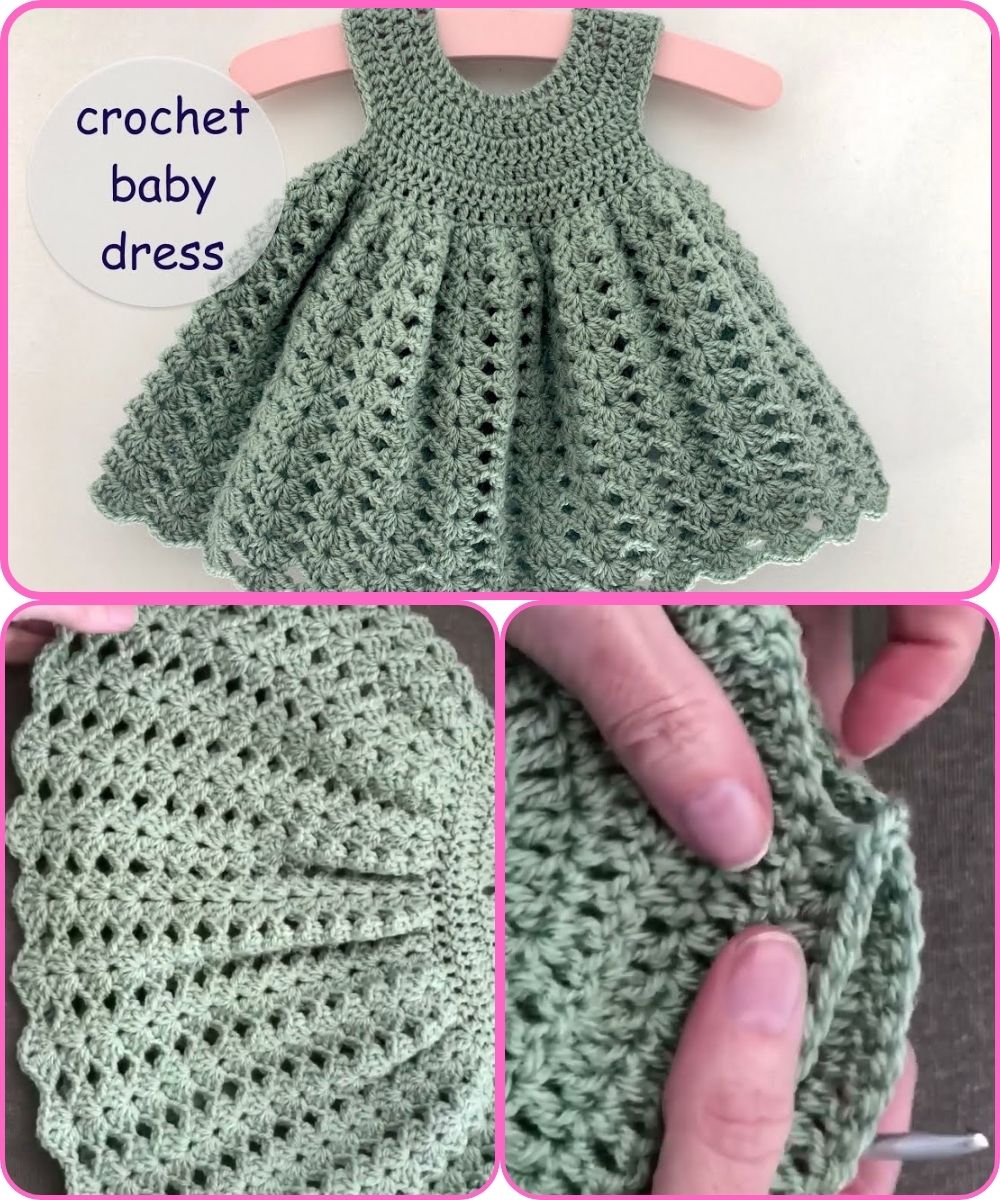
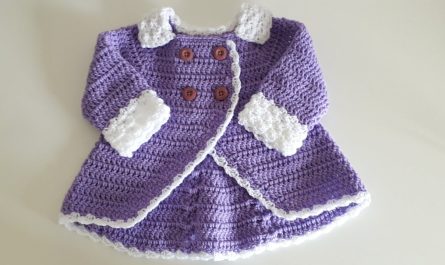
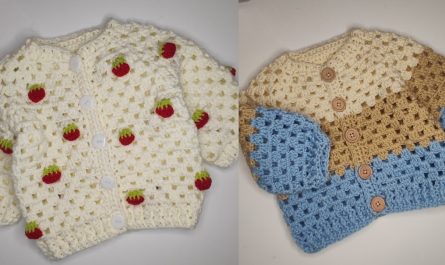
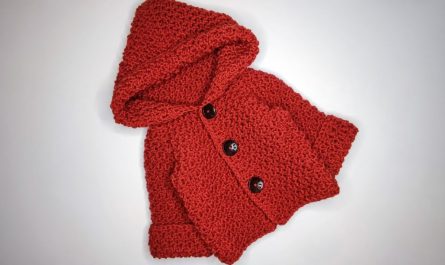
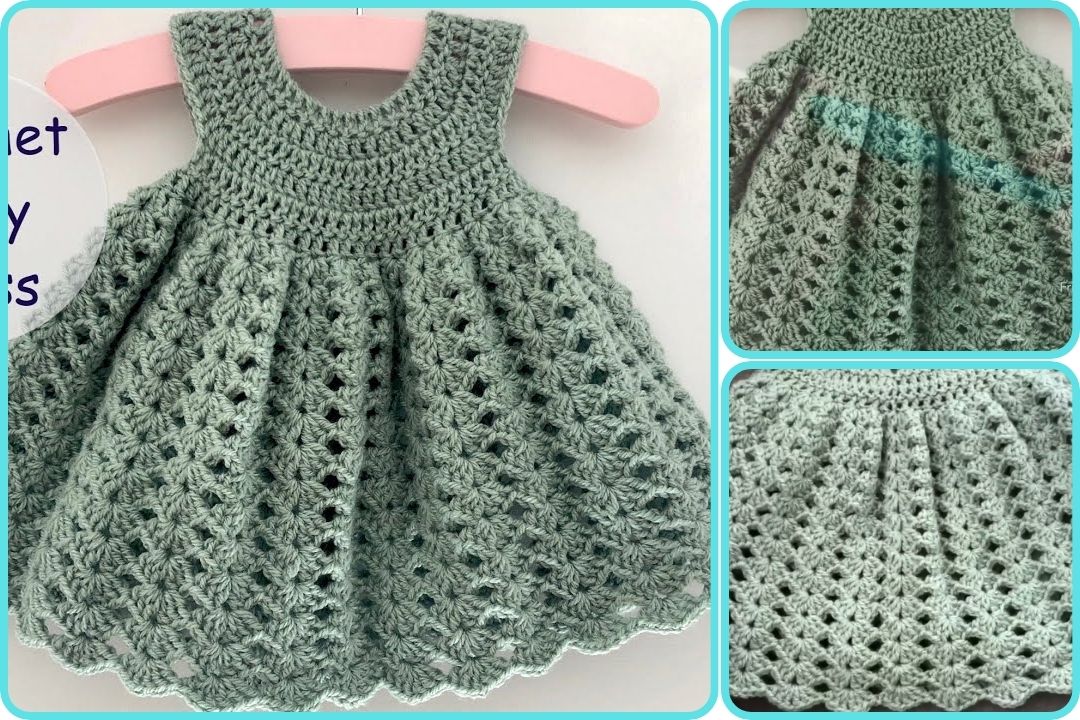
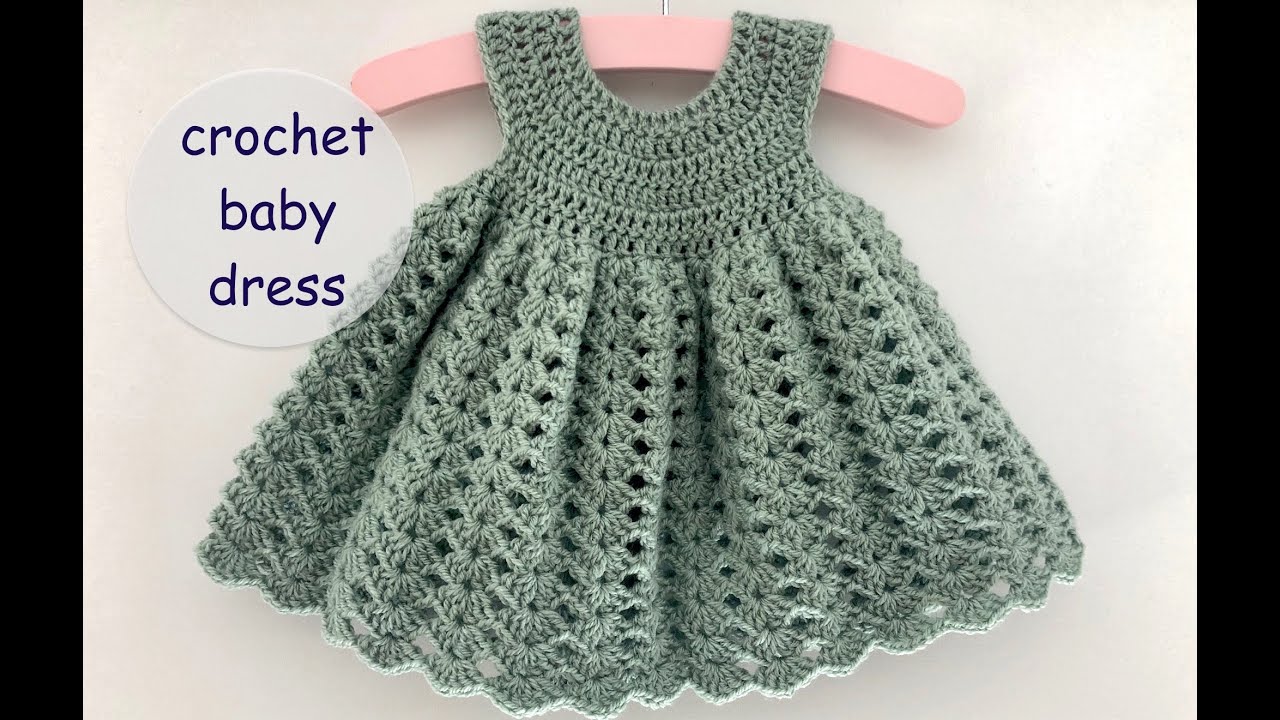
How to Crochet a Baby Dress (Step-by-Step Guide)
Materials Needed
-
Yarn
-
Soft baby yarn (lightweight, #3 or DK yarn is ideal)
-
Cotton or acrylic blends are soft and washable.
-
Approx. 250-350 yards depending on the size.
-
-
Crochet Hook
-
Size H (5.0 mm) or as recommended on the yarn label.
-
-
Scissors
-
Tapestry needle
-
For weaving in ends.
-
-
Stitch markers
-
Optional but helpful for keeping track of rounds or increases.
-
-
Buttons (Optional)
-
If you want a back opening or decorative front.
-
Sizing and Gauge
Make a small swatch (e.g., 4×4 inches) using the yarn and hook to check your gauge. Standard baby dress sizes:
| Age | Chest (inches) | Length (inches) |
|---|---|---|
| 0–3 months | 14–16 | 12 |
| 3–6 months | 16–18 | 13 |
| 6–12 months | 18–19 | 14 |
Crochet Skills Needed
-
Chain (ch)
-
Slip stitch (sl st)
-
Single crochet (sc)
-
Half double crochet (hdc)
-
Double crochet (dc)
-
Increasing stitches
-
Working in rounds or rows
Step-by-Step Instructions
Step 1: Crochet the Yoke (Top Part)
-
Foundation Chain:
-
Chain 54 (or adjust depending on size).
-
Join with a sl st to form a circle, being careful not to twist.
-
-
Round 1:
-
Ch 2 (does not count as stitch), dc in each stitch around, join with sl st to top of first dc.
-
-
Round 2–5 (Yoke Increase Rounds):
-
Increase evenly by placing 2 dc in every 5th stitch (or according to your pattern).
-
Continue until you get the chest width needed (refer to sizing chart).
-
Step 2: Create Armholes
-
Mark Stitches: Divide your yoke into 4 sections — front, back, and two sleeves.
-
For example: 15 (front) / 9 (sleeve) / 15 (back) / 9 (sleeve)
-
-
Row 6:
-
Dc across front section.
-
Skip stitches for the sleeve, chain same number to bridge the gap.
-
Dc across back, chain to skip second sleeve.
-
Join round.
-
Now you’ve formed the base of the armholes. Continue working in rounds for the skirt.

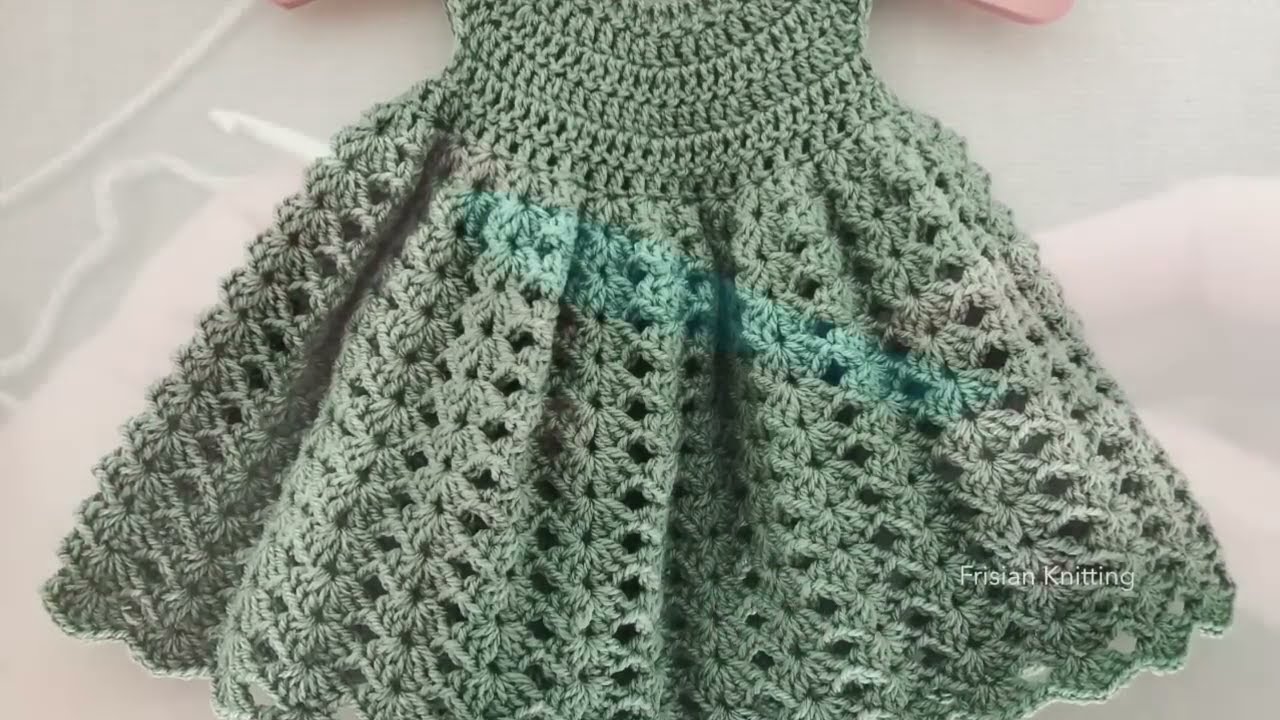
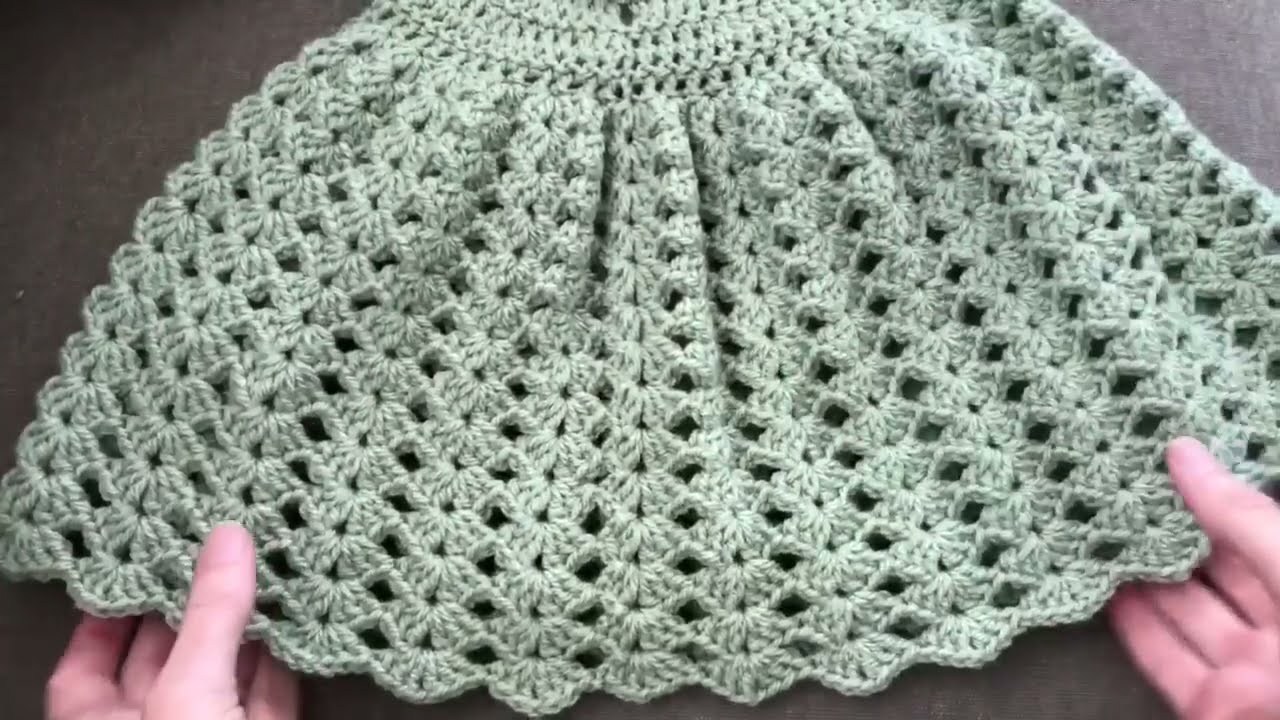
Step 3: Crochet the Skirt
-
Round 7–onward:
-
Begin with dc in each stitch around.
-
Optionally increase gradually (e.g., 2 dc in one stitch every few rows) to give it flare.
-
-
Add Texture (Optional):
-
Alternate rows: dc, ch 1, skip 1 to create a lacy effect.
-
Shell stitch or V-stitch patterns can be added for design.
-
-
Length:
-
Continue until desired length is reached (e.g., 12–14 inches total for 0–12 months).
-
Step 4: Edging & Finishing Touches
-
Edging:
-
Use sc or a picot edge around neckline, armholes, and hem for a finished look.
-
-
Back Opening (Optional):
-
If needed, leave a 1–2 inch gap at the back yoke.
-
Add button loops and sew on small buttons.
-
-
Weave in Ends:
-
Use tapestry needle to neatly weave in yarn tails.
-
-
Block (Optional):
-
Lightly block the dress using steam or water to even out stitches and shape.
-
Optional Embellishments
-
Crochet flowers, bows, or appliqués.
-
Ribbon woven through waistline.
-
Matching diaper cover or headband.
Tips for Success
-
Always check your stitch count.
-
Use stitch markers when increasing or shaping armholes.
-
Use soft, washable yarn that won’t irritate the baby’s skin.
-
If unsure about size, make it a little larger — babies grow fast!
Want a Video Tutorial?
If you’d like, I can search for a quality YouTube video or free pattern PDF for visual guidance.
Watch tutorial: