 by
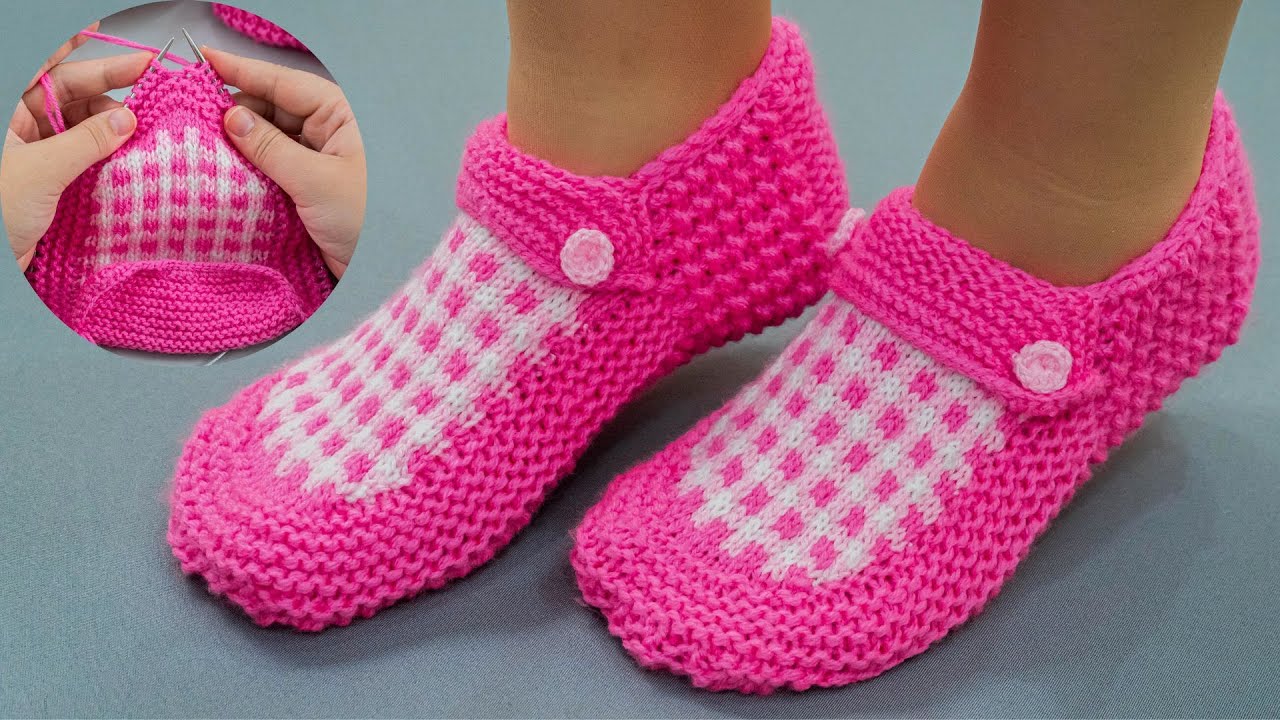
by Here is a clear, detailed, beginner-friendly tutorial on How to Make Knitted Simple Slippers. These slippers are made flat (no knitting in the round) and then seamed—perfect for beginners!
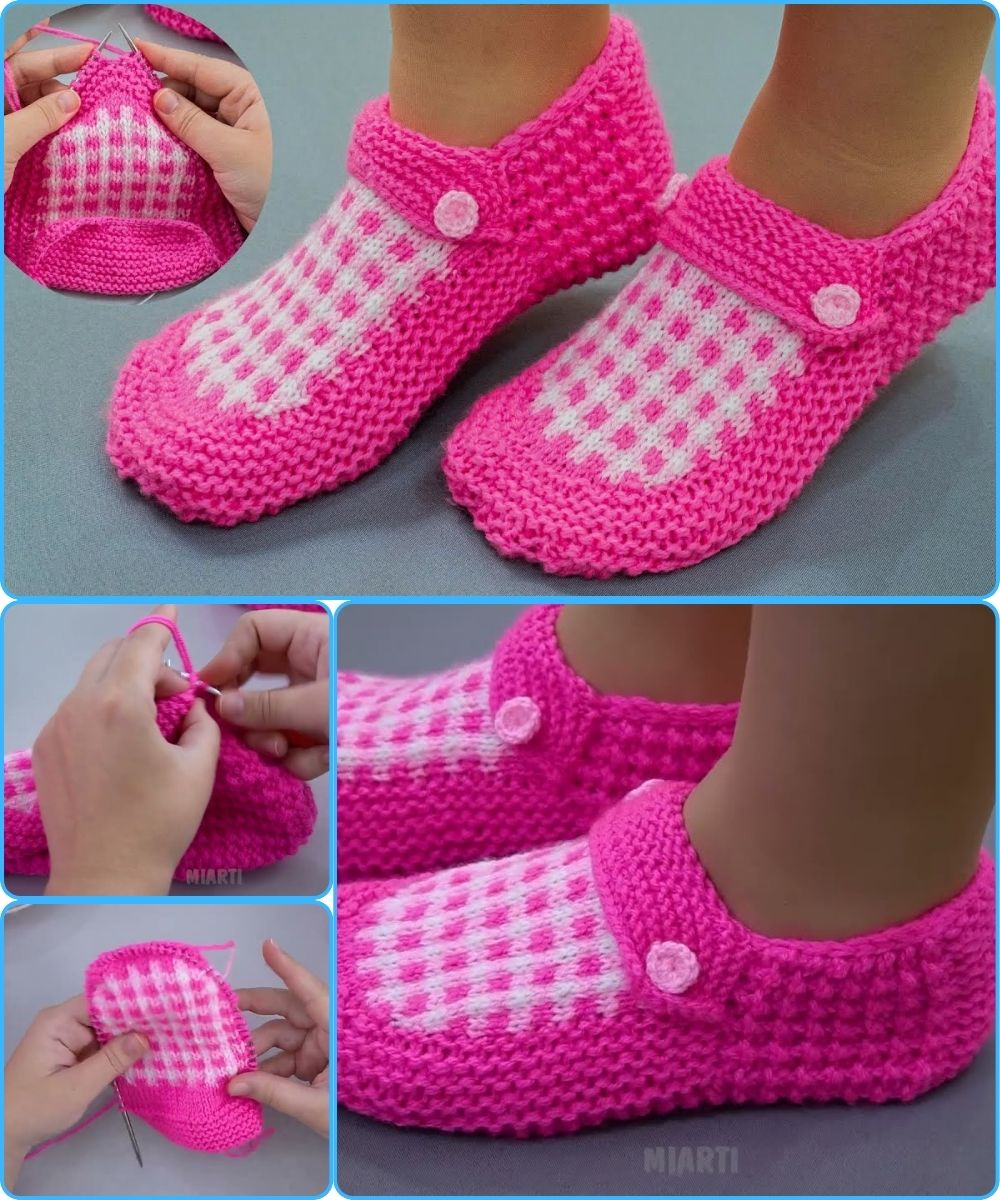
🧶 How to Make Knitted Simple Slippers — A Detailed Tutorial
These classic, cozy slippers are created by knitting a simple rectangle that is later folded and stitched to shape the toe and heel. You can adapt the pattern to any foot size.
✅ Materials Needed
-
Yarn: Worsted weight (medium/4). About 100–150g.
-
Needles: U.S. size 8 (5 mm) straight needles (or size needed to get comfortable fabric).
-
Tapestry (yarn) needle
-
Scissors
-
Stitch markers (optional)
-
Measuring tape
📏 Sizing
This pattern is flexible. The length of your knitted piece = length of the foot + toe shaping.
Approximate lengths:
-
Small (US Women 5–7): 9–10 in (23–25 cm)
-
Medium (US Women 8–10): 10–11 in (25–28 cm)
-
Large (US Men 9–11): 11–12 in (28–30 cm)
To adjust width: Cast on more or fewer stitches.
🧶 Basic Pattern Method
You will knit:
-
Ribbed cuff (optional but makes them snug)
-
Foot section (knit stitch or garter stitch)
-
Decreases for toe shaping
-
Sew seams to finish
🪡 Step-by-Step Tutorial
⭐ Step 1 — Cast On
Cast on 32 stitches (average adult).
For wider feet: 36–40 sts.
For narrow feet: 28–30 sts.
⭐ Step 2 — Knit the Cuff (Optional but recommended)
Work 1×1 rib stitch for 8–10 rows:
Row 1: K1, P1 repeat to end.
Repeat this row.
This gives the slipper top a stretchy edge.
⭐ Step 3 — Knit the Foot Section
Switch to garter stitch (knit every row).
Knit until the piece measures 7–9 inches from cast-on edge depending on shoe size.
This part will form the top of the foot.
⭐ Step 4 — Shape the Toe
Now we decrease to form a rounded front.
Repeat the following steps until you’re down to 8 stitches:
-
Row 1: K2 together across the row
(If uneven number of stitches, k1 at the end) -
Row 2: Knit across
This gradually narrows the toe area.
⭐ Step 5 — Bind Off
Bind off all stitches loosely.
Cut yarn leaving a long tail for sewing.
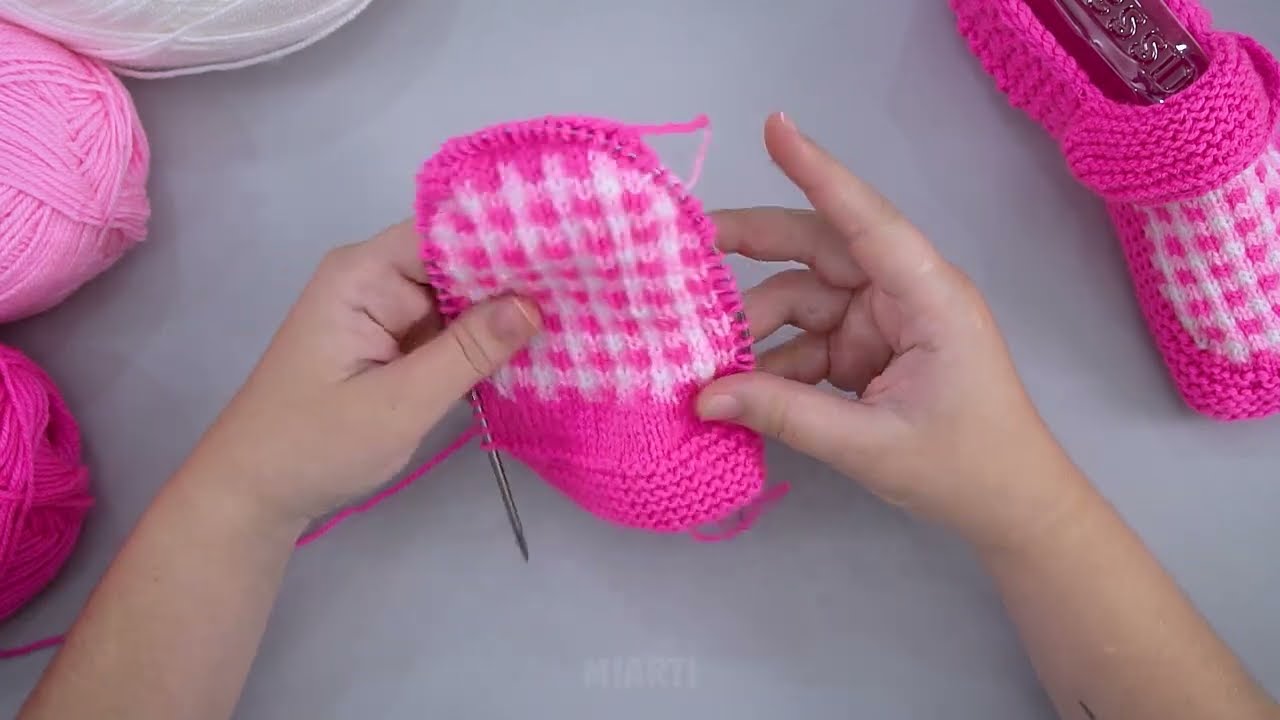
🪡 Step 6 — Sewing the Slippers
Now your piece looks like a long rectangle tapering at one end.
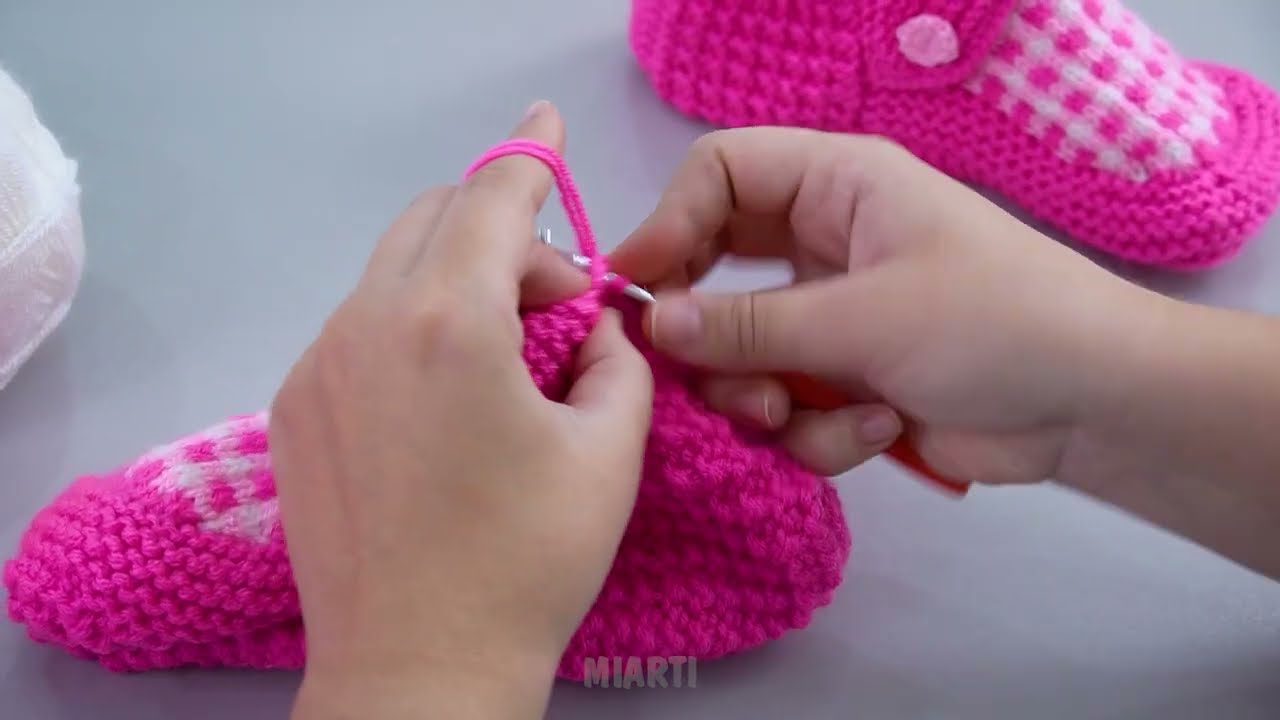
A. Sew the Toe
-
Fold the toe point together.
-
Use the long yarn tail to stitch the toe seam closed.
-
Sew up about 2–3 inches along the top foot seam (this forms the front of the slipper).
B. Sew the Heel
-
Fold the back end and sew the heel seam upward about 2–3 inches.
You now have a slipper shape!
🧶 Step 7 — Make the Second Slipper
Repeat all steps exactly for slipper #2.
🎀 Optional Customizations
-
Add a pom-pom on top.
-
Knit in striped yarn for color interest.
-
Sew on a non-slip fabric or dots of puffy paint to the sole.
-
Use ribbing all over for a stretchy, sock-like slipper.
-
Add a button and strap for a Mary Jane style.
👟 How to Adjust for Any Foot Size
To make them bigger:
-
Cast on more stitches (wider).
-
Knit more rows in the foot section (longer).
To make them smaller:
-
Cast on fewer stitches.
-
Knit fewer rows.
A quick shortcut:
Measure the foot from heel to toe—knit the slipper body to that length before decreasing.
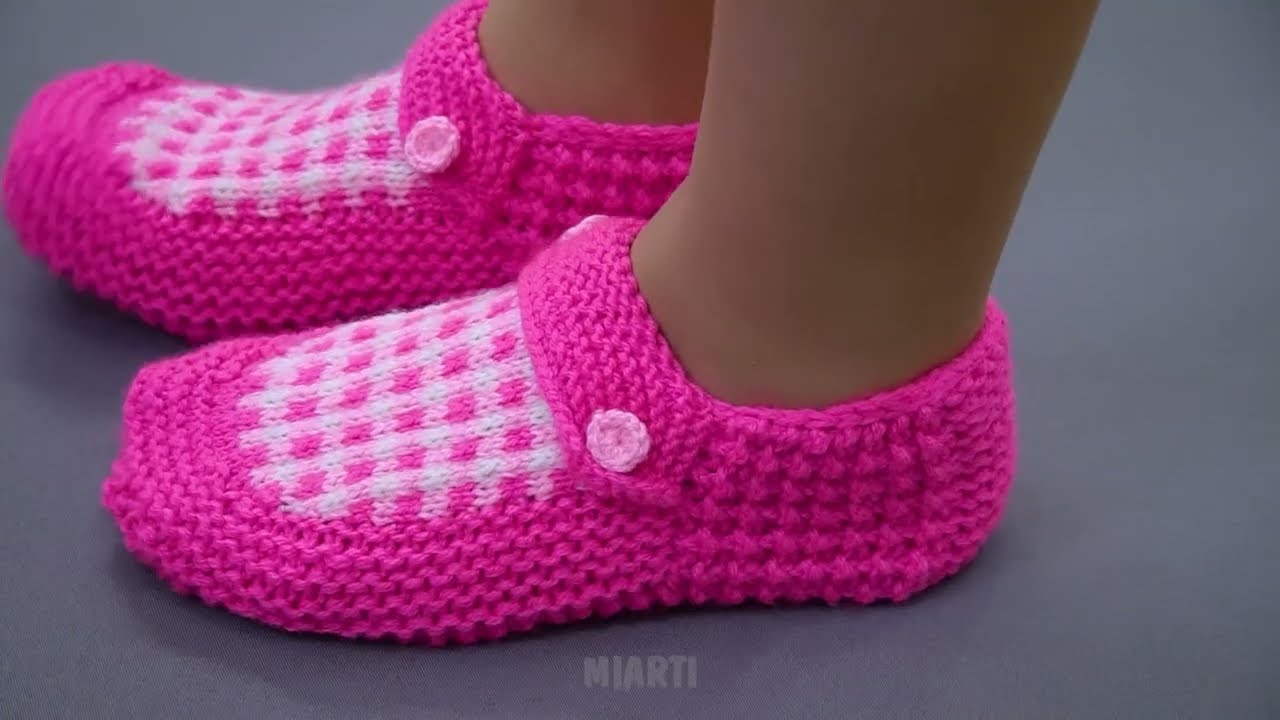
🎉 You’re Done!
You now have a pair of simple, warm, handmade knitted slippers. This is a great beginner project and also makes a wonderful gift.
If you’d like, I can also provide:
✅ A printable PDF
✅ Photo diagrams
✅ A video-style step-by-step script
Or a crochet version instead!
Watch tutorial: