 by
by Sure! Here’s a detailed, step-by-step written tutorial for “How to Make a Pink Crochet Baby Dress – Easy Step-by-Step Tutorial – Free Baby Crochet Dress (Part 1 of 2)”. This first part will guide you through making the yoke (top part of the dress), which includes foundation chains, increasing rounds, and preparing for the skirt.
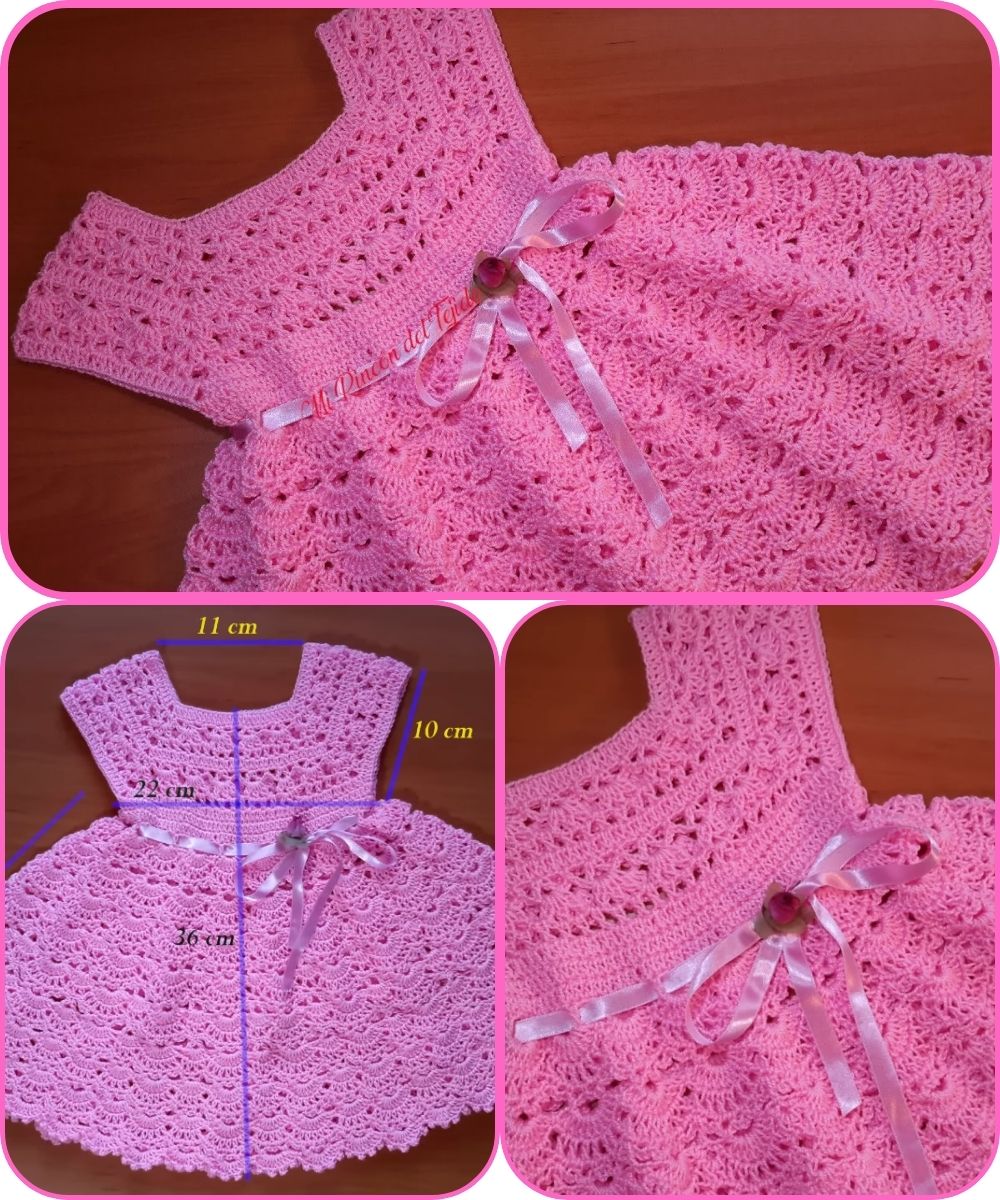
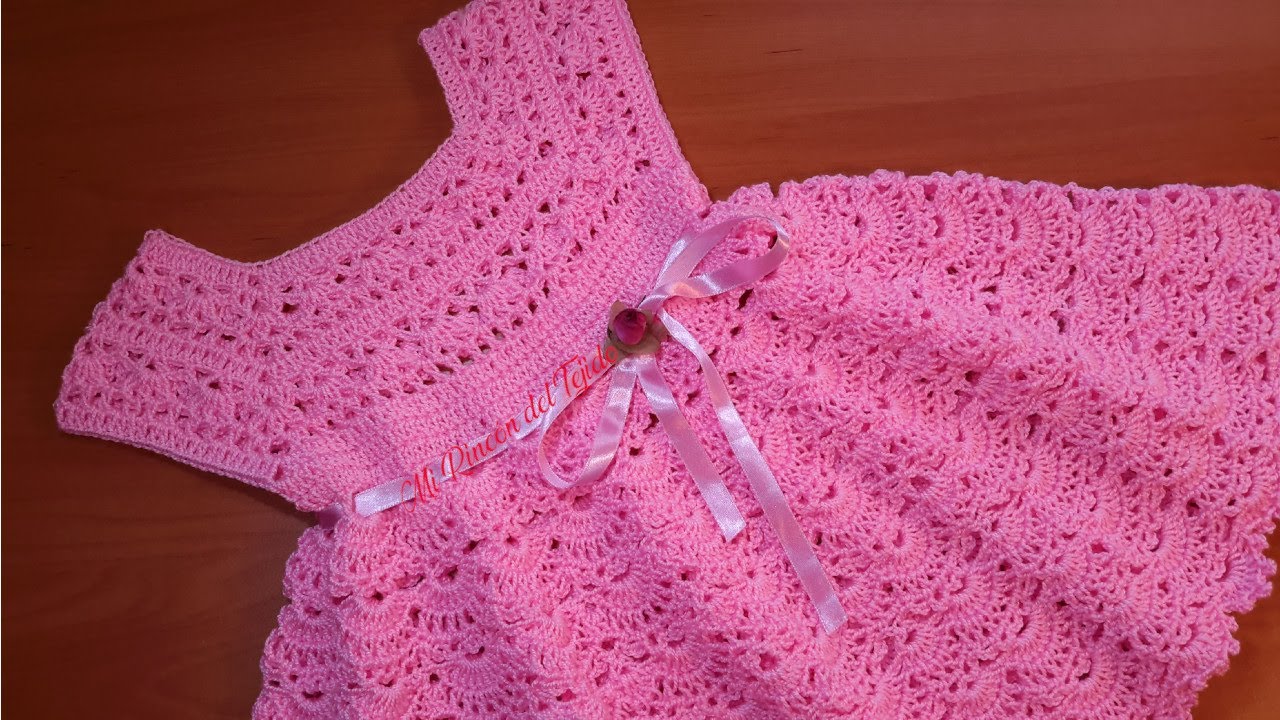
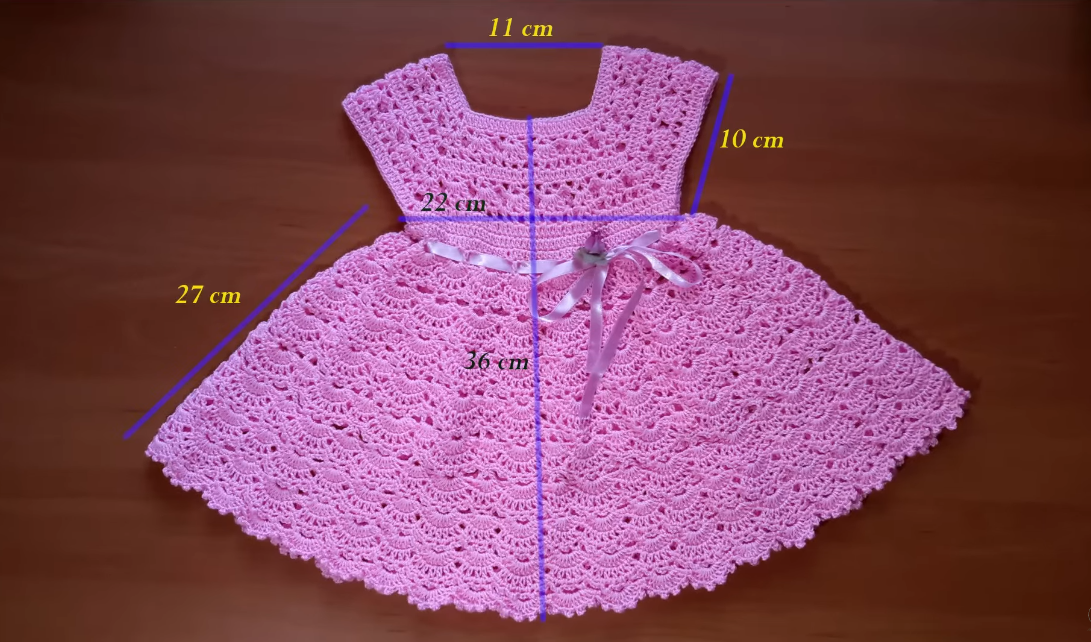
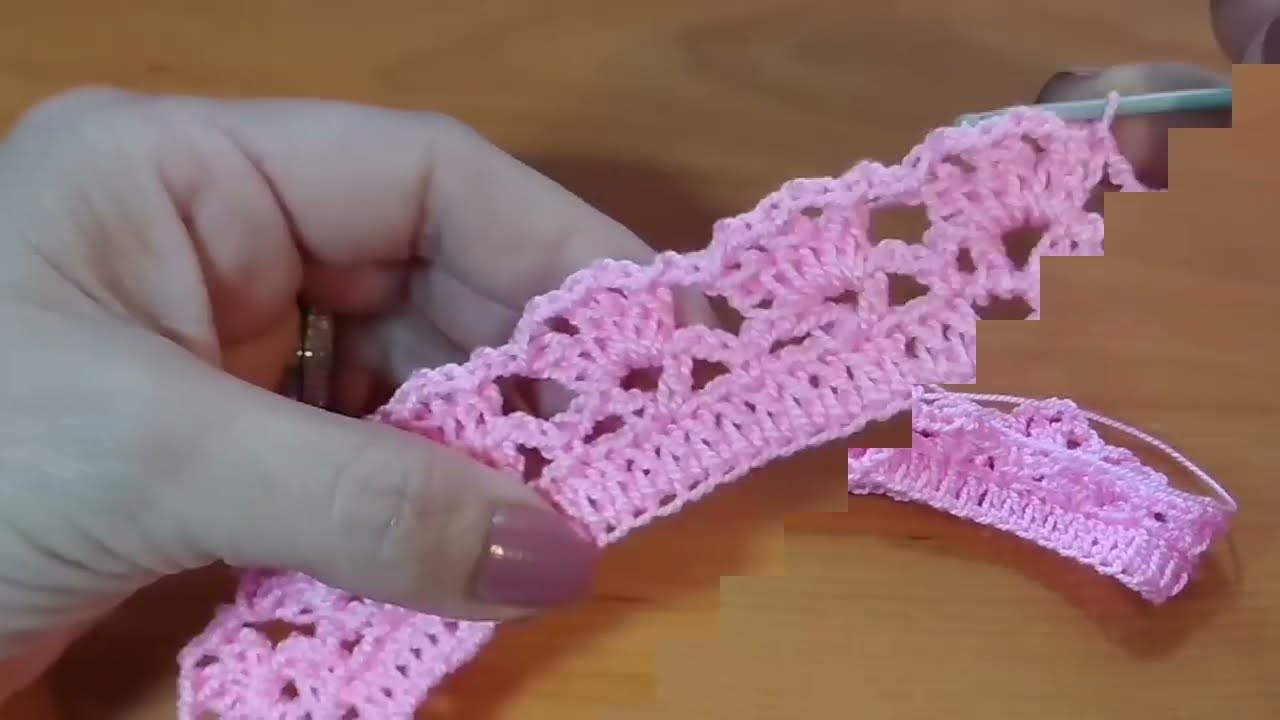
How to Make Pink Crochet Baby Dress – Step-by-Step Tutorial (Part 1 of 2)
Size: 0–6 months | Skill Level: Easy/Beginner-Friendly
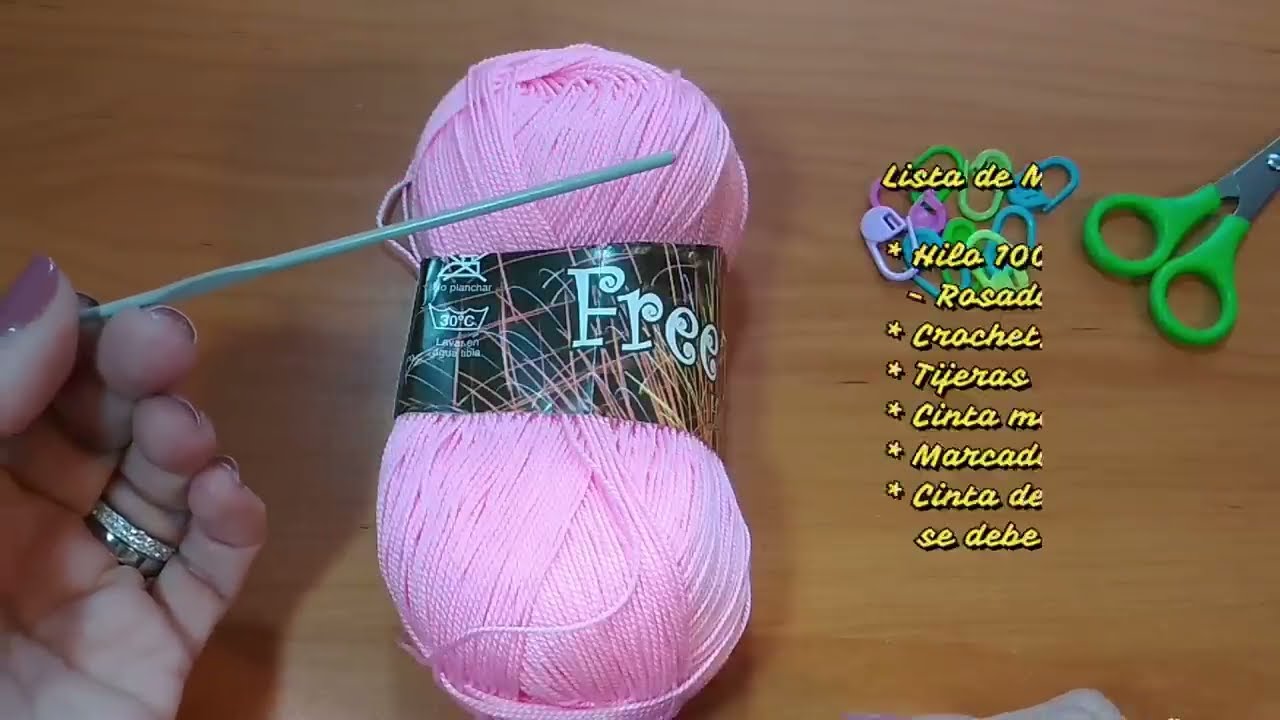
✨ Materials Needed
-
Yarn: Soft DK or Light worsted weight yarn in pink (approx. 150g for whole dress)
-
Hook: 3.5 mm (E/4) crochet hook
-
Scissors
-
Yarn needle
-
Stitch markers (optional)
-
Buttons (2-3 for the back closure)
-
Measuring tape
Gauge (Optional but Recommended):
-
20 stitches x 10 rows = 4 inches in double crochet
Abbreviations (US Terms):
| Abbreviation | Meaning |
|---|---|
| ch | chain |
| dc | double crochet |
| sc | single crochet |
| sl st | slip stitch |
| st(s) | stitch(es) |
| sp | space |
| inc | increase (2 dc in same st) |
PART 1: CROCHET BABY DRESS YOKE
Step 1: Foundation Chain
-
Chain 64.
-
This will be the base of the yoke (adjust by multiples of 8 if needed).
-
Step 2: Round 1 – First Row of Double Crochet
-
Start in 3rd chain from the hook.
-
1 dc in each ch across (62 dc total)
-
Ch 2, turn.
Step 3: Round 2 – Creating Increases for Raglan
-
Place markers to divide into 4 parts for raglan increases:
-
10 dc (front) | 1 inc | 10 dc (sleeve) | 1 inc | 20 dc (back) | 1 inc | 10 dc (sleeve) | 1 inc | 10 dc (front)
-
-
Work 1 dc in each st, making 2 dc in stitch at each marked increase point.
-
You’ll now have 8 increases total in this row.
-
Ch 2, turn.
Step 4: Repeat Raglan Increases
-
Repeat Step 3 for 6–8 rows, or until the yoke measures approx. 3.5 to 4.5 inches deep.
-
Remember: You increase at each of the 4 corners every row (adds 8 stitches per round).
Tip: Try the yoke on a doll or measure the neckline to fit a 0–6 month baby: approx. 13–14 inches around.
Step 5: Divide for Sleeves
-
When yoke is wide enough:
-
Front: 20 dc
-
Each Sleeve: 20 dc
-
Back: 20 dc
-
-
Join front and back, skipping sleeve sections:
-
Ch 4 (underarm), skip 20 dc for sleeve
-
Dc across front
-
Ch 4 (underarm), skip second sleeve
-
Dc across back
-
-
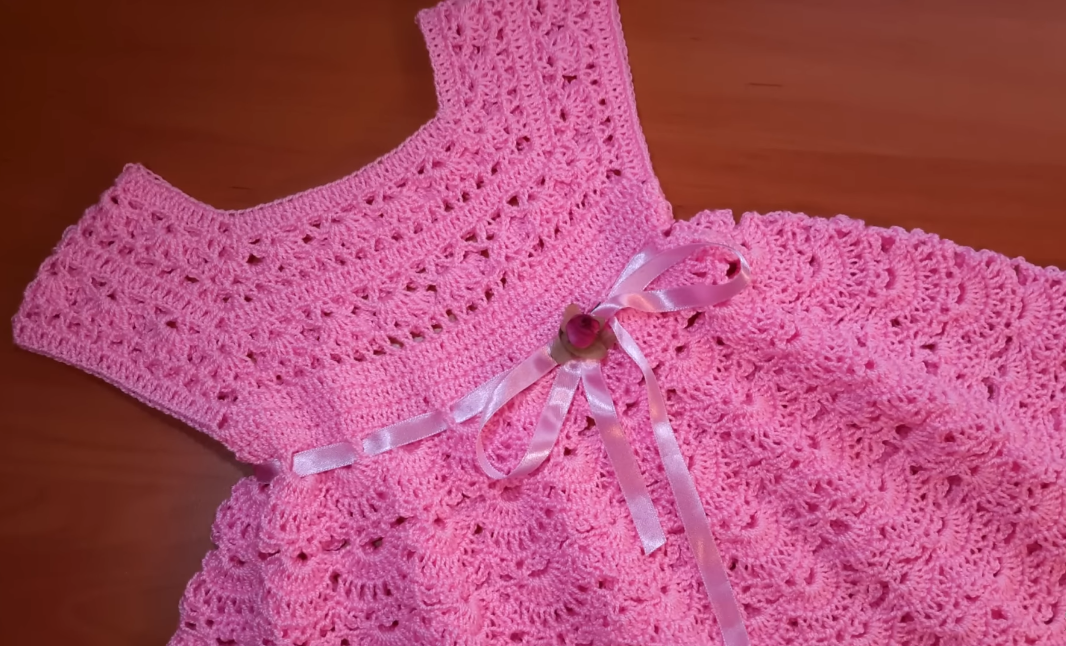
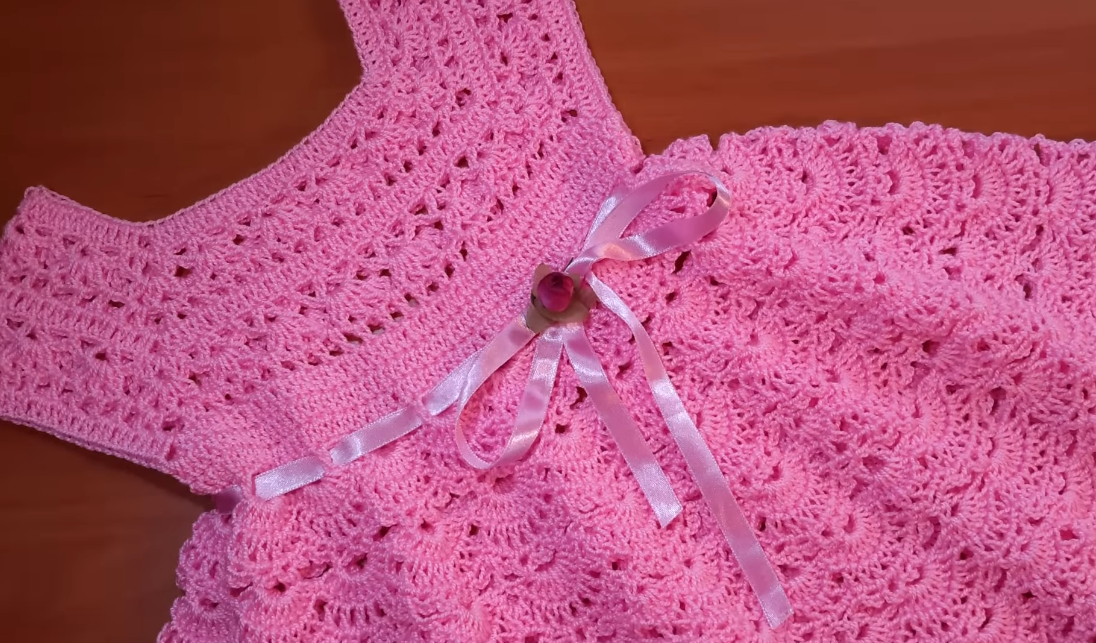
Now you’ve formed the bodice opening for the skirt!
Step 6: Add Button Loops (Back Opening)
-
At the top back edge, use sc to neaten edges and add small ch loops for buttons on one side (spaced about 1” apart).
-
Optional: Leave a 2–3 stitch gap at center back for overlapping button closure.
✅ End of Part 1!
You now have a beautifully structured yoke ready for the skirt, which we’ll cover in Part 2 — that includes working the skirt portion, adding edging, and final finishing touches.
Watch tutorial: