 by
by Sure! Here’s a detailed step-by-step guide on how to make a beautiful and easy baby dress, ideal for beginners in sewing or DIY baby clothes. This project is simple, sweet, and budget-friendly.
How to Make a Beautiful, Easy Baby Dress (Step-by-Step Guide)
What You’ll Need:
-
Fabric (1 yard) – Choose soft, breathable cotton or muslin. For fancier dresses, you can use satin or lace overlay.
-
Matching thread
-
Scissors or rotary cutter
-
Elastic (for waist or neckline if needed)
-
Sewing machine (or you can hand sew if you’re patient)
-
Pins or fabric clips
-
Paper and pencil for pattern making
-
Measuring tape
-
Velcro, buttons, or snaps (optional closure)
Step 1: Take Measurements (or Use Standard Size)
If you’re making this for a specific baby, measure:
-
Chest circumference
-
Dress length (shoulder to desired length)
-
Armhole (if making a sleeved dress)
Or use standard sizes:
-
0-3 months: chest 16″ | length 12″
-
3-6 months: chest 17″ | length 13″
-
6-12 months: chest 18″ | length 15″

Step 2: Create a Simple Pattern
For an easy sleeveless A-line dress:
-
Fold a piece of paper in half.
-
Draw half of an A-line shape (like a trapezoid), slightly curved at the armhole and neckline.
-
The folded edge is the center front/back.
-
Make the neckline slightly deeper for the front.
-
Cut it out – this is your basic bodice pattern.
✂️ Step 3: Cut the Fabric
-
Fold your fabric right sides together.
-
Place your pattern on the fold, pin it, and cut out two pieces – one for front and one for back.
-
If adding sleeves or ruffles, cut those separately.
-
Optional: Cut a skirt piece (rectangle 1.5 to 2 times the chest width, for gathers).
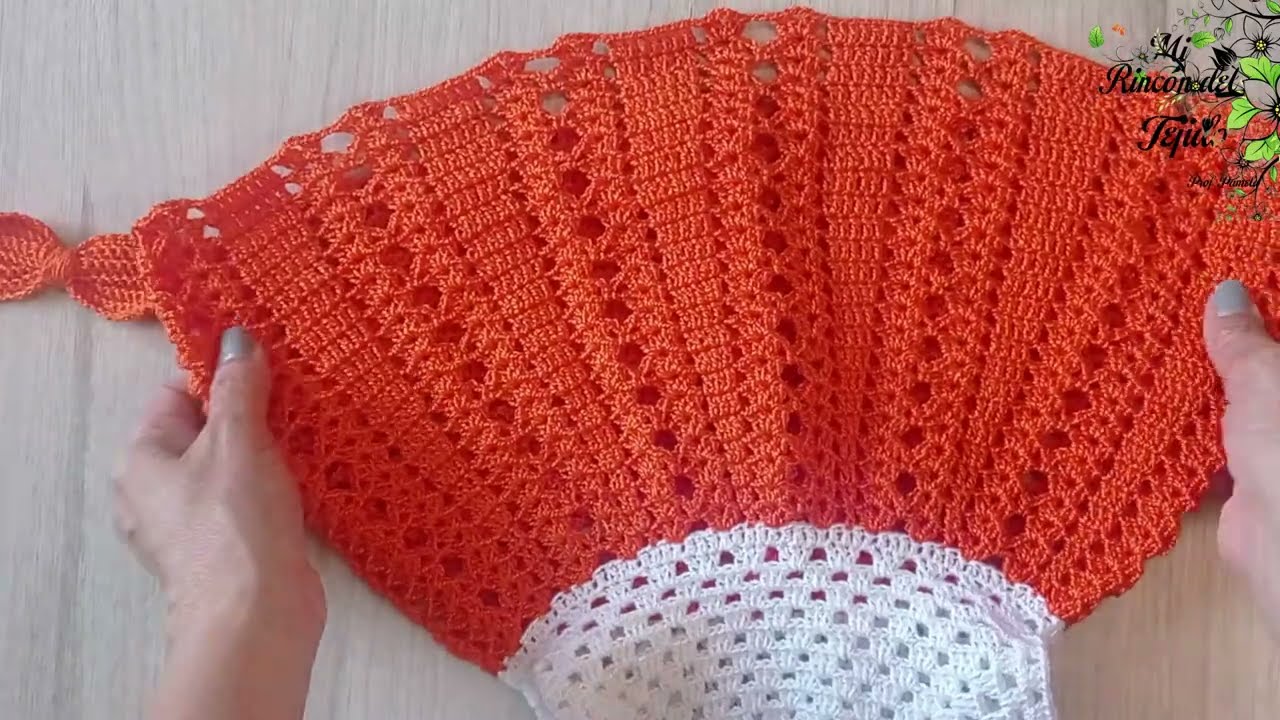
Step 4: Assemble the Dress
Option A: Simple A-line Dress (No Gathered Skirt)
-
Place front and back bodice pieces right sides together.
-
Pin and sew the shoulders together.
-
Sew side seams.
Option B: Gathered Skirt Style
-
Sew the shoulder seams of front and back bodice.
-
Gather the top edge of the skirt rectangle using a loose stitch.
-
Pin the gathered skirt to the bodice, right sides together. Adjust gathers evenly.
-
Sew in place.
-
Sew the side seams from the bodice down to the skirt.
✨ Step 5: Finish Neckline and Armholes
-
Use bias tape or fold over the edges and stitch to finish the neckline and armholes.
-
You can also line the bodice for a neater finish.
Step 6: Hem the Bottom
-
Fold the bottom edge up 1/2 inch, then again 1/2 inch.
-
Iron and sew the hem neatly.
Step 7: Add Closure
Choose one:
-
Button or snap at the back
-
Velcro strip
-
Tie closure using ribbons
Cut a small slit at the back neckline (if needed) for easy wearing.
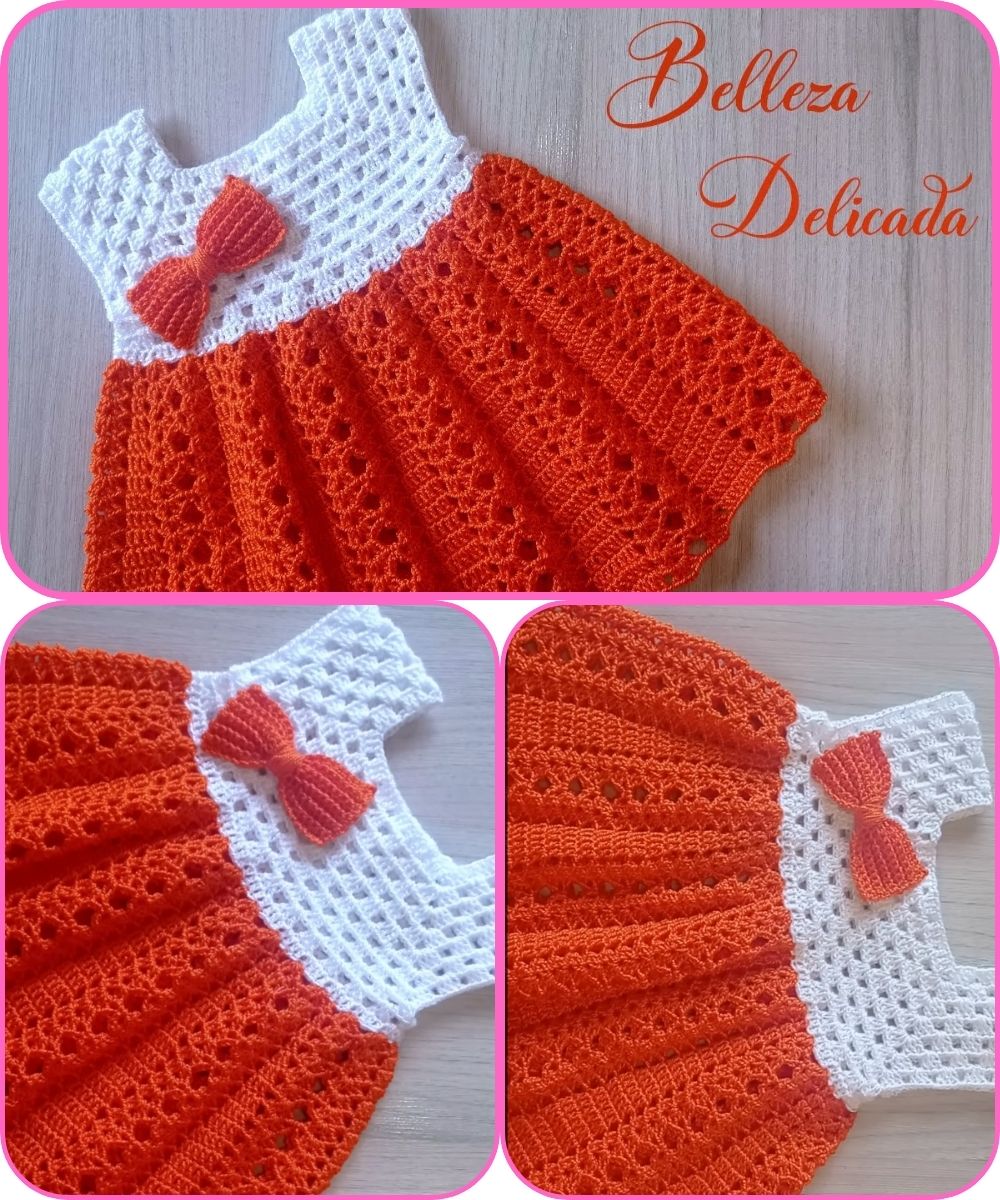
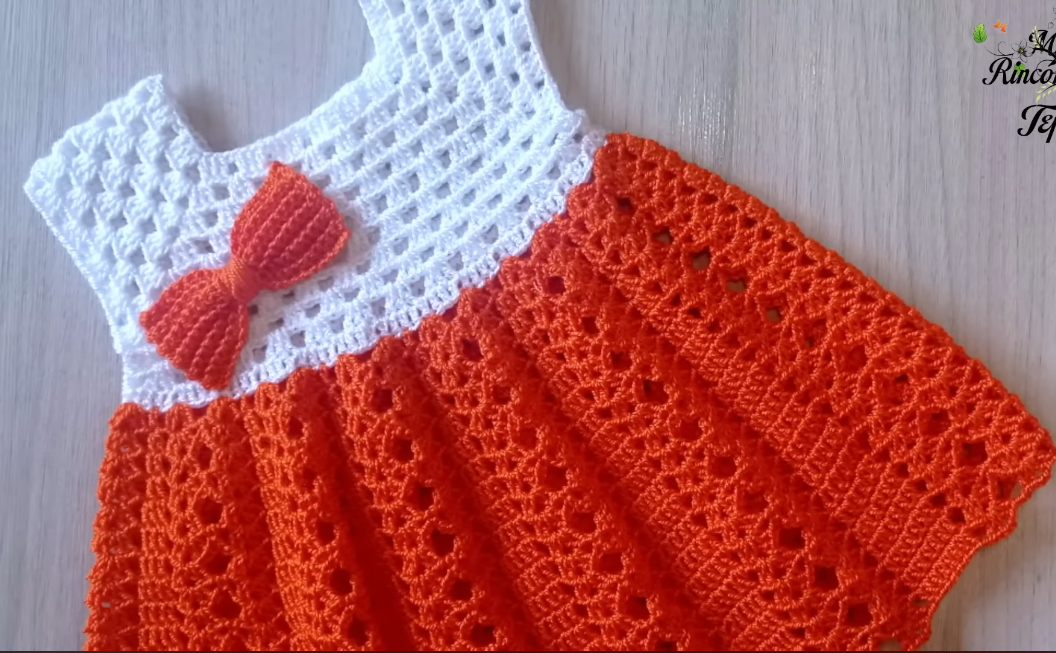
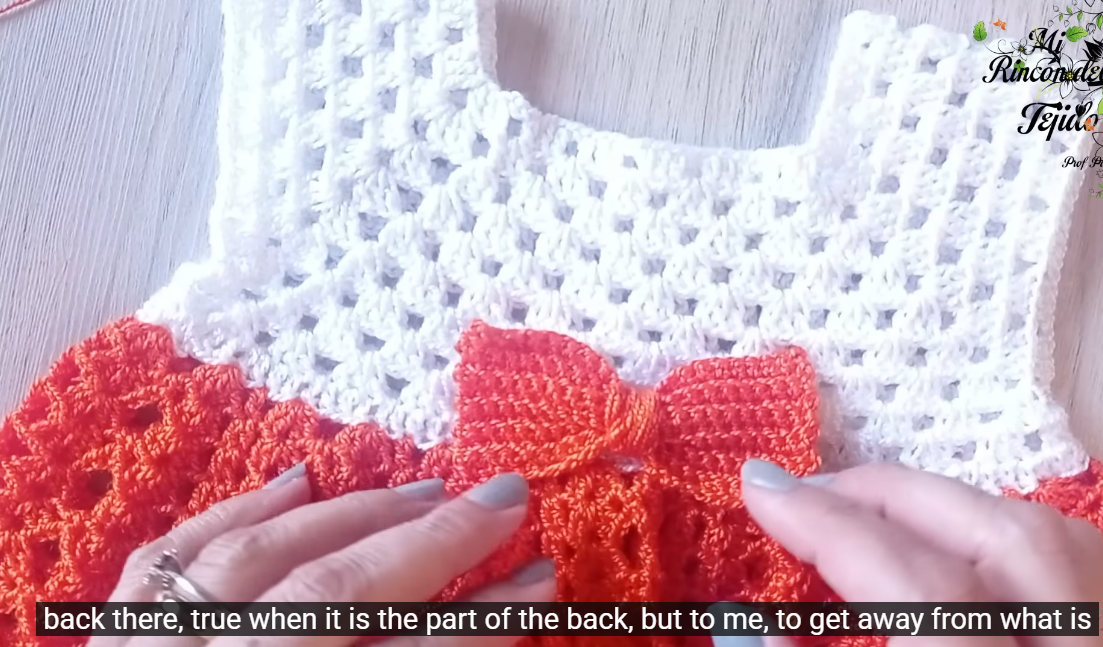
Optional Embellishments
-
Add a bow at the waist
-
Attach lace or ruffles to the bottom hem
-
Use contrast fabric for lining or pockets
-
Add appliqué or embroidery
Tips for Success
-
Always pre-wash fabric to prevent shrinkage.
-
Use soft thread and avoid scratchy trims.
-
For tiny babies, choose natural fibers only.
-
If unsure, practice with scrap fabric first.
Watch tutorial:
https://www.youtube.com/watch?v=B3OMPCCp2bE