 by
by Below is a detailed, step-by-step guide on how to crochet an Aran-style baby hoodie. This is written as a general pattern + instructions, so you can adapt it to any yarn weight and size.
If you want, I can also format it like a printable pattern, add stitch diagrams, or customize for a specific baby size (0–3m, 3–6m, 6–12m, 12–18m).
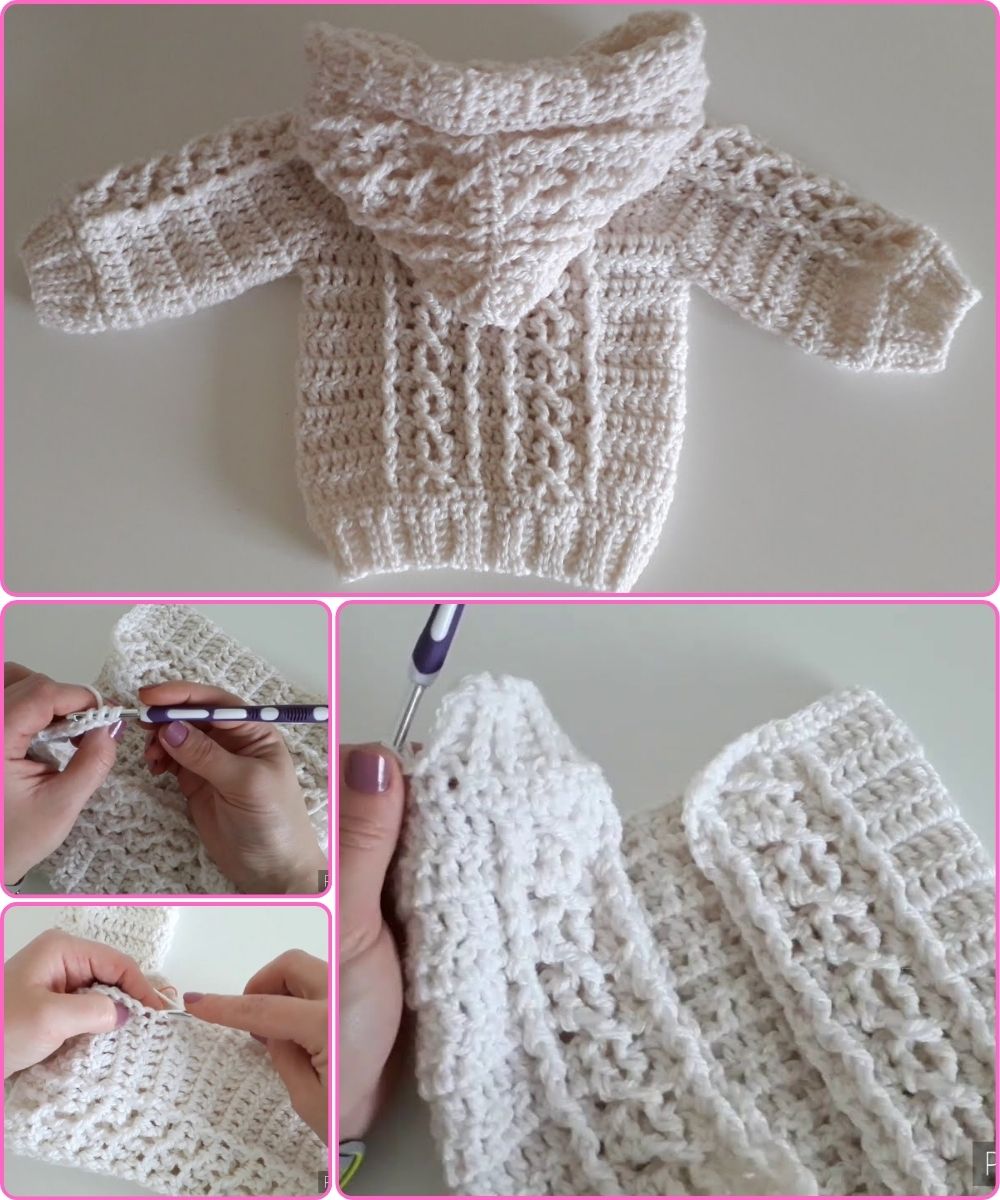
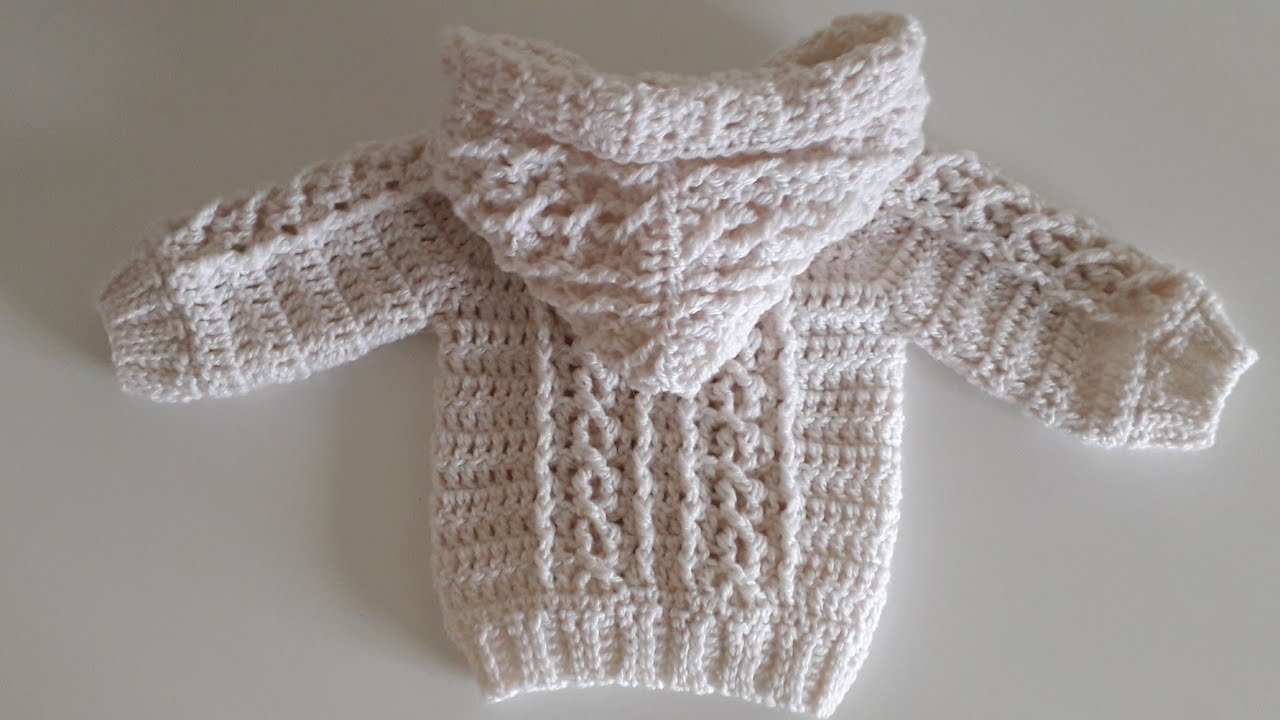
🧶 How to Crochet an Aran Baby Hoodie (Detailed Guide)
Skill Level: Intermediate
Techniques Used: Front/back post stitches, cables, ribbing, seaming, working in pieces.
📌 Materials
-
Aran or worsted-weight yarn (approx. 300–450 g depending on size)
-
Crochet hook size 4.5 mm or 5 mm (check gauge)
-
Yarn needle
-
Stitch markers
-
3–5 buttons (optional if you want a buttoned front)
-
Scissors
⭐ Step 1: Determine Sizing & Gauge
Because Aran hoodies are textured and slightly dense, you want to check gauge.
Typical gauge for worsted/Aran hoodie:
-
16 sts × 10 rows = 4 in (10 cm) in half-double crochet (or recommended stitch)
You can adjust hook size to get correct measurements.
⭐ Step 2: Learn the Key Aran Stitches
Aran/cabled crochet relies on texture. These are the stitches most often used:
Front Post Double Crochet (FPdc)
Yarn over, insert hook from front to back to front around the post of the stitch below.
Creates raised vertical columns.
Back Post Double Crochet (BPdc)
Opposite direction, creates recessed columns.
Cable Twists
Often made using sets of FPdc:
-
3-post cable: FPdc2, skip 1, FPdc1, go back and FPdc into skipped post
-
4- or 6-post cable: Worked over 2 rows and using crossing posts
Ribbing
Use FPdc/BPdc or front/back post half-double crochet.
⭐ Step 3: Make the Back Panel
Foundation
-
Chain the width of the chest measurement + ease (e.g., 55–65 chains for 6–12 months).
Row Setup
-
Work 1 row of half-double crochet or double crochet to create a base.
-
Begin your Aran pattern repeat. Example:
Aran Panel Repeat Example (repeat across width):
-
4 BPdc (recessed rib)
-
6 FPdc (main cable panel)
-
4 BPdc
-
2 FPdc (mini cable)
-
2 BPdc
(Then repeat)
You can pick any arrangement of cable panels.
Work Length
Continue rows until the back measures approx. 25–30 cm (for 6–12 months).
⭐ Step 4: Make the Two Front Panels
Each front panel is about half the width of the back panel.
Foundation
Chain half of the back panel stitch count + 2 sts for seams.
Aran Pattern
Use the same pattern as the back but centered differently so the cables appear symmetrical.
For example:
Left panel might start with mini cable → main cable
Right panel starts with main cable → mini cable
Neckline Shaping
When your panel length reaches the neckline height:
-
Mark center neck width (usually 5–7 cm gap)
-
Decrease 1 stitch every row at the neckline edge 4–6 times
-
Continue straight to shoulder height
⭐ Step 5: Make the Sleeves
Foundation
Chain the sleeve cuff width (usually 18–24 chains for infants).
Cuff Ribbing
Work 6–8 rows of FPdc/BPdc ribbing or make ribbing separately and pick up stitches.
Sleeve Body
After the ribbing:
-
Switch to Aran pattern (usually simplified cables).
-
Increase 1 stitch at each end every 4th row until sleeve reaches full width.
-
Continue until sleeve is approx. 20–25 cm long depending on size.
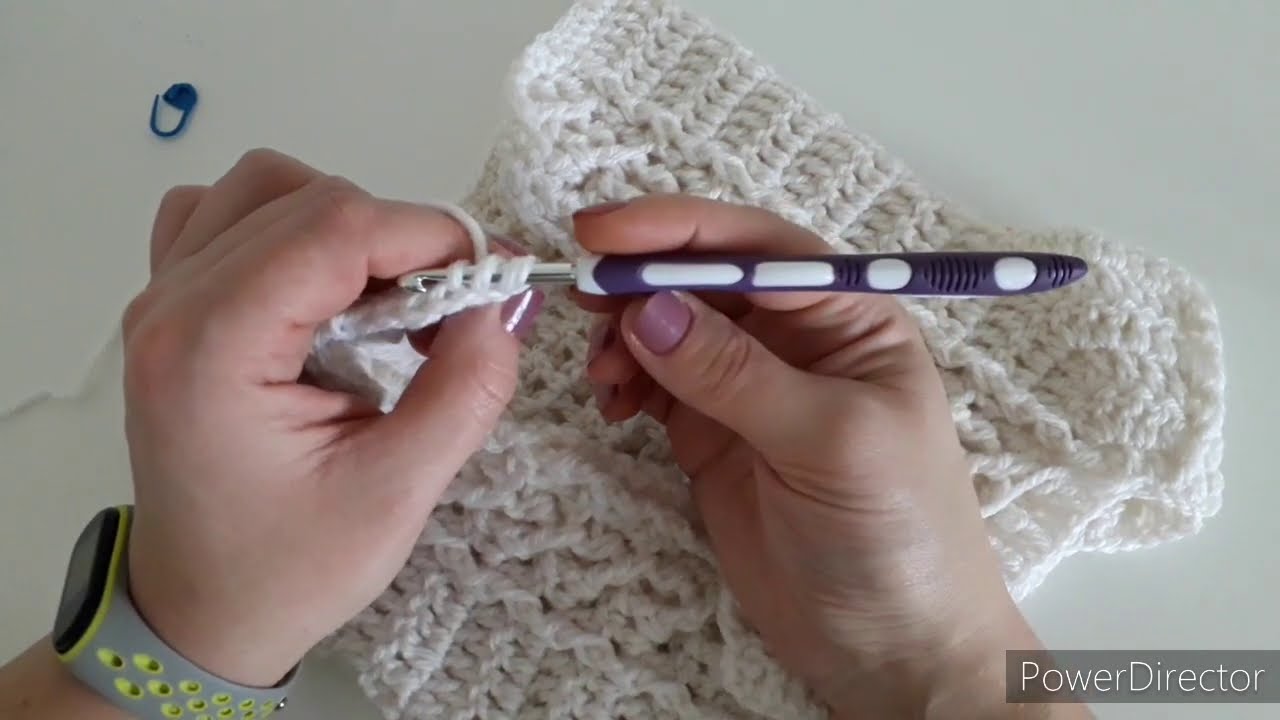
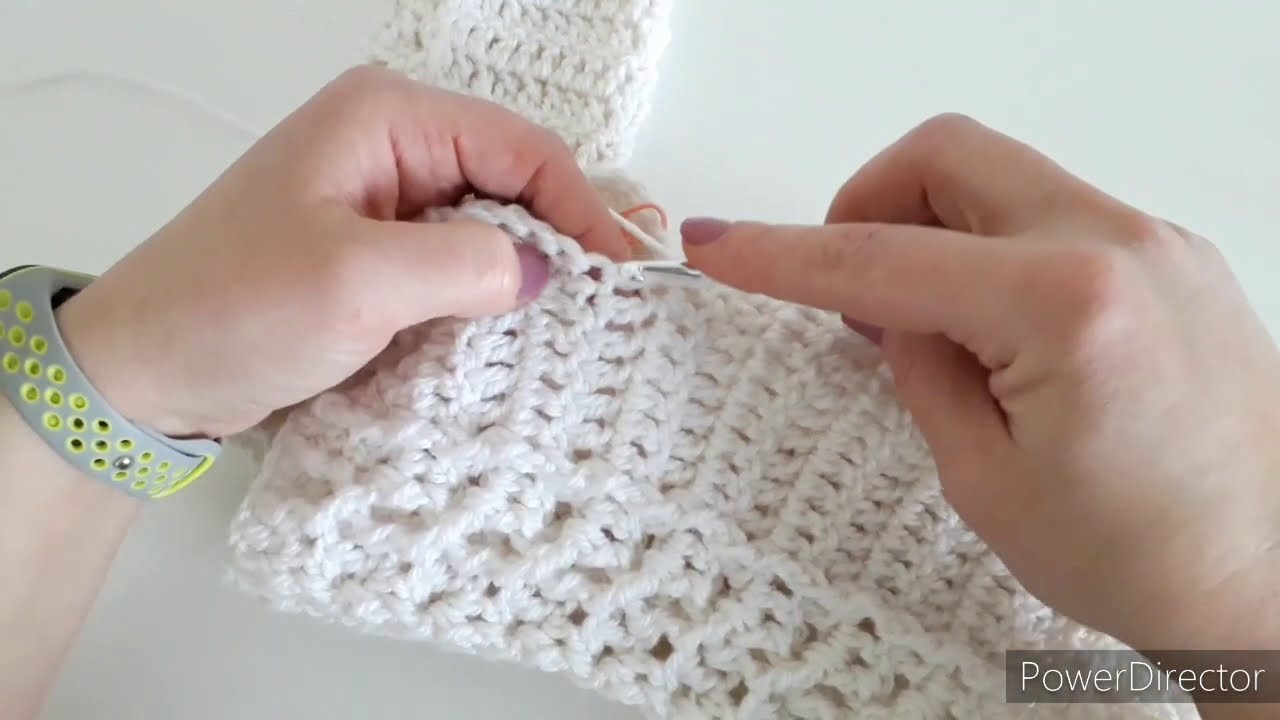
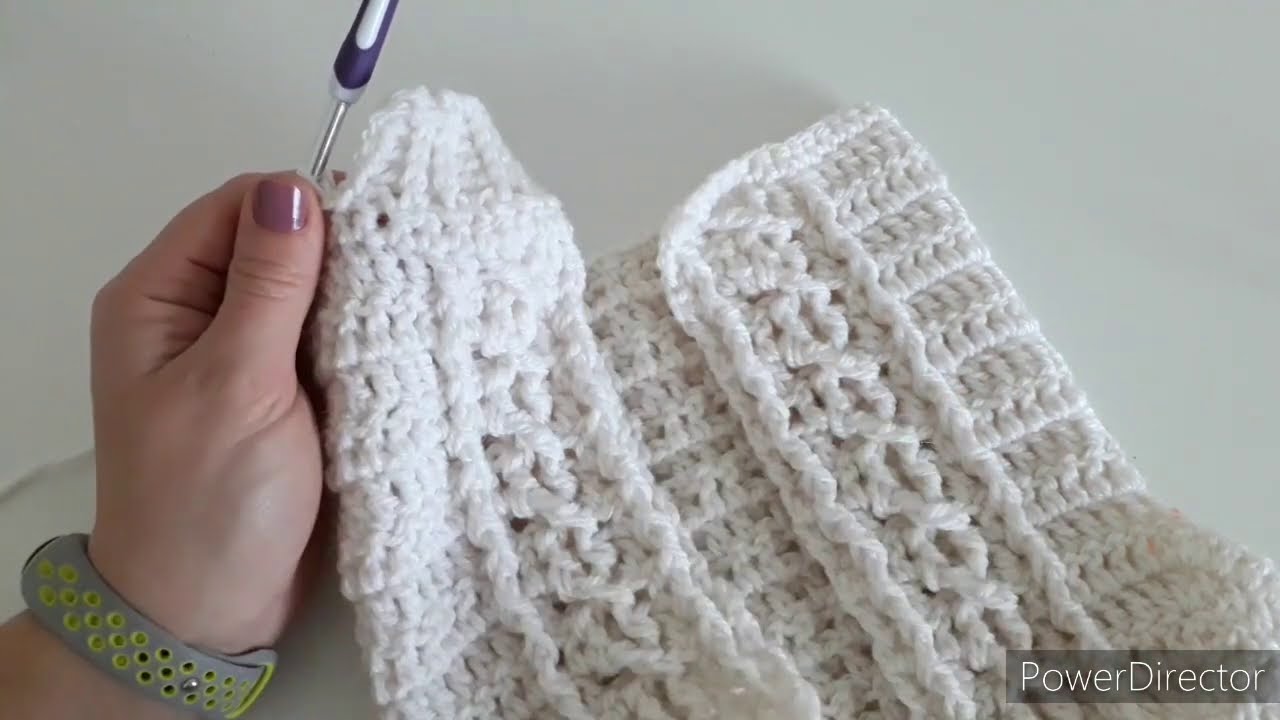
⭐ Step 6: Assemble the Body
-
Lay back panel flat.
-
Line up front panels on top.
-
Seam shoulders using mattress stitch or slip stitch seam.
-
Attach sleeves to armhole openings.
-
Seam sides and sleeve edges.
⭐ Step 7: Crochet the Hood
Pick Up Stitches
With the hoodie body laying flat:
-
Pick up stitches evenly across the neckline.
Hood Body
Work in rows using a textured stitch (simple ribbing or small cables):
Example:
-
4 BPdc
-
6 FPdc
-
4 BPdc
Continue until the hood height is around 18–22 cm.
Shape the Hood
Fold the hood and seam the top backward or crochet together for a seamless finish.
Optional: Add a few cable rows running up the center.
⭐ Step 8: Add Front Bands / Button Band
Option A: Zipper Hoodie
Crochet a rib border along front edges and sew in zipper.
Option B: Button-Up Hoodie
-
Work 6–10 rows of FPdc/BPdc along both front panels.
-
Add buttonholes every 5–8 rows on one side:
Chain 2, skip 2, continue pattern.
Option C: Pullover Hoodie
Skip front band and leave as-is.
⭐ Step 9: Finishing Touches
-
Weave in all ends securely
-
Block lightly with steam or wet-blocking to open up cables
-
Add pom-pom, ears, or tassels on hood if desired
-
Add optional front pouch pocket with matching cables
🌟 Extra Tips
✔ Keep cables consistent
Use stitch markers to track cable rows (usually every 4th or 6th row).
✔ Choose soft yarn
Acrylic or baby-merino is best—avoid scratchy fibers.
✔ Size adjustments
Add or remove repeats of cable panels
OR adjust hook size for looser/tighter fit.
Want the Actual Written Pattern?
I can create a full row-by-row written pattern for any size, such as:
-
0–3 months
-
3–6 months
-
6–12 months
-
12–18 months
-
2T or larger sizes
Just tell me the size and if you want a buttoned, zippered, or pullover hoodie!
Watch tutorial: