 by
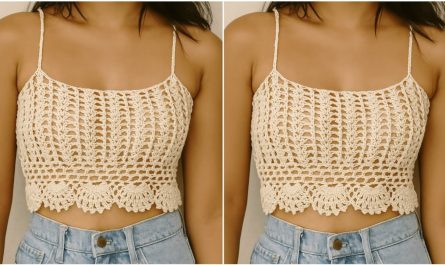
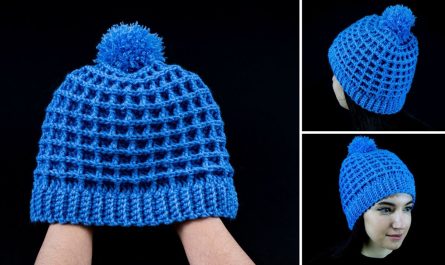
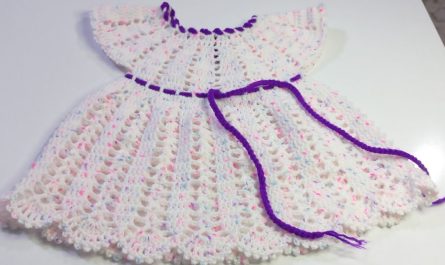
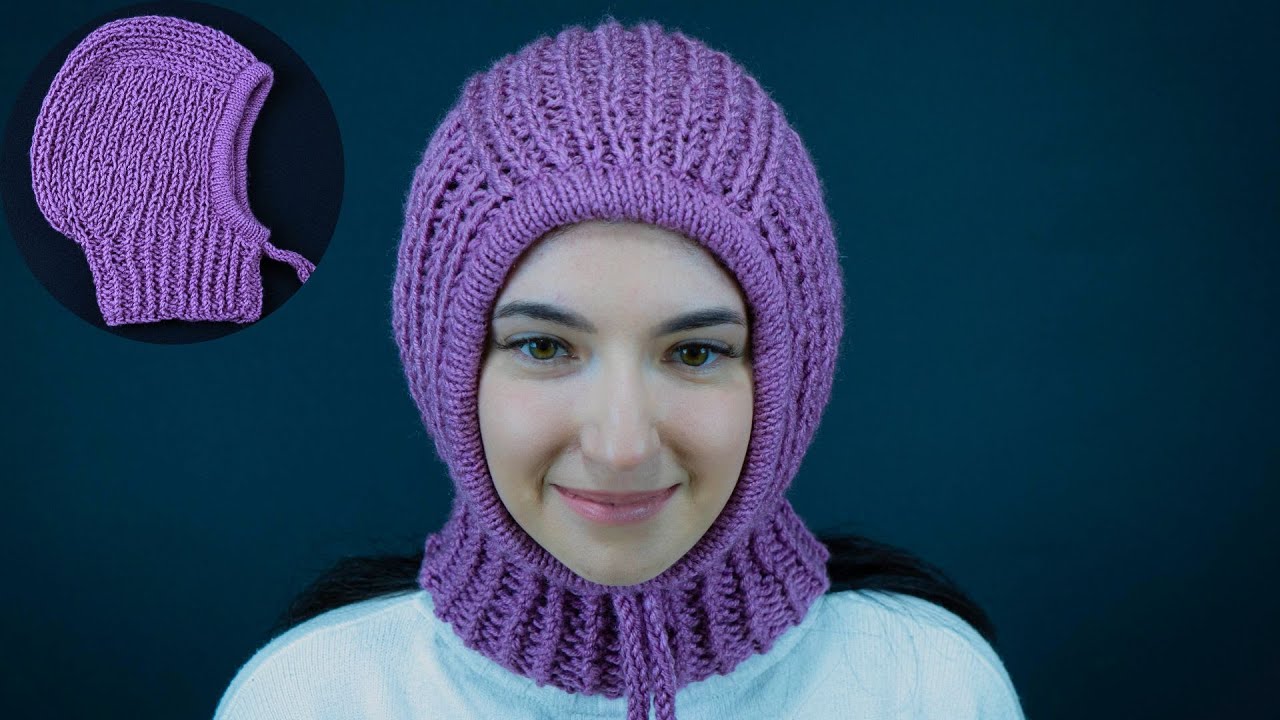
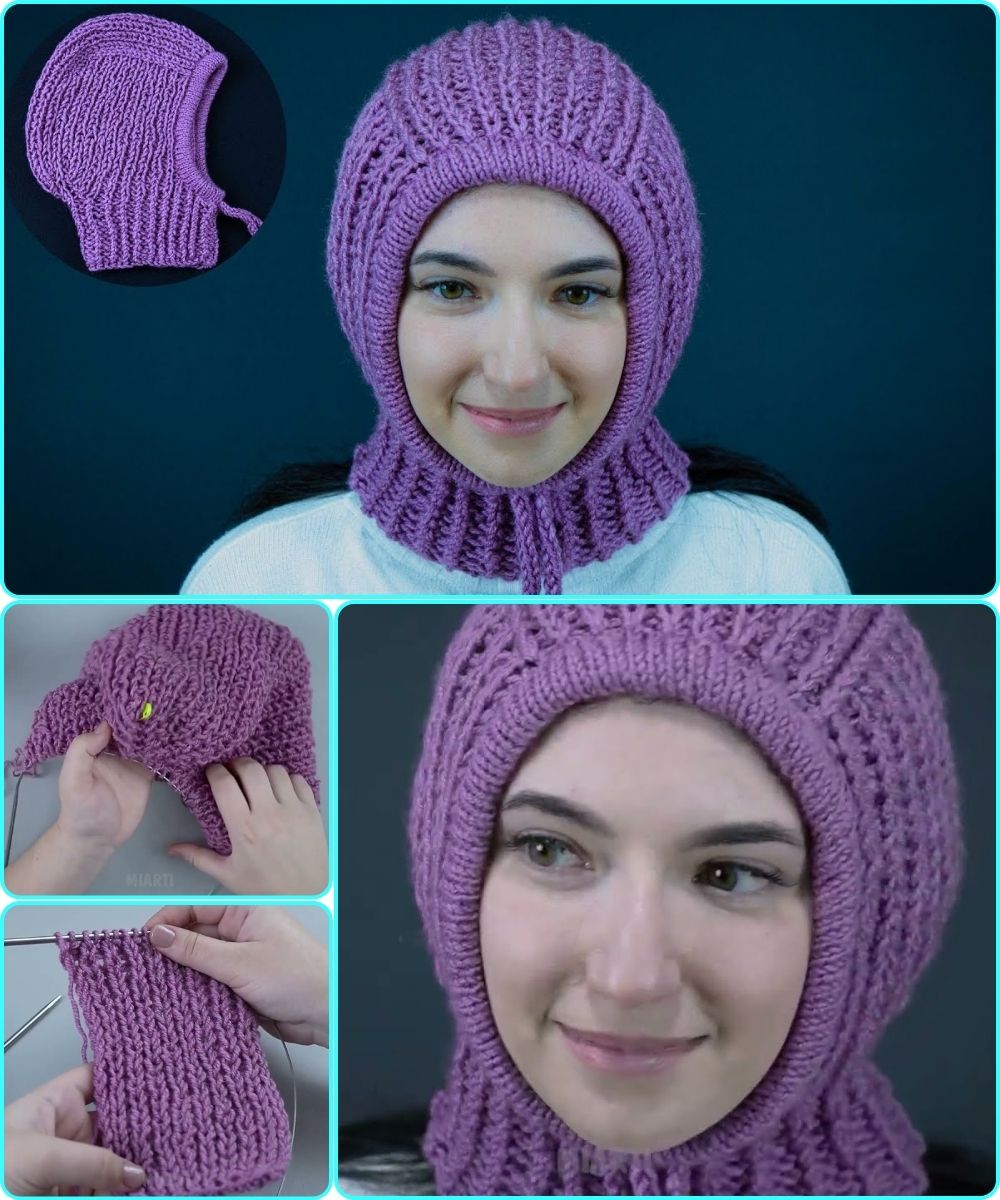
by How to Make a Hood Balaclava Hat Knitted Simply
A Detailed Beginner-Friendly Tutorial
A knitted hood balaclava is warm, stylish, and surprisingly easy to make. It combines:
- a hood
- a scarf
- a hat
- a neck warmer
This beginner-friendly project uses:
- simple stitches
- basic shaping
- flat knitting on 2 needles
No advanced knitting experience is needed.
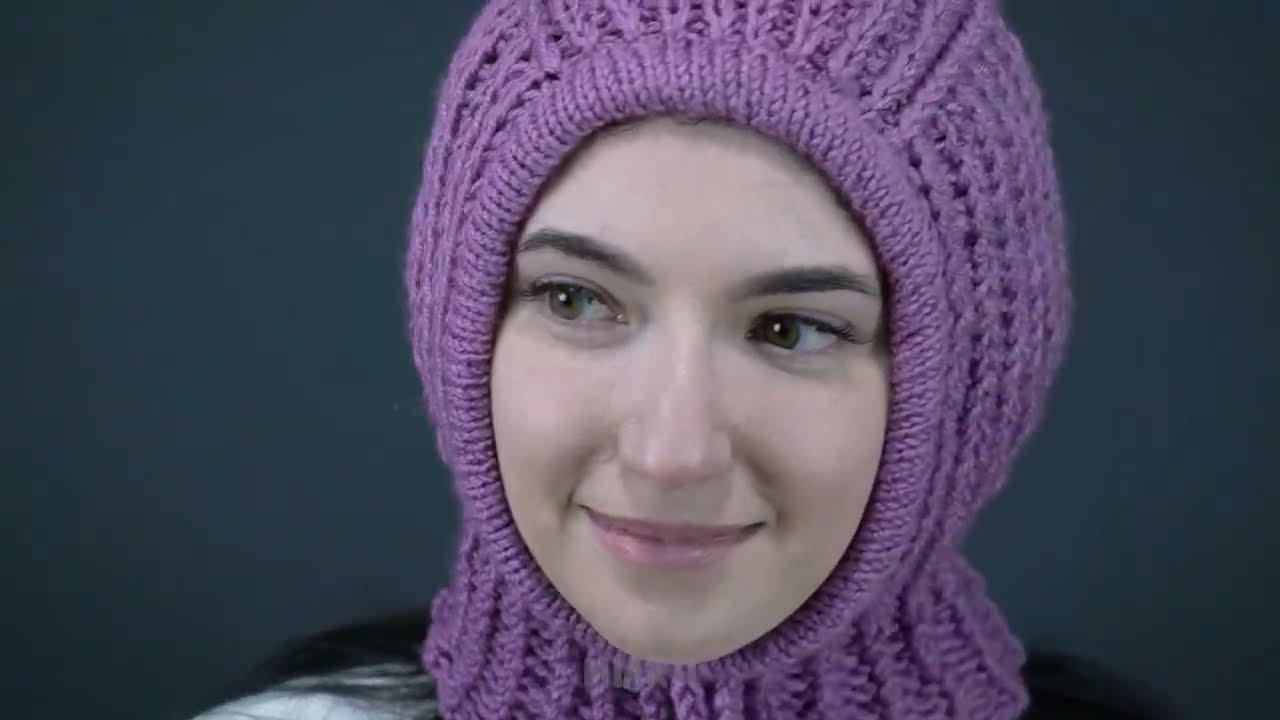
What Is a Hood Balaclava?
A hood balaclava covers:
- the head
- neck
- ears
- part of the face
It is perfect for:
- winter weather
- cold wind
- outdoor walks
- cozy everyday wear
Why This Is Great for Beginners
This simple version:
✔ uses flat knitting
✔ requires minimal shaping
✔ needs only basic stitches
✔ works up quickly
✔ is easy to customize
What You Need
Materials
- Soft chunky or medium-weight yarn
- 2 knitting needles (5–8 mm)
- Yarn needle
- Scissors
- Measuring tape
- Stitch marker (optional)
Best Yarn for Beginners
Choose yarn that is:
- soft
- warm
- easy to handle
Good choices:
- Acrylic yarn
- Wool blend yarn
- Chunky yarn
Chunky yarn makes the project:
- faster
- warmer
- easier to knit
Basic Skills Needed
You only need to know:
- Cast on
- Knit stitch
- Purl stitch
- Knit 2 together
- Bind off
- Simple sewing
Simple Hood Balaclava Construction
This easy pattern is made from:
- A knitted rectangle
- Folded and sewn into shape
Very beginner-friendly!
Step 1 — Cast On
Cast on:
- 60–80 stitches
The width depends on:
- yarn thickness
- desired hood size
Step 2 — Knit the Neck Ribbing
The neck section should stretch comfortably.

Rib Stitch Pattern
Row 1
- Knit 2
- Purl 2
- Repeat across row
Row 2
- Knit the knit stitches
- Purl the purl stitches
Repeat for:
- 10–15 rows
This creates a stretchy neck opening.
Step 3 — Knit the Main Hood Section
Now continue with the main body.
Easy Beginner Stitch — Garter Stitch
Knit every row.
This stitch is:
- simple
- warm
- stretchy
- easy for beginners
Alternative — Stockinette Stitch
Right Side
- Knit all stitches
Wrong Side
- Purl all stitches
This creates a smooth fabric.
Step 4 — Continue Knitting
Keep knitting until the piece measures:
- about 45–60 cm (18–24 inches)
This forms:
- the hood
- upper neck area
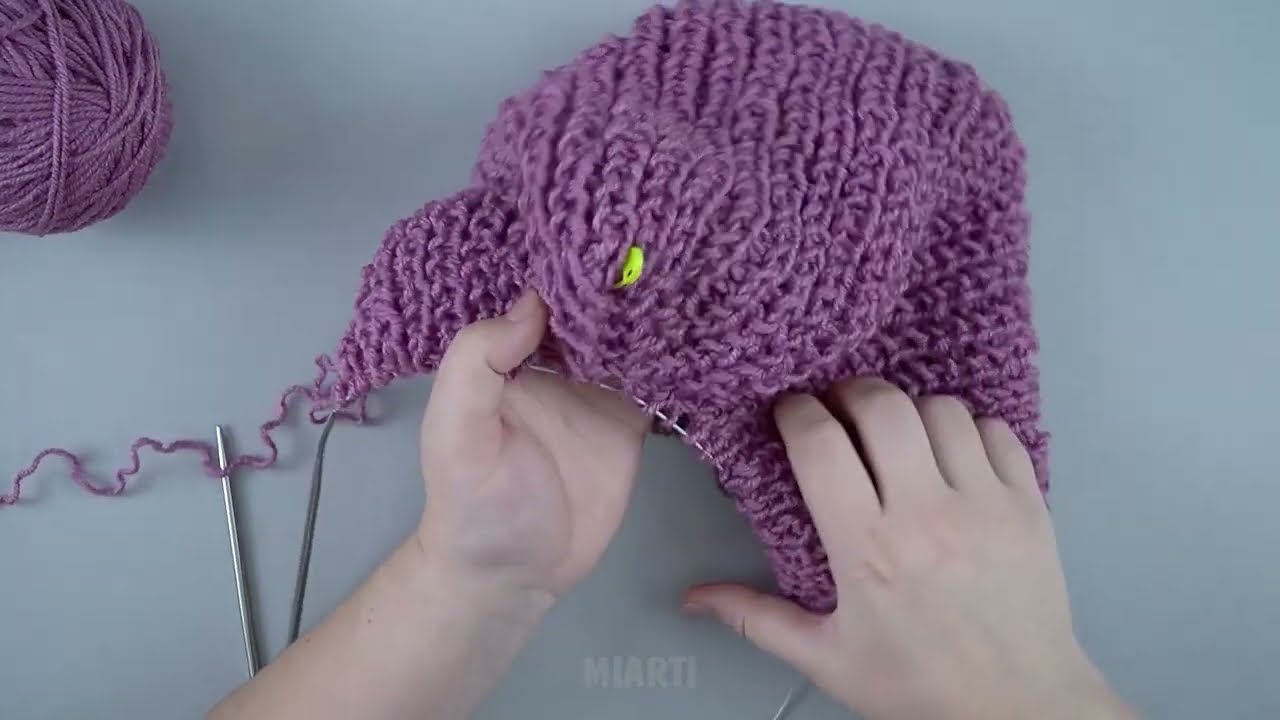
Step 5 — Shape the Face Opening
Now decide how large you want the face opening.
Easy Face Opening Method
Fold the knitted rectangle in half.
Part of one edge remains open:
- this becomes the face opening
No complicated shaping needed.
Step 6 — Sew the Hood
Using a yarn needle:
- sew the top seam
This forms the hood shape.
Step 7 — Sew the Back
Sew the back edge partially.
Leave enough room for:
- neck movement
- comfortable fit
Step 8 — Finish the Edges
You can leave the edges simple or add a border.
Optional Border
Pick up stitches around the face opening and knit:
- 4–8 rows of ribbing
This gives:
- a cleaner look
- extra warmth
- better stretch
Easy Beginner Size Guide
| Part | Suggested Size |
|---|---|
| Width | 30–40 cm |
| Length | 45–60 cm |
| Neck ribbing | 10–15 rows |
Optional Variations
You can make:
- Oversized hood
- Tight balaclava
- Long neck warmer
- Hooded snood
- Fold-over collar
Easy Decoration Ideas
Add:
- Pom-poms
- Tassels
- Braided cords
- Wooden buttons
- Color stripes
- Faux fur trim
Helpful Beginner Tips
Use Chunky Yarn
It knits faster and feels warmer.
Keep Tension Loose
Tight stitches are harder to knit.
Count Rows Carefully
This helps keep both sides even.
Practice Ribbing First
Rib stitch improves stretch and fit.
Common Beginner Mistakes
Hood Too Tight
Cast on more stitches.
Face Opening Too Small
Leave a larger opening when sewing.
Uneven Seams
Sew slowly using small stitches.
Simple Pattern Summary
| Step | Action |
|---|---|
| Cast on | 60–80 stitches |
| Ribbing | K2, P2 |
| Main section | Knit every row |
| Fold | Create hood shape |
| Sew | Top and back seams |
| Finish | Add optional border |
Why Beginners Love This Project
✔ Quick to make
✔ Warm and practical
✔ Uses simple stitches
✔ No circular needles required
✔ Easy customization
✔ Stylish handmade accessory
Final Thoughts
With only:
- 2 knitting needles
- soft yarn
- basic stitches
…you can create a beautiful knitted hood balaclava even if you are completely new to knitting.
This project is:
- cozy
- fashionable
- beginner-friendly
- relaxing to make
Once you finish your first one, you can experiment with:
- larger hoods
- textured stitches
- colorful yarns
- decorative details
Happy knitting! 🧶
Watch tutorial: