 by
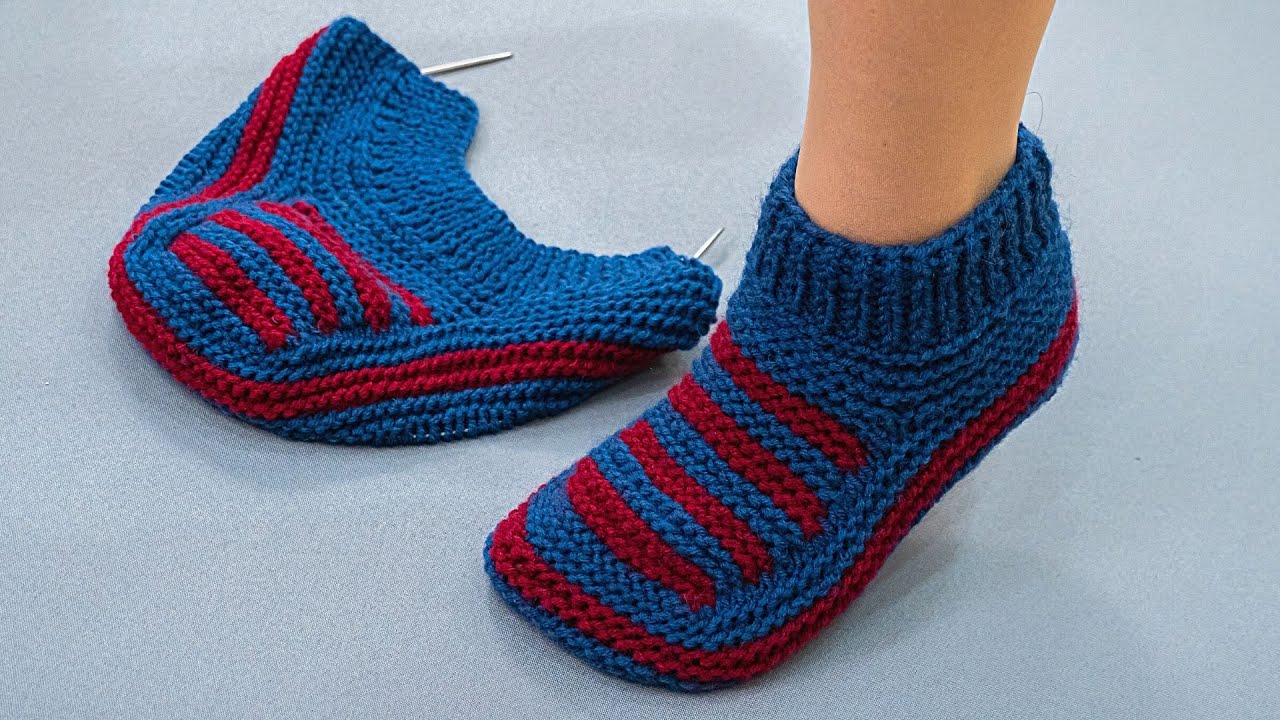
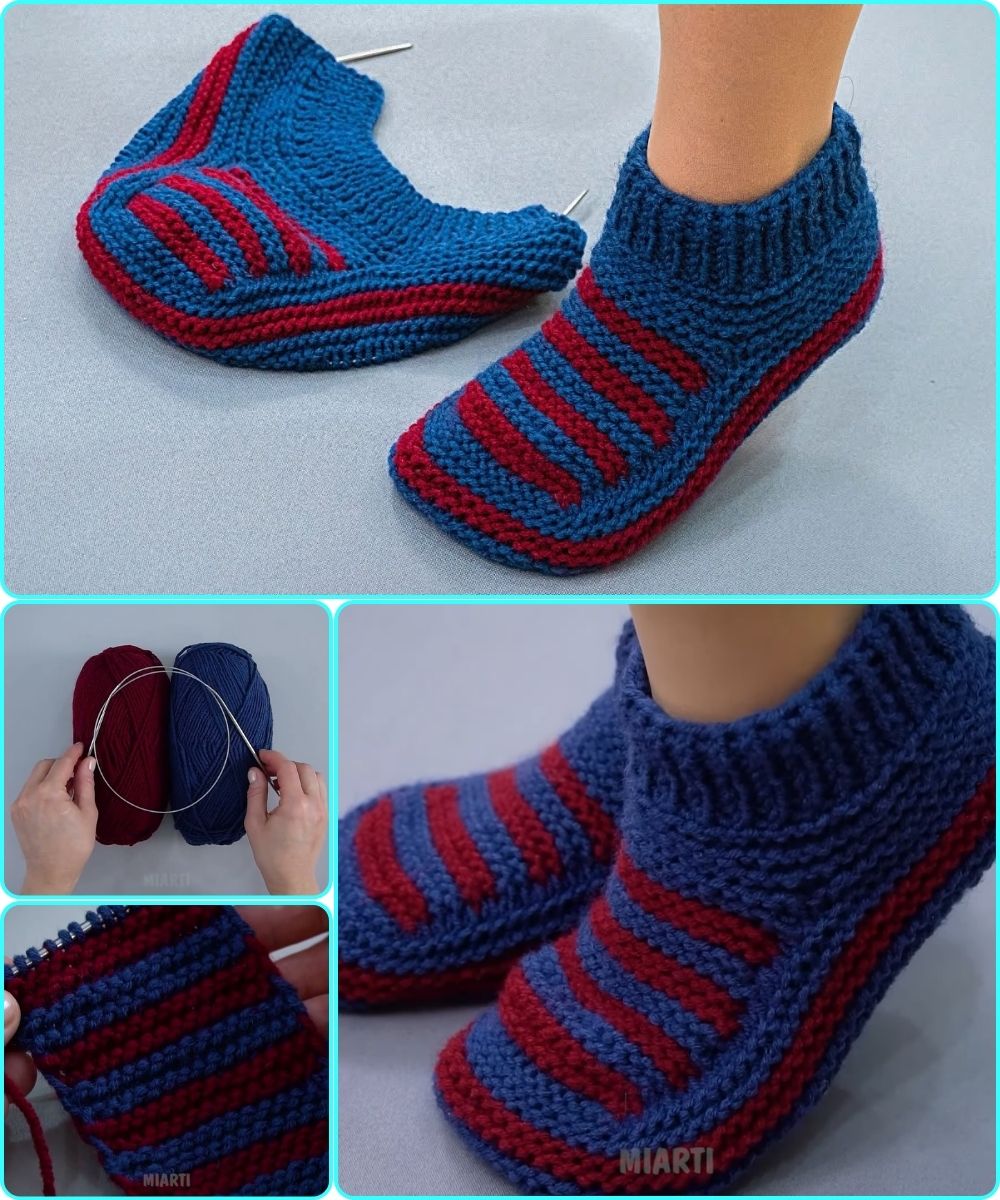
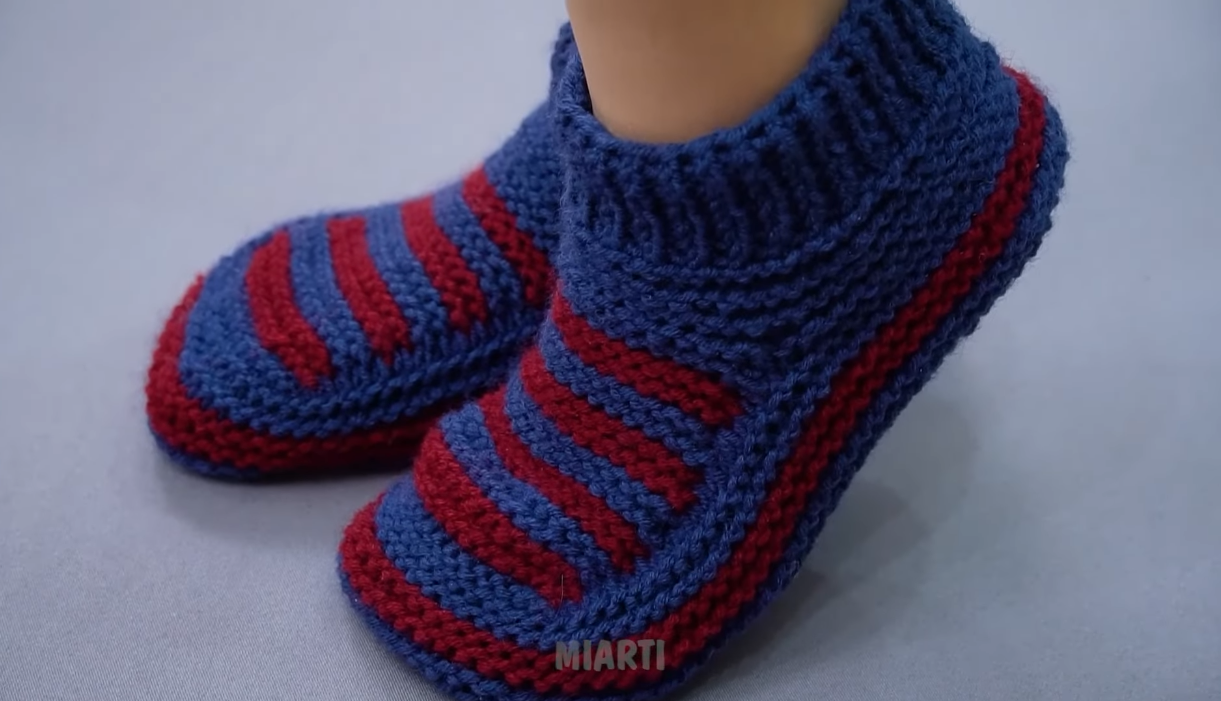
by How to Make Knitted Slippers Without a Seam on the Sole
Simple and Easy for Beginners!
Knitted slippers without a seam on the sole are very comfortable because there is:
- no thick seam under the foot
- less rubbing while walking
- a smoother finished look
This beginner-friendly method is:
- simple
- cozy
- quick to make
And you only need:
- 2 knitting needles
- basic stitches
- easy shaping
Perfect for beginners!
Why Make Slippers Without a Sole Seam?
Traditional slippers often have:
- a seam running underneath the foot
This can sometimes feel uncomfortable.
A seamless sole:
✔ feels softer
✔ looks neater
✔ lasts longer
✔ is more comfortable to walk in
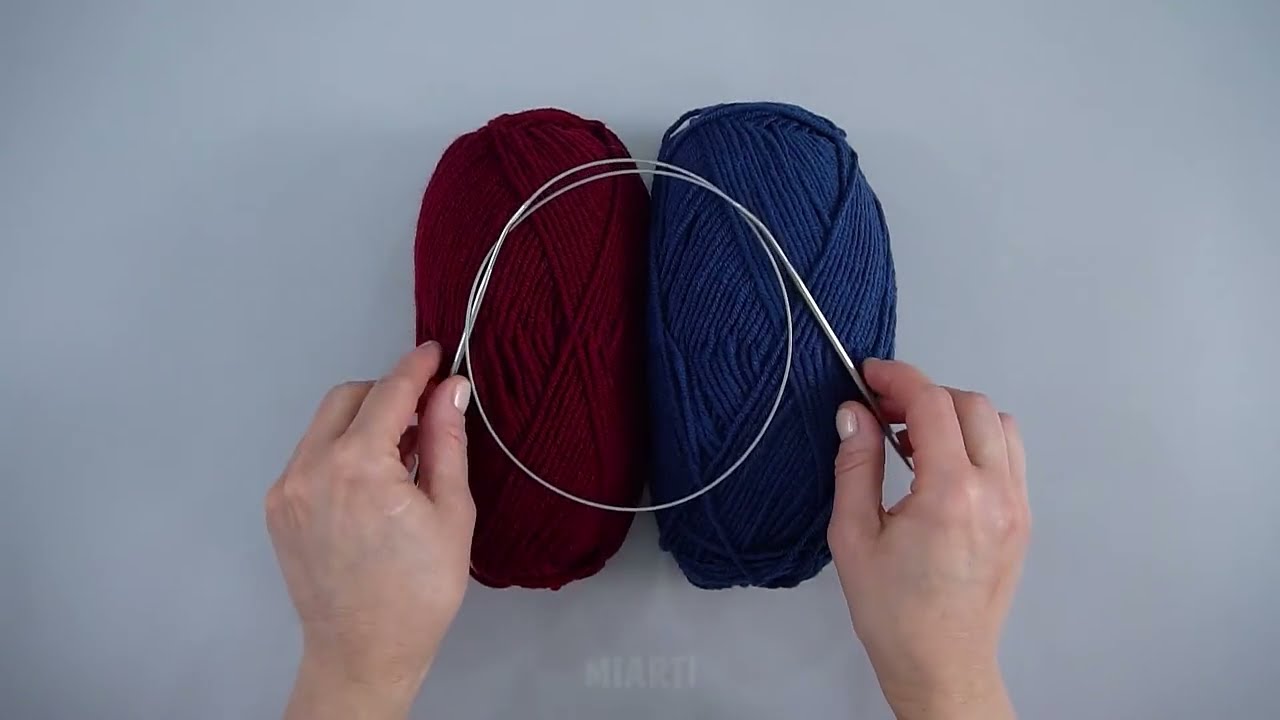
What You Need
Materials
- Medium-weight or chunky yarn
- 2 knitting needles (4–6 mm)
- Yarn needle
- Scissors
- Measuring tape
Best Yarn for Beginners
Choose yarn that is:
- soft
- warm
- slightly stretchy
Good choices:
- Acrylic yarn
- Wool blend yarn
- Chunky yarn
Chunky yarn makes slippers faster to knit.
Basic Skills Needed
You only need to know:
- Cast on
- Knit stitch
- Purl stitch (optional)
- Knit 2 together
- Pick up stitches (simple)
- Bind off
Simple Seamless Sole Method
This easy method works by:
- Knitting the sole first
- Picking up stitches around it
- Knitting upward
This avoids sewing under the foot.
Step 1 — Knit the Sole
Cast on:
- 8–12 stitches
The sole begins at the toe.
Step 2 — Increase for Foot Width
Increase stitches at both ends every second row.
Continue until you have:
- about 36–44 stitches
This forms the width of the foot.
Easy Increase Method
A beginner-friendly increase:
- knit into the front and back of one stitch
Step 3 — Knit the Sole Length
Now knit every row.
Continue until the sole reaches:
- almost the full foot length
Usually:
- 20–24 cm (8–9.5 inches)
Step 4 — Shape the Heel
Now decrease stitches gradually.
Heel Decrease Row
- Knit 2 together at each end
Repeat every second row until:
- 8–12 stitches remain
Bind off.
Now you have a complete knitted sole.
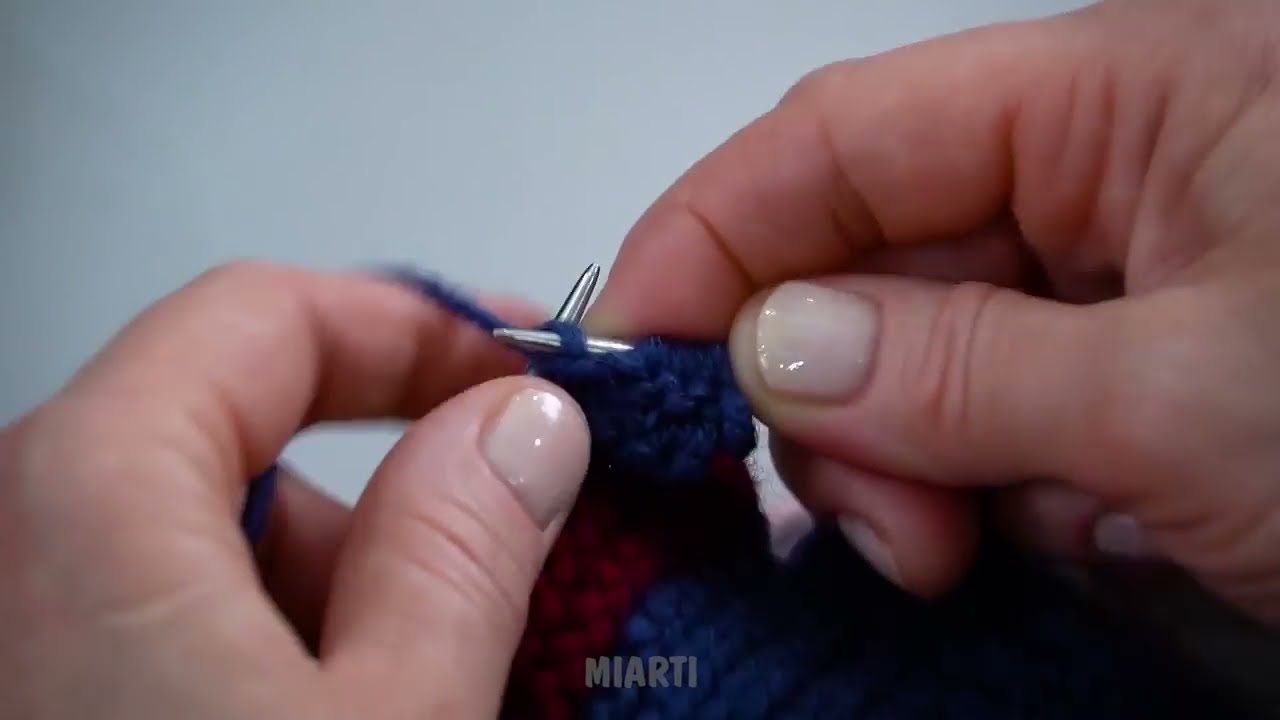
Step 5 — Pick Up Stitches Around the Sole
Using a knitting needle:
- pick up stitches evenly around the edges of the sole
This creates the upper slipper section.
Do not worry if it is not perfect — beginners improve quickly with practice.
Step 6 — Knit the Upper Slipper
Now knit upward in rounds or flat rows.
Easy Beginner Option
Knit every row.
This creates garter stitch:
- soft
- stretchy
- comfortable
Continue until the slipper covers the foot.
Step 7 — Shape the Toe Opening
When the slipper reaches the toe area:
- decrease stitches gradually
This shapes the front neatly.
Step 8 — Finish the Heel
Sew only the back heel seam.
Because the sole was knitted in one piece:
- there is NO seam underneath the foot.
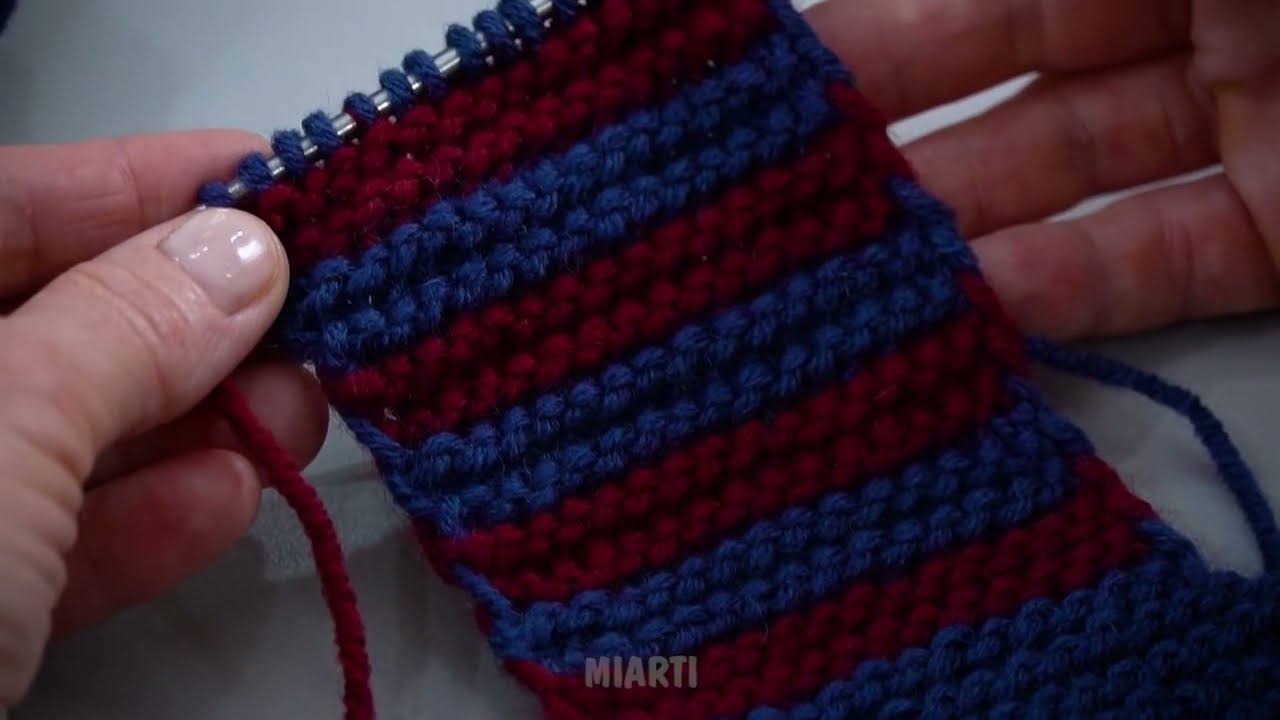
Optional Ribbed Cuff
For a snug ankle:
- knit K2, P2 ribbing for 5–10 rows
This helps the slippers stay secure.
Beginner Size Guide
| Size | Sole Width Stitches |
|---|---|
| Small | 36 stitches |
| Medium | 40 stitches |
| Large | 44 stitches |
Easy Decoration Ideas
You can decorate slippers with:
- Pom-poms
- Buttons
- Knitted flowers
- Contrasting cuffs
- Color stripes
- Braided ties
Helpful Beginner Tips
Use Chunky Yarn
It makes the project faster and easier.
Keep Stitches Loose
Tight stitches are difficult to work with.
Mark the Center
This helps keep shaping even.
Count Rows Carefully
Especially when making the second slipper.
Common Beginner Mistakes
Uneven Sole Shape
Usually caused by missed increases or decreases.
Slippers Too Tight
Add more stitches or use larger needles.
Loose Picked-Up Stitches
Try picking up stitches evenly around edges.
Simple Slipper Pattern Summary
| Step | Action |
|---|---|
| Cast on | 8–12 stitches |
| Increase | Shape sole |
| Knit straight | Foot length |
| Decrease | Shape heel |
| Pick up stitches | Around sole |
| Knit upper | Form slipper |
| Finish | Sew heel only |
Why This Method Is Great for Beginners
✔ Comfortable seamless sole
✔ Easy shaping
✔ Minimal sewing
✔ Warm and cozy
✔ Simple stitches only
✔ Great handmade gift
Final Thoughts
With only:
- 2 knitting needles
- soft yarn
- simple techniques
…you can create beautiful knitted slippers without a seam on the sole, even as a complete beginner.
This project is:
- practical
- relaxing
- beginner-friendly
- fun to customize
Once you make your first pair, you can experiment with:
- different colors
- textured stitches
- taller cuffs
- decorative details
Happy knitting! 🧶
Watch tutorial: