 by
by Below is a detailed, step-by-step guide on how to crochet a baby girl’s dress, size 6–9 months. The instructions are written to be beginner-friendly and include stitch counts, measurements, yarn guidance, and assembly notes.
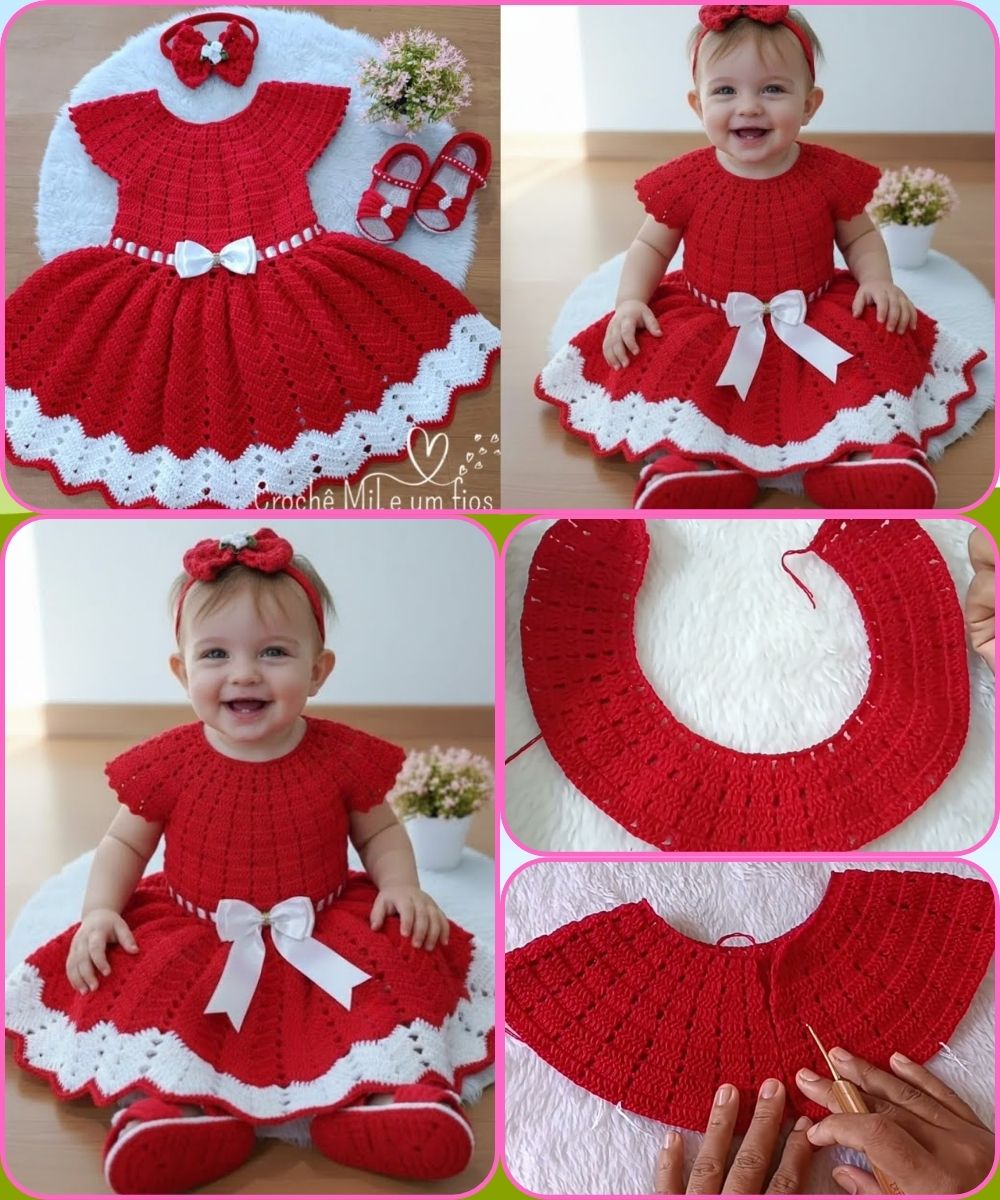
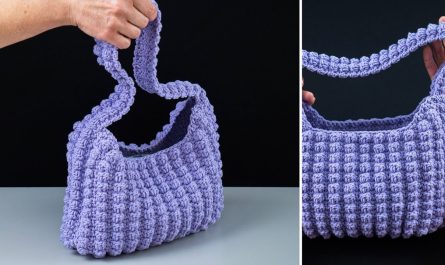
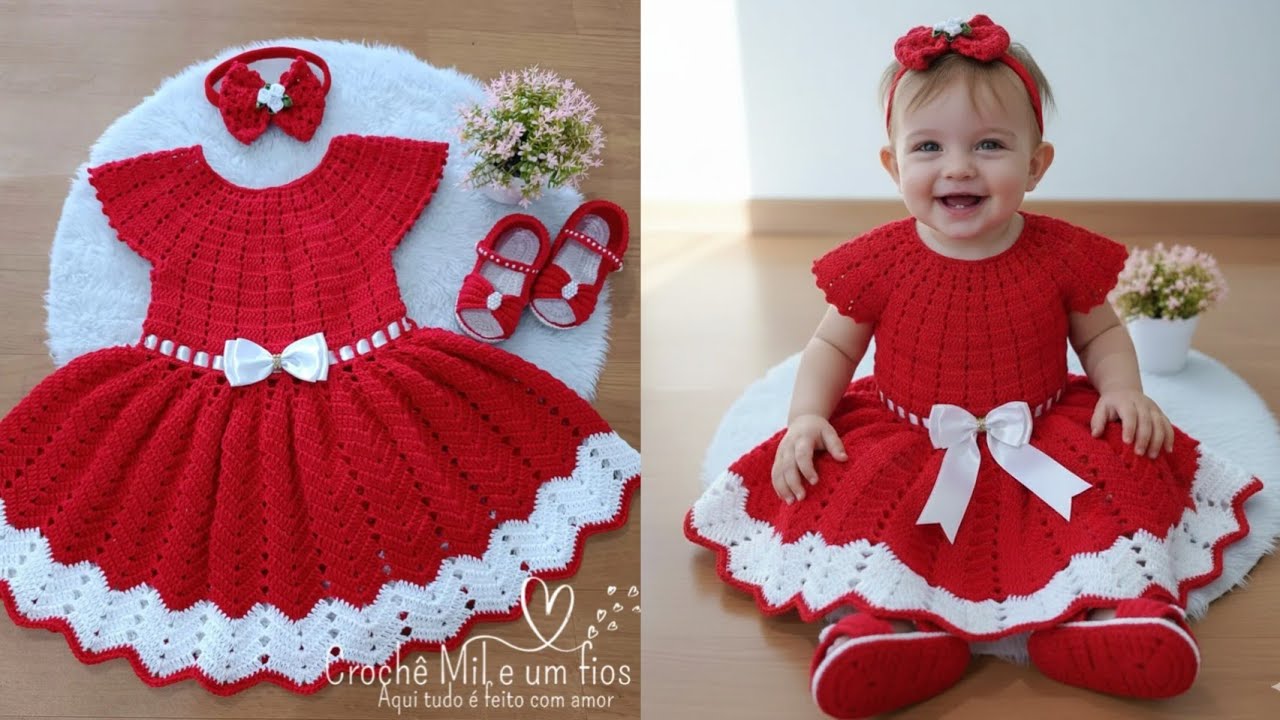
Crocheted Baby Dress Pattern (6–9 Months)
Skill Level: Easy–Intermediate
Finished Measurements:
-
Chest circumference: 18–19 in (45–48 cm)
-
Dress length (shoulder to hem): 14–15 in (36–38 cm)
-
Armhole depth: 4 in (10 cm)
Materials
-
Yarn: DK weight (Category 3), approx. 250–300 g (500–600 yards).
Cotton/acrylic blends are great for babies. -
Hook: 4 mm (G/6)
-
Notions: Stitch markers, yarn needle, 2–3 small buttons (if making buttoned back), scissors.
Abbreviations (US Terms)
-
ch = chain
-
sl st = slip stitch
-
sc = single crochet
-
hdc = half double crochet
-
dc = double crochet
-
sk = skip
-
st(s) = stitch(es)
-
sp = space
-
rep = repeat
-
beg = beginning
Construction Overview
This dress is worked top-down, starting with a yoke, then dividing for armholes and working the skirt in the round. You can choose a simple or lacy skirt.
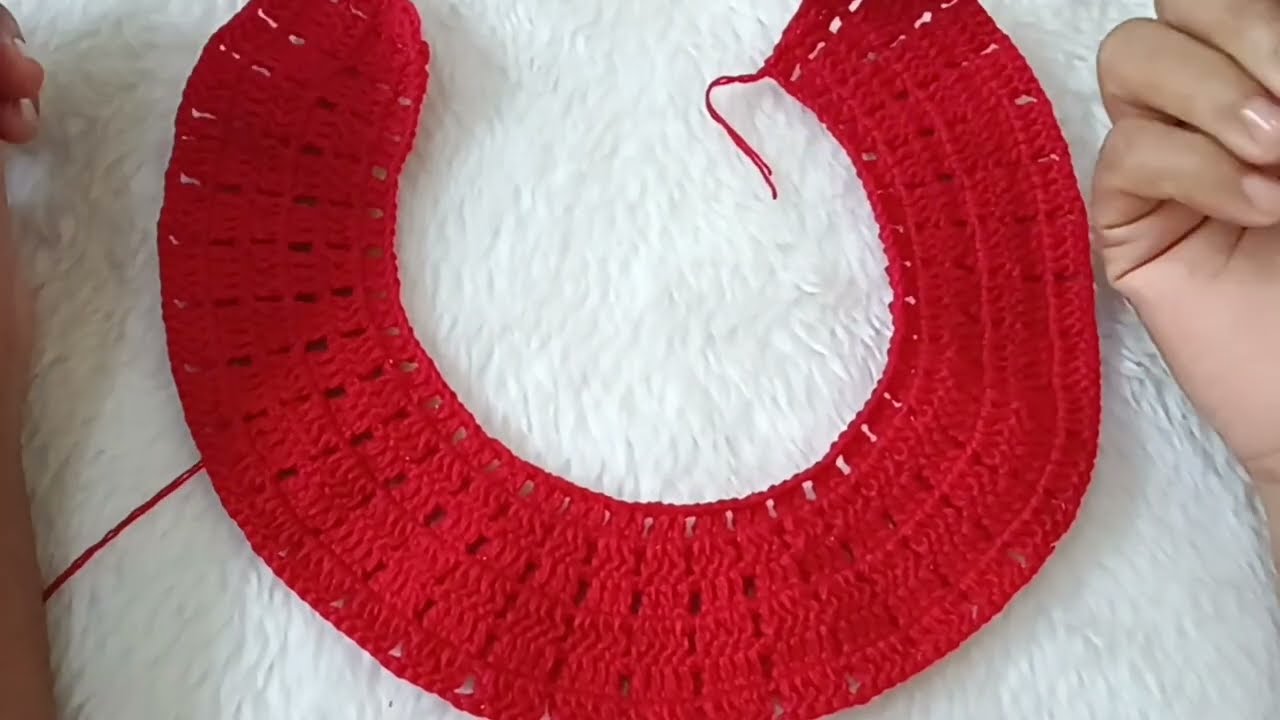
Step 1: Yoke
The yoke is worked back and forth (to allow for a button closure), then joined.
Foundation Chain
Ch 60 (this fits 6–9 months).
Row 1: dc in 3rd ch from hook and across. (58 dc total)
Turn.
Row 2 (Raglan Increase Row)
Ch 2 (counts as dc).
dc in next 8, (dc, ch 1, dc) in next st – this is front-left corner.
dc in next 8, (dc, ch 1, dc) – left sleeve corner.
dc in next 14, (dc, ch 1, dc) – back corner.
dc in next 8, (dc, ch 1, dc) – right sleeve corner.
dc in last 8.
Turn.
Rows 3–10: Continue Raglan Increases
Every row:
-
Work dc in all dc stitches
-
Work (dc, ch 1, dc) into each ch-1 corner space
Continue until you have:
-
Front: 26 dc
-
Back: 26 dc
-
Sleeves: 18 dc each
-
4 ch-1 corner spaces
This usually occurs around Row 10.
Check fit: Width should be 17–18 inches stretched lightly.
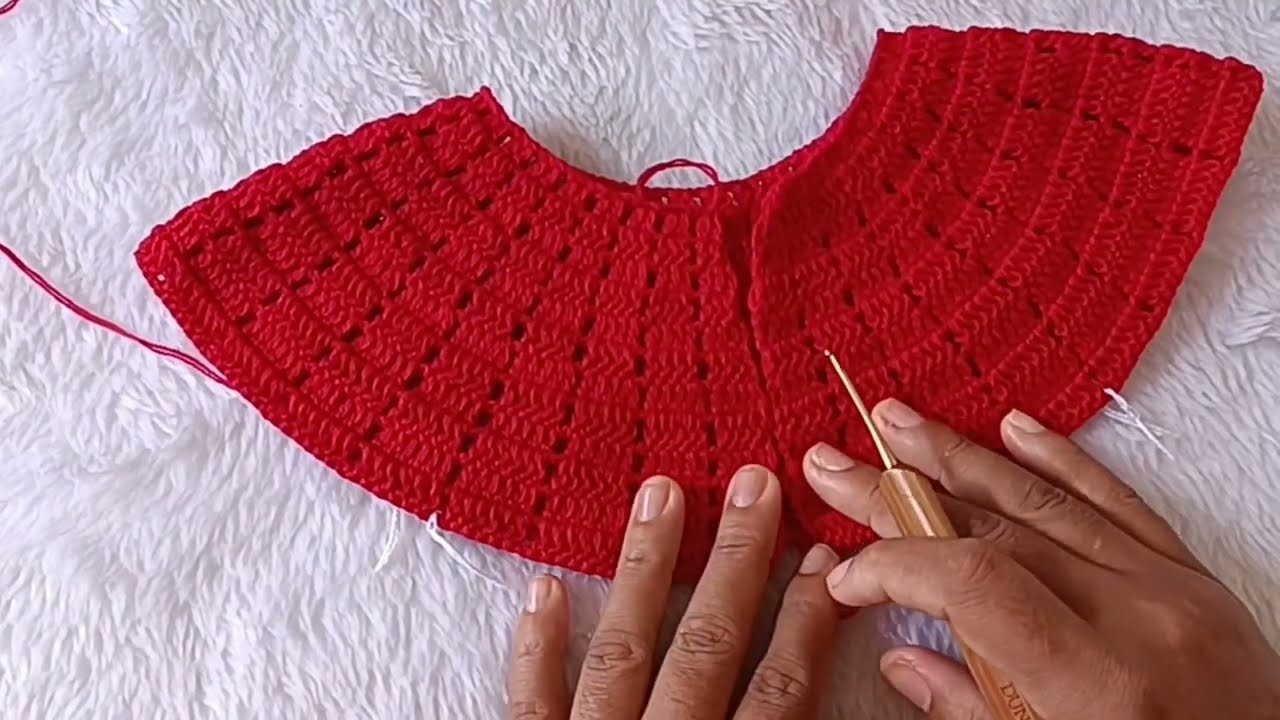
Step 2: Join for Armholes
Row 11
Ch 2. dc across front to first corner.
Skip all sleeve stitches.
Ch 6 (this forms the underarm).
dc across the back until next corner.
Ch 6.
dc across remaining front stitches.
Join with sl st to begin working in the round.
Step 3: Bodice (Optional Straight Section)
Work 4 rounds of dc around the entire body (including the underarm chains).
This gives the chest a smooth panel before the skirt begins.
Step 4: Skirt Options
You can choose a simple full skirt or a lacy shell skirt.
Option A: Simple Full Skirt (Easy)
Round 1
Ch 2, 2 dc in each st around to increase fullness. Join.
Rounds 2–20 (or desired length)
dc in each stitch around.
Every 4–6 rounds, increase randomly by making 2 dc in 1 st to keep the skirt full.
Stop when the dress measures 14–15 inches from shoulder.
Finish with 1 round of sc to edge the bottom.
Option B: Lacy Shell Skirt (Prettier)
Setup Round:
dc evenly around. If stitch count is not divisible by 6, adjust by adding/removing 1–2 dc.
Shell Pattern (repeat these 2 rounds):
Round A:
sk 2 sts, 5 dc in next st, sk 2 sts, sc in next st around.
Round B:
sk 2 sts, 5 dc in sc from previous round, sk 2 sts, sc in center dc of shell around.
Repeat Rounds A & B for 12–16 rounds (until length is reached).
Finish with a round of sc.
Step 5: Sleeves
Sleeves are optional (cap sleeve or full sleeve).
Cap Sleeve (simple)
Attach yarn in underarm.
Round 1: sc evenly around sleeve opening: approx 32–36 sc.
Round 2–3: sc around.
Fasten off.
Short Puff Sleeve
Round 1: dc around sleeve opening.
Round 2: (dc, ch 1) in every stitch for ruffles.
Round 3: sc around to tighten slightly.
Step 6: Back Closure
If you started the yoke back-and-forth, you will have an opening.
Finishing Back:
-
Work 2 rows of sc along each back edge.
-
On right side, make 2–3 button loops (ch 4, sk 3 sts).
-
Sew buttons securely opposite the loops.
Step 7: Finishing Touches
-
Weave in all ends.
-
Add a ribbon through waist if desired.
-
Light steam block (only if using acrylic—do NOT press).
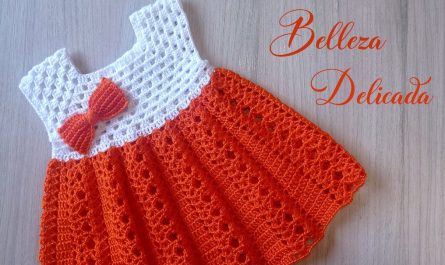
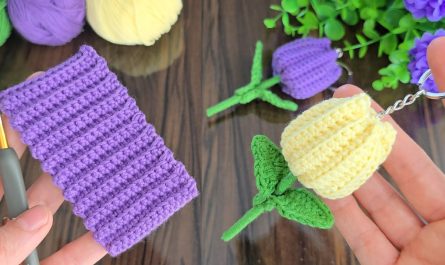
Optional Embellishments
-
Small flowers (crochet appliqué)
-
Contrasting edging around neckline
-
Ribbon bow on waist
-
Matching diaper cover or headband
Would you like…?
I can also provide:
✅ A printable PDF version
✅ A diagram/chart
✅ A video-style step list
✅ Alternative sizes (3–6 months, 9–12 months, 12–18 months)
Watch tutorial: