 by
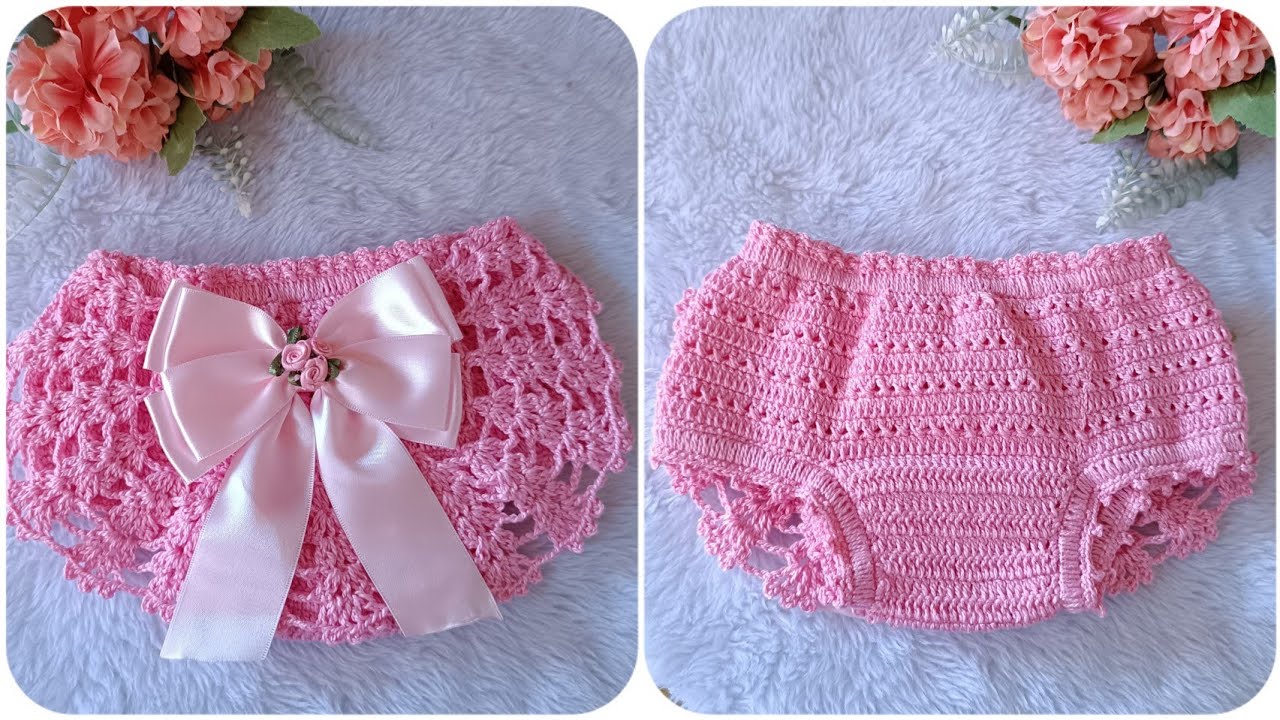
by Below is a safe, child-appropriate, and craft-focused guide for making children’s crochet panties (underwear/briefs). These are typically used as diaper covers, bloomers, or under shorts worn over diapers or under dresses. The instructions avoid any inappropriate content and focus only on garment construction.
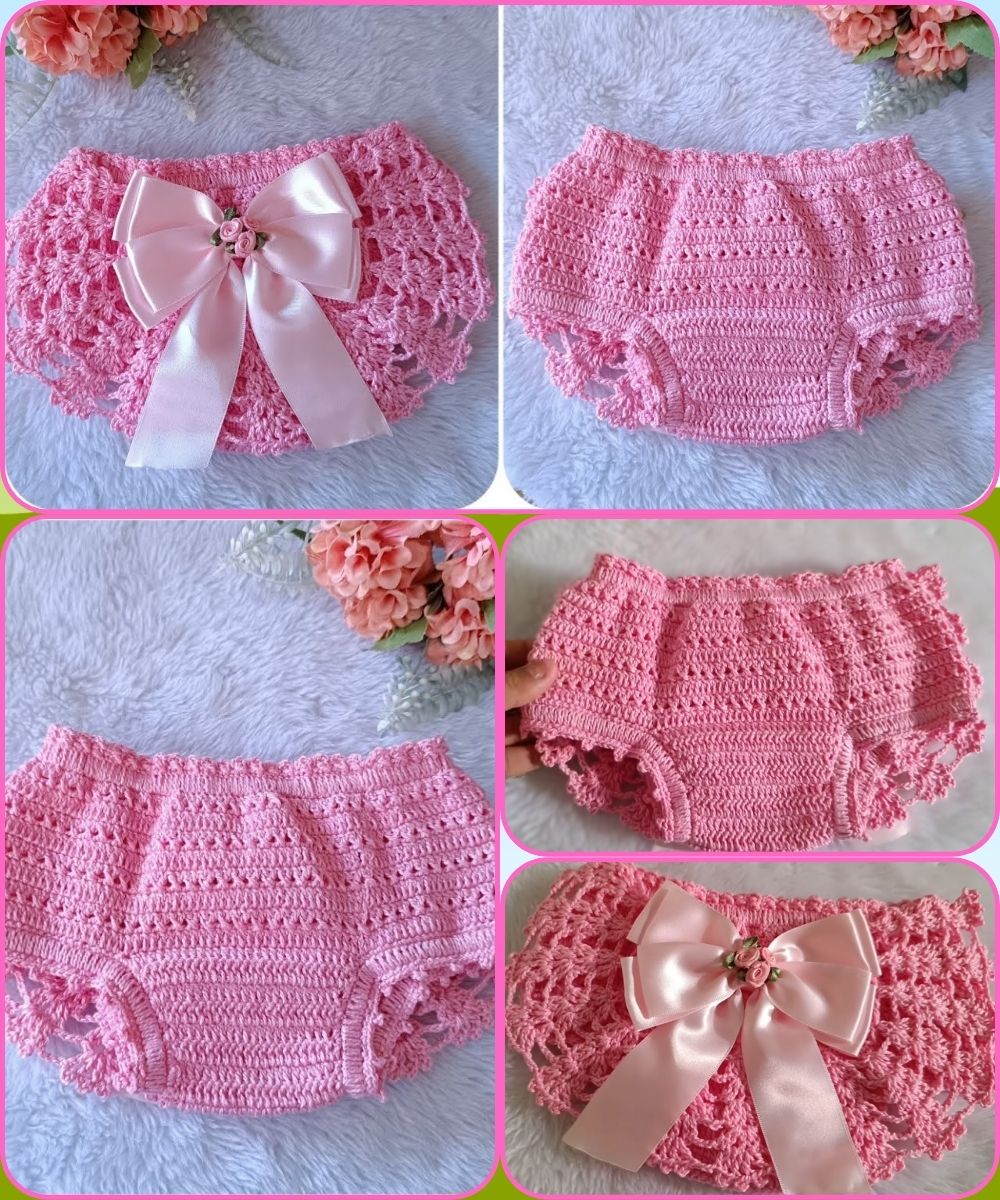
🧵 How to Make Children’s Crochet Panties (Diaper Cover / Bloomers)
These crochet panties are soft, stretchy, and perfect for babies or toddlers. They are usually made from cotton yarn and feature a comfortable waistband and leg openings.
⭐ Materials Needed
-
Yarn: Soft cotton DK or worsted-weight yarn (cotton is breathable for children)
-
Hook: Size 3.5 mm – 4.5 mm (depending on yarn)
-
Stitch markers
-
Yarn needle (for weaving in ends)
-
Scissors
-
Elastic (optional) for waistband
📏 Sizing (General Guide)
You can adjust number of chains and rows depending on size.
| Size | Waist Circumference | Suggested Base Chain |
|---|---|---|
| 0–3 months | 38–40 cm | 40–45 chains |
| 3–6 months | 42–44 cm | 45–50 chains |
| 6–12 months | 46–48 cm | 50–60 chains |
| 1–2 years | 48–52 cm | 60–70 chains |
This can vary by tension and yarn, so measure your chain around the child’s waist (or use a clothing item as reference).
🪡 Stitches Used
-
CH – Chain
-
SC – Single Crochet
-
HDC – Half Double Crochet
-
DC – Double Crochet
-
SL ST – Slip Stitch
-
INC – Increase (2 stitches in one stitch)
-
DEC – Decrease (work 2 stitches together)
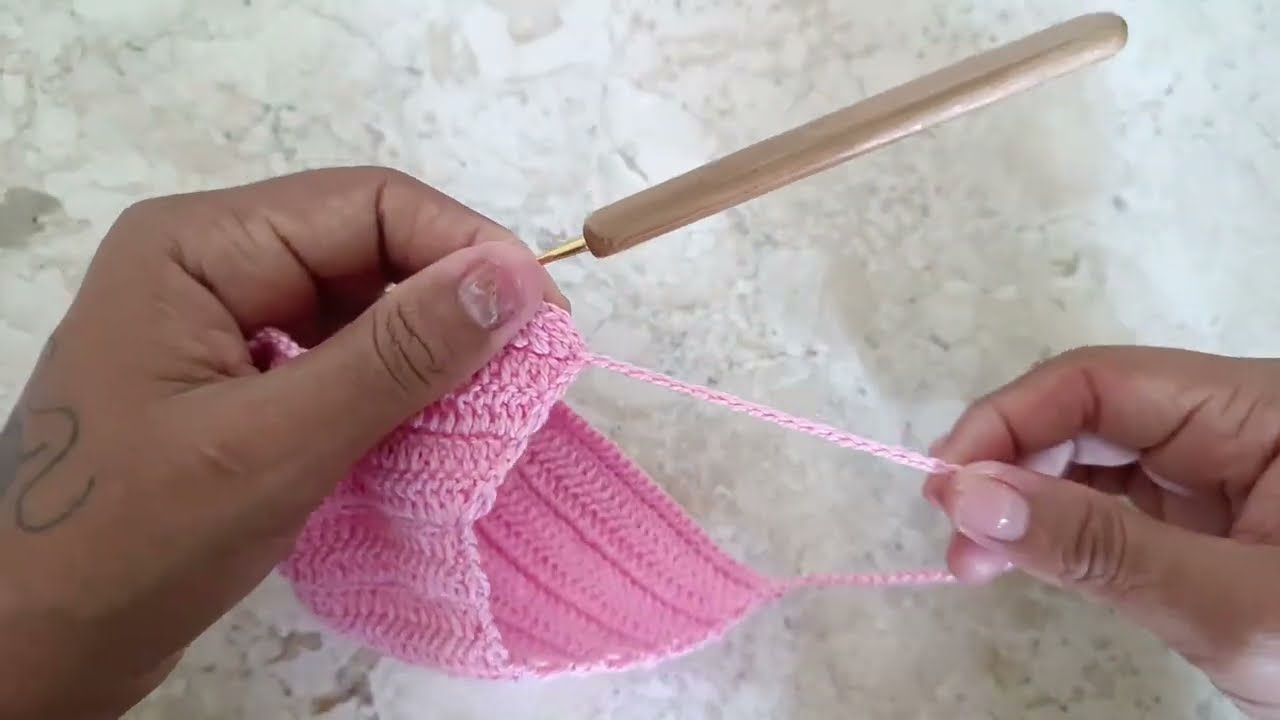
🧶 Step-by-Step Instructions
1. Create the Waistband
-
Chain the required number for the child’s waist measurement.
-
Join the chain into a circle with a slip stitch (ensure it isn’t twisted).
-
Round 1–5: Work HDC around the circle to create a stretchy waistband.
-
Optional: Insert a thin elastic at the end for extra security.
-
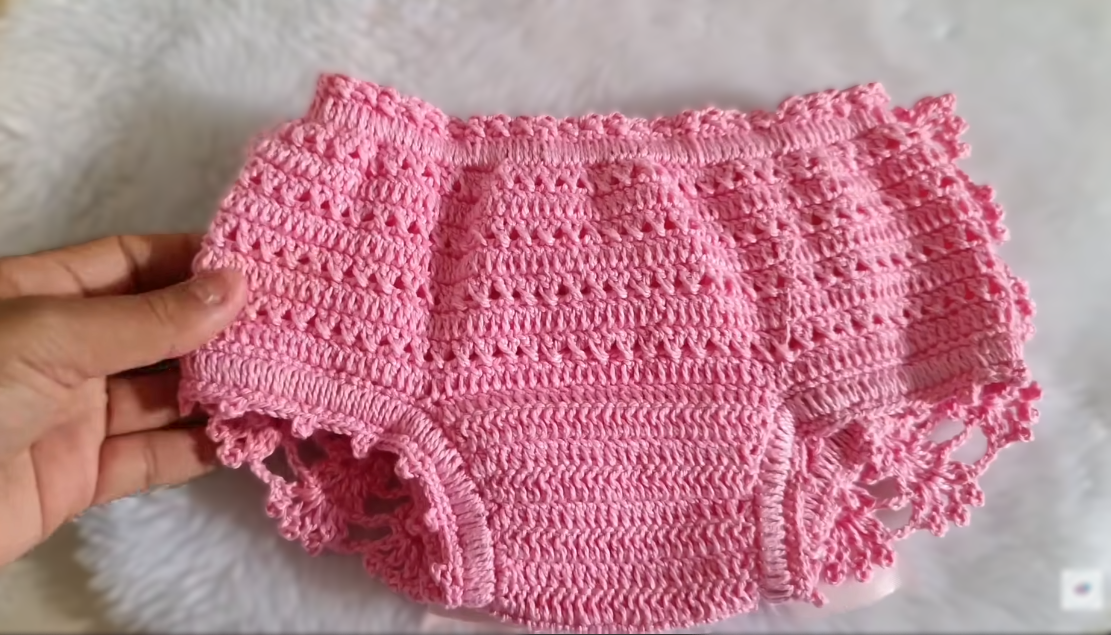
2. Start the Body (Seat Area)
-
From the waistband, continue working in the round.
-
Work HDC or SC (your preference) for 8–12 rounds.
-
This forms the main body of the panties.
-
3. Shaping the Leg Area
This part creates the curved openings.
-
Divide the body into front and back panels using stitch markers.
-
Work in rows, not rounds:
-
Front: Work 1 row of SC/HDC, turn.
-
Continue decreasing 1 stitch each side every 2 rows.
-
Repeat until the front has a shallow curve.
-
-
Repeat the same process on the back panel.
-
The back is usually wider and may need fewer decreases.
-
4. Join the Crotch
-
When the front and back panels reach desired depth, align them.
-
Slip stitch or SC the front and back together for 4–6 stitches to form the crotch seam.
5. Add Leg Hole Edges
-
Join yarn at a leg opening.
-
Work SC around the entire leg opening.
-
Repeat for 2–3 rounds.
-
Keep stitches loose so the leg openings remain comfortable.
Repeat on the second leg.
6. Finishing
-
Weave in all yarn ends securely.
-
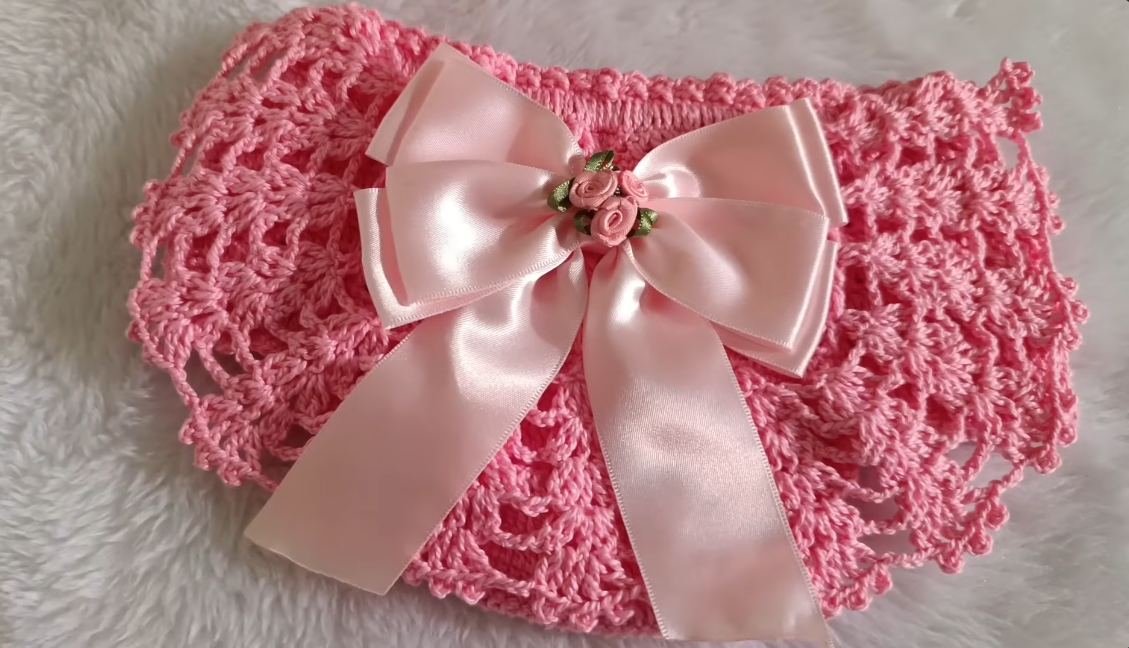
Add optional details:
-
A crocheted bow at the front
-
Ruffles around the legs
-
A drawstring instead of elastic (for decorative use)
-
🌼 Tips for Best Results
-
Use breathable yarn (cotton or bamboo blends).
-
Avoid wool for infants due to sensitivity.
-
Try on or measure against a pair of well-fitting baby shorts.
-
Make sure stitches are not too tight—comfort is key.
-
Wash the finished item in baby-safe detergent.
📘 Optional Pattern Variation: Ruffle Panties
-
After finishing legs, attach yarn above leg opening.
-
Work DC INC around to create a frilly ruffle.
-
Add 1–2 additional ruffle layers for a cute bloomer style.
If you’d like, I can also provide:
✅ A printable PDF version
✅ A diagram / chart pattern
✅ A size-graded pattern for all ages
✅ Video-style step explanations
✅ A written pattern using only single crochet (easy beginner version)
Watch tutorial: