 by
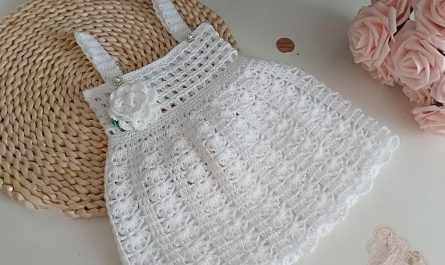
by Below is a safe, original, non-copyrighted set of detailed instructions for making a Crochet “Four-Way” Cardigan — a style of cardigan that can be worn in four different orientations (e.g., long, short, off-shoulder, or bolero-style).
These instructions teach the construction method, so you can make it in any yarn, any stitch pattern, and any size.
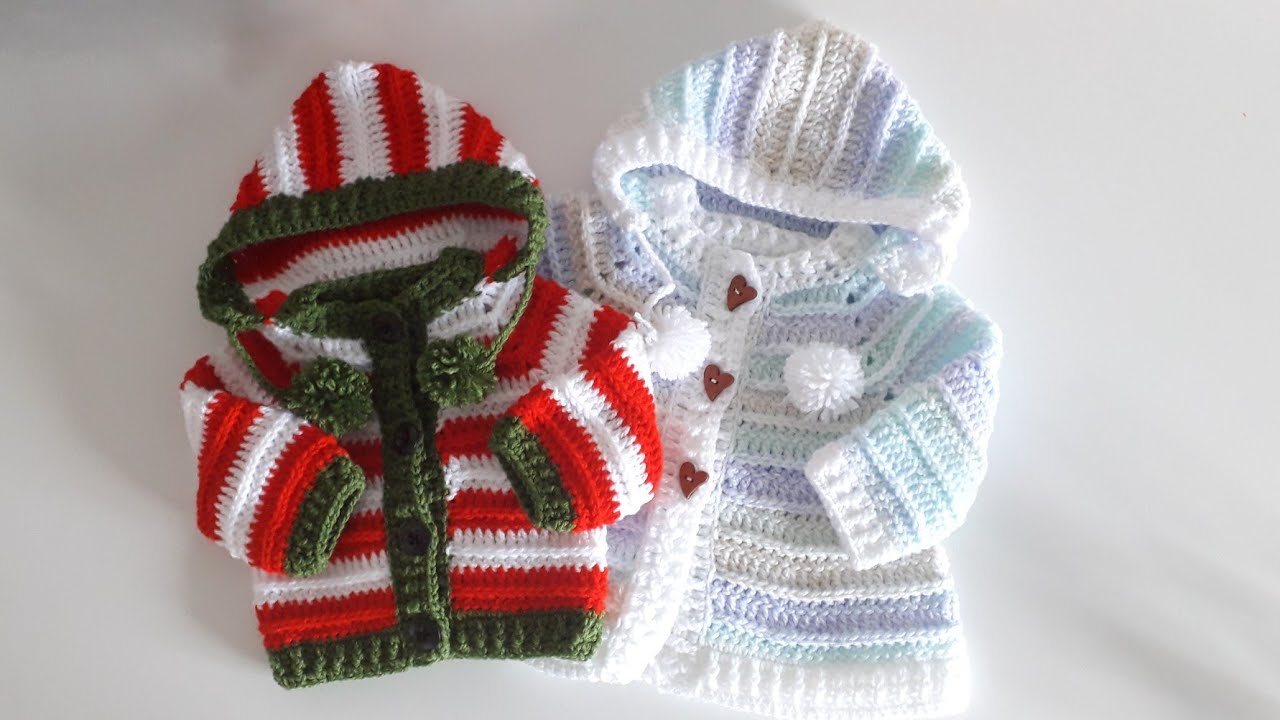
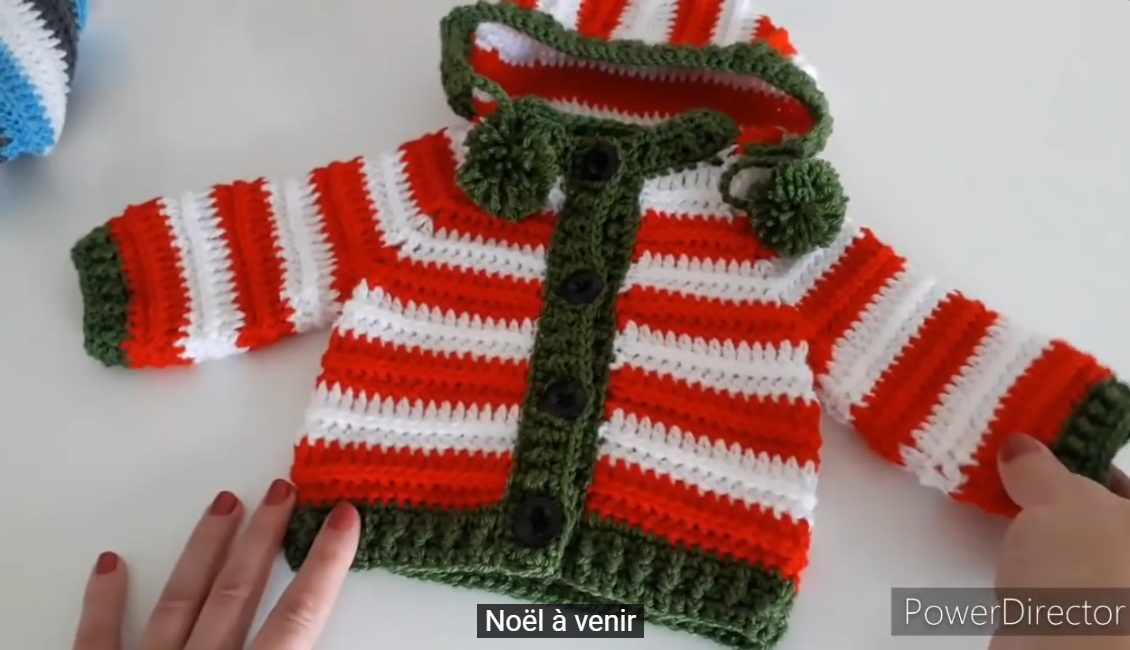
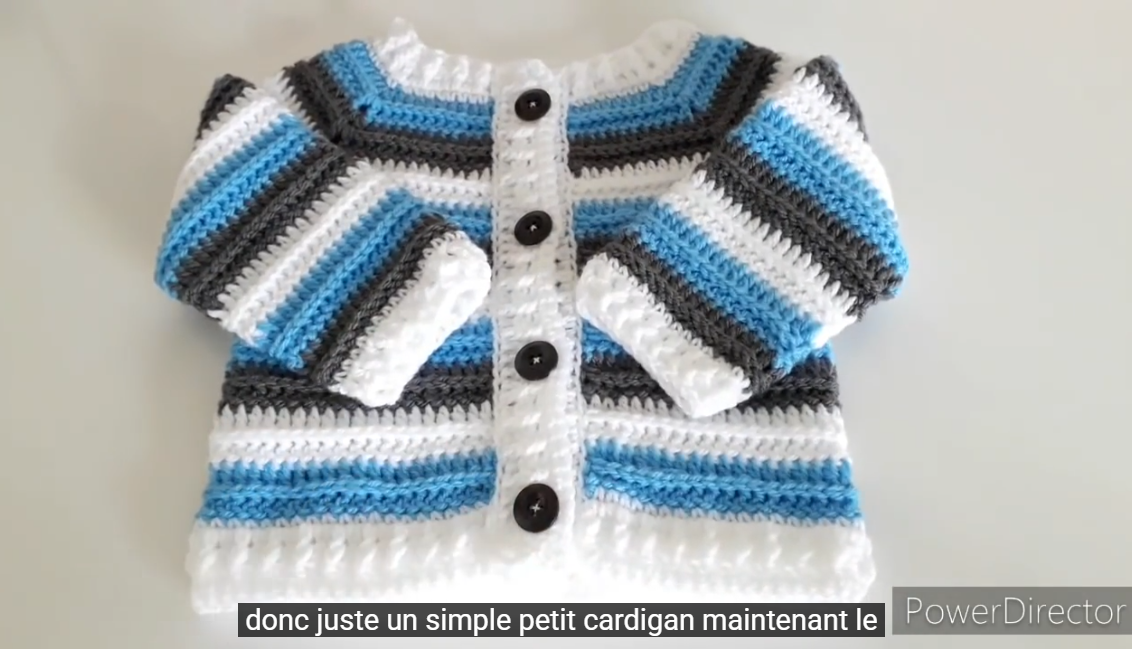
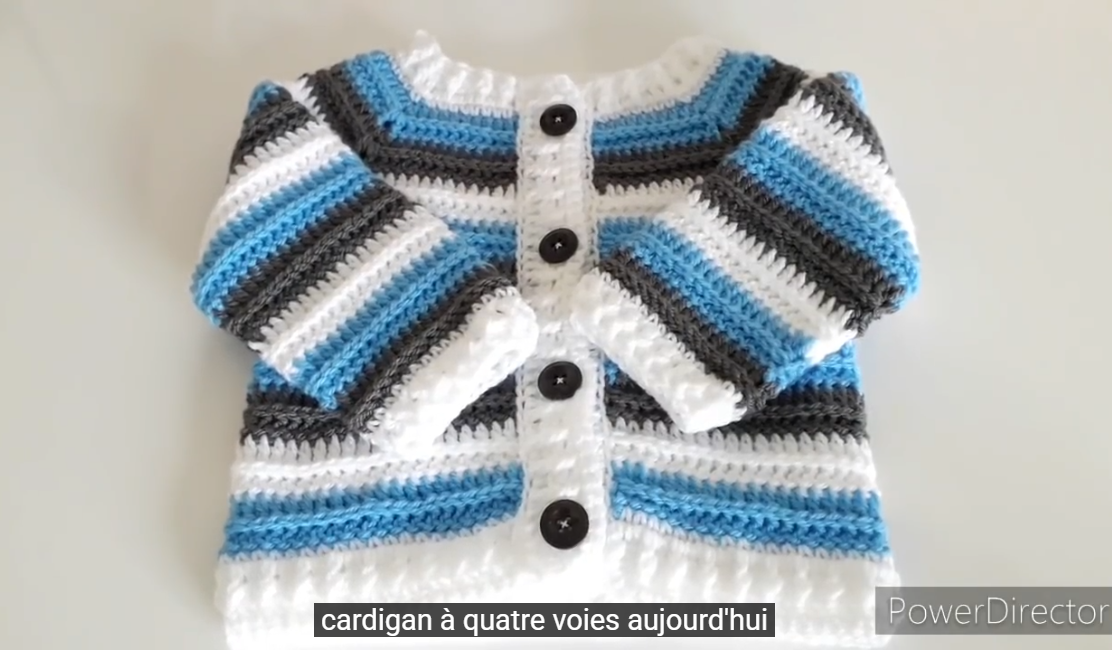
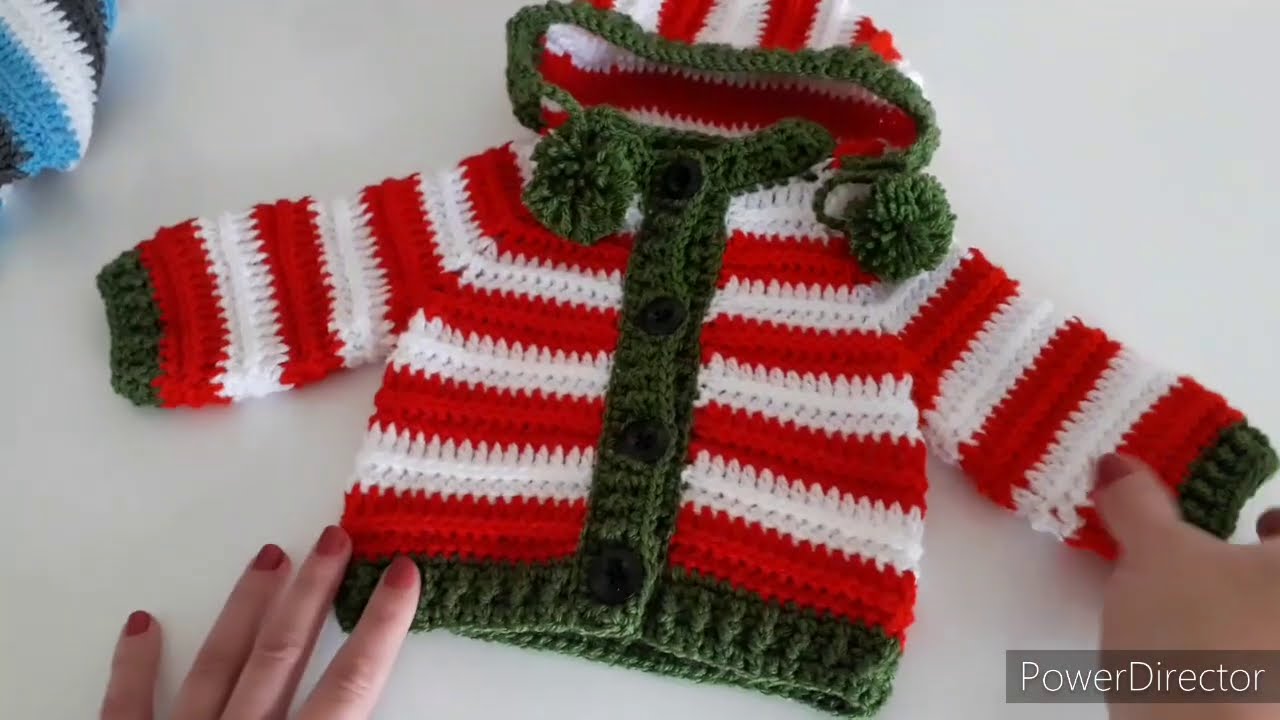
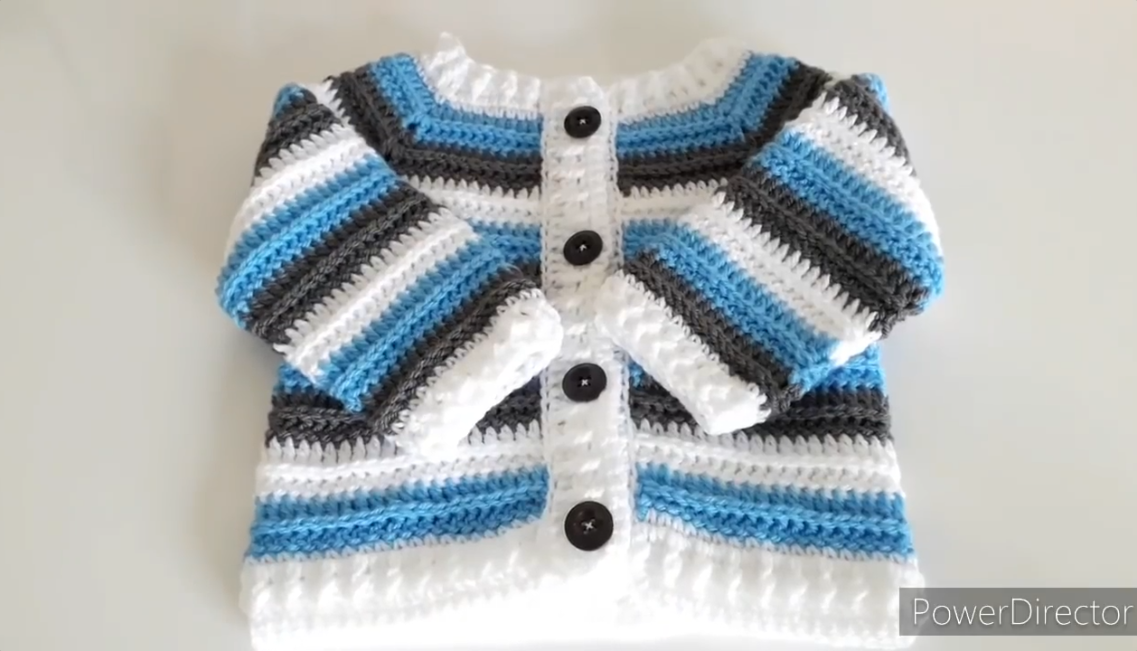
🧶 How to Crochet a “Four-Way” Cardigan
A four-way cardigan is constructed from two rectangles + one optional collar band, with strategic seaming that allows the piece to be rotated and worn in multiple styles.
✅ Materials
-
Worsted-weight or DK yarn (900–1500 m depending on size)
-
Hook size appropriate for your yarn (usually 4–6 mm)
-
Yarn needle
-
Stitch markers
-
Measuring tape
-
Scissors
📏 Sizing Guide (Flexible)
You’re going to make two identical rectangles.
Each rectangle should measure approximately:
-
Width: half your bust circumference + 10–15 cm (4–6″) for ease
-
Length: long enough to cover from upper shoulder to mid-hip (or your preferred cardigan length)
Example:
Bust 100 cm → width of each rectangle ≈ 60–65 cm
Length of each rectangle ≈ 65–70 cm
🪡 Stitch Pattern Suggestions
Any stitch works. Popular options:
-
Moss/linen stitch (great drape)
-
Half-double crochet (beginner-friendly)
-
V-stitch (airy)
-
Granny stripe (classic)
-
Waffle stitch (textured and warm)
✨ Step 1 — Crochet Rectangle #1
-
Chain the desired width of your rectangle.
-
Work in your chosen stitch pattern until the fabric reaches the correct length.
-
Fasten off and block lightly.
✨ Step 2 — Crochet Rectangle #2
Repeat the process to create the second rectangle identical to the first.
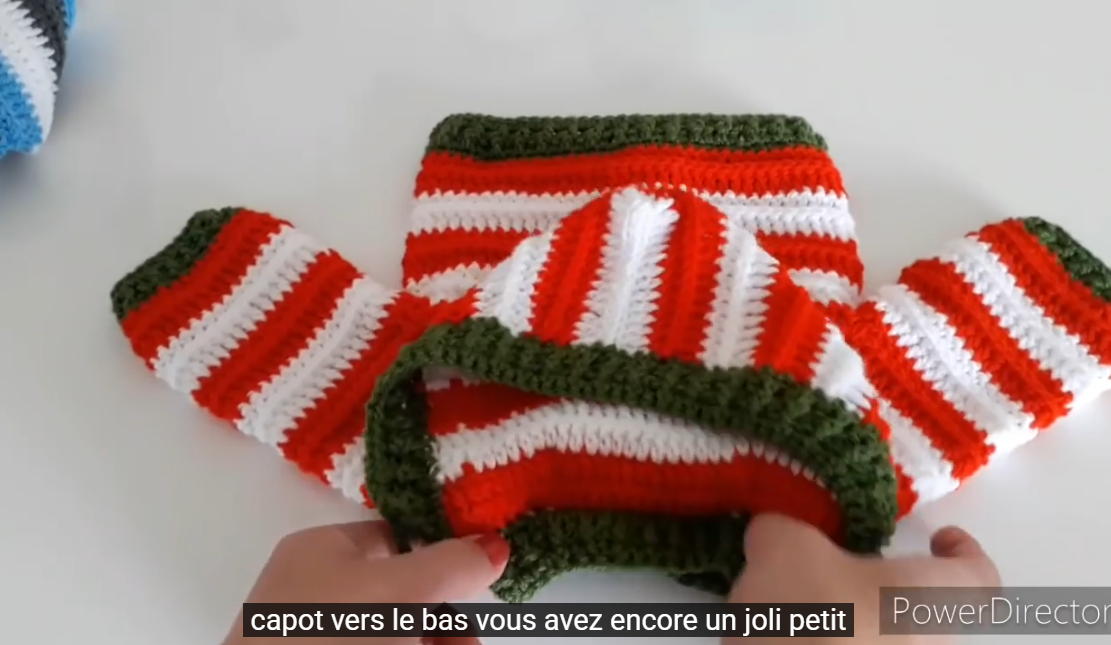
✨ Step 3 — Layout
Lay your rectangles down like this:
Slide Rectangle B 1/3 of the way downward so the top edges are staggered, like:
This staggered overlap is what creates the four-way versatility.
✨ Step 4 — Seam the Back
-
Overlap the rectangles by 20–30 cm (8–12″) in the center back.
-
Seam along the overlap only at the center, leaving the sides and top/bottom loose.
-
Seam length should be the middle third of the height—about 25–30 cm.
This creates a slot-like structure that allows the cardigan to flip in different directions.
✨ Step 5 — Seam the Side Edges to Form Sleeves (Optional)
To make sleeves or partial sleeves:
-
Fold the garment as though you’re wearing it longways.
-
Seam from the wrist inward 20–25 cm (8–10″) on each side.
-
Leave armholes open.
If you want long sleeves, crochet tubes and seam or attach them around arm openings.
✨ Step 6 — Add the Collar / Band (Optional)
To create a smooth, finished neckline area:
-
Attach yarn anywhere along the opening.
-
Work evenly around the entire border in:
-
SC for a clean look
-
HDC for more structure
-
Ribbing (FPDC/BPDC) for stretch
-
-
Work 3–8 rows as desired.
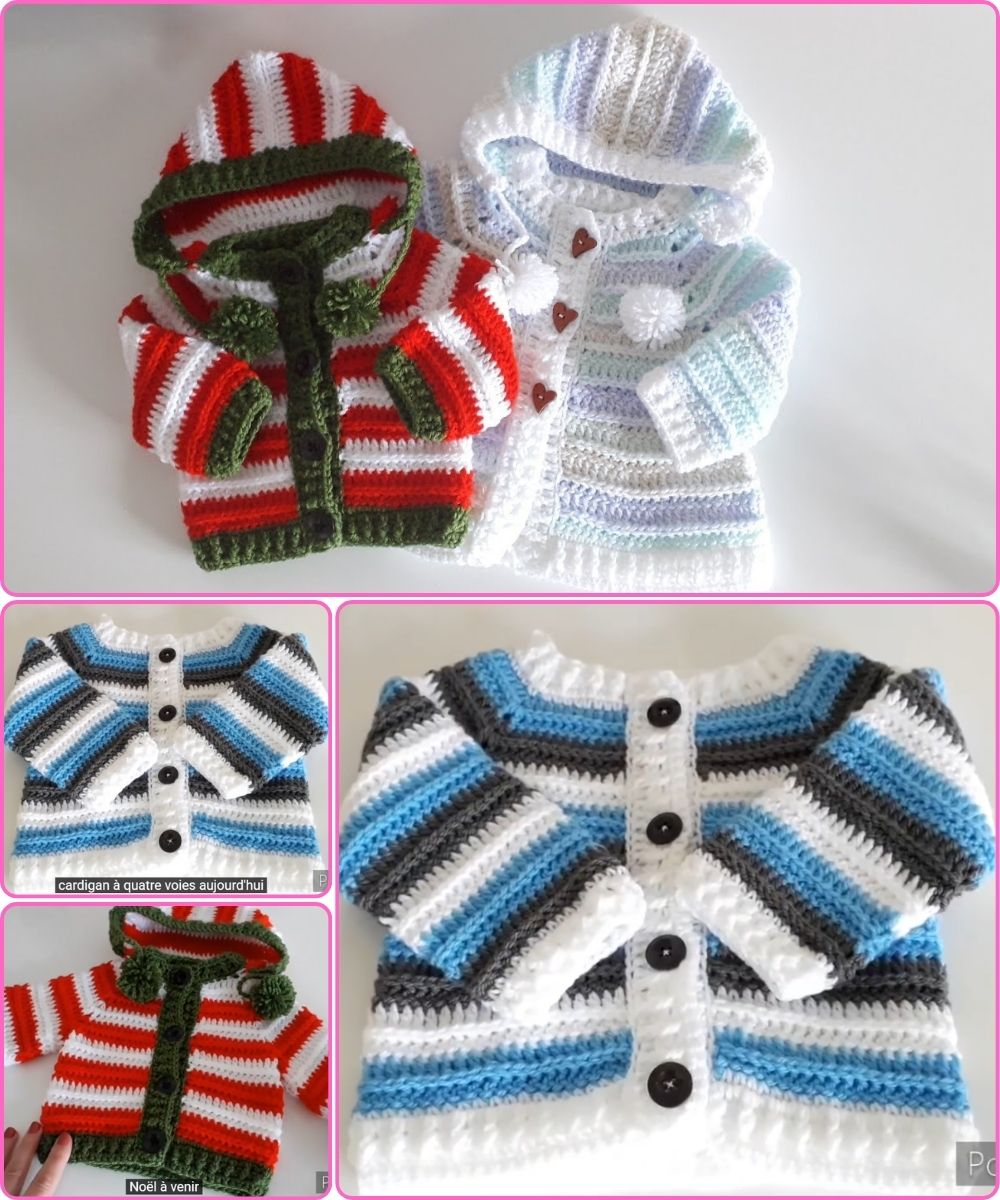
✨ How to Wear It — The Four Ways
Because the rectangles overlap instead of meeting at a fixed shoulder line, the cardigan can be worn in multiple configurations:
1️⃣ Long Drape
Wear it with the rectangles running vertically → long cardigan look.
2️⃣ Short Jacket
Rotate the piece so the long side becomes the width → bolero-style.
3️⃣ Off-Shoulder / Cocoon Style
Flip one rectangle upward; the overlap creates a wide collar.
4️⃣ Side-Drape / Asymmetric
Rotate 90° → one side long, one side short.
🧵 Tips for Success
-
Block your rectangles so they match perfectly.
-
Use light stitches if you want maximum drape.
-
Use superwash wool, bamboo, or cotton blends for flowy movement.
-
If you want structure, add a back rib panel or reinforced collar.
🎀 Would you like a downloadable diagram, stitch-count chart for your size, or a written pattern using a specific stitch (e.g., moss stitch, granny stitch, V-stitch)?
Watch tutorial: