 by
by Below is a clear, practical, and detailed guide on how to crochet a children’s cable pullover (sizes 1–5 years).
This includes materials, gauge, sizing chart, construction method, cable instructions, and step-by-step directions.
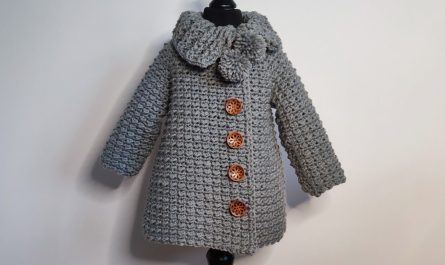
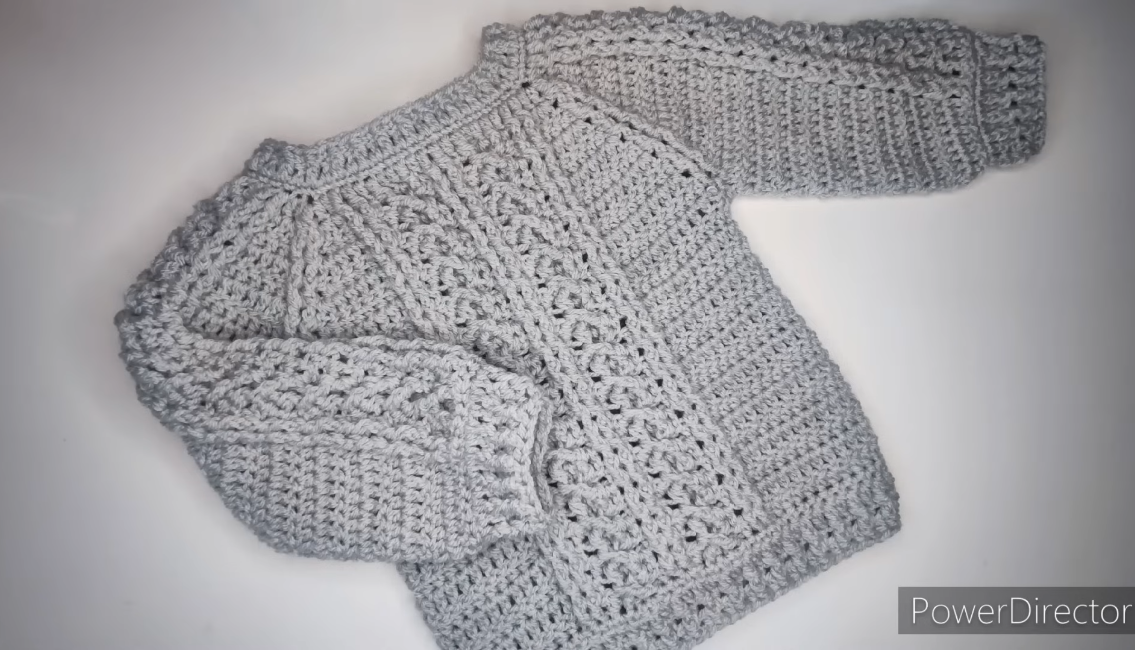
🧶 How to Crochet a Pullover with Cables (Sizes 1–5 Years)
Crochet cables create a beautifully textured fabric that looks knitted but is worked entirely with crochet stitches—mostly front-post and back-post double crochet. This tutorial shows you how to make a simple, classic children’s pullover using basic shapes and easy construction.
⭐ SKILL LEVEL:
Confident Beginner – Intermediate
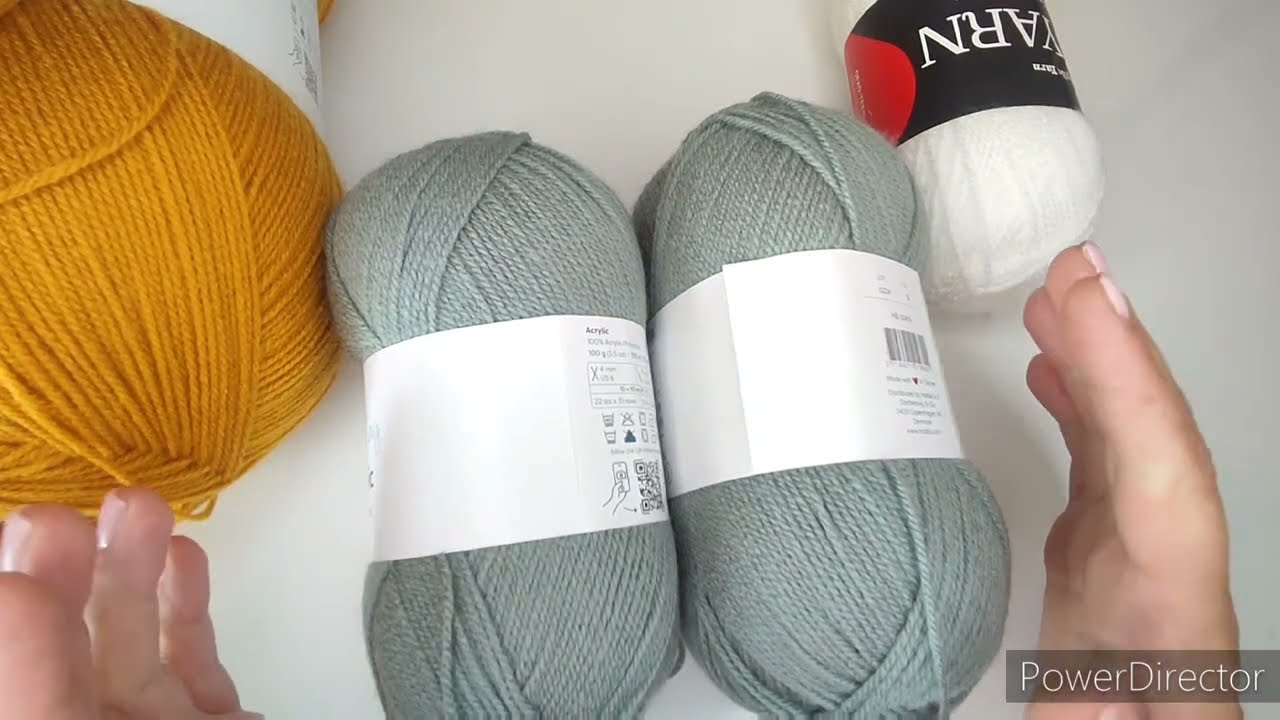
🧵 MATERIALS
-
Yarn: Worsted weight (category 4), approx.
-
Size 1 yr: 350–400g
-
Size 2–3 yr: 450–500g
-
Size 4–5 yr: 550–600g
-
-
Hook: 5.0 mm (H) or size needed for gauge
-
Stitch markers
-
Tapestry needle
-
Scissors
📏 GAUGE
14 stitches × 10 rows = 10 × 10 cm (4 × 4 inches) in double crochet (dc).
Cable panels tend to pull the fabric inward, so always check gauge.
📐 SIZE CHART (Finished Measurements)
| Size | Chest Width | Length | Sleeve Length |
|---|---|---|---|
| 1 yr | 26–28 cm | 30–32 cm | 23–25 cm |
| 2–3 yrs | 30–32 cm | 35–38 cm | 28–30 cm |
| 4–5 yrs | 34–36 cm | 40–43 cm | 33–35 cm |
🧶 STITCHES USED
-
ch – chain
-
sc – single crochet
-
dc – double crochet
-
fpdc – front post double crochet
-
bpdc – back post double crochet
-
fptr – front post treble crochet (for more “crossed” cables)
🔥 HOW CROCHET CABLES WORK
A crochet cable is created by:
-
Working front-post stitches around earlier rows.
-
Crossing groups of stitches (e.g., 2 over 2, 3 over 3).
-
Keeping background fabric in simple dc to highlight the texture.
For this pullover we use a 6-stitch braided cable:
-
Cross 3 stitches in front of 3 stitches every 6 rows.
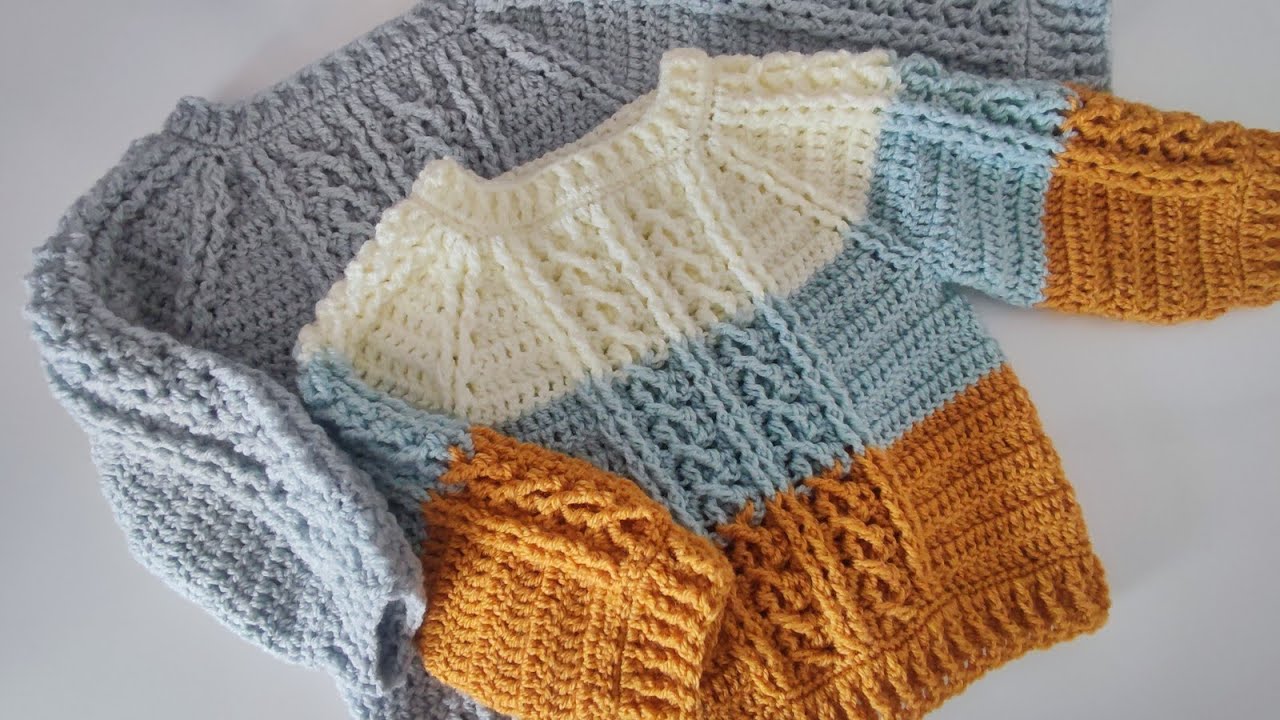
🧥 CONSTRUCTION OVERVIEW
This pullover is worked in four rectangles:
-
Front Panel – includes central cable
-
Back Panel – plain fabric
-
Two Sleeves – optional small cables or plain
-
Seam the pieces & add ribbing at the neck, cuffs, and hem.
Simple, customizable, and beginner-friendly.
✍️ STEP-BY-STEP INSTRUCTIONS
1️⃣ FRONT PANEL (with cable)
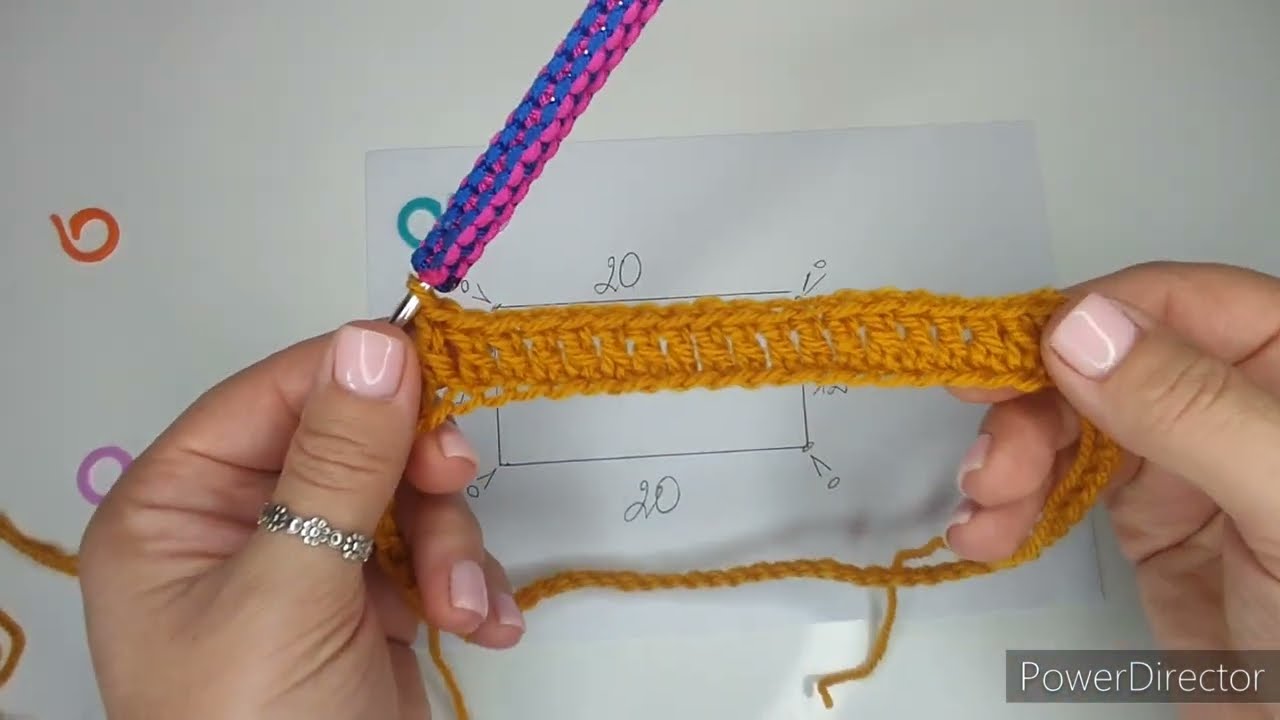
Foundation Chain
Make chain to match width:
-
1 yr: 48 chains
-
2–3 yrs: 56 chains
-
4–5 yrs: 64 chains
(Adjust by multiples of 6 + background stitches.)
Row 1 (right side):
Dc in 3rd ch from hook and across. Turn.
Row 2 (wrong side):
Dc across. Turn.
Mark center cable panel:
-
Cable = 6 stitches
-
Leave equal dc on each side
Example for size 2–3 yrs (56 sts):
25 dc – 6 cable sts – 25 dc
Repeat rows of dc until Row 6.
Cable Pattern Begins (6-Row Repeat)
Row A (RS – Cable Cross Row):
-
Dc to cable panel
-
Skip 3, fptr around next 3 posts
-
Go back to skipped 3, work fptr
-
Dc to end
Turn.
Rows B–F (5 rows):
-
Dc to cable panel
-
Fpdc across 6 cable stitches
-
Dc to end
Turn.
Repeat Rows A–F until the panel measures:
-
1 yr: 25–27 cm
-
2–3 yrs: 29–32 cm
-
4–5 yrs: 35–38 cm
Finish with 2 rows of plain dc.
Fasten off.
2️⃣ BACK PANEL (no cables)
Foundation chain same as front:
Dc rows until same length as front panel.
Fasten off.
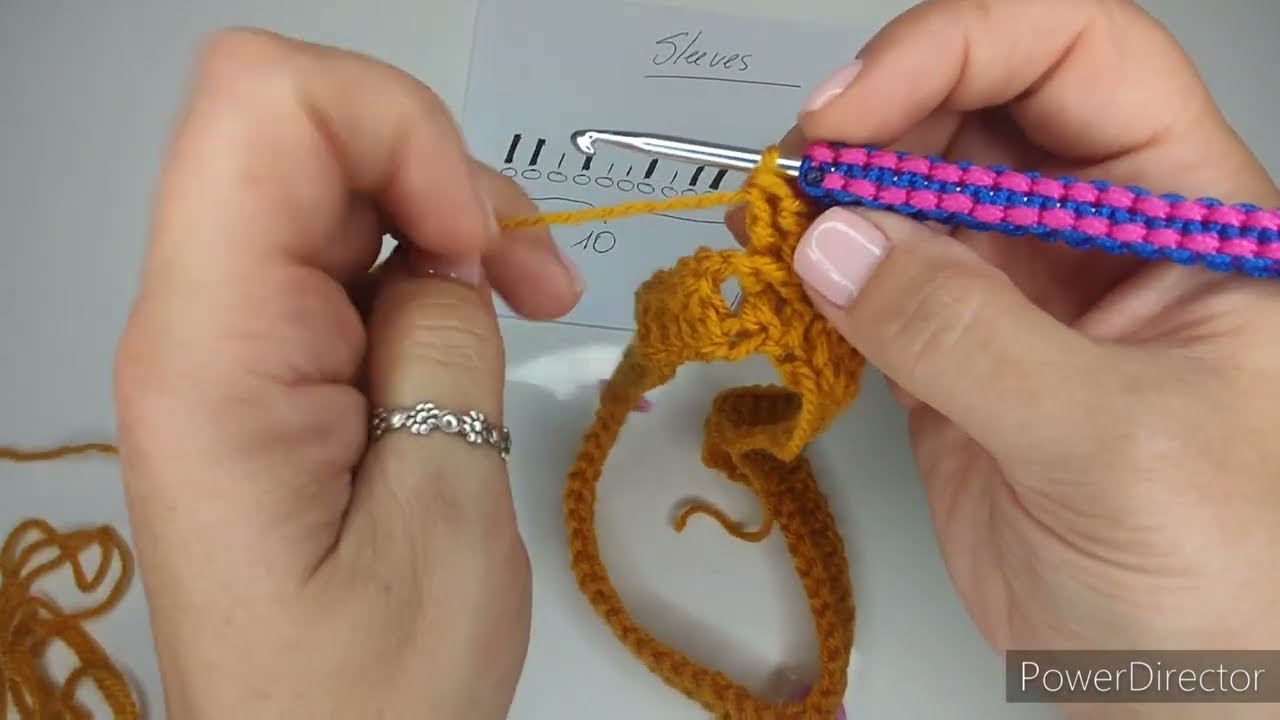
3️⃣ SLEEVES
Foundation Chains
-
1 yr: 30 chains
-
2–3 yrs: 34 chains
-
4–5 yrs: 38 chains
Work in dc for:
-
3 rows straight
-
Then begin increases
Shaping:
Increase 1 stitch at each end every 4th row until sleeve width is reached:
-
1 yr: 28–30 cm
-
2–3 yrs: 32–34 cm
-
4–5 yrs: 36–38 cm
Continue until length is right for the chosen size.
Optional: Add a small 2-st cable down the center.
Fasten off.
4️⃣ ASSEMBLY
Block pieces lightly if needed.
Seam order:
-
Join shoulders (front to back).
-
Attach sleeves to the armholes.
-
Fold after attaching sleeves and seam body sides + sleeve sides.
5️⃣ ADD RIBBING (neck, bottom, cuffs)
Use hook half size smaller, e.g., 4.5mm.
Bottom Hem Ribbing
-
Attach yarn at hem.
-
Work in rounds: (Fpdc, Bpdc) rib.
-
Work 4–6 rows.
Cuffs
Same rib pattern, 4–6 rows.
Neckline
Work a gentle ribbing:
-
Join yarn at back neck.
-
Work 1 round sc to even stitches.
-
Then 3–5 rounds fpdc/bpdc.
Fasten off securely.
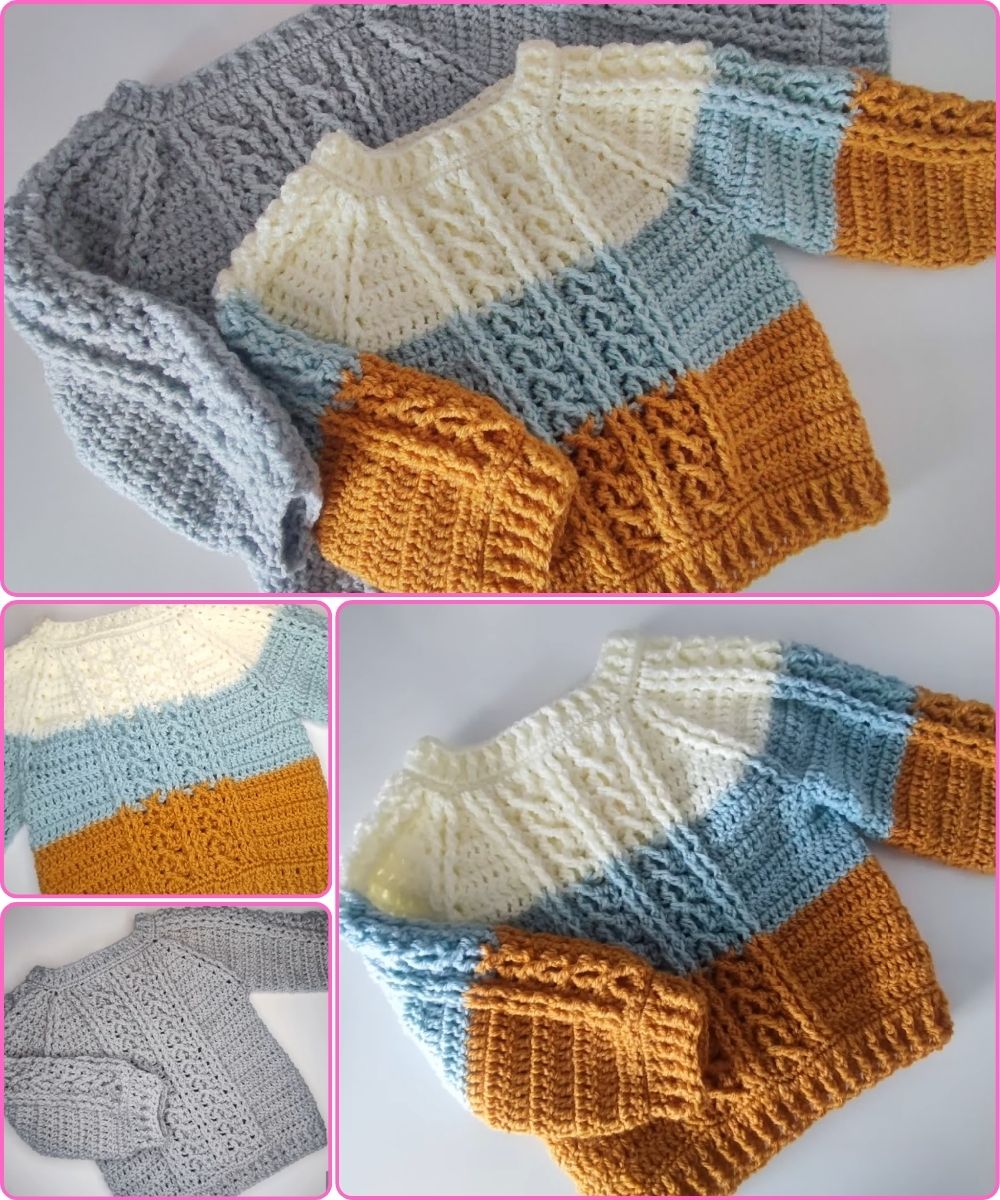
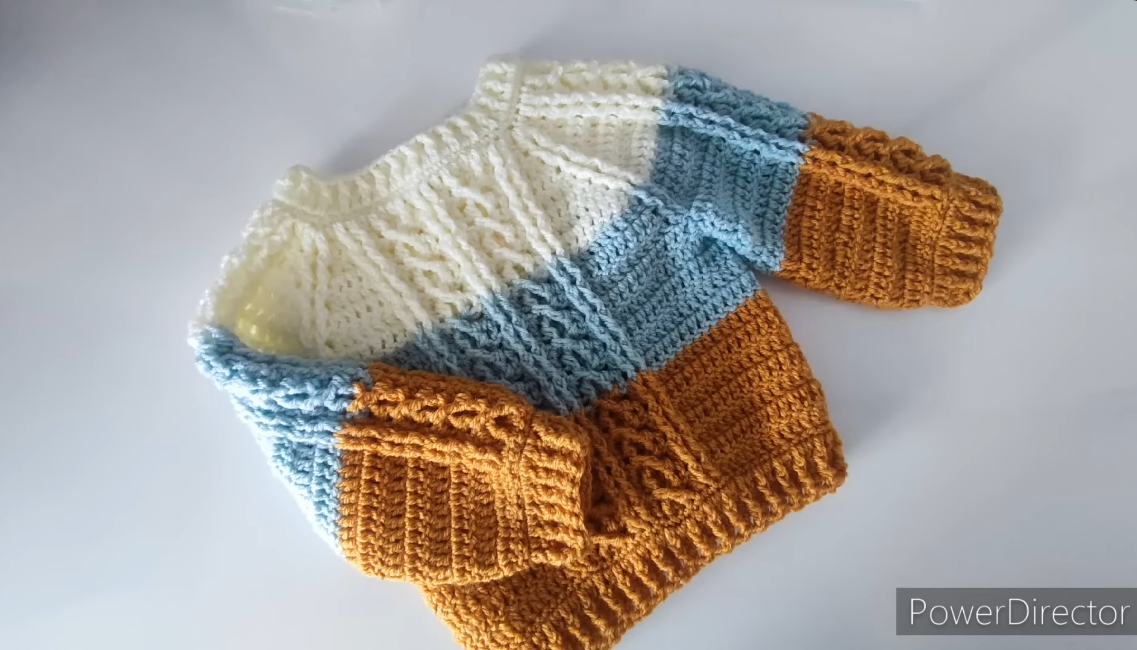
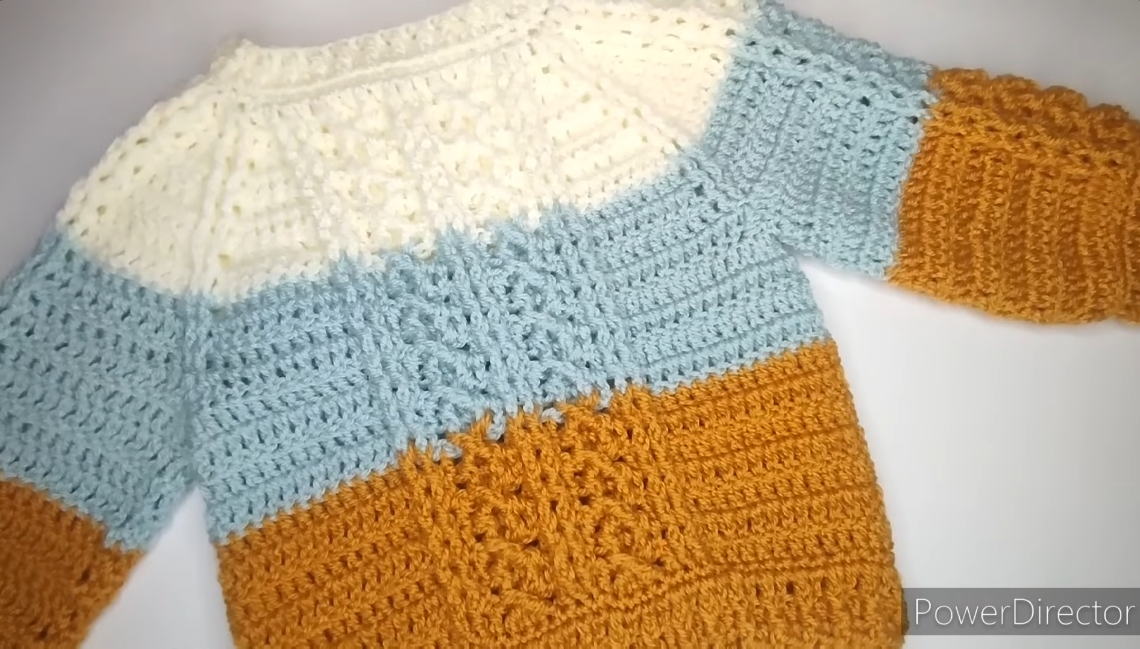
🎉 Your Child’s Cable Pullover Is Done!
You now have a cozy, textured, high-quality handmade pullover perfect for ages 1–5 years. You can customize:
-
Cable width
-
Body length
-
Sleeve design
-
Yarn color and softness
If you want, I can also provide:
✅ A printable PDF pattern
✅ A diagram/chart for the 6-stitch cable
✅ A visual step-by-step with illustrations
✅ Specific stitch counts row-by-row for each size
Just tell me!
Watch tutorial: