 by
by Sure! Here’s a detailed guide on how to make a trendy, uniquely beautiful crochet baby vest (which can resemble a cardigan, blouse, or sweater) using modern techniques and a latest crochet pattern style. This is suitable for intermediate beginners who know basic crochet stitches.
How to Make a Trendy Crochet Baby Vest / Cardigan / Blouse Sweater (Step-by-Step)
Size:
-
6-12 months old baby
(Adjustable based on measurements.)
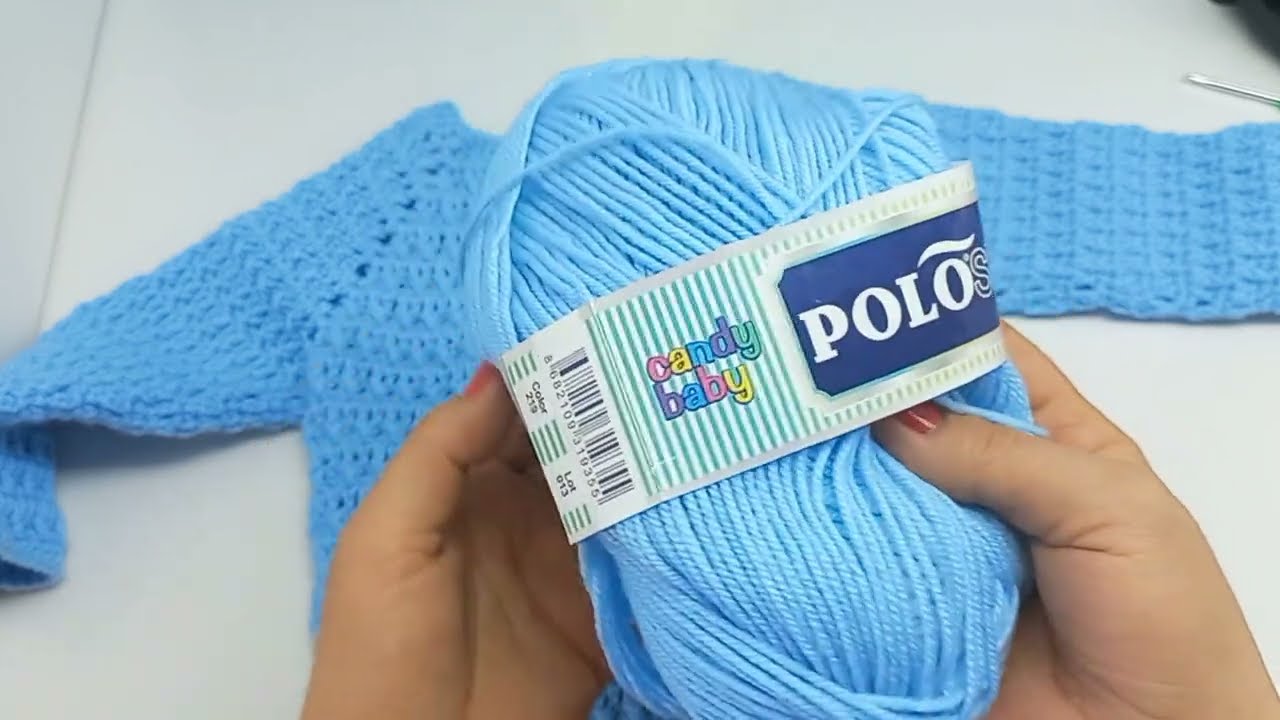
Materials Needed:
| Item | Description |
|---|---|
| Yarn | Soft baby yarn (Cotton or acrylic blend) – DK (Light 3) |
| Hook | 3.5 mm or 4.0 mm crochet hook |
| Notions | Yarn needle, scissors, stitch markers, 2-4 buttons |
| Optional | Decorative appliqués, lace border, or flower motifs |
Stitches & Abbreviations (US Terms):
-
ch – chain
-
sl st – slip stitch
-
sc – single crochet
-
dc – double crochet
-
hdc – half double crochet
-
V-stitch – (dc, ch 1, dc in same stitch)
-
Shell stitch – 5 dc in one stitch
-
inc – increase (2 sts in one stitch)
Pattern Overview:
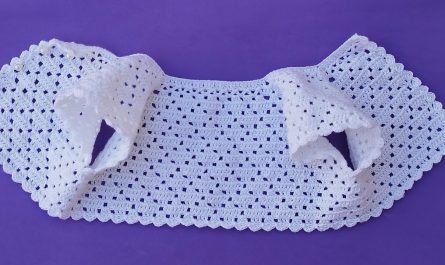
We’ll be making a top-down yoke-style vest with open front (cardigan style), using shell stitches and V-stitches to make it trendy, airy, and visually beautiful.
Step 1: Measure & Foundation Chain
-
Measure Baby Chest: e.g., 18 inches circumference
-
Foundation Chain: Chain 60 (or a multiple of 10 + 2) – adjust for desired size
-
Make sure chain length fits around the shoulders.
-
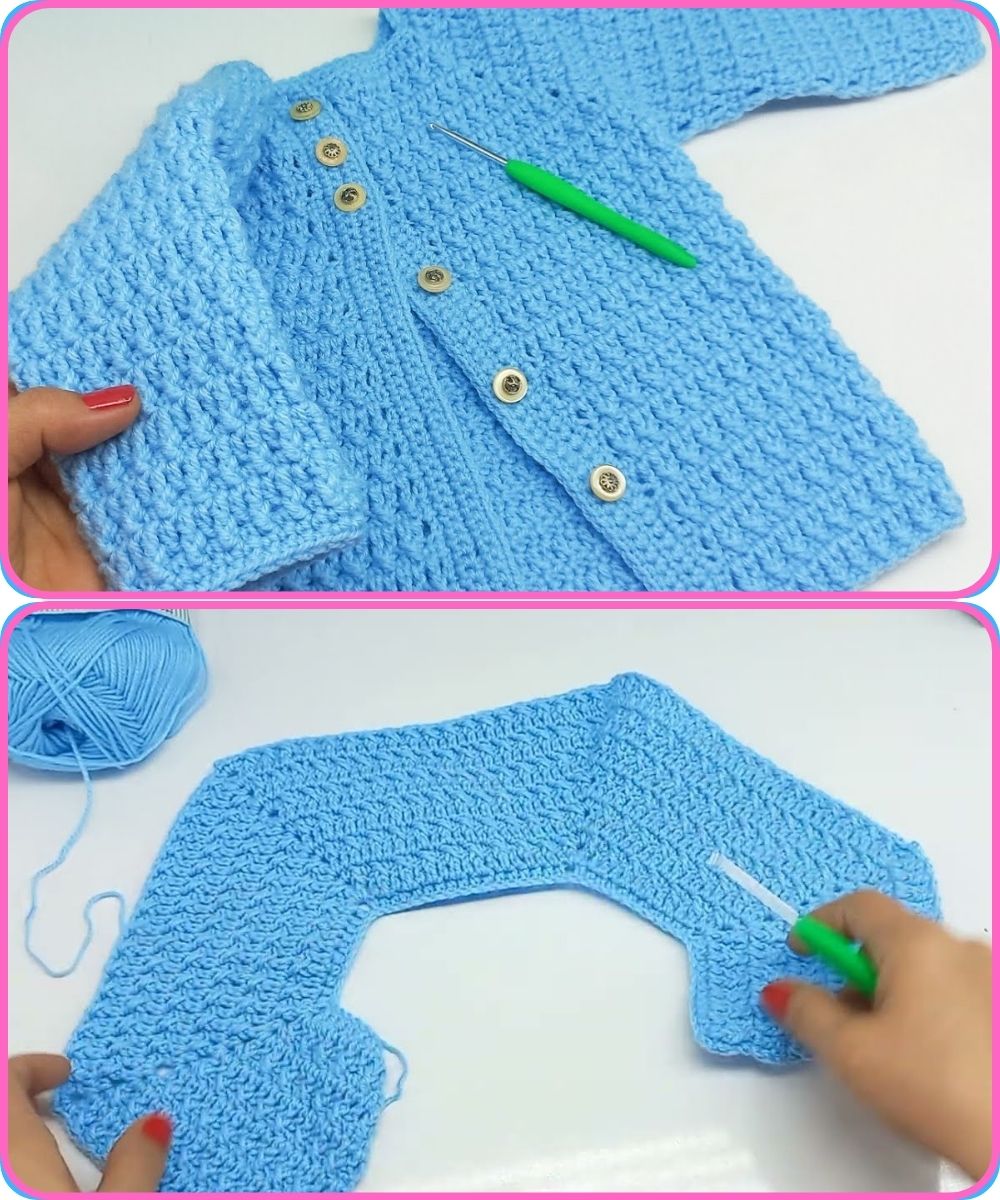
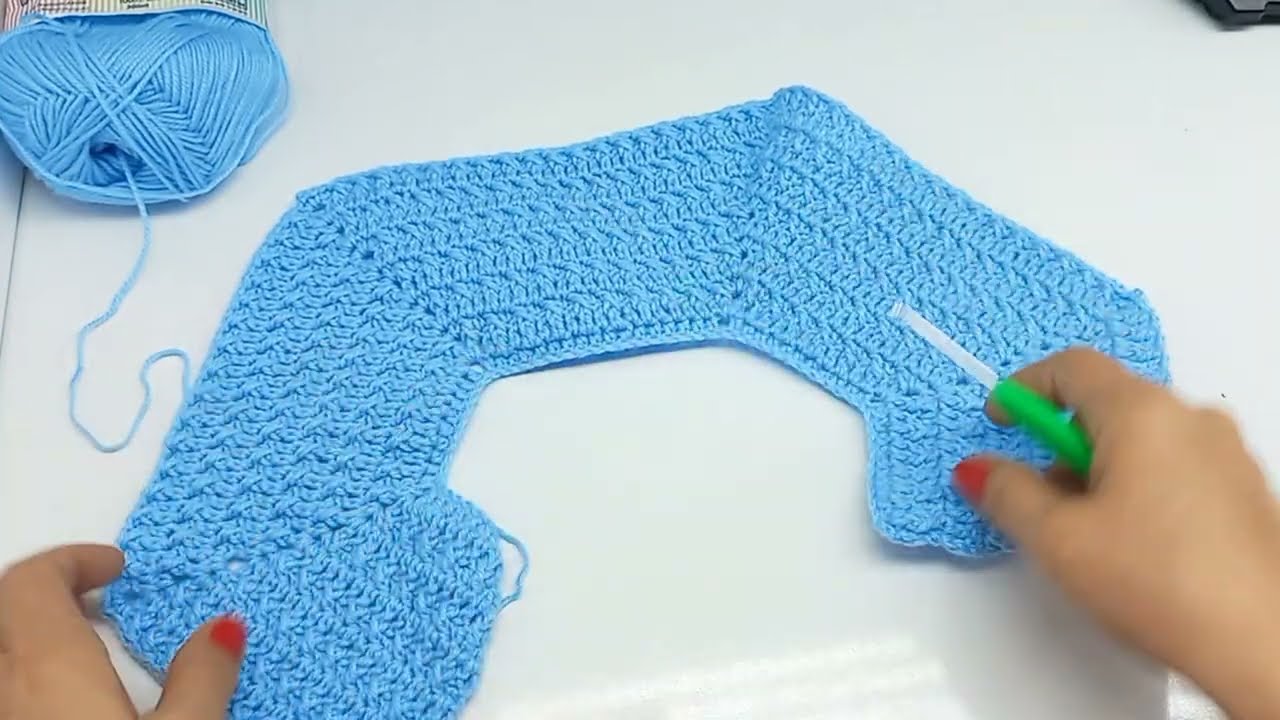
Step 2: Yoke (Top Part)
Use dc rows to form a rounded yoke with raglan-style increases.
Row 1:
-
Dc in 3rd ch from hook and across.
-
Place markers after every 10 stitches (front, sleeve, back, sleeve, front).
Row 2–6:
-
Increase 1 dc before and after each marker to create raglan shape.
-
You should see the “corners” forming where the sleeves will separate.
Step 3: Separate Body and Sleeves
At about Row 6 or 7, you will:
-
Join front and back panels to continue the body.
-
Put sleeve stitches on hold (or use stitch holders).
-
Continue working body rows only.
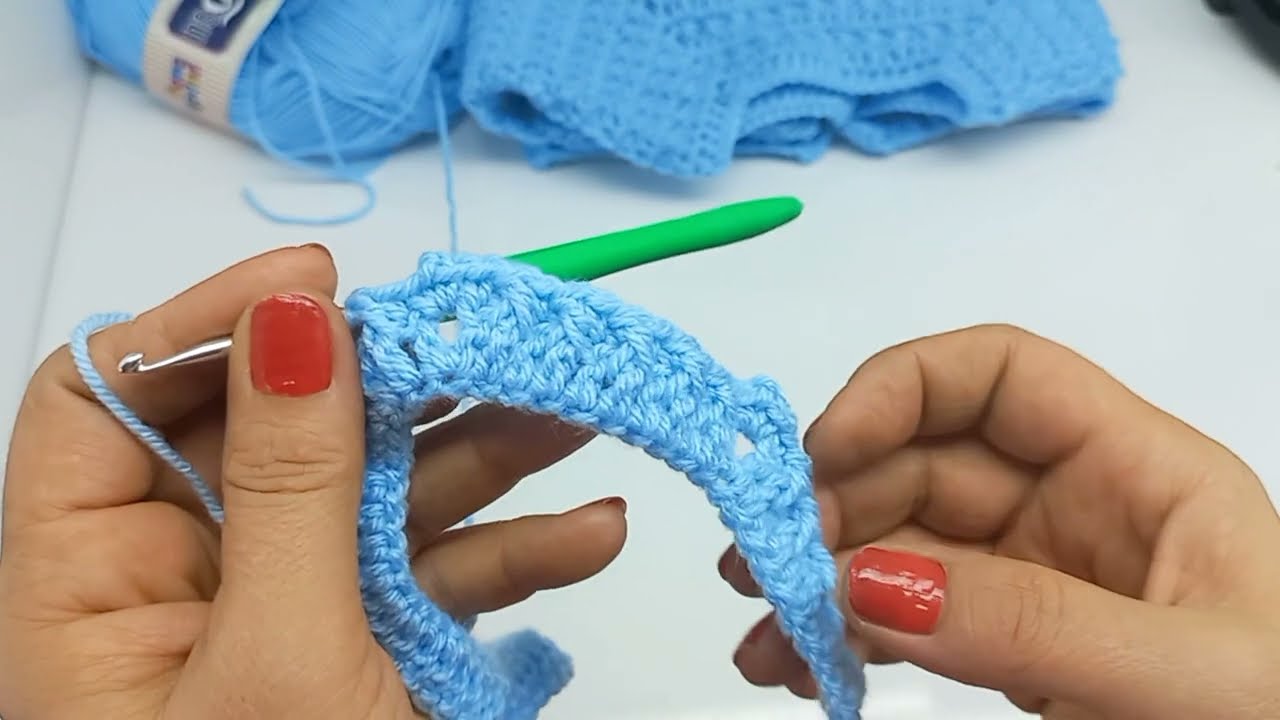
Step 4: Body Pattern – Decorative Stitches
Now switch to your decorative stitch pattern for a trendy look.
Option A: V-Stitch Body
Option B: Shell Stitch Bottom Edge
Add 2–3 rows of shell stitch at the bottom:
Step 5: Sleeves (Optional – Short or Long)
-
Rejoin yarn at armhole.
-
Use hdc or sc in rounds to make sleeves.
-
Crochet 5–8 rounds for short sleeves; 15+ rounds for long sleeves.
-
Add optional shell border at sleeve cuffs.
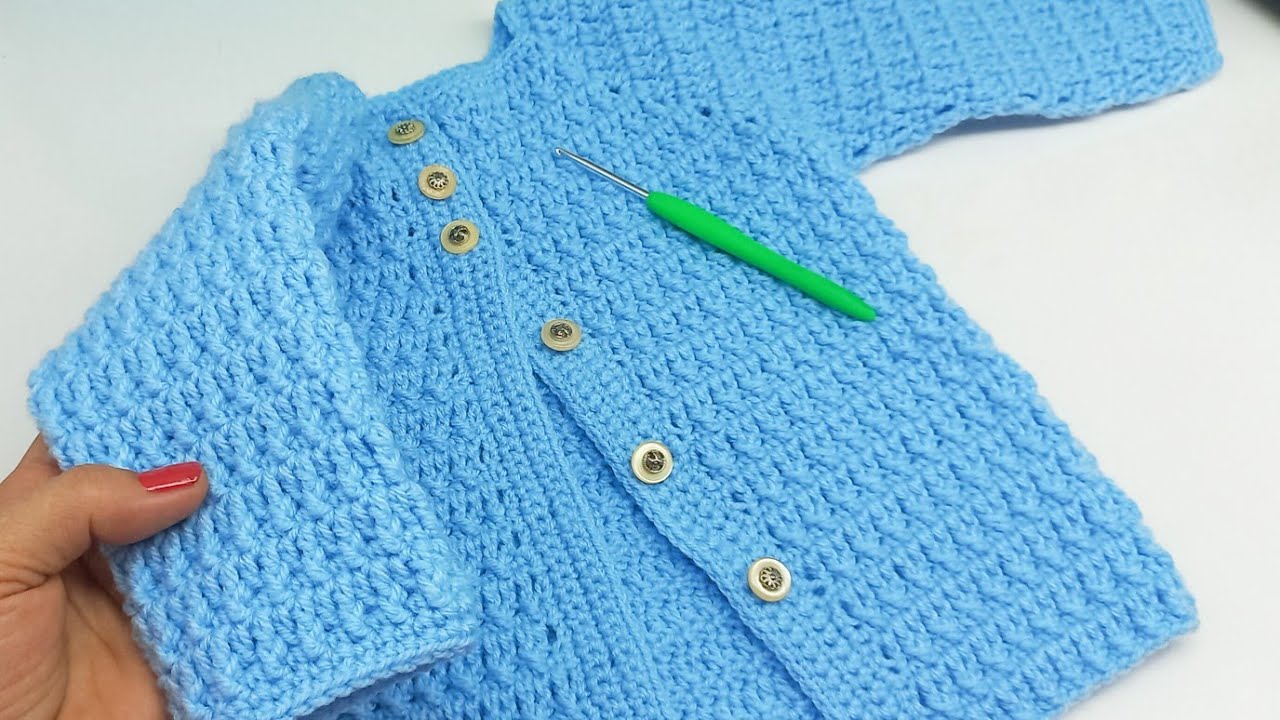
Step 6: Edging and Front Bands
-
Work sc evenly around the front edges and neckline.
-
Add 2–4 buttonholes on one side (ch 2, skip 2 sts) while edging.
-
Add buttons to opposite side.
-
Optional: Use crab stitch (reverse sc) for a unique edge.
Finishing:
-
Weave in all ends with yarn needle.
-
Block lightly with steam (not too hot if using acrylic yarn).
-
Sew buttons securely.
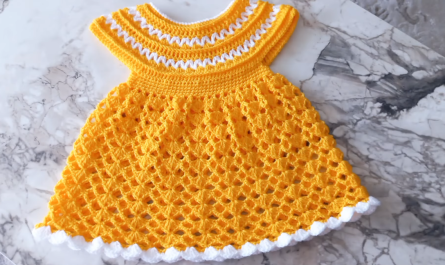
Customization Tips:
-
Use ombre yarn or mix pastel colors.
-
Add small crochet flowers, bows, or animal appliqués.
-
Make it a sleeveless vest, or convert it into a sweater with long sleeves.
-
Try lacy stitches for a summery version or solid stitches for winter.
️ Sample Design Ideas:
-
Boho Style Vest: Use bobble stitches and tassels.
-
Classic Cardigan Look: Solid color with wooden buttons.
-
Princess Style: Light pink yarn, scallop edge, and flower appliqués.
-
Modern Minimal: Cream yarn, clean V-stitch lines, and pearl buttons.
Final Notes:
-
Keep checking size as you go (babies grow fast).
-
Use soft, washable yarn (no wool if baby has sensitive skin).
-
This pattern is versatile – you can turn it into a blouse or full sweater.
Watch tutorial: