 by
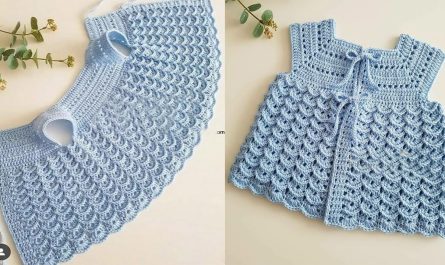
by Here’s a detailed guide on how to make a crochet yoke for all sizes, whether you’re creating a yoke for a child, adult, or plus-size garment. A crochet yoke is the upper part of a garment (like a top, sweater, or dress) that fits around the neck, shoulders, and upper chest/back. It can be round, square, or raglan-shaped, and can be worked top-down or bottom-up.
HOW TO MAKE A CROCHET YOKE (FOR ALL SIZES)
Materials Needed:
-
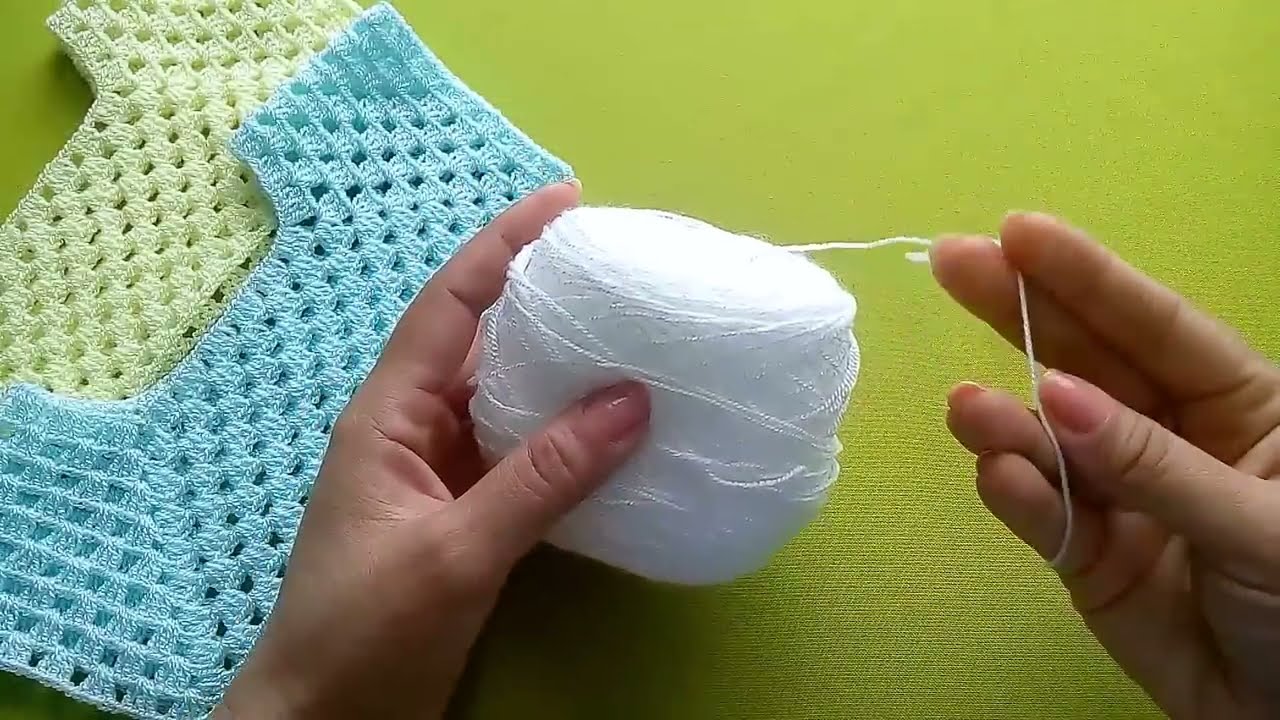
Yarn of your choice (preferably a soft, wearable yarn like cotton, bamboo, or acrylic)
-
Crochet hook (check yarn label for recommended size)
-
Stitch markers
-
Measuring tape
-
Scissors
-
Yarn needle
1. MEASUREMENTS (Key to All Sizes)
Accurate sizing begins with key body measurements:
| Size | Neck Circumference | Shoulder Width | Chest Width (for body) |
|---|---|---|---|
| Baby (0–6 mo) | 12–14″ | ~6–7″ | 16″ |
| Toddler | 14–16″ | ~7–8″ | 20–22″ |
| Child | 15–17″ | ~9″ | 24–26″ |
| Teen/XS Adult | 16–17″ | ~11″ | 30–34″ |
| Adult S | 17–18″ | 12–13″ | 34–36″ |
| Adult M | 18–19″ | 13–14″ | 38–40″ |
| Adult L | 19–20″ | 14–15″ | 42–44″ |
| XL/Plus sizes | 20–22″+ | 15–17″ | 46–60″+ |
✳️ Gauge is critical! Make a small swatch (e.g., 4″ x 4″) in the stitch pattern you’ll use and measure how many stitches/rows per inch you get.
2. TYPES OF YOKES
Choose your yoke construction:
Round Yoke (Top-down):
-
Seamless circle worked in the round.
-
Gradual increases spaced evenly.
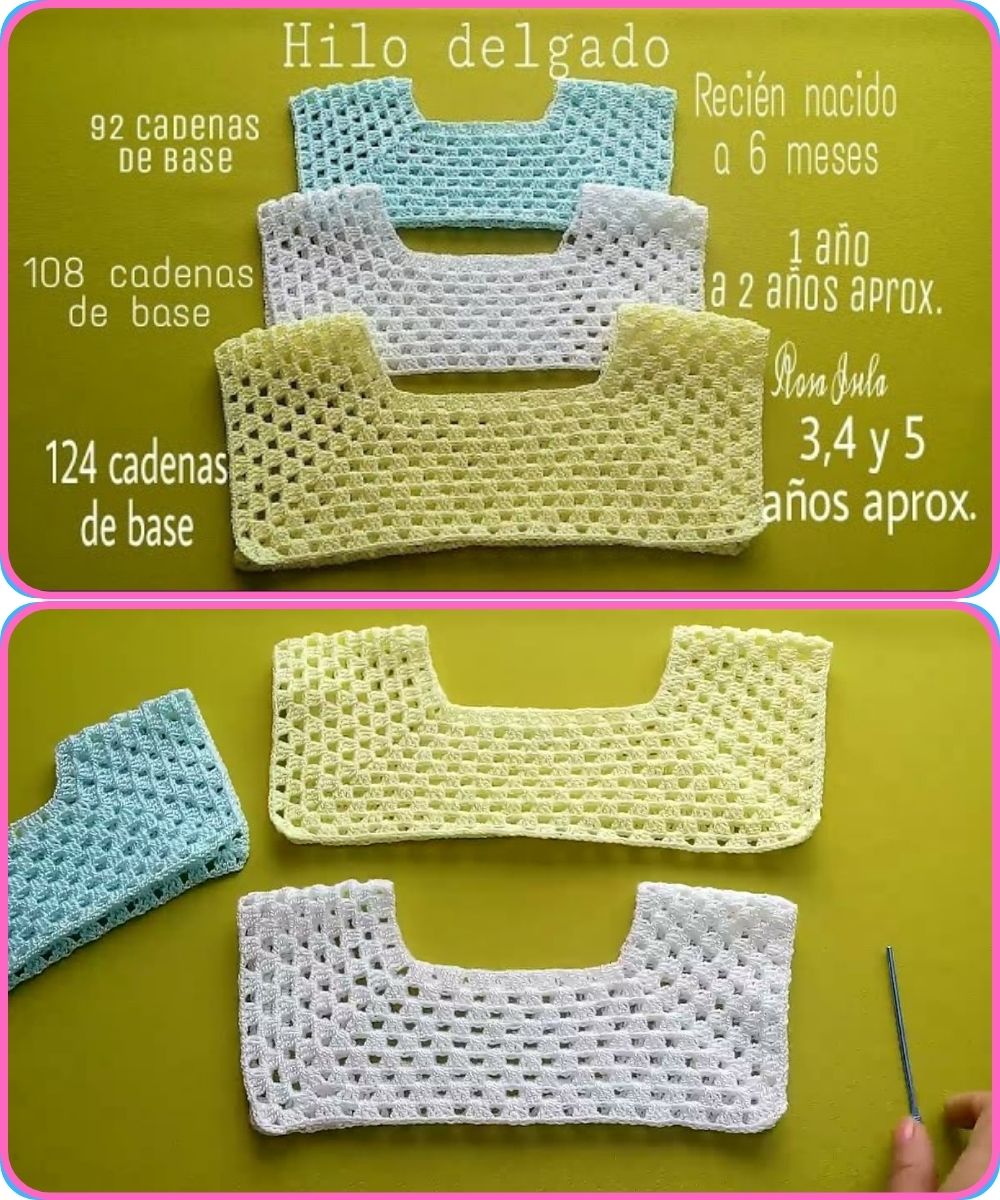
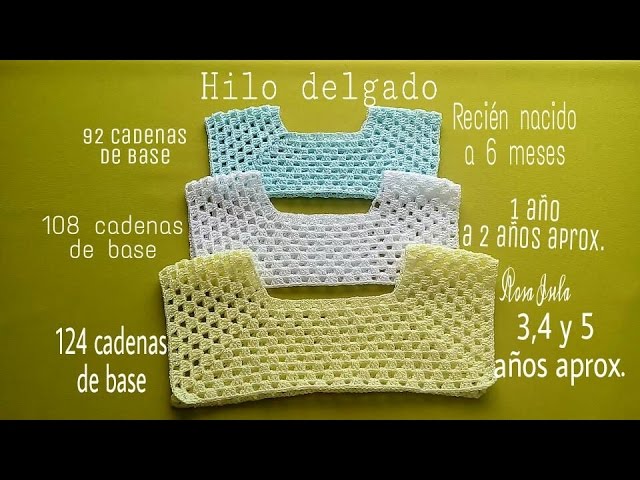
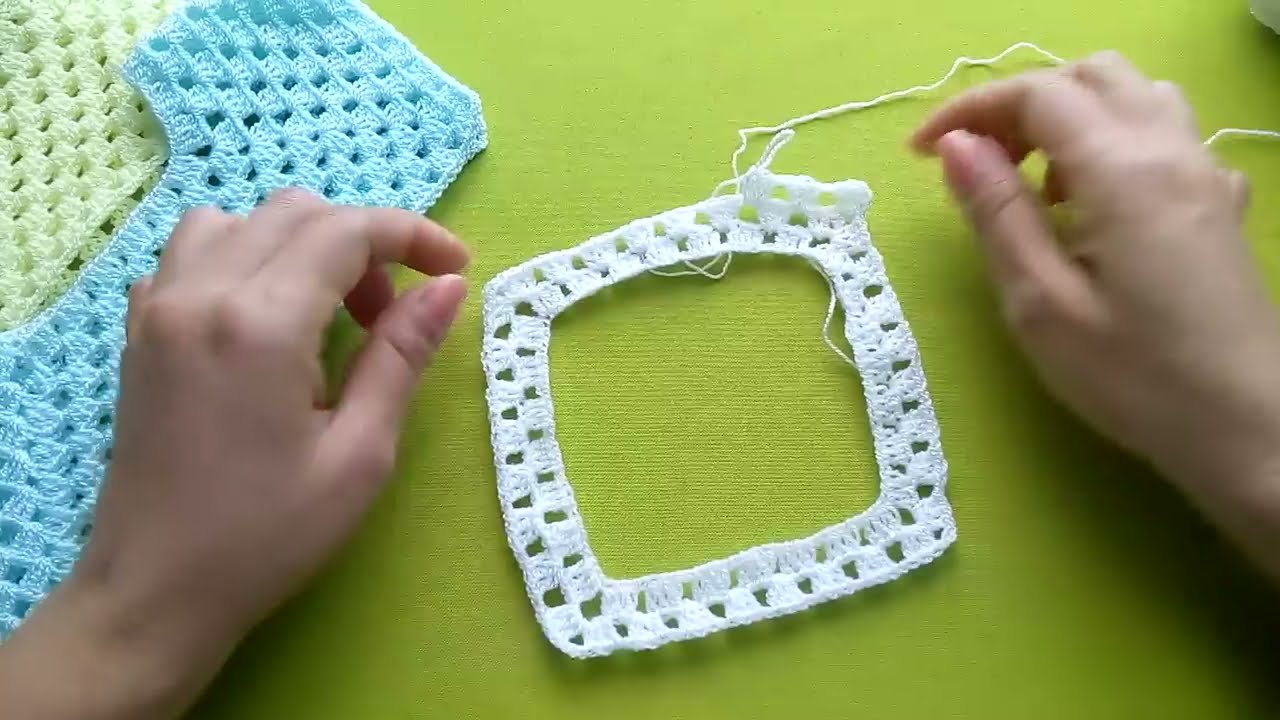
Square/Raglan Yoke:
-
Increases placed at 4 corners (shoulders, underarms).
-
Creates a square/rectangle shape, often with ch-spaces at the corners.
3. BASIC YOKE PATTERN (Top-Down, Adjustable)
Sample: Round Yoke (in Double Crochet – DC)
✅ Foundation Chain
-
Chain a multiple that fits your neck size (refer to measurements).
-
Join in the round with a slip stitch. Be careful not to twist.
✅ Round 1: Base Round
✅ Rounds 2–X: Increase Rounds
Gradually increase to expand the yoke. Here’s a sample increase method:
✳️ Yoke Depth Guide:
| Size | Yoke Depth |
|---|---|
| Baby | 3–4″ |
| Toddler | 4–5″ |
| Child | 5–6″ |
| Teen/Adult S | 6–7″ |
| M–L | 7–8″ |
| XL+ | 8–9″+ |
4. DIVIDE FOR BODY & SLEEVES
Once the yoke is wide enough to fit across the chest/back and long enough in depth, divide the stitches into:
-
Front
-
Back
-
Sleeves (2)
Tip:
Use stitch markers to section out your stitch counts.
Example:
Let’s say you have 180 sts:
-
Back: 45 sts
-
Sleeve: 30 sts
-
Front: 45 sts
-
Sleeve: 30 sts
✅ Row to Separate:
-
Work to first sleeve section, skip sleeve sts and chain 6–12 sts (depending on armhole depth), then continue to back, repeat for 2nd sleeve.
5. CUSTOMIZE THE LOOK
You can change the look and feel of your yoke with:
Stitches:
-
Double Crochet (DC)
-
Half Double Crochet (HDC)
-
Shell Stitch
-
V-Stitch
-
Granny Stitch
-
Lace motifs
Edges:
-
Add picot or scalloped edging around the neck or bottom.
6. SIZING TIPS FOR ALL BODY TYPES
-
Add Short Rows in the back for better neck fit (especially for adult sizes).
-
Use adjustable stitch counts—you can always add more increases if needed.
-
Try on as you go: This is key when making for someone specific.
️ EXAMPLE: UNIVERSAL ROUND YOKE FORMULA (DC)
Bonus: Resources for Patterns
Here are some keywords to search for when looking for universal yoke patterns:
-
“Top-down crochet yoke pattern”
-
“Crochet raglan sweater”
-
“Crochet baby yoke dress”
-
“Custom fit crochet top-down tutorial”
✅ Final Tips
-
Always measure the person or use a size chart.
-
Keep trying on the piece (or using a mannequin).
-
Use stitch markers generously.
-
Adjust stitch count and spacing for your chosen stitch pattern.
-
Don’t be afraid to rip back and adjust—crochet is forgiving!
Watch tutorial: