 by
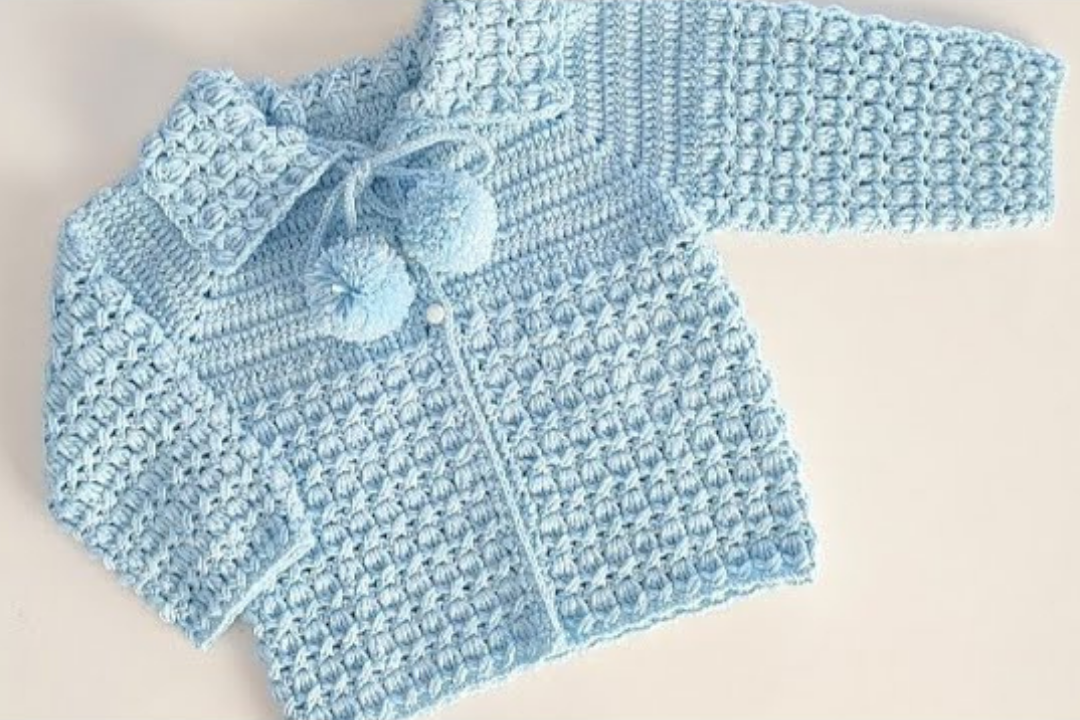
by Sure! Here’s a detailed step-by-step guide on how to make a crochet baby cardigan (baby jacket). This is perfect for beginners and can be customized in size, color, and design.
How to Make a Crochet Baby Cardigan / Baby Jacket
✅ Skill Level:
Beginner to Intermediate
Materials Needed:
-
Yarn: Soft, baby-friendly yarn (e.g., acrylic or cotton blend, DK weight or worsted)
-
Hook Size: Typically 4.0mm (G/6) or 5.0mm (H/8), depending on yarn
-
Scissors
-
Tapestry needle (for weaving in ends)
-
Buttons (optional, 3-5 small buttons if you want a buttoned cardigan)
-
Measuring tape
-
Stitch markers (optional but helpful)
Size Reference Chart (Approximate):
| Size | Chest (inches) | Length (inches) | Age |
|---|---|---|---|
| Newborn | 14–15 | 9 | 0–3 months |
| 3–6 mo | 16–17 | 10 | 3–6 months |
| 6–12 mo | 18–19 | 11 | 6–12 months |
| 1–2 years | 20–21 | 12–13 | 12–24 months |
You can adjust your pattern as needed by increasing or decreasing stitches/rows.
Stitches You Should Know:
-
ch – chain
-
sc – single crochet
-
dc – double crochet
-
hdc – half double crochet
-
sl st – slip stitch
-
inc – increase (2 stitches in one stitch)
-
dec – decrease (combine two stitches)
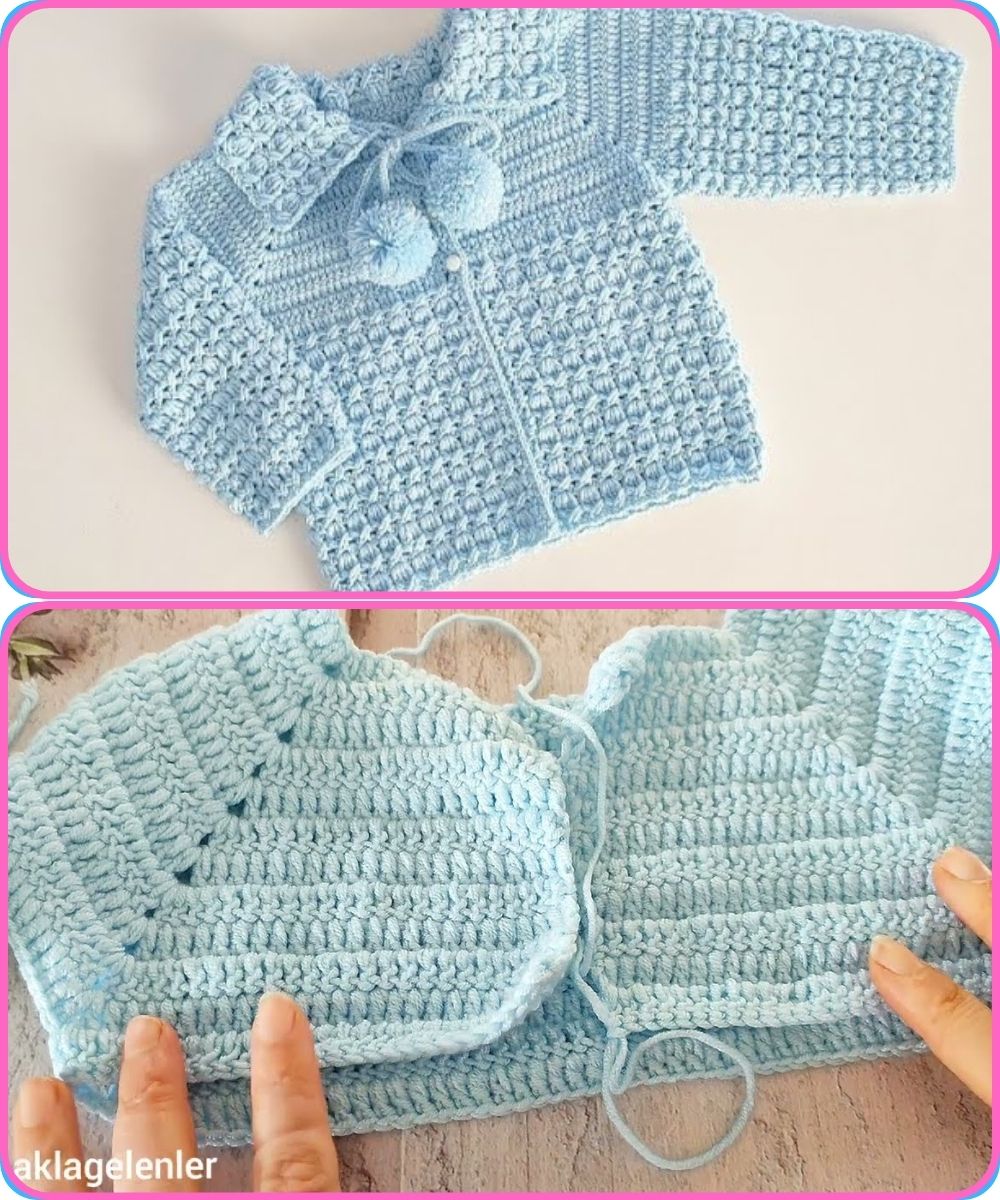
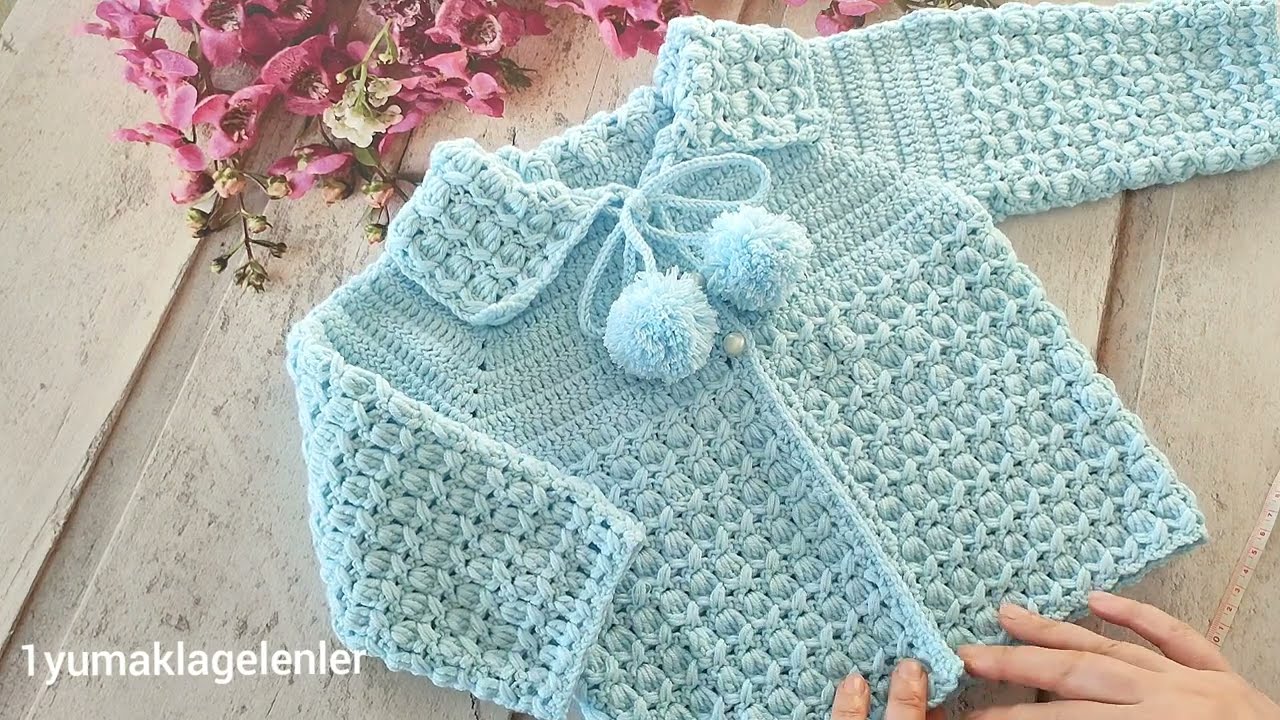
BASIC BABY CARDIGAN CONSTRUCTION:
This cardigan is worked top-down (starting at the neckline), using a yoke method, then separating for sleeves and working the body.
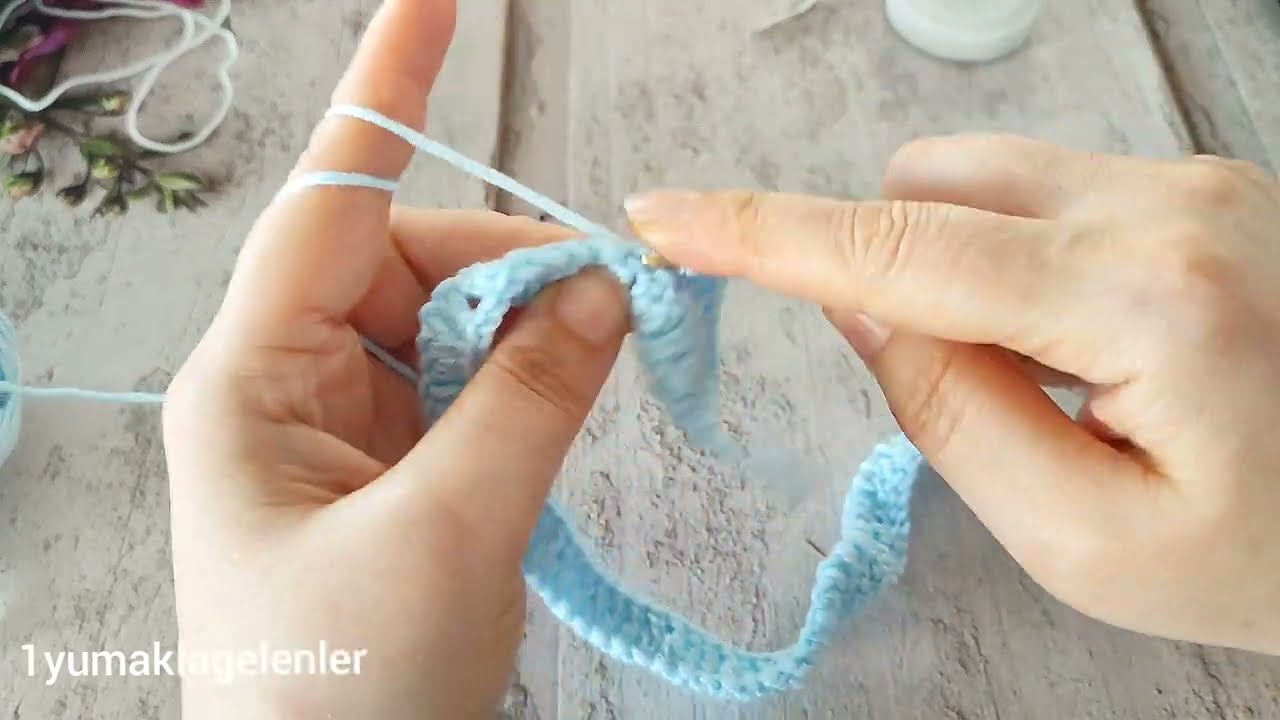
✳️ STEP 1: Start the Yoke (Neckline)
Foundation Row (adjust based on size):
-
Chain 54 (for 3–6 months size). This includes chains for back, front panels, and sleeves.
Row 1:
-
Work dc in 4th chain from hook.
-
Place stitch markers where the increases for the yoke go: usually at 4 points (after left front panel, sleeve, back panel, sleeve).
-
Example: 9 dc (front) – mark, 9 dc (sleeve) – mark, 18 dc (back) – mark, 9 dc (sleeve) – mark, 9 dc (front)
-
Row 2–7 (or until desired yoke depth):
-
In each row, increase at marked stitches:
-
1 dc, ch 1, 1 dc in same stitch (this forms a corner increase).
-
-
Continue dc in each stitch, and increase at each corner.
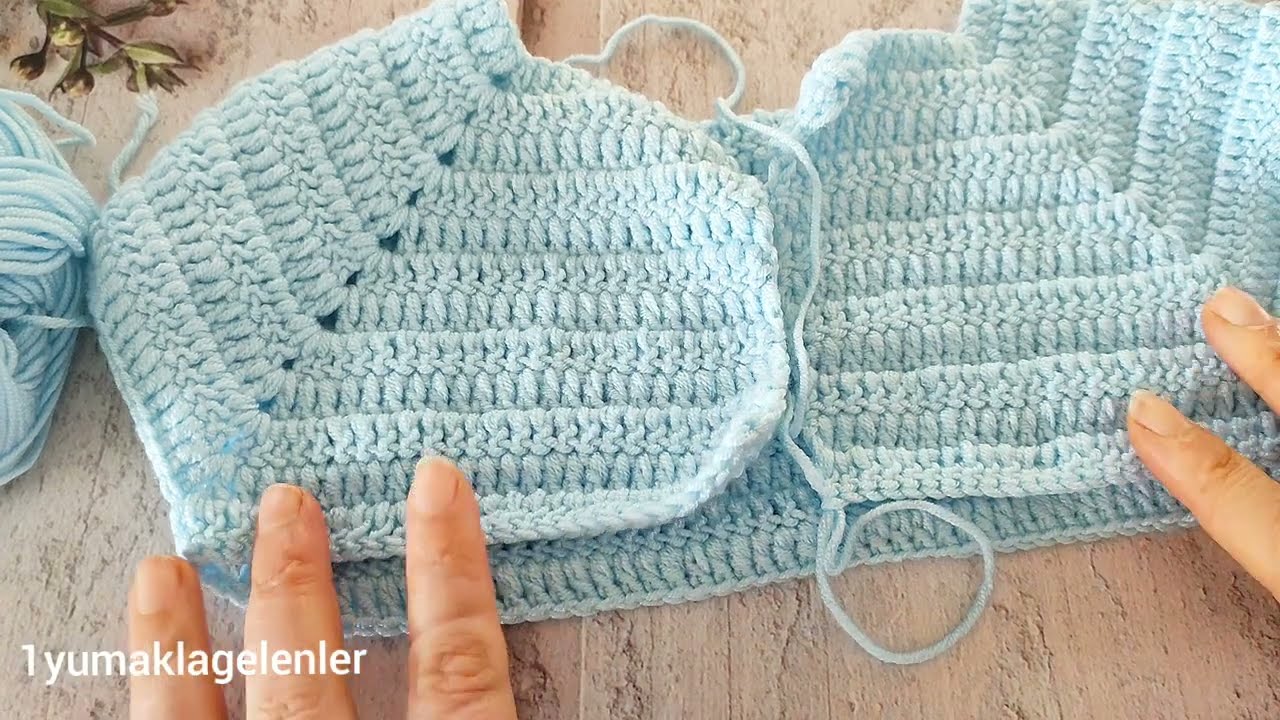
✳️ STEP 2: Divide for Body and Sleeves
After you’ve reached yoke depth:
-
Fold to form armholes.
-
Skip sleeve sections and only work on the front + back panels.
-
For underarm, you can chain 4–6 stitches between front and back panels for extra room.
Example (Row 8):
-
Dc across front panel,
-
Chain 5 (to form underarm),
-
Skip sleeve stitches,
-
Dc across back,
-
Chain 5,
-
Skip other sleeve,
-
Dc across final front panel.
✳️ STEP 3: Work the Body
-
Continue working dc rows back and forth for the body section.
-
Length is adjustable. Typical baby cardigan length is 10–12 inches.
-
Add ribbing or decorative edging at the bottom if desired.
✳️ STEP 4: Sleeves
-
Attach yarn to armhole.
-
Work dc rounds or hdc rounds around armhole.
-
Decrease slightly every few rows to taper the sleeve if desired.
-
Work until sleeve is 4–6 inches (or desired length).
-
Optionally, add ribbing or a cuff.
✳️ STEP 5: Finishing Touches
-
Front edging: Work 1 or 2 rows of sc or hdc along the front opening for a neater finish.
-
Buttonholes: If adding buttons, make small chain spaces in the edging row (e.g., ch 1, skip 1 st) for buttonholes.
-
Sew buttons on opposite side.
-
Weave in ends using tapestry needle.
Optional Design Variations:
-
Use granny stitch for a more open, decorative look.
-
Add a hood by crocheting a rectangle and sewing it to the neckline.
-
Color changes: Stripe the cardigan with multiple baby-safe colors.
-
Decorative edges: Add picot or shell stitch edging for a pretty border.
Tips:
-
Always measure the baby (if possible) for best fit.
-
Soft, washable yarn is key for comfort and practicality.
-
Keep checking stitch counts and symmetry for a balanced cardigan.
-
Blocking (lightly steaming/pressing) can help the cardigan shape nicely.
Want a Visual Pattern?
If you’d like, I can also recommend a free pattern or YouTube video tutorial for a baby cardigan. Let me know the age/size or style you prefer (e.g., classic, hooded, lacy, boy/girl-specific).
Watch tutorial: